Affiliate links on Android Authority may earn us a commission. Learn more.

Exclusive: Here’s what Qualcomm didn’t tell you about the Snapdragon X series
You will have plenty of choice picking your next Arm-based laptop
Kamila Wojciechowska
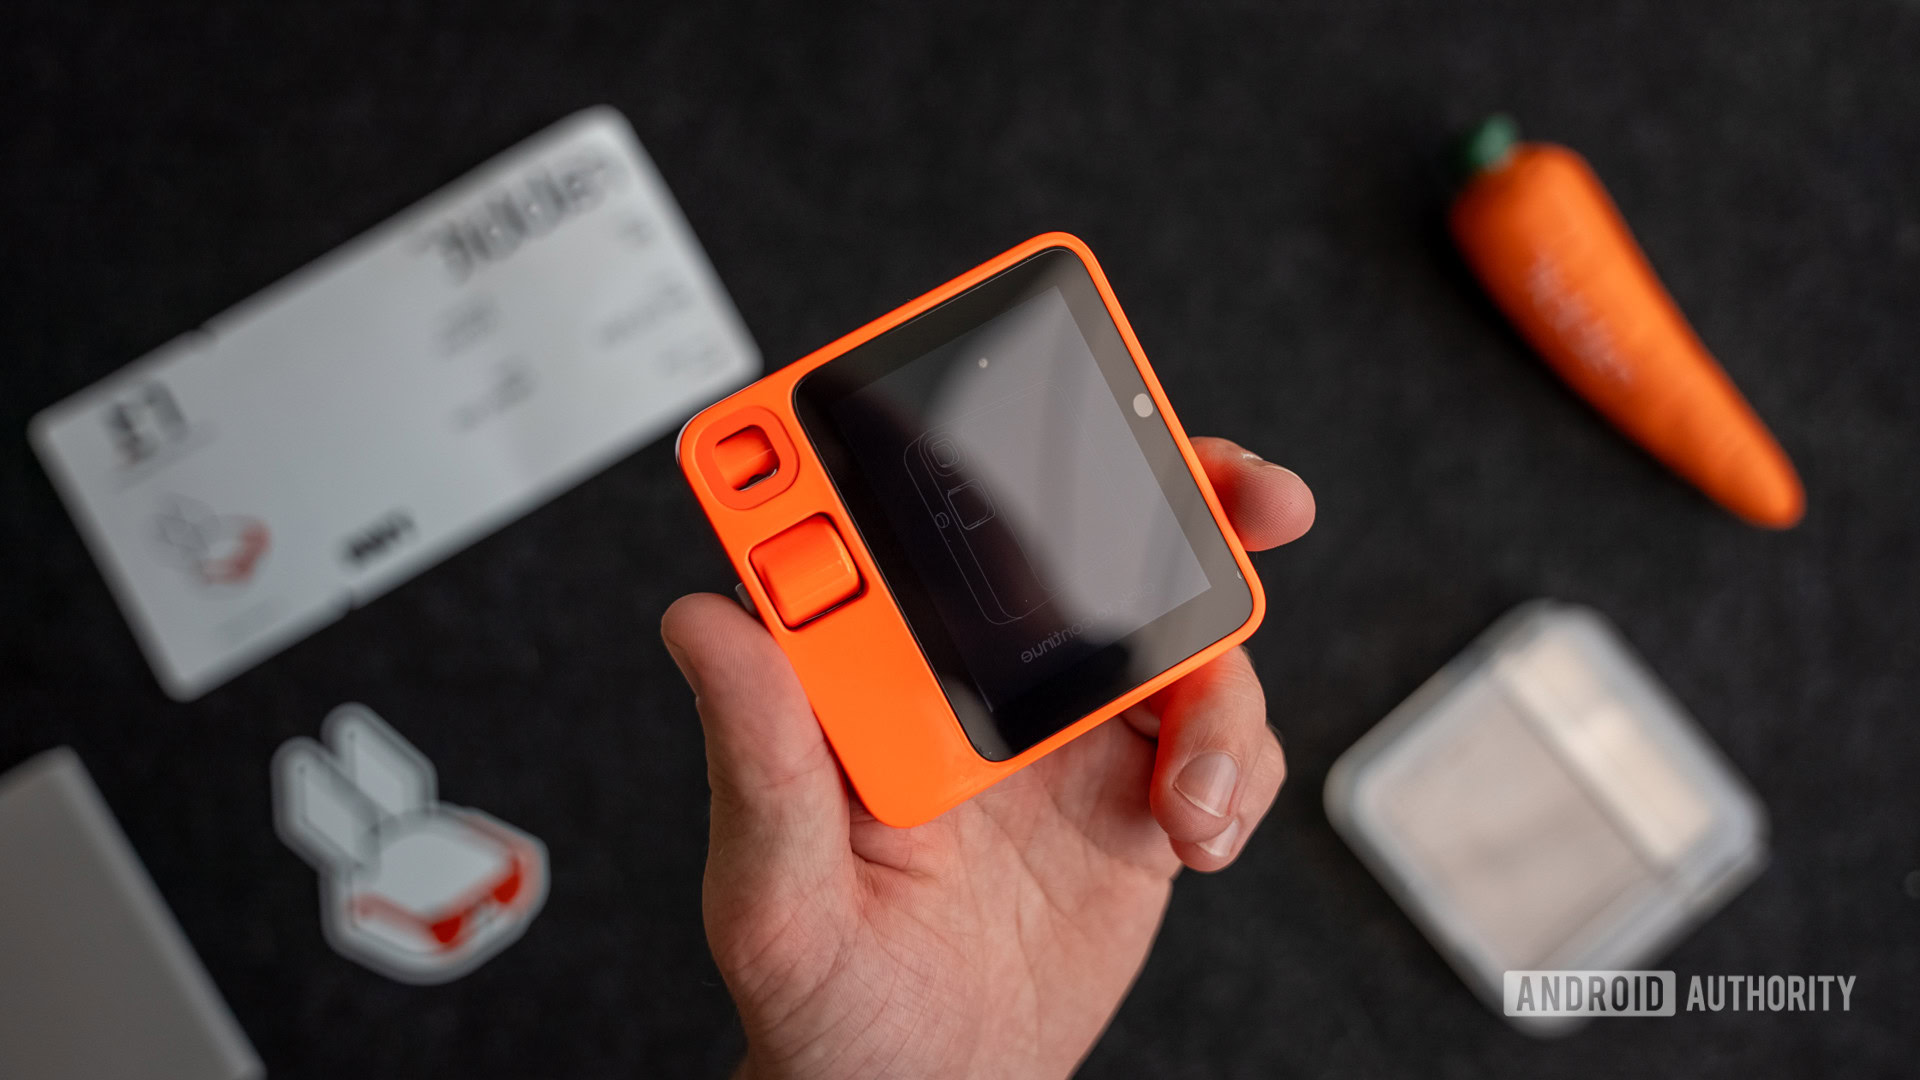
Hands-on with the Rabbit R1: Hopping into an AI-powered future?
Ryan Haines

Worst to best: The Google Pixel series, ranked
Hadlee Simons

A 128GB Pixel 9 Pro should never exist, Google
Rita El Khoury

Qualcomm benchmarking controversy: What’s happening?
C. Scott Brown

Computing
In case you missed it
More news

Edgar Cervantes5 hours ago
Download these eccentric wallpapers for your phone
How to install Android 15 on your Pixel phone right now
C. Scott Brown21 hours ago

TikTok ban: A complete timeline and everything you need to know
Nick FernandezApril 24, 2024

How accurate is ChatGPT? Should you trust its responses?
Calvin WankhedeApril 22, 2024

Why is ChatGPT so slow? Here's how to speed up the chatbot's responses
Calvin WankhedeApril 21, 2024

Download these eccentric wallpapers for your phone
Edgar Cervantes5 hours ago

The Galaxy S24 FE takes a step closer to reality with new listing
Aamir Siddiqui8 hours ago

Google is feeling pretty pumped about a new way of showing you ads on YouTube
Adamya Sharma8 hours ago

A trusted source just showed off more Google Pixel 8a renders
Hadlee Simons10 hours ago

Verizon hikes prices for smartwatch plans by 50%
Adamya Sharma10 hours ago

Android 15 will let you force apps to go dark, even if they don't support it
Mishaal Rahman19 hours ago

Google I/O 2024: Updates to Wear OS, Google TV, and Android TV confirmed
Ryan McNeal20 hours ago

Dock-free Pixel Tablet spotted in European listings, official pen and keyboard coming too
Rushil Agrawal20 hours ago

Samsung's next big Unpacked event could take place on July 10
Rushil Agrawal21 hours ago

Android 15 update tracker: When will your phone get it?
Adamya Sharma21 hours ago
