Affiliate links on Android Authority may earn us a commission. Learn more.
How to split-screen on Windows 10
Windows 10 has a built-in window snapping feature that makes splitting the screen quite easy. Depending on your preference, you can split the screen two, three, or four ways. The feature is easy to use once you get the hang of it. Here’s how to split-screen on Windows 10.
Read more: Should you upgrade to Windows 11?
QUICK ANSWER
To split-screen on Windows 10, press the Windows key + Right or Left arrow key in an active window, and click your preferred window on the other side. You can also drag the windows to the preferred corner or edge with your cursor and release it to snap it in that corner. Repeat for the remaining windows.
JUMP TO KEY SECTIONS
Using keyboard shortcut
You can easily use a keyboard shortcut to split-screen in Windows 10. Just click the window you want to align to ensure it’s active. Press the Windows key + Right or Left arrow key to align the first window.
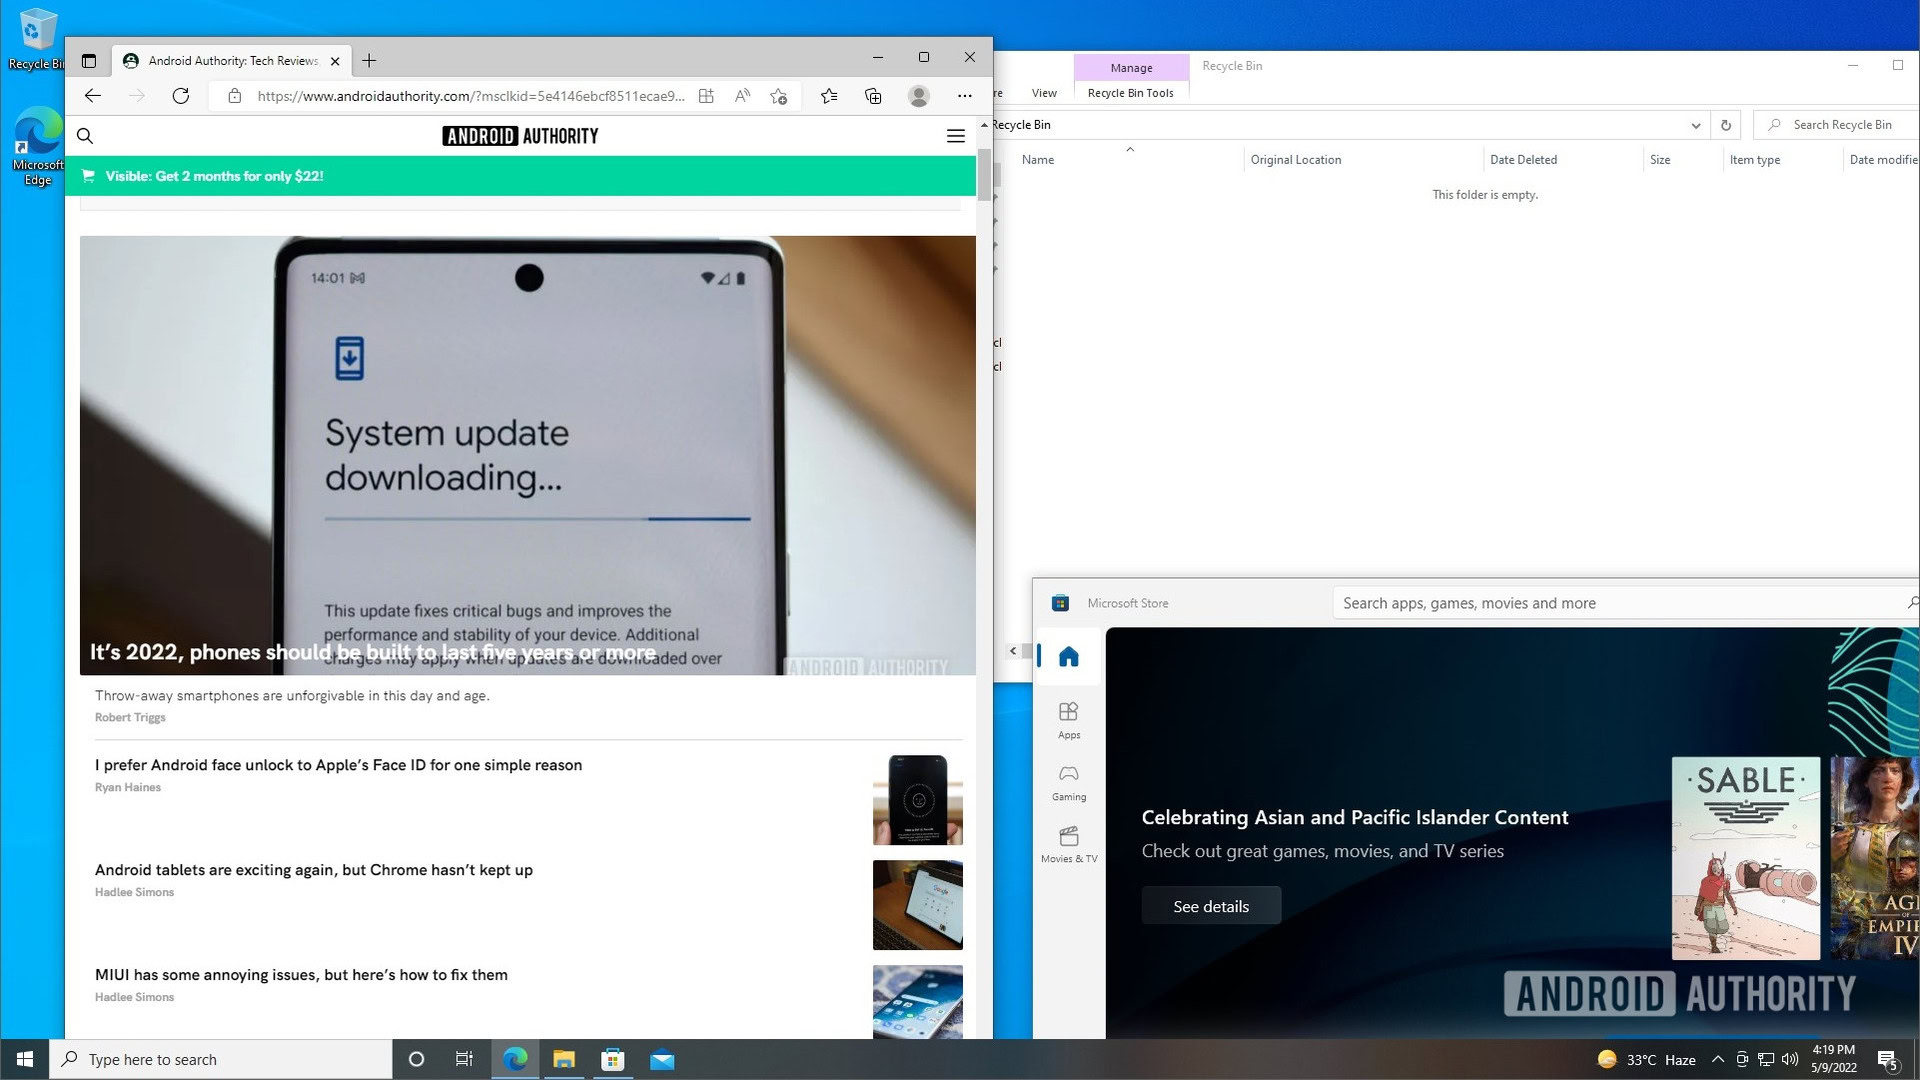
The remaining windows will show up in a grid view on the other side. Click the window you wish to take up the remaining side of the screen.
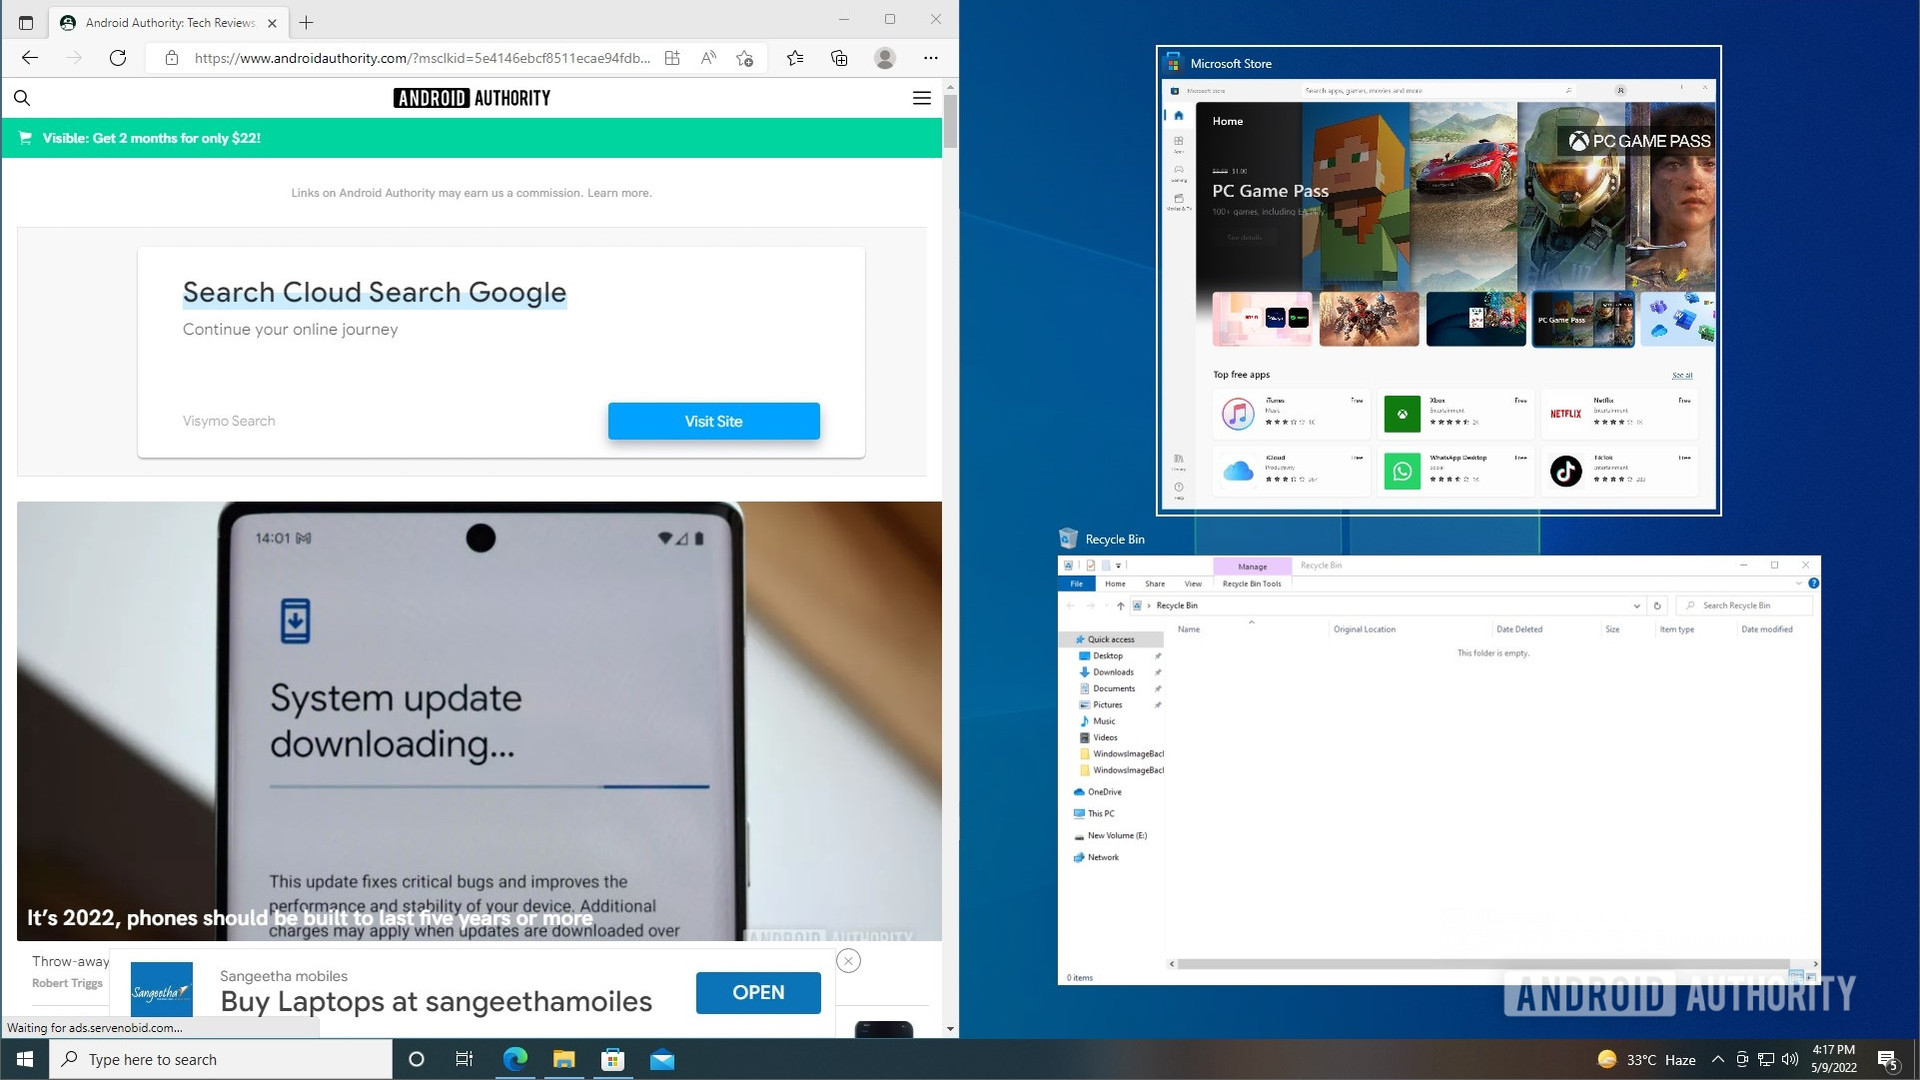
You can take a window to full screen again by pressing the Windows key + Up arrow key.
Using snap assist
Windows 10 also has the snap assist feature, which can help you split-screen on Windows 10 with more than just two windows. You can split the screen four ways, which is helpful if you have a larger, high-resolution display.
Snap assist is quite intuitive. Drag the first window you want by clicking and holding the title bar, and pulling the cursor to the corner of the screen where you want the window. Release the cursor to snap the window in that corner.
If you want a 50-50 split, you can take the cursor to the right or left edge of the screen instead of the corner, and release.
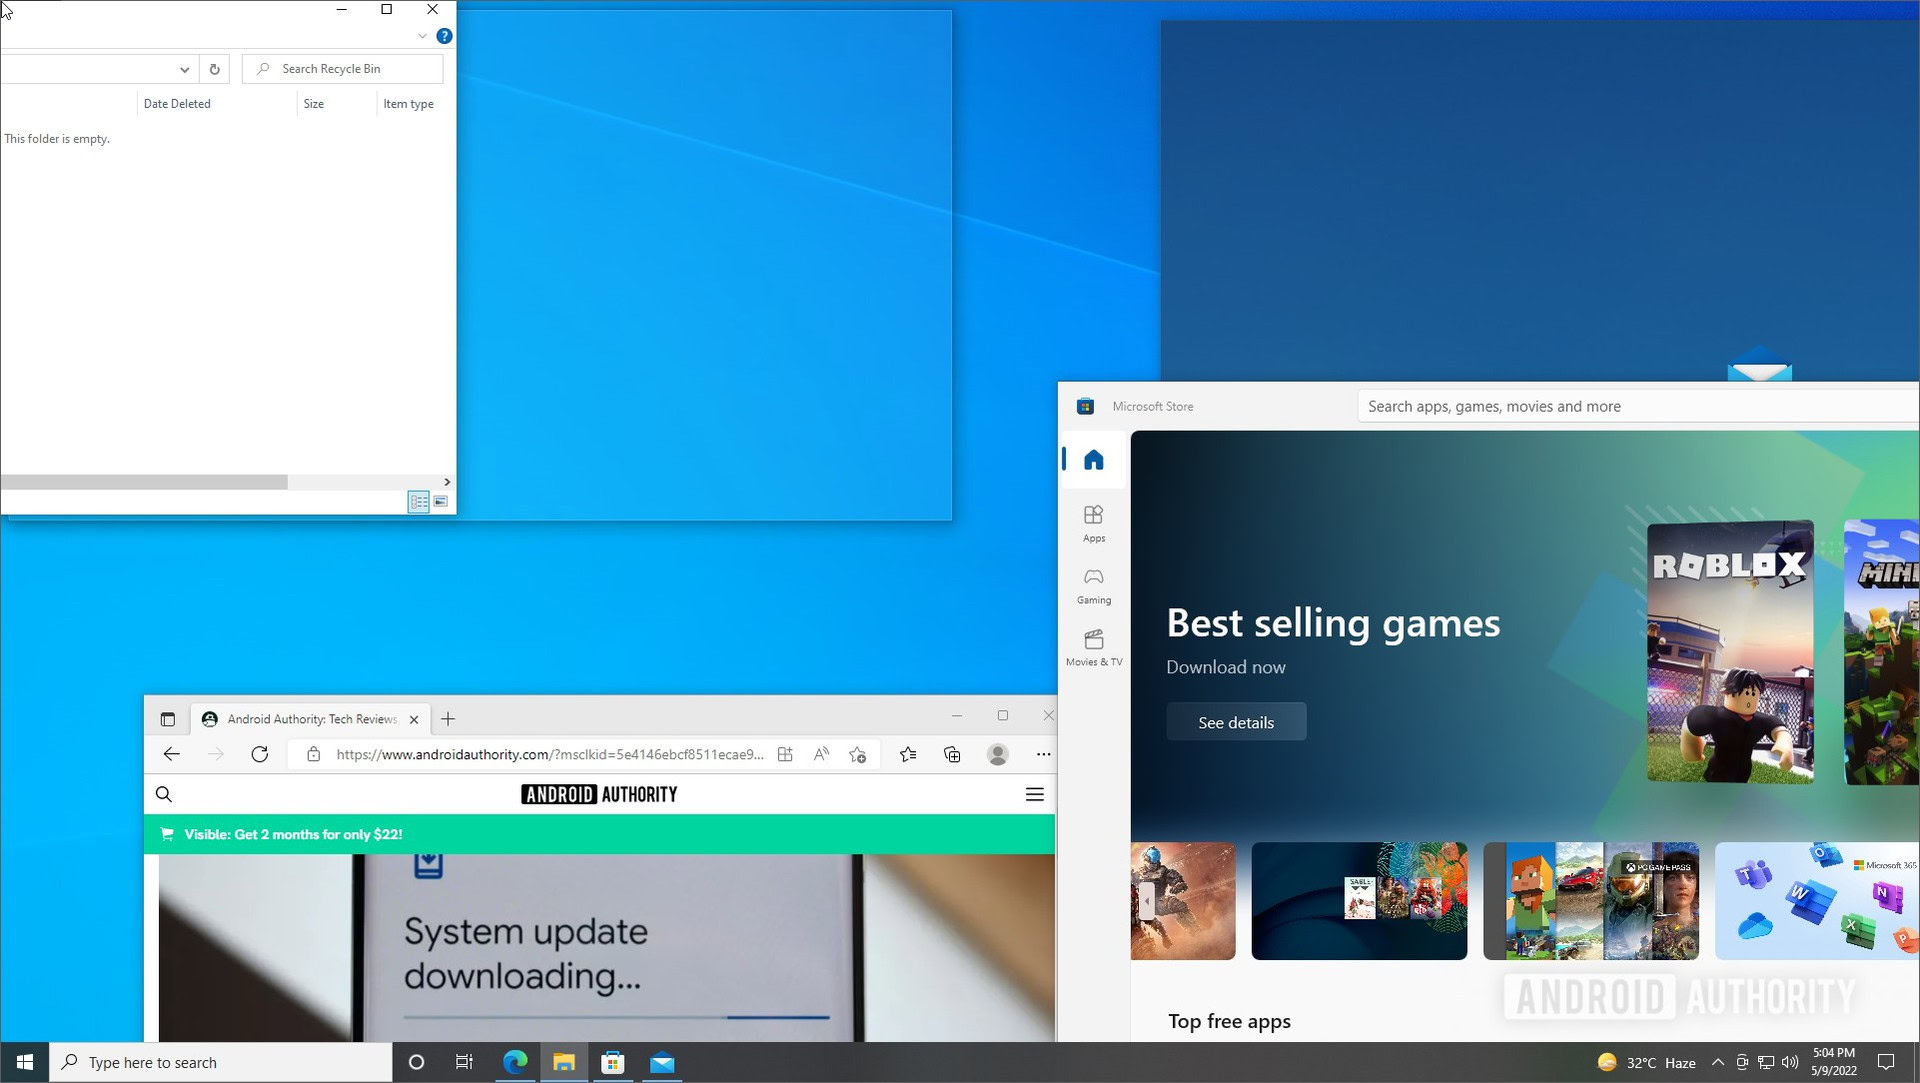
Repeat the same with other windows for the second corner. If you stack the first two windows on top of each other, on the left or right side, snap assist will list the remaining windows on the other side in a grid, as seen in the screenshot.
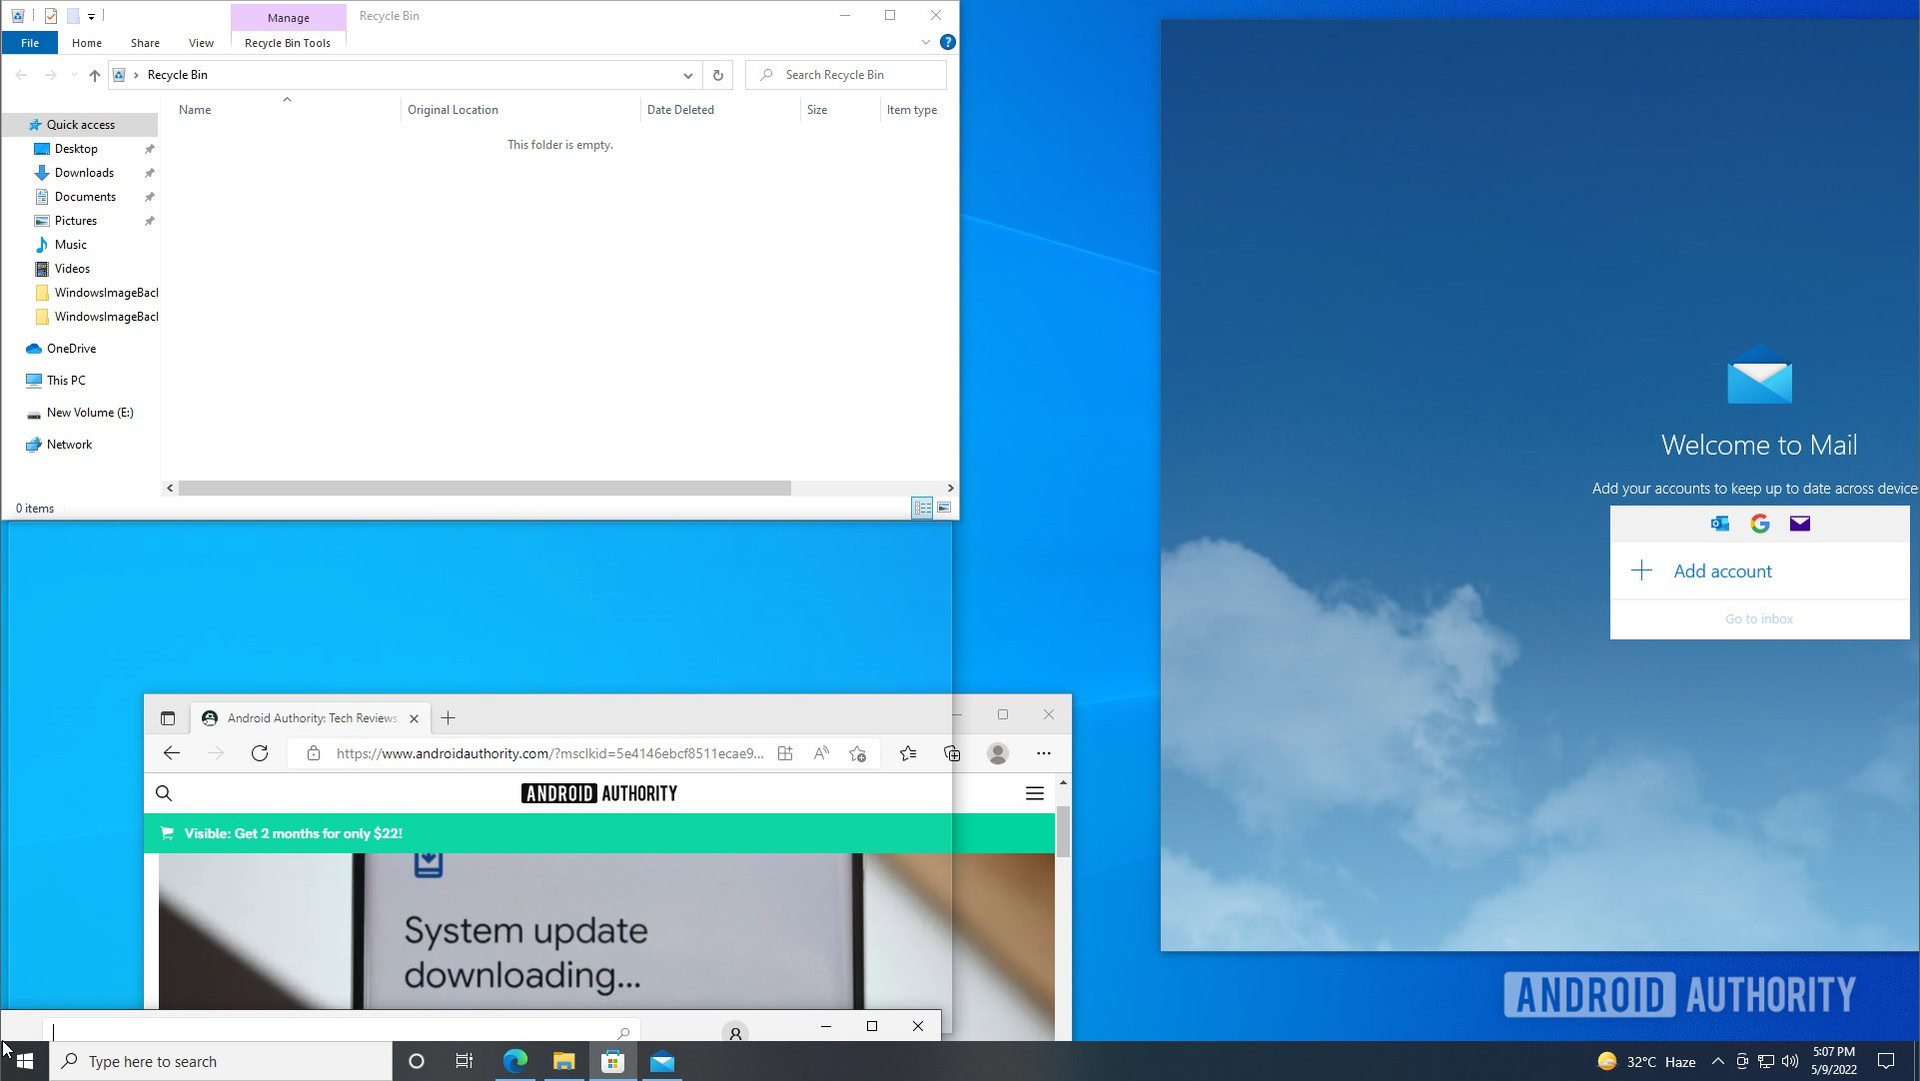
To split your screen three ways, in a 25%, 25%, and 50% pattern, click the window you need. If not, click the empty space outside the windows.
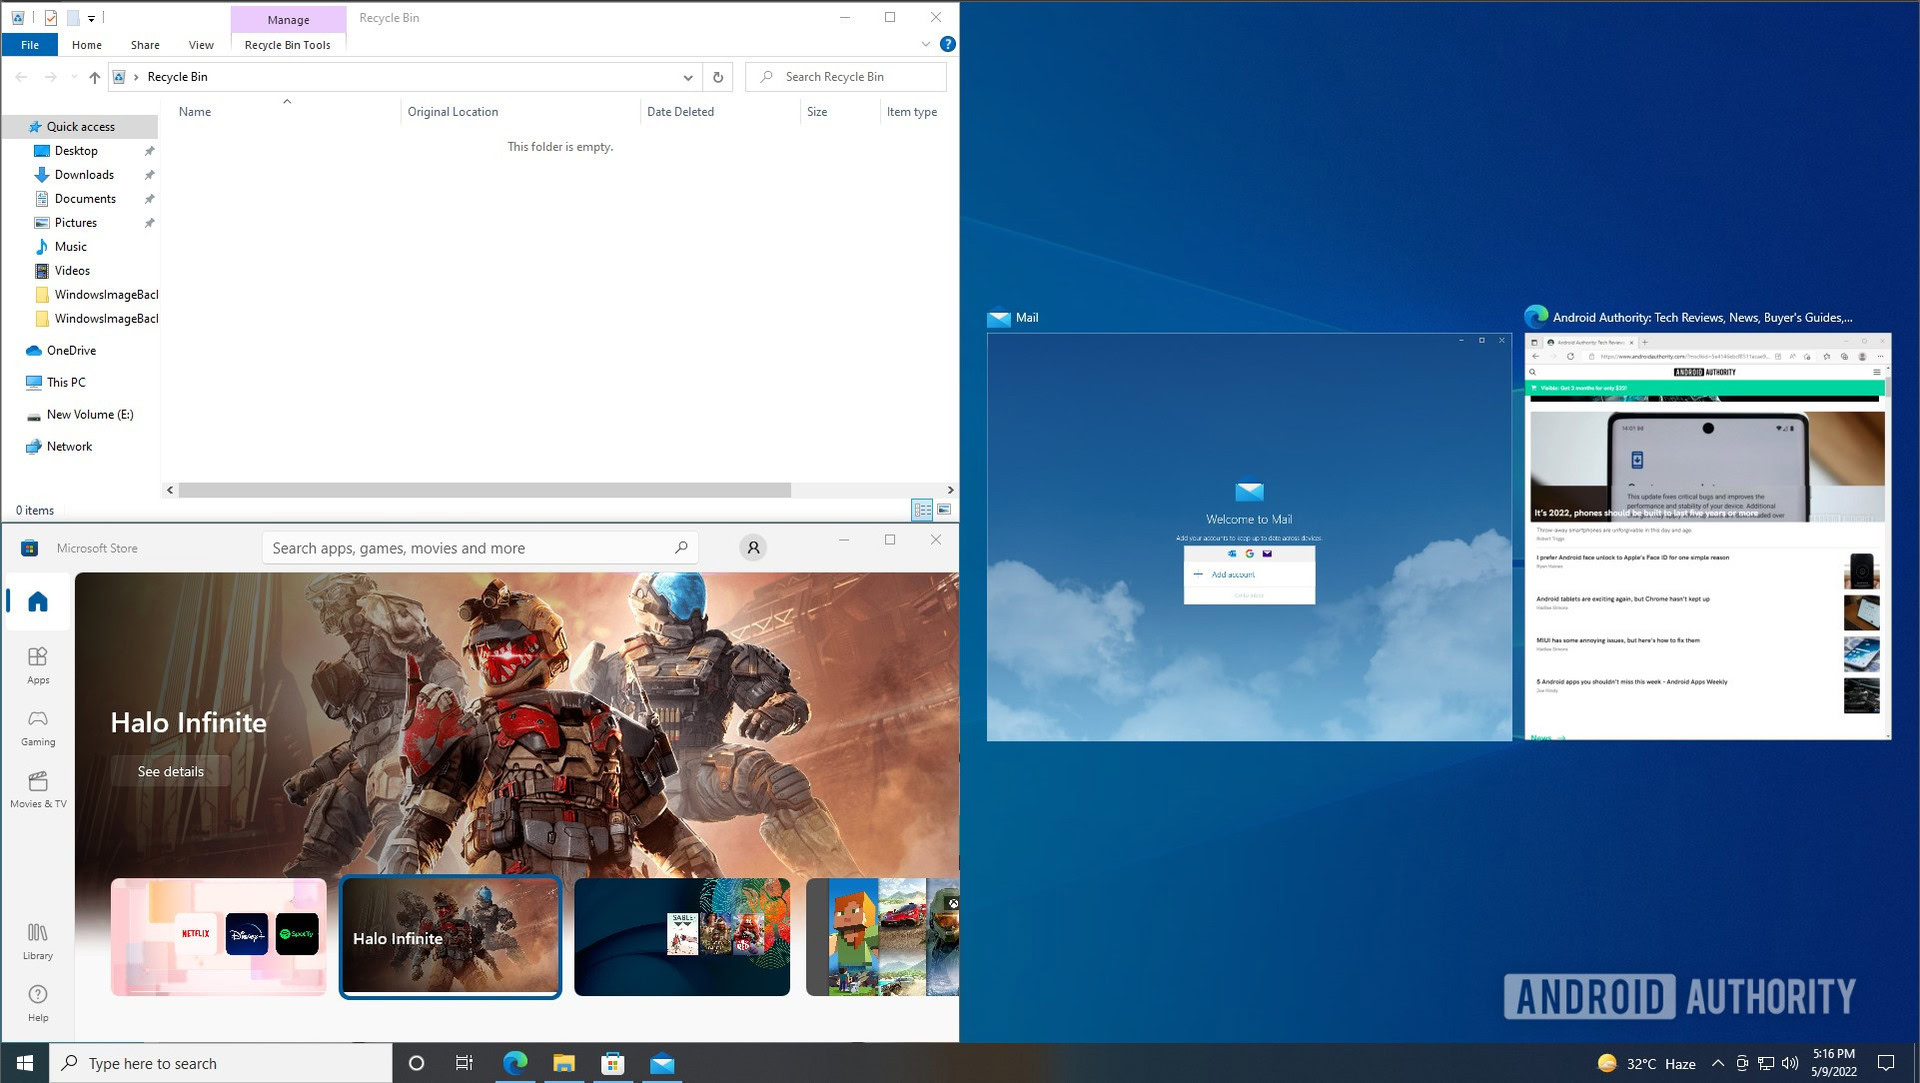
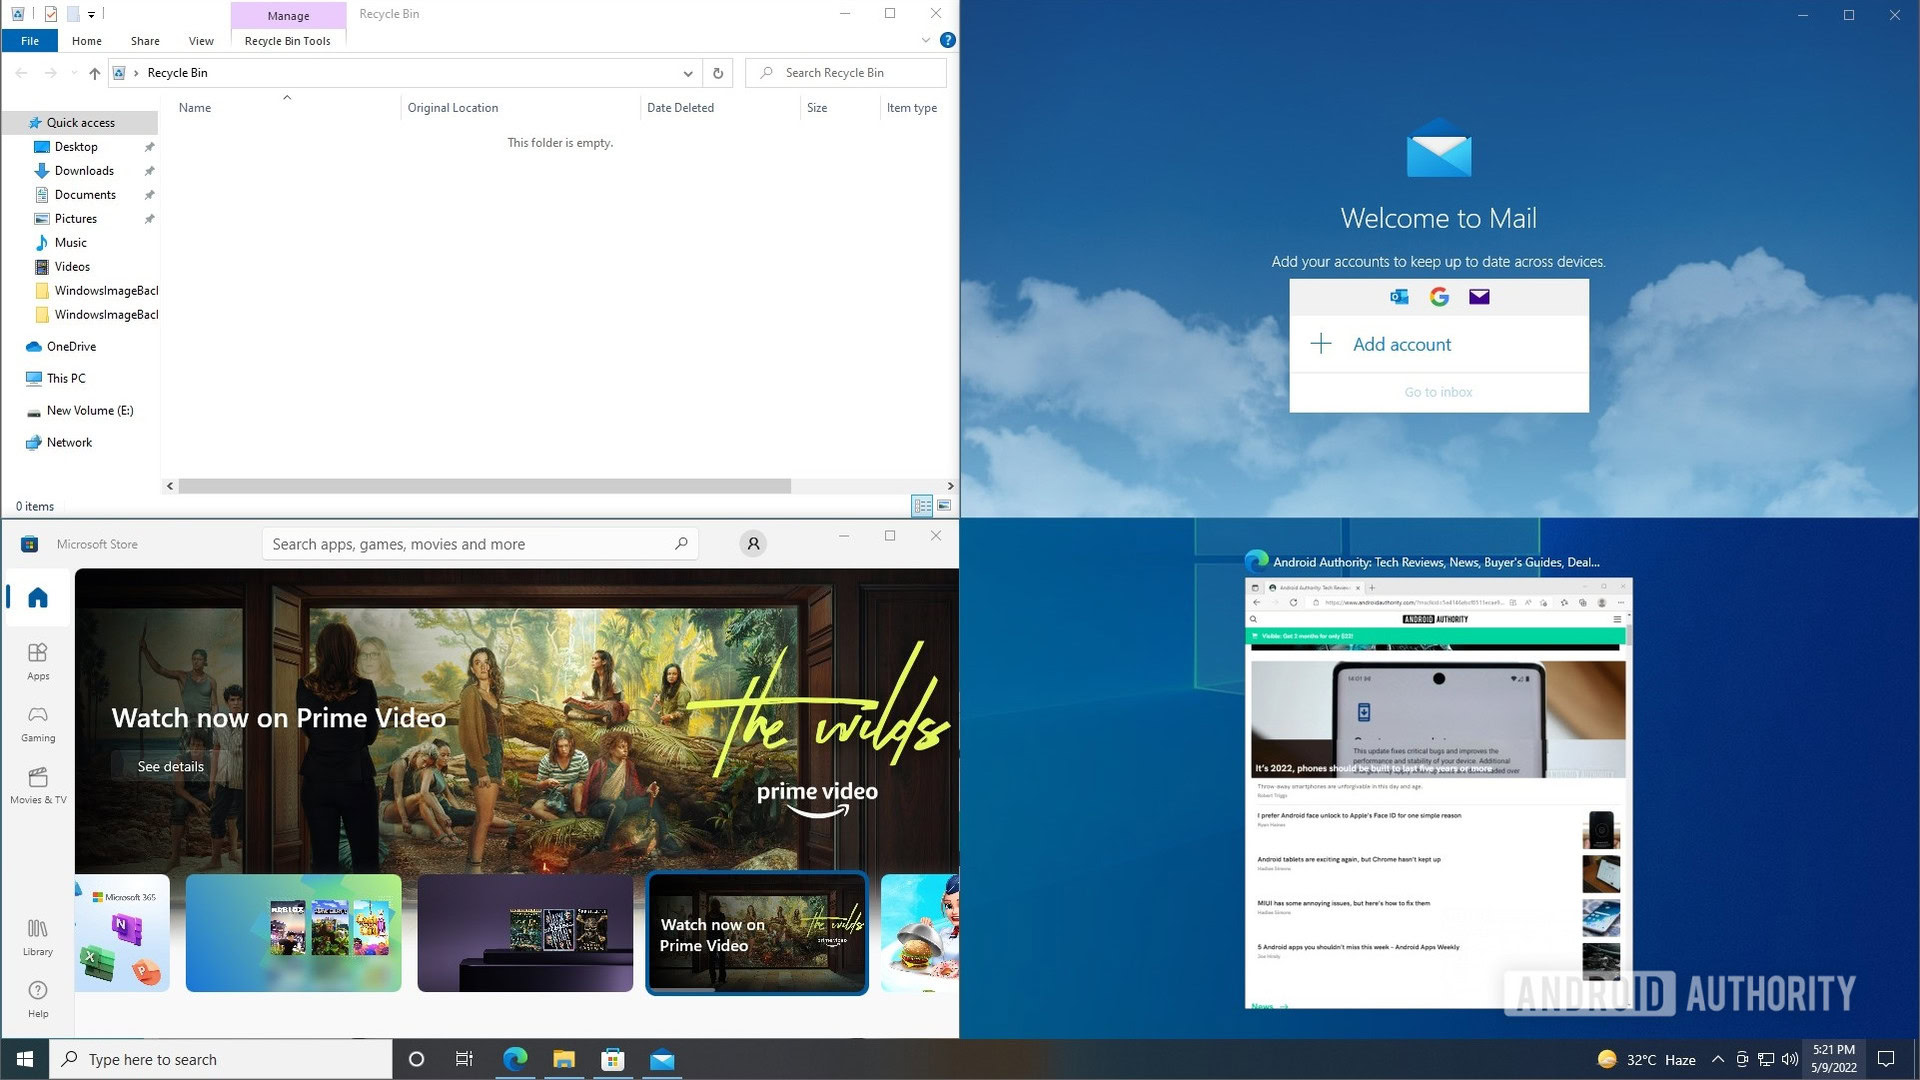
To get the four-way split-screen in a 25%-all pattern, drag the third window and drop it to the preferred corner just like you did the first two. Once you do this, snap assist will save you the dragging for the fourth one, showing the available windows in a grid again. Just click the preferred window to snap it into the remaining corner.
Turning off snap assist
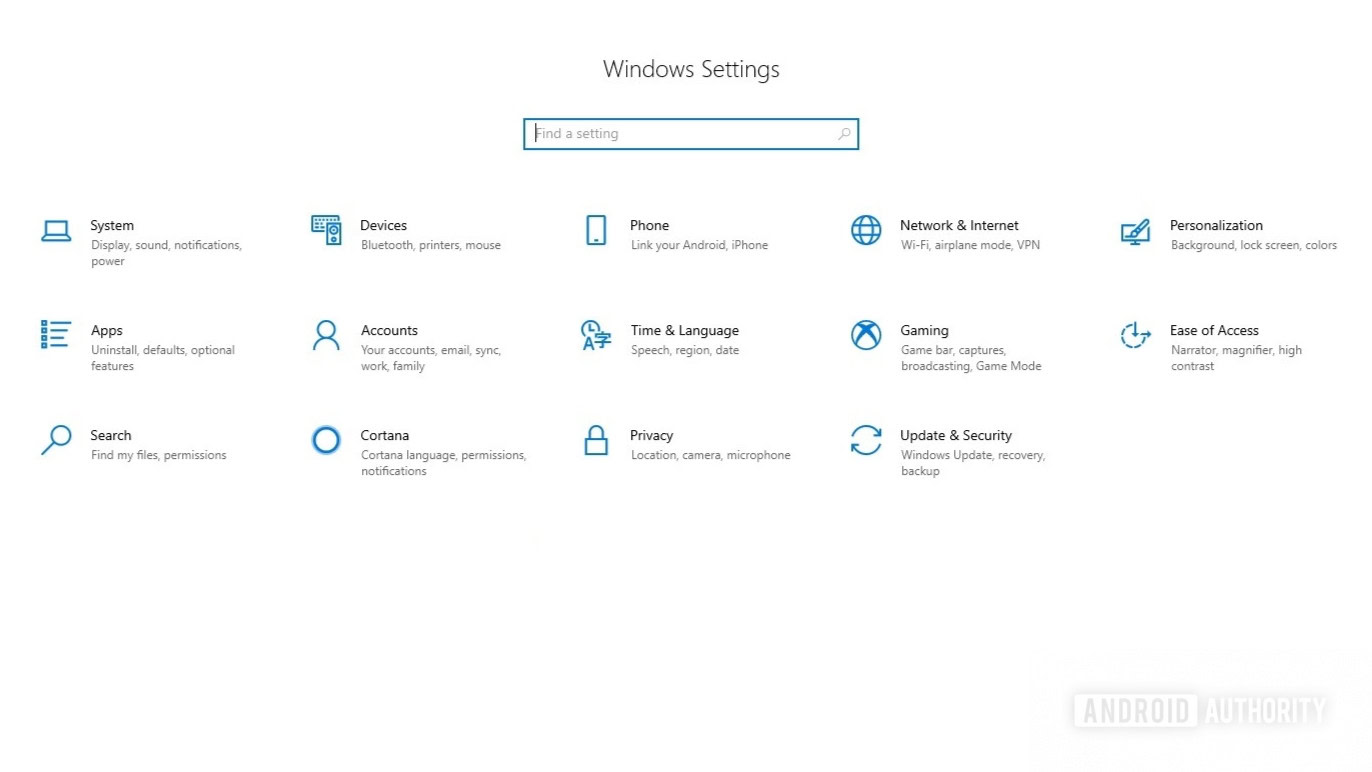
To turn off snap assist, open the Windows settings app via search or press Windows key + I. Click System.
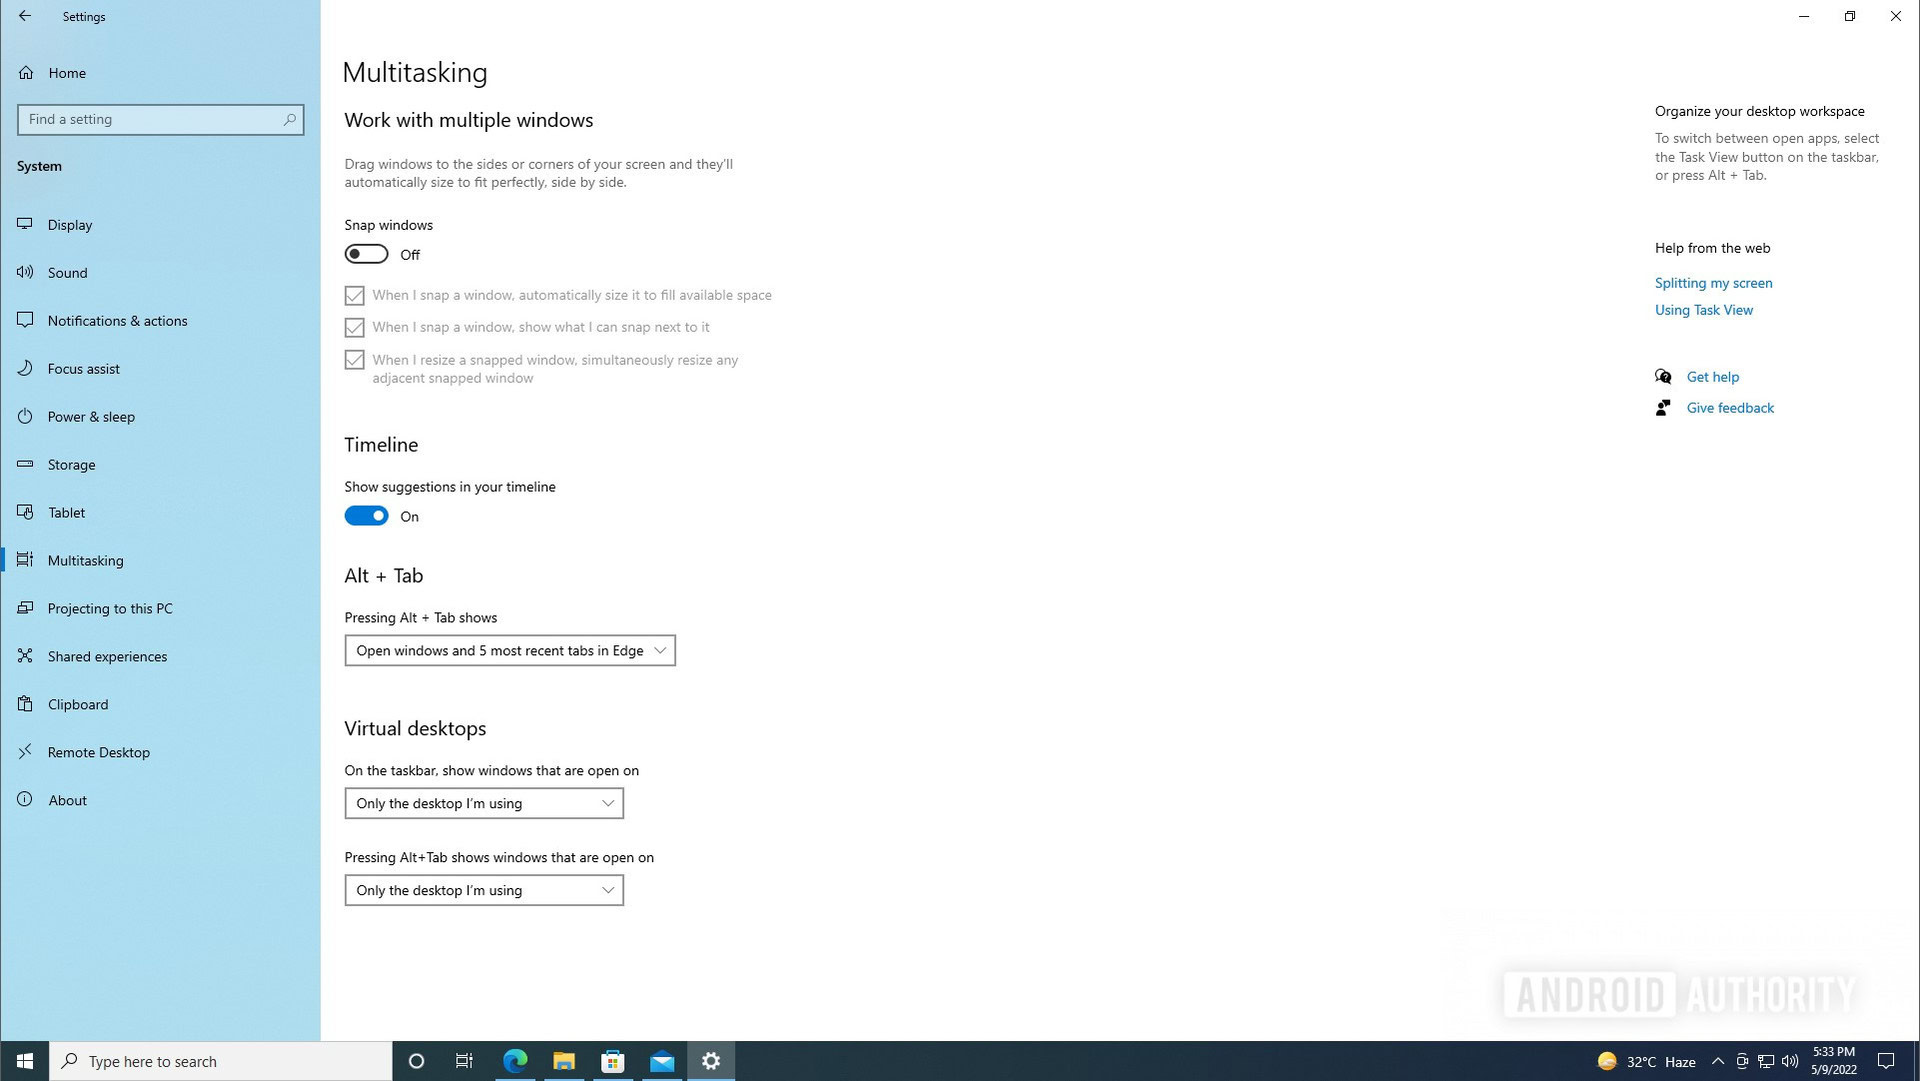
In the left navigation pane, click Multitasking. Turn the toggle under Snap windows to Off by clicking it.
Read more: How to install Windows 11
Adjusting snap assist settings
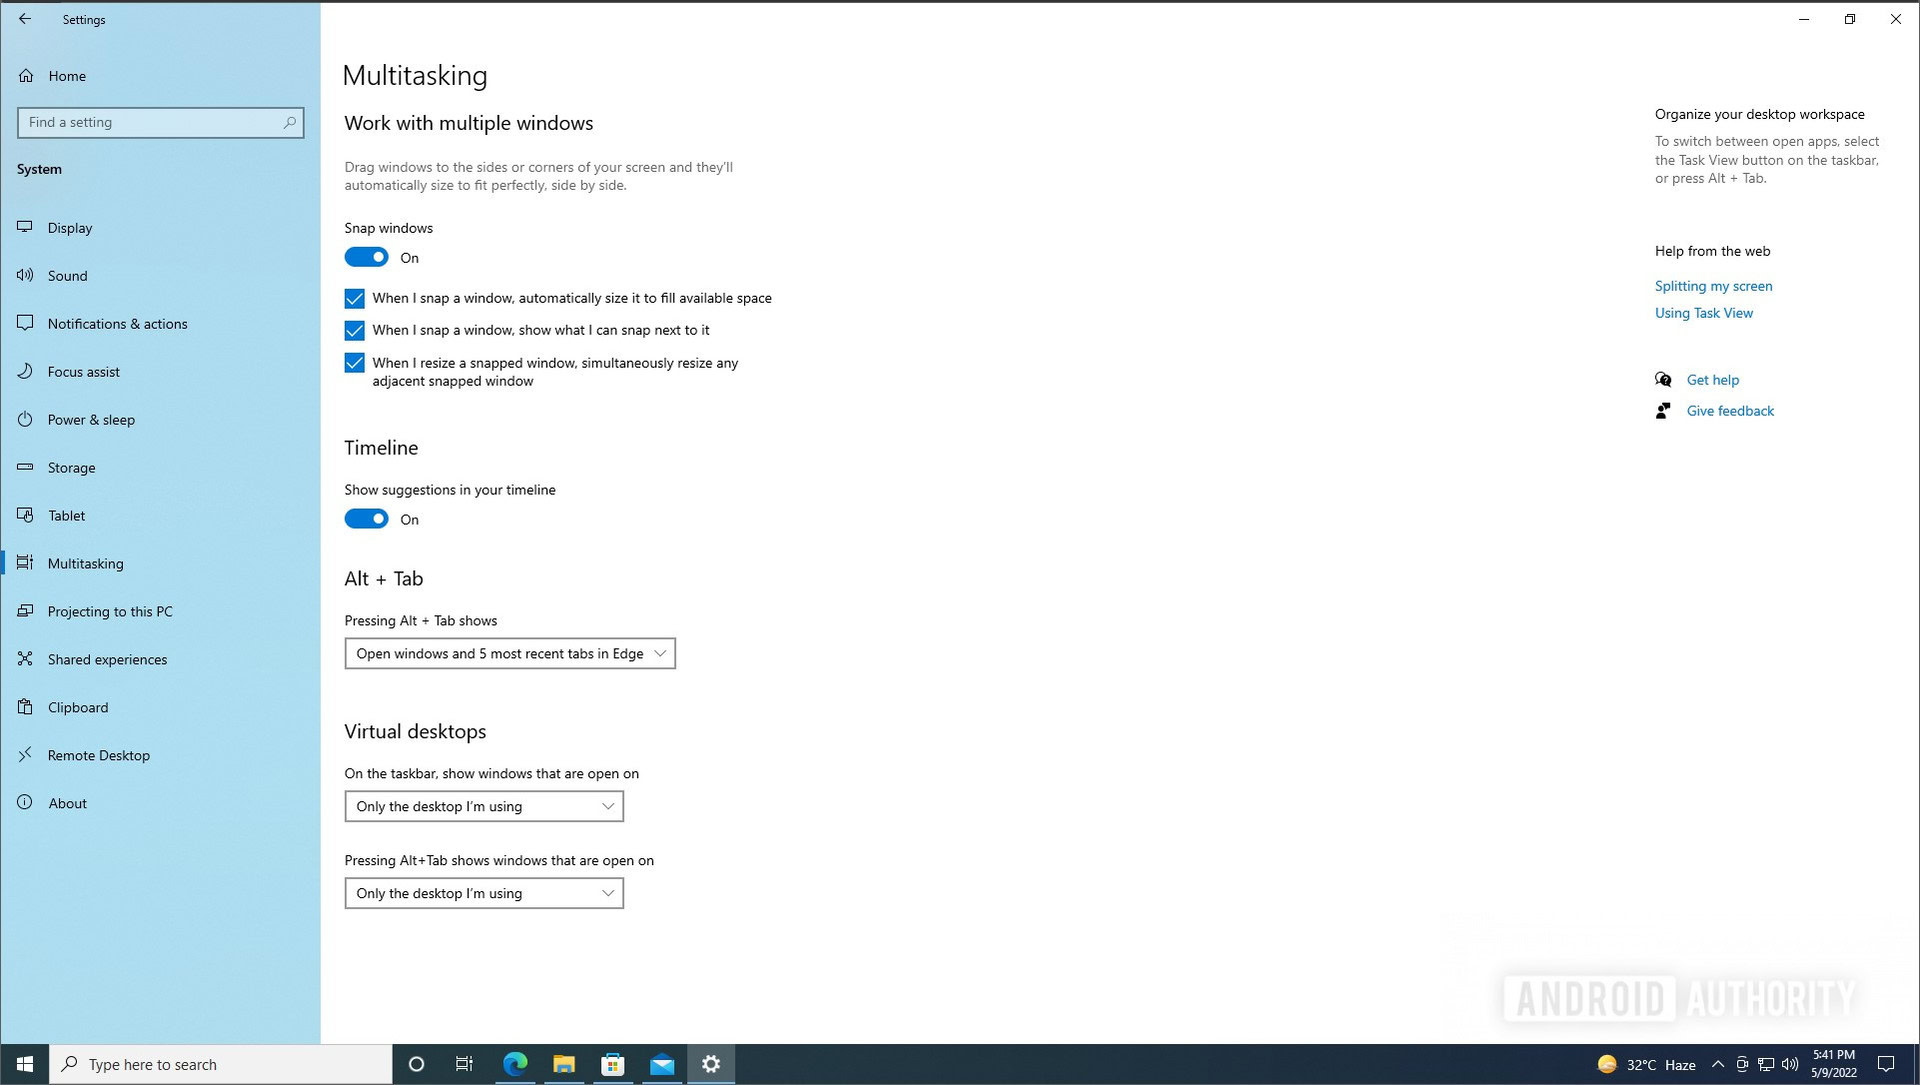
To adjust snap assist settings, you can head over to Windows multitasking settings. Open settings via search or press Windows key + I. Click System, and then Multitasking in the left navigation pane.
Under the Snap windows toggle, there will be snap assist settings listed that you can change. You can check/uncheck the settings as per your preference.
Read more: Happy with Windows 10? Here’s how to stop the Windows 11 update