Affiliate links on Android Authority may earn us a commission. Learn more.
How to add, edit or remove a footer in PowerPoint
Headers and footers add uniformity to a project. In PowerPoints, they can appear in either one slide or all slides. Let’s quickly review how to edit a footer in PowerPoint.
Read more: How to combine multiple PowerPoints into one
QUICK ANSWER
To edit a footer in PowerPoint, go to Insert > Header & Footer. Click the Footer checkbox, then fill in the text for your footer. Click Apply or Apply to All.
JUMP TO KEY SECTIONS
How to insert or edit a footer in PowerPoint
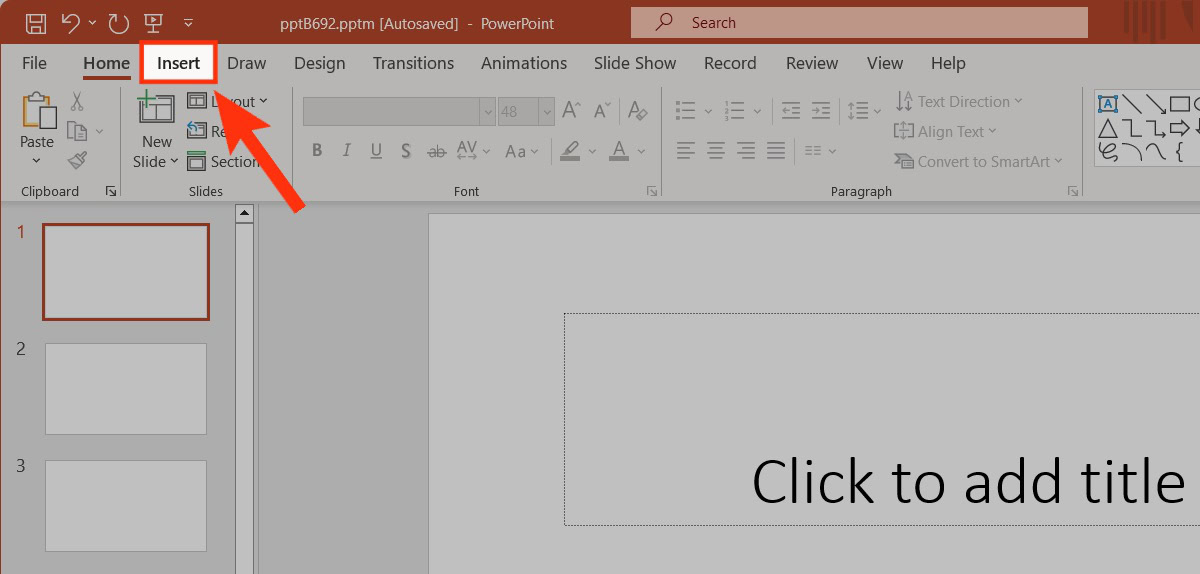
To insert or edit a footer in PowerPoint, go to the Insert tab.

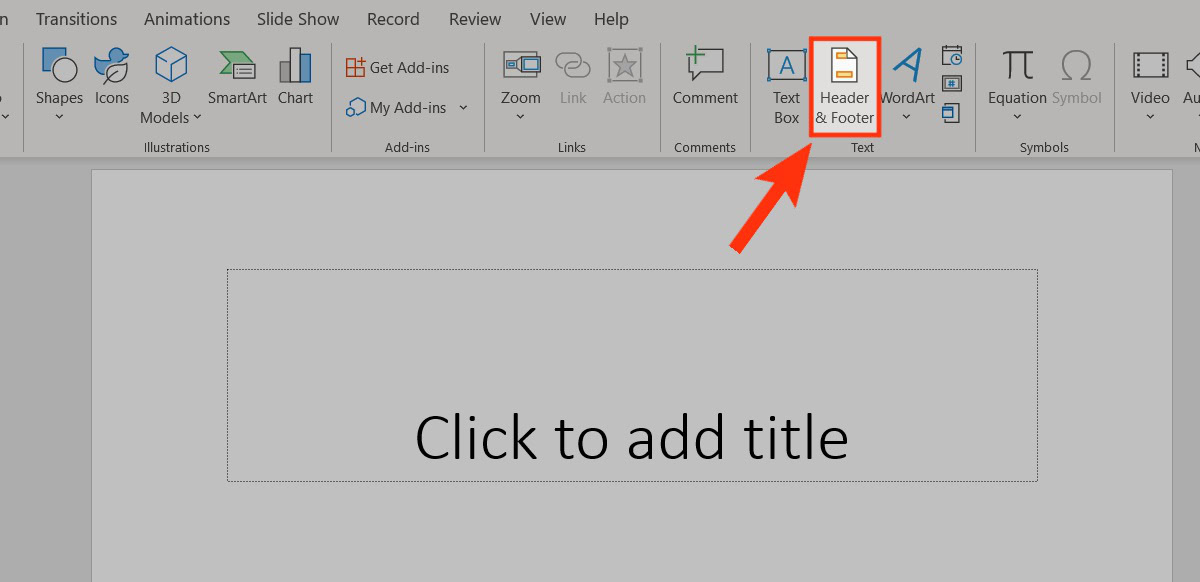
In the Text section, click Header & Footer.

Click the Footer box and add the custom text for your footer. When ready, click Apply (to apply your footer to your currently selected slide) or Apply to All (to apply the specified footer to all of your presentation’s slides).
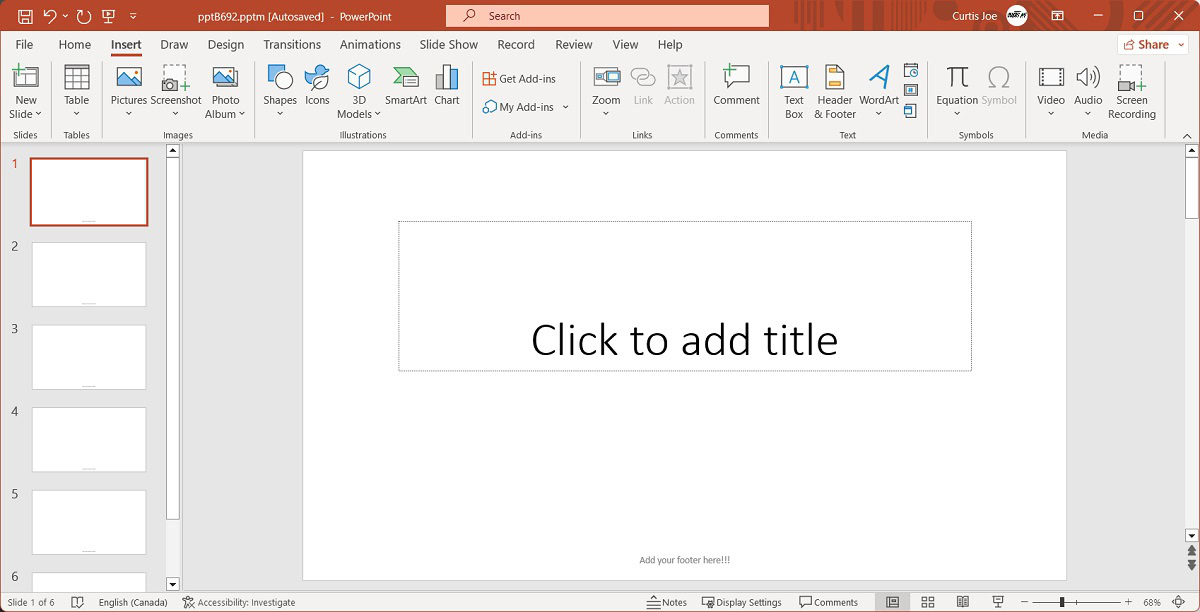
Your footer will appear in your PowerPoint presentation.

How to remove a footer in PowerPoint
The process of removing a footer is simple. In fact, you can do so from the same place you added it.
- Go to Insert.
- Click Header & Footer.
- Uncheck the Footer box or delete your footer text.
- Select Apply or Apply to All.
Alternatively, you can manually select the footer on your slides and press Delete on your keyboard.
Read more: How to add speaker notes in a PowerPoint presentation