Affiliate links on Android Authority may earn us a commission. Learn more.
How to upgrade your iCloud storage on any device
When you sign up for iCloud, Apple only gives you 5GB of free storage. If you compare that to what other cloud services offer, it’s extremely tight-fisted — barely enough to back up an iPhone and an iPad, much less a complete photo and video library. There are methods to free up iCloud storage, but if you’re committed to the Apple ecosystem, you’ll inevitably have to upgrade your iCloud account to a paid plan. Here’s the options you have available, and how to upgrade, depending on what platform you’re on.
QUICK ANSWER
To upgrade your iCloud storage:
- Access the iCloud options on your device. On an iPhone or iPad, those can be found at Settings > Apple ID > iCloud.
- You'll see an option like Manage or Manage Account Storage, with an option to change your storage plan. Choose the plan you want and pay for it using a card or Apple credit. Changes to your storage quota should be more or less instant.
JUMP TO KEY SECTIONS
The different iCloud upgrade options
Apple offers three different iCloud Plus upgrade plans, all with a shared set of perks. The core differences between them are the amount of storage you get, and how many cameras are supported for HomeKit Secure Video.
| iCloud+ (50GB) — $0.99 a month | iCloud+ (200GB) — $2.99 a month | iCloud+ (2TB) — $9.99 a month |
|---|---|---|
|
|
|
Before we look at how to actually upgrade to one of the paid plans, let’s take a detailed look at features.
Extra storage
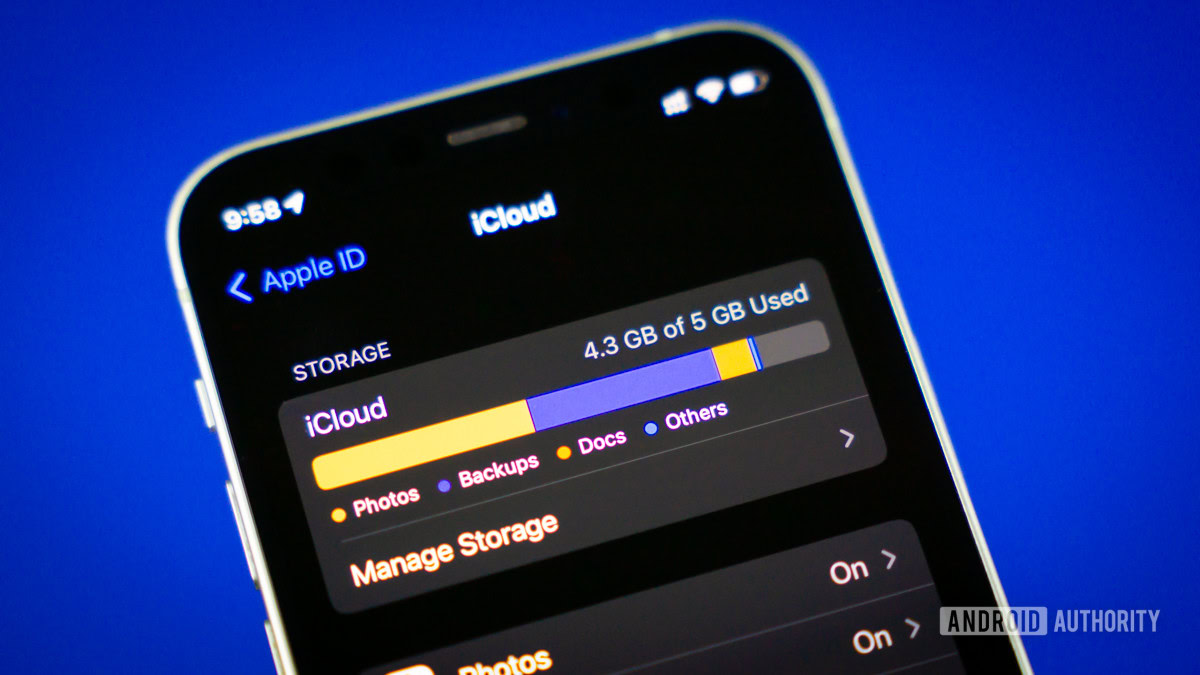
This is the main reason to upgrade, naturally. For individuals and some couples the 50GB plan may be sufficient, and at 99 cents a month, it’s almost a no-brainer.
We say “almost” because if you want to save memories of a child or just like shooting a lot of maximum-quality photos and videos, that storage can evaporate pretty quickly. You’ll be pressed into a situation where you have to pay up to keep your memories safe in the cloud.
In that situation, the next tier up — 200GB — is $2.99 a month. Considering how much some people spend in a month on Starbucks coffee, it’s probably worth it, and what Apple expects most customers to settle on sooner or later. The $9.99 2TB tier is excessive for most individuals but makes more sense for couples and families, and even individuals might want it if they’re planning to make iCloud their primary storage platform
We should note here that you can upload a lot more than photos, videos, and backups — a lot of apps save data to iCloud, and just about anything you can think of can be uploaded to iCloud Drive.
iCloud Private Relay
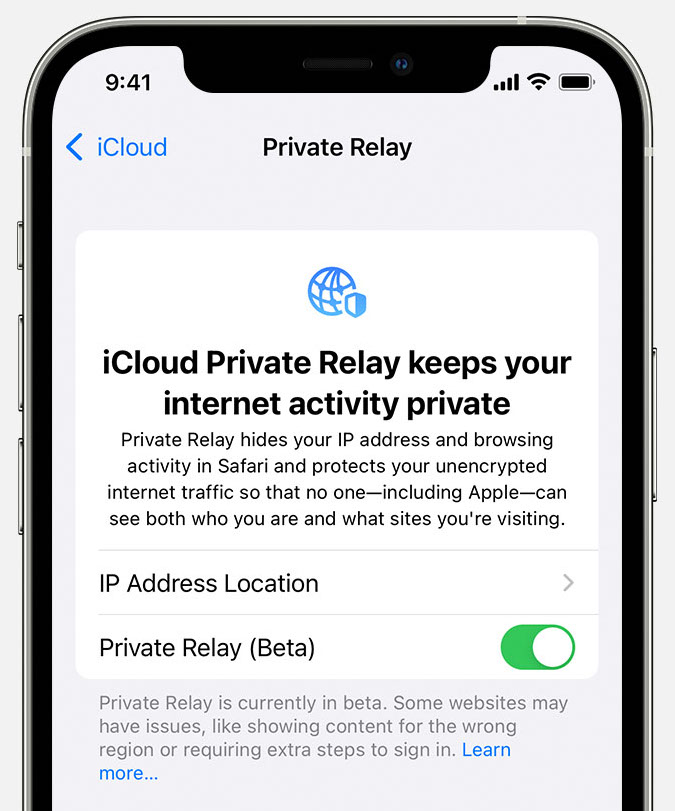
This is similar to a VPN, but with an exclusive focus on Safari. To quote Apple:
When Private Relay is enabled, your requests are sent through two separate, secure internet relays. Your IP address is visible to your network provider and to the first relay, which is operated by Apple. Your DNS records are encrypted, so neither party can see the address of the [Safari] website you’re trying to visit. The second relay, which is operated by a third-party content provider, generates a temporary IP address, decrypts the name of the website you requested and connects you to the site.
It should be pointed out, though, that if you have another VPN enabled on your device, Private Relay is disabled. The two wouldn’t be compatible together.
Hide My Email
In the past, if you didn’t want to reveal your actual email address for fear of spam, you would often turn to a free temporary email service such as Guerrilla Mail. This would forward emails to your actual address and keep the latter secret. With Hide My Email, Apple has taken the temporary email concept and baked it right into options such as “Sign in with Apple.”
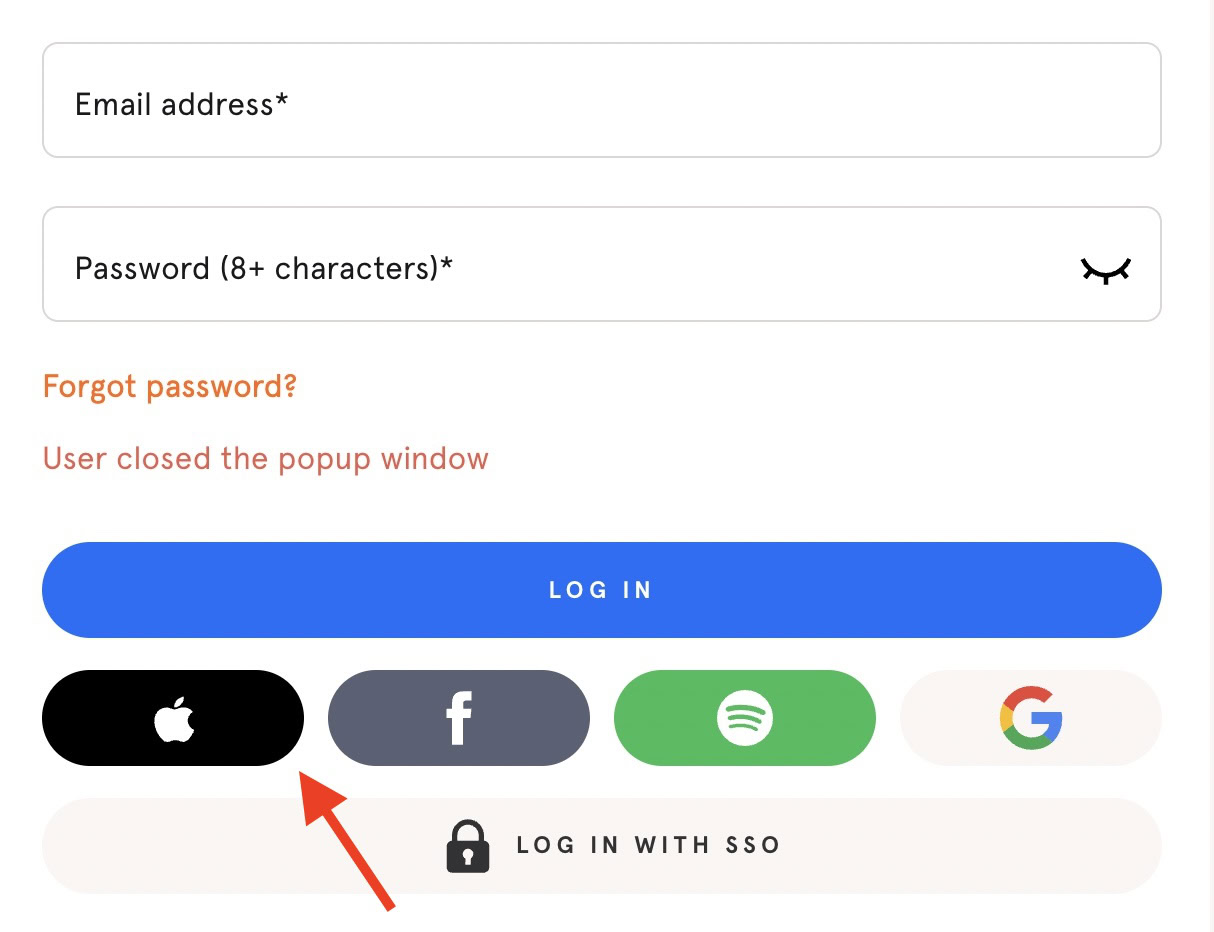
You can also generate instant temporary addresses in any email field using the Safari browser.
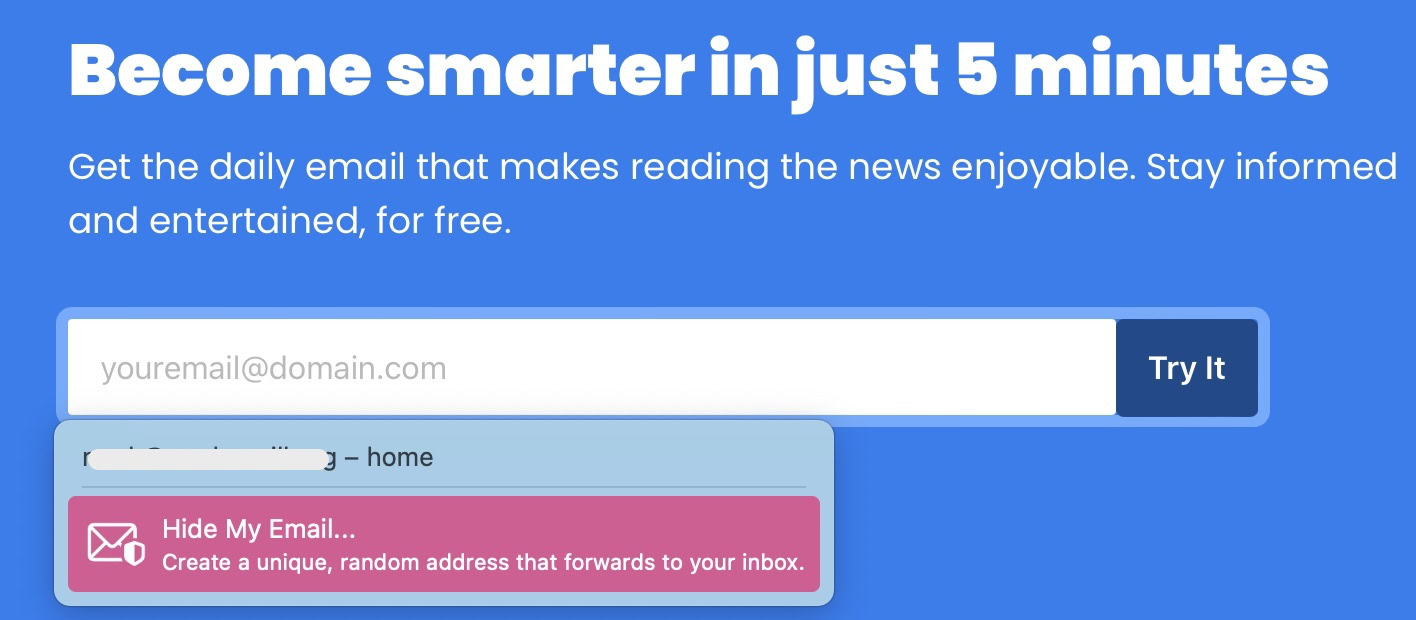
In both cases, the temporary email address remains in effect until you cancel it, and all emails are automatically rerouted to the address of your choice.
Custom email domain
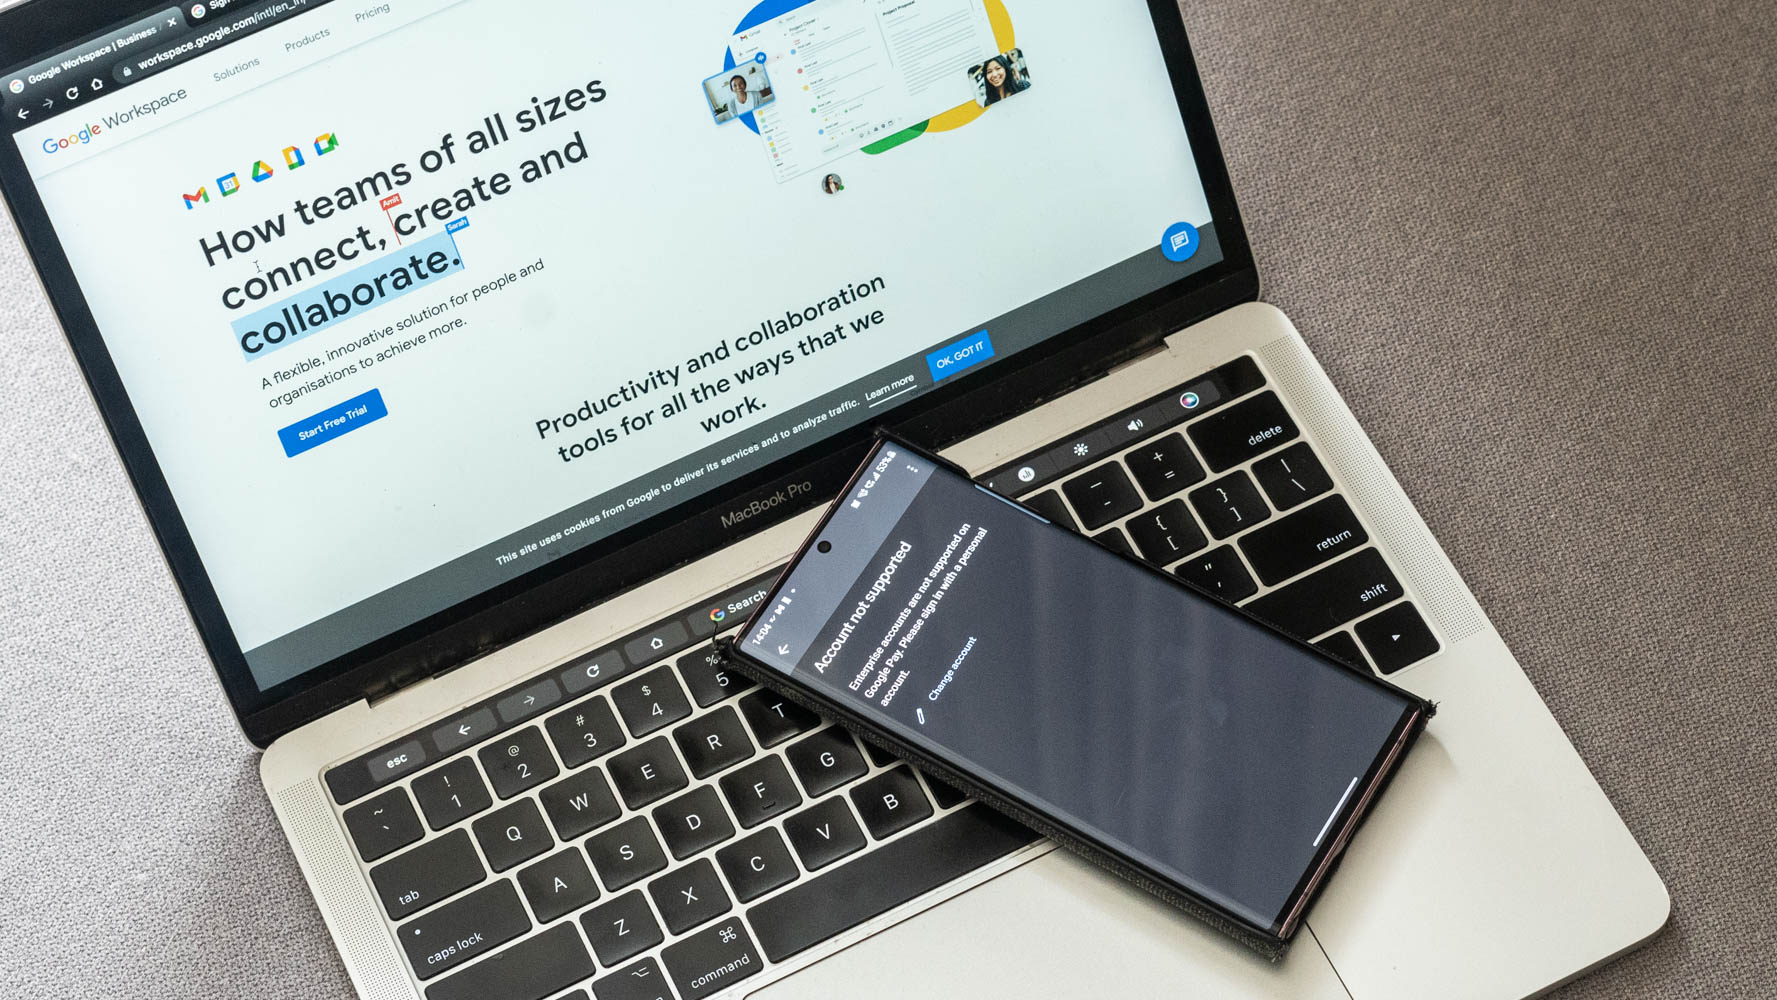
Virtually identical to Google Workspace, this allows you to reroute all of your personal domain emails through iCloud. Nothing really more needs to be said about this one. If you know how Google Workspace works, you’ll get the gist of this.
HomeKit Secure Video support
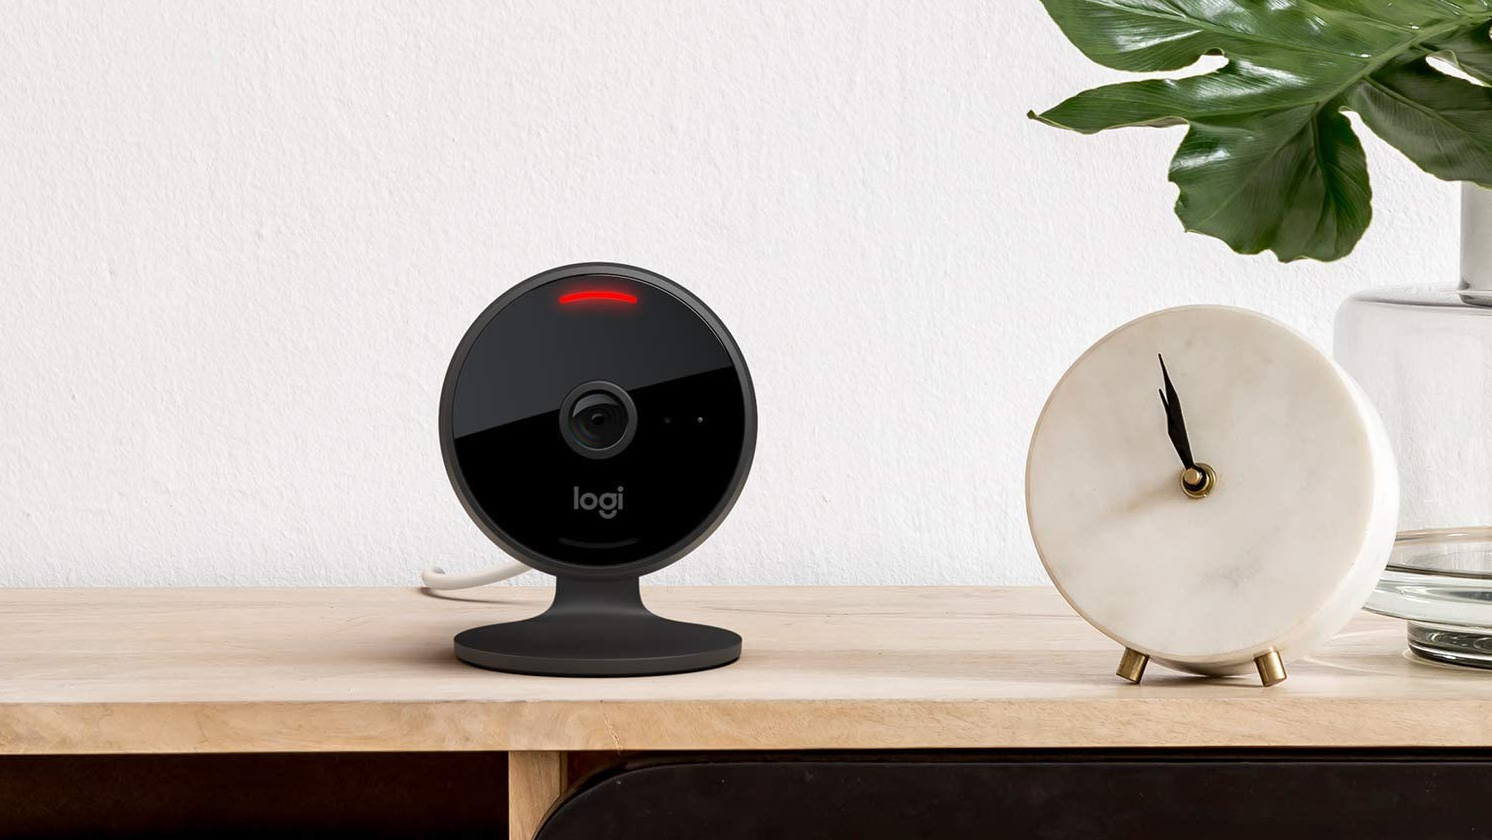
HomeKit Secure Video saves up to 10 days of event footage from (compatible) security cameras to iCloud. These videos don’t count toward your iCloud storage, and you can access clips on just about any Apple device except for the Apple Watch. The number of cameras supported depends on which iCloud Plus plan you sign up for.
Another perk is person, pet, and vehicle detection, which lets you know which motion notifications you should actually care about.
Share with other family members
More than likely, another person you live with has an Apple device, and iCloud Plus lets you share with up to five other family members. They’ll need their own Apple IDs though, all linked through Family Sharing.
Upgrade iCloud storage on an iPhone or iPad
If you’re on an iOS device, here’s what you need to do:
- Go to Settings and access your Apple ID.
- Tap on your iCloud.
- Tap Manage Storage (or Manage Account Storage).
- Tap Change Plan or (Change Storage Plan).
- Select your preferred plan and save changes. You’ll be immediately guided through the payment process, so make sure you have a card or Apple credit attached to your iCloud account.
- The upgrade should happen more or less instantly. If not, close and reopen the Settings app, then doublecheck the iCloud section. Sometimes, it just needs a little push.
Upgrade iCloud storage on a Mac
Upgrading your iCloud storage is just as easy on a Mac. Here’s how to do it:
- Click System Settings (or System Preferences on older macOS releases) in the Apple menu.
- Now, click on the Apple ID icon.
- In the iCloud tab, look to the bottom and click Manage or Upgrade to iCloud Plus.
- Click Change Storage Plan or Buy More Storage. Select the plan you want and pay for it, either with a card or Apple credit. You’ll have to re-enter your Apple ID login too.
Upgrade iCloud storage on Windows
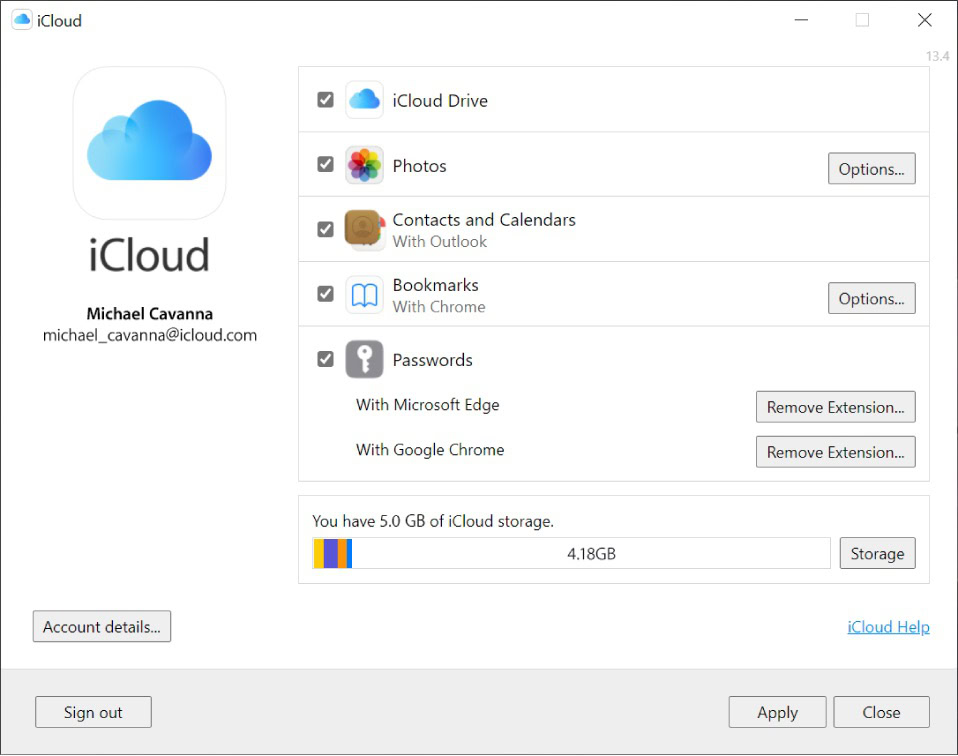
If you have an Apple device, upgrading through Windows isn’t the most convenient option, but you can still do it.
- Open iCloud for Windows.
- Click Storage.
- Click Change Storage Plan.
- Pick a plan, then click Next.
- Enter your Apple ID login, then click Buy.
FAQs
You’ll run out of cloud storage and be nagged relentlessly by Apple. You can keep saving photos, videos, and other files to your devices, but they won’t sync. If something bad happens to a device, anything created after surpassing iCloud limits may be lost.