Affiliate links on Android Authority may earn us a commission. Learn more.
How to use Homebridge to make the most out of HomeKit
As thoroughly integrated as HomeKit can be for iPhone and iPad owners building a smart home, there is a recurring problem — compatibility with the wider world of accessories available to Amazon Alexa and Google Home users, at least until more Matter products arrive. Here’s how to use Homebridge to maximize Apple’s platform.
QUICK ANSWER
Homebridge is free, open-source software that spoofs HomeKit into supporting non-HomeKit accessories from brands like Ring and Google Nest. You need to install server software on an always-on device like a PC, Mac, or Raspberry Pi, as well as plugins for the kinds of accessories you're trying to add.
JUMP TO KEY SECTIONS
What is Homebridge, and how does it improve HomeKit?

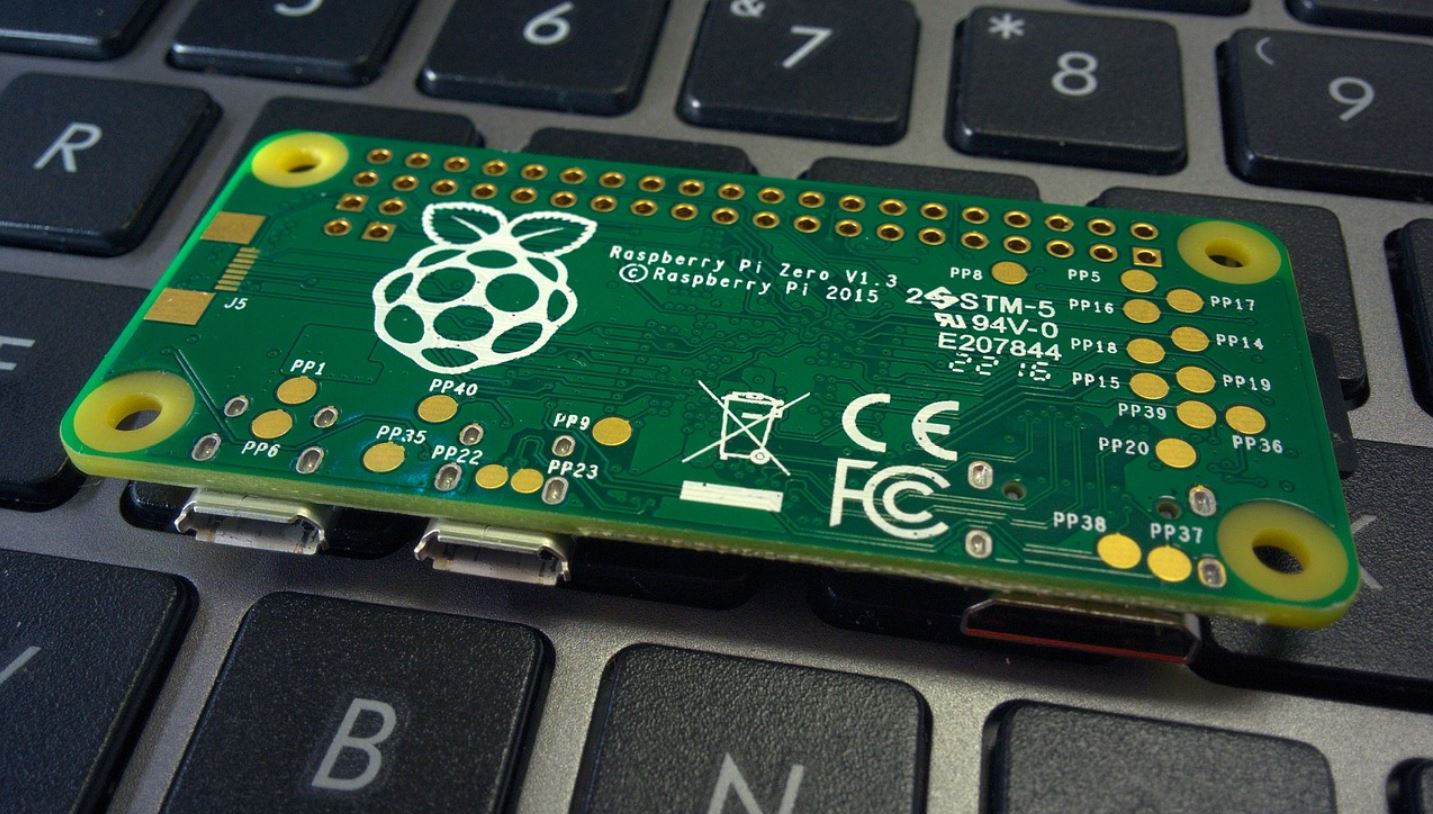
Essentially, Homebridge is free, open-source software that emulates the HomeKit API. You install the server software on an always-on (and always-connected) device like a PC, Mac, or Raspberry Pi, and then plugins for the kinds of accessories you’re trying to install. Within the Apple Home app, Homebridge is treated as if it were just another bridge or hub.
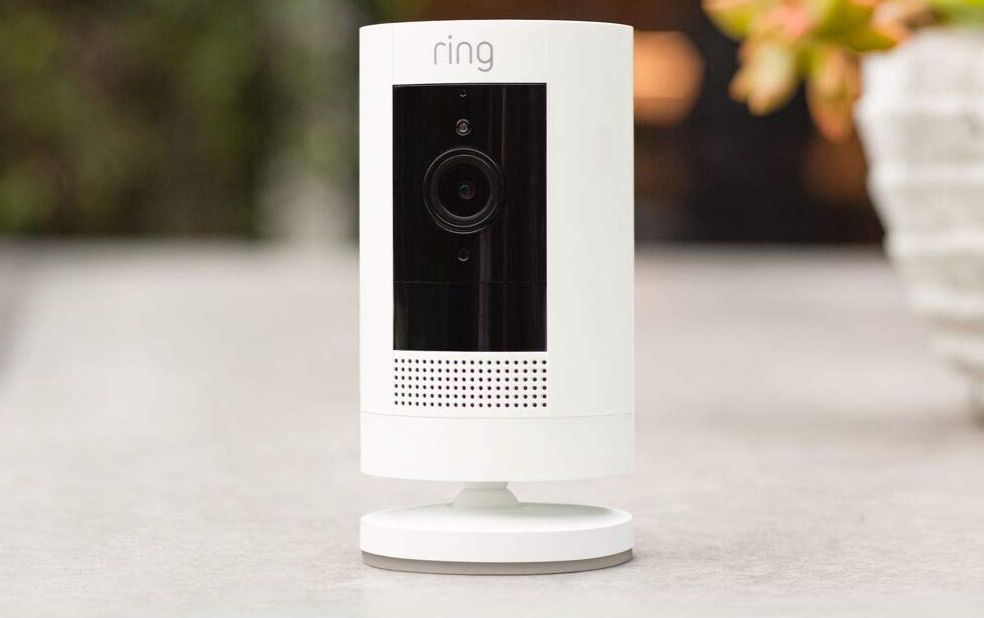
The result is that accessories previously limited to Alexa, Google Home, or even Samsung SmartThings can be controlled through Apple Home and Siri. That includes Ring cameras, Google Nest thermostats, and Kasa smart plugs, complete with contextually appropriate controls. You can search the Homebridge.io website to see if someone has created a plugin for your particular accessories.
How to install Homebridge

Homebridge’s primary platforms are Windows 11/10, macOS, Raspberry Pi OS, Linux, and Docker. While exact instructions will vary, the always-on/always-connected component is critical. If you install Homebridge on a PC but shut the machine off every night, you’ll lose access to linked accessories during that window.
For this reason, a Raspberry Pi is often considered the best Homebridge platform, since it’s a cheap and compact computer that’s far less power-hungry than a PC or Mac. Homebridge.io provides instructions on flashing the Homebridge Raspberry Pi image to an SD card or installing the software on your Pi.
The Homebridge Wiki provides similarly detailed instructions for other platforms. We won’t elaborate on them all here, but with Windows, you’ll need a Hyper-V image. Be warned that it will not work with Home editions of Windows — you need Pro, Enterprise, or Education.
How to use Homebridge

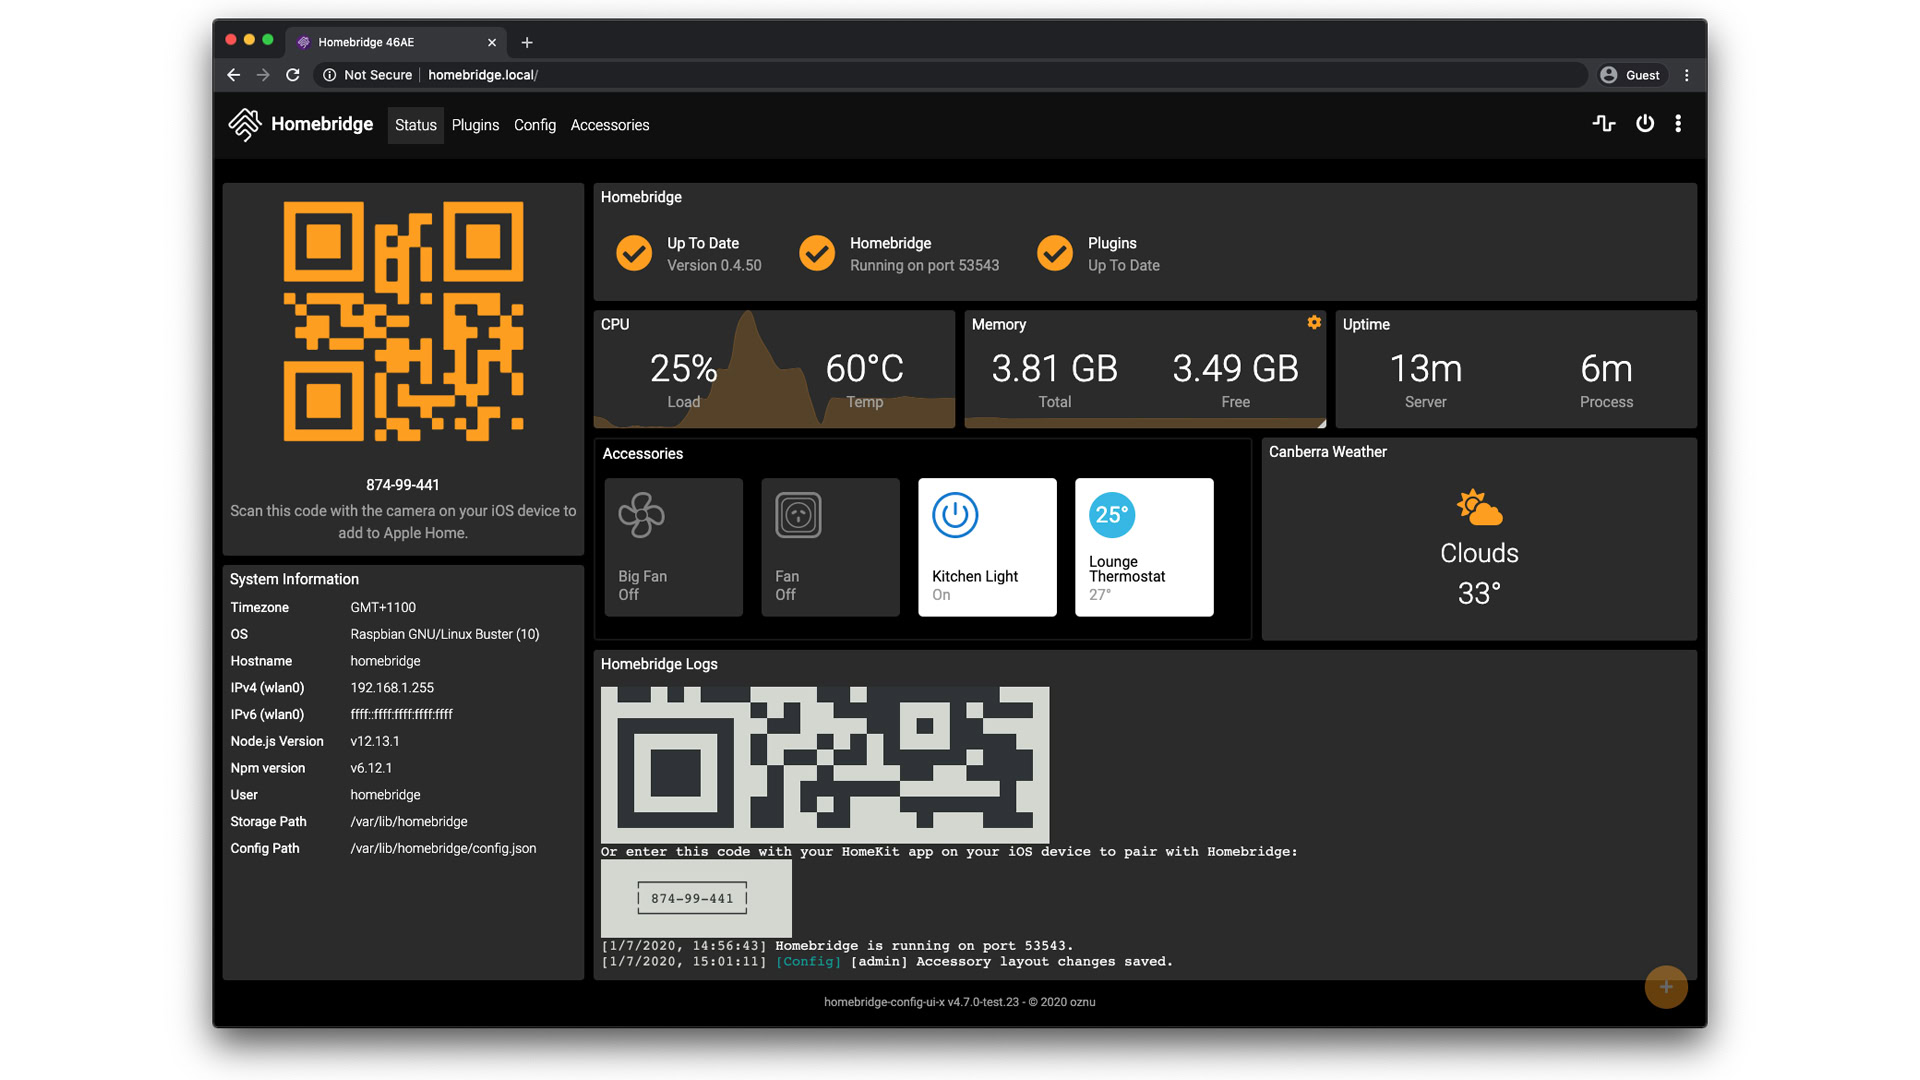
Thankfully, the Homebridge community has created a local web interface you can access at http://[IP address of your server]:8581 once the server is installed. Replace the brackets with the IP of your Homebridge host device. The default username and password should both be “admin,” but you can and should change these.
Tabs in the web interface let you check on server status and configuration details, but one of the first places you’ll want to visit is the Plugins tab. This lets you install, update, and remove plugins for your accessories, without which Homebridge is pointless.
The Status tab is important not just for showing whether Homebridge is running well but also for generating HomeKit codes to pair with the Apple Home app. The UI spits out both QR and numerical codes, the latter as a fallback.
Here’s how to add Homebridge to the Apple Home app.
- Bring up the Status tab in the Homebridge UI. HomeKit codes should be displayed in the upper left.
- Open the Apple Home app on your iPhone or iPad and tap the plus icon in the upper-right.
- Tap Add Accessory.
- Point your iPhone or iPad’s camera at the QR code, and the option to pair a generic bridge (see above) should come up automatically.
- If it doesn’t, tap on the text More options… from the Add Accessory screen, followed by My Accessory Isn’t Shown Here. You’ll get an option to enter the numerical setup code.
Be forewarned that the installation process can get more complicated depending on which plugins you choose to install. Some may require the git utility, for instance, or installing windows-build-tools to compile native code. As a rule, you should receive (or be able to find) instructions if a plugin requires specific steps on your part.
If you’re encountering additional issues, consult the troubleshooting guide.
That should be it for the hard part, though. Once Homebridge is running smoothly, you can treat linked accessories like anything else in HomeKit. That includes direct control via Siri or Apple Home, and scheduled automations linked to accessories and conditions.