Affiliate links on Android Authority may earn us a commission. Learn more.
How to set up an Apple HomePod or HomePod mini
Apple recently revitalized its HomePod smart speaker lineup with a full-sized 2nd gen HomePod. If you’ve got that or a HomePod mini, here’s how to get it up and running in your smart home.
QUICK ANSWER
To set up a HomePod or HomePod mini:
- Find a flat surface for it to sit on and plug it into power.
- Hold your iPhone or iPad close when you see a pulsing white light. The HomePod should be detected automatically.
- Follow onscreen instructions to complete the pairing process, including setting it up in Apple Home. If your HomePod isn't detected, you may need to scan a QR code or reset it.
JUMP TO KEY SECTIONS
How to set up an Apple HomePod or HomePod mini
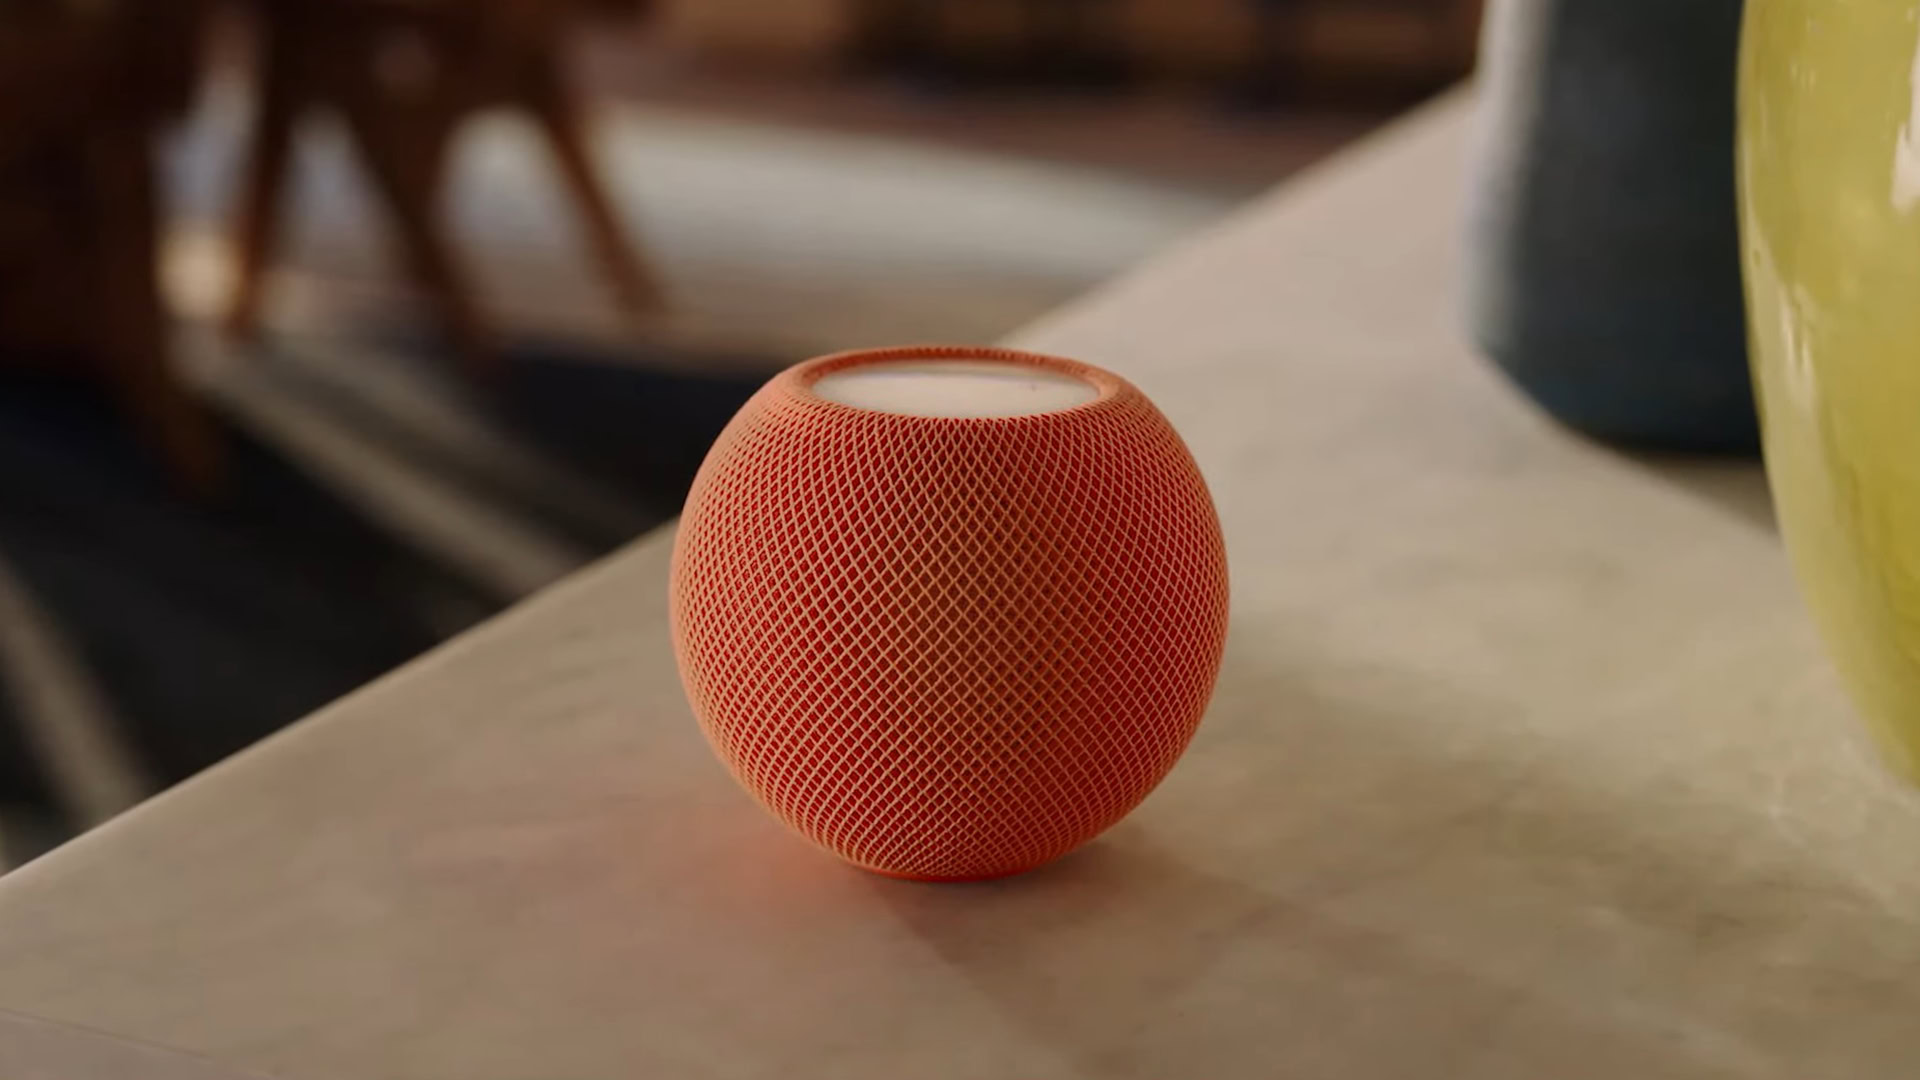
To set up any HomePod, you’ll need an iPhone or iPad linked to your Apple ID. You can’t use a Mac, Windows PC, or Android phone. You’ll also be adding speakers to HomeKit, whether or not you have an existing home in the Apple Home app.
How to pair a HomePod or HomePod mini with an iPhone or iPad
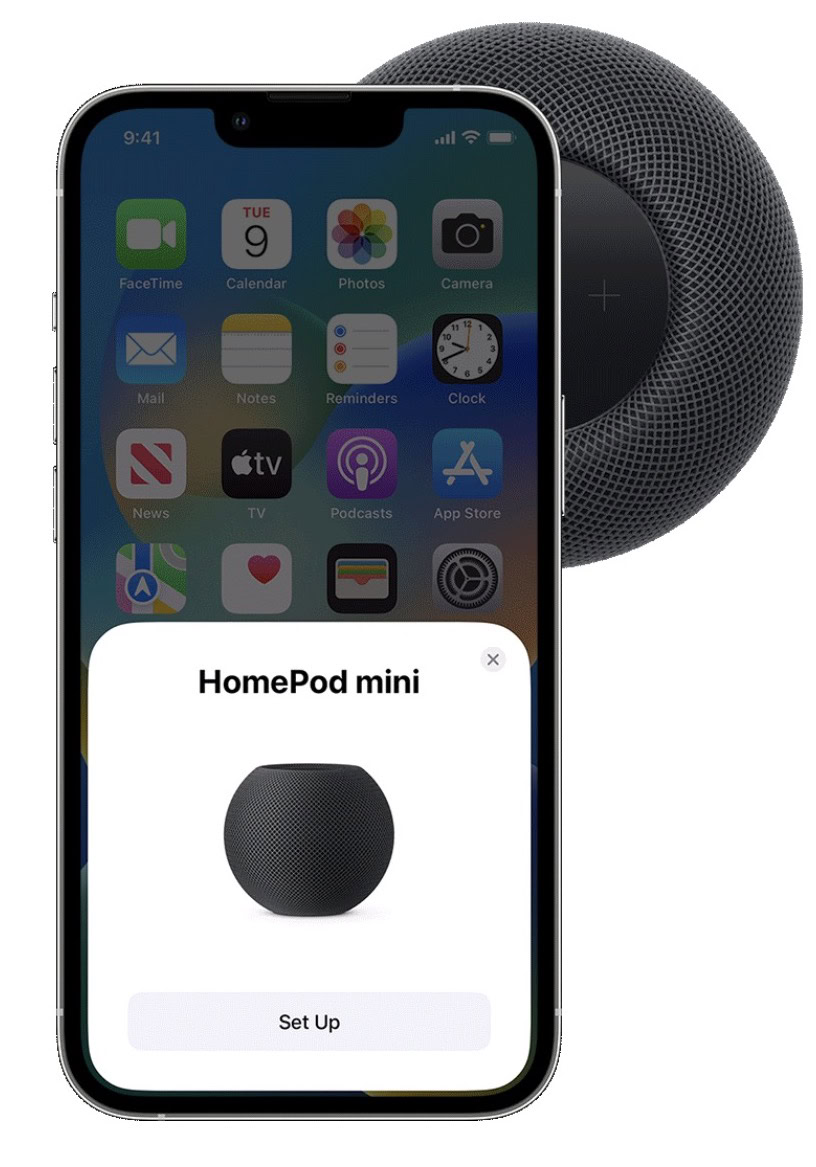
- First, unpack the HomePod and place it on a flat surface. Apple recommends leaving at least 6 inches of space around it. If you’ve got a 2nd gen model in white, you may want to place it on a coaster or stand, since white models are prone to staining wood surfaces.
- Plug the HomePod into a power outlet. Wait for a chime and a pulsing white light.
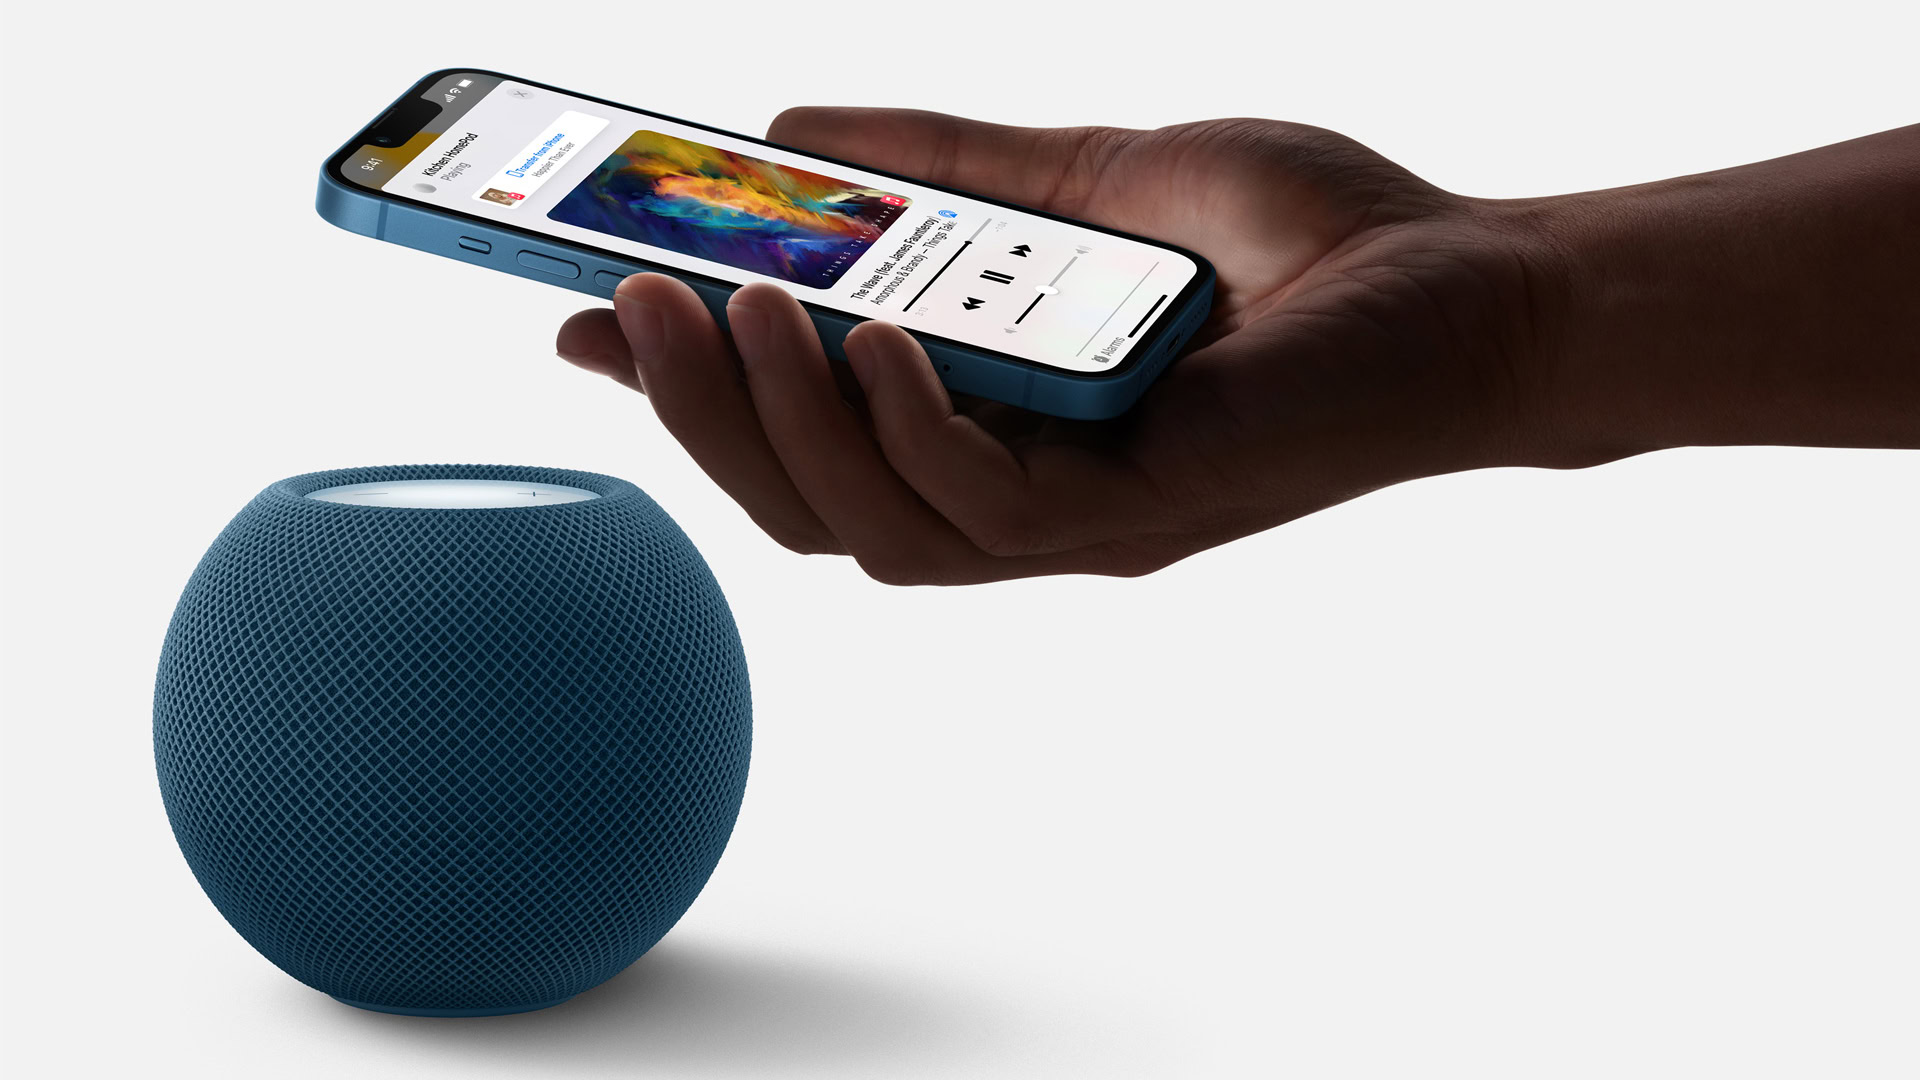
- Unlock your iPhone or iPad, then hold it next to the HomePod. Tap Set Up when a pop-up appears on your device’s screen.
- Center the HomePod’s lights in the viewfinder on your iPhone or iPad. Alternately, tap Enter Passcode Manually, and Siri will provide a four-digit passcode.
- Follow onscreen instructions to customize settings. If necessary, you can tweak these in the Home app later on.
- Tap Done. You’ll switch over to the Apple Home app to finish configuration. Your HomePod may need to download a firmware update, particularly if you have a HomePod mini, since that product first shipped in 2020. Some Mini features won’t work without an update, primarily its temperature and humidity sensors.
If the setup screen doesn’t appear
If the setup screen isn’t appearing, you may be able to fix that by simply re-locking and unlocking your iPhone or iPad. On the rare occasion when that doesn’t work either, here’s what to do.
- Open the Home app.
- Tap Add > Add Accessory.
- Tap More options, then HomePod.
- Follow prompts. Be sure you have your HomePod’s packaging handy, because you may be asked to scan a QR code.
If the process is still broken, you may have to reset your HomePod and try again, or else follow troubleshooting steps below.
Troubleshooting tips if your Apple HomePod setup isn’t working
Update your iPhone or iPad to the latest version of iOS/iPadOS
Though it’s unlikely, it could be that there are bugs in iOS or iPadOS preventing things from from working properly. To check that you’re on the latest software release, head to Settings > General > Software Update.
Check your Wi-Fi connection
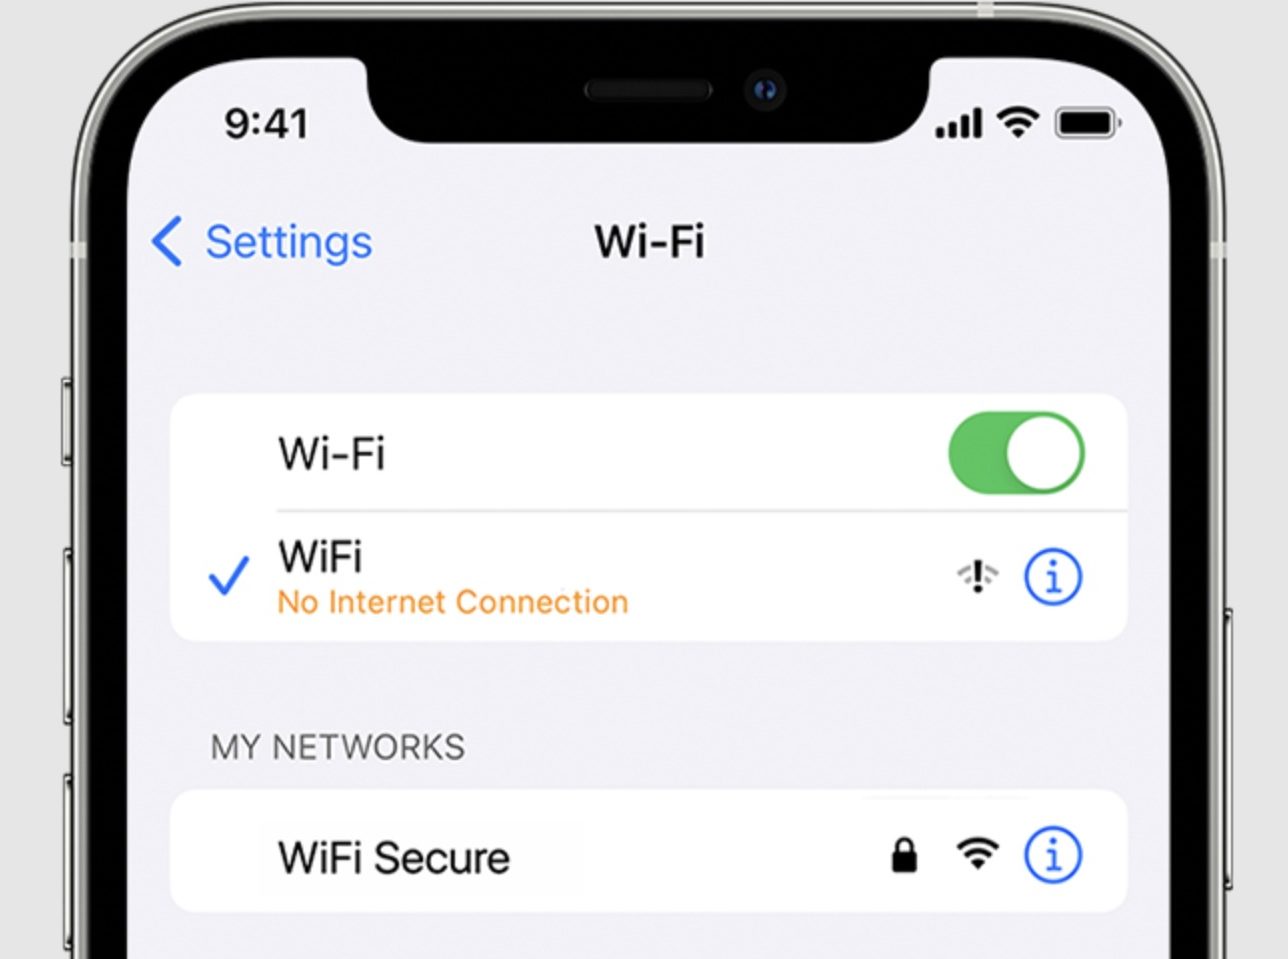
A HomePod requires Wi-Fi to work, so if your Wi-Fi connection is down, then so is the HomePod. Check on your iPhone or iPad to see if you have a connection by going to Settings > Wi-Fi. If it’s down, toggle Wi-Fi off and on again. If that doesn’t work, restart your router and wait a few minutes.
Make sure the HomePod is on the same Wi-Fi network as your iPhone or iPad
Even when Wi-Fi is working, a HomePod needs to be on the same network as the device handling setup. So if you have more than one Wi-Fi network in your home, make sure both devices are on the same network ID (SSID). It’s not uncommon for people to have separate 2.4GHz and 5GHz SSIDs. When in doubt, try 2.4GHz first.
Turn on two-factor authentication for your Apple ID
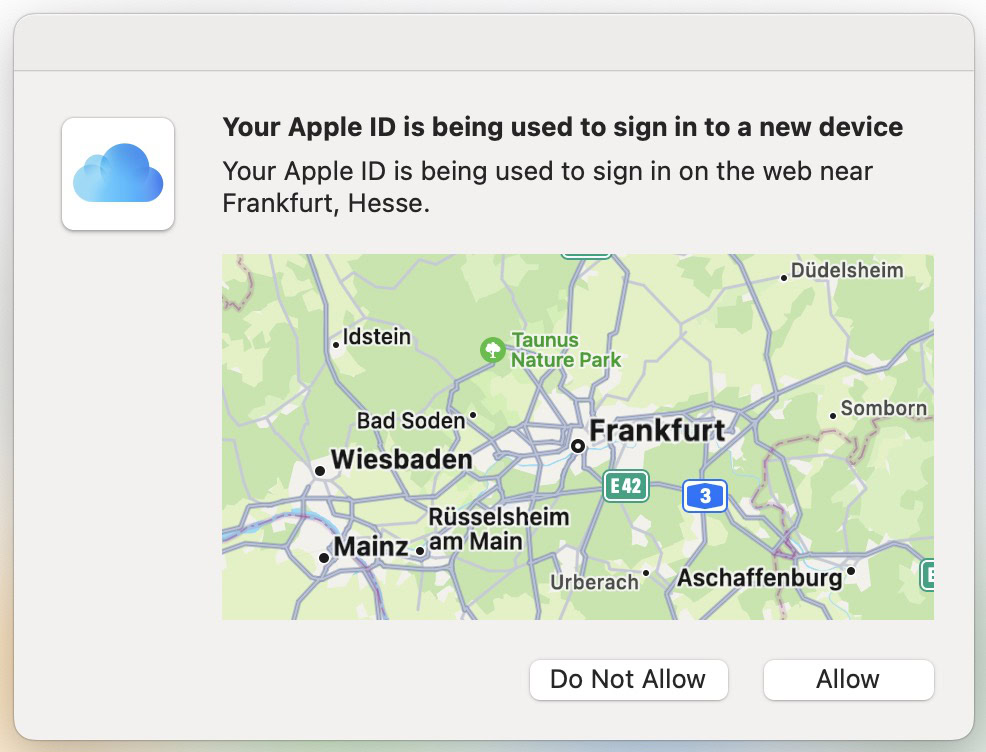
According to Apple, you need two-factor authentication enabled on your Apple ID for the HomePod to work. If you haven’t yet done this, go to Settings on your iPhone or iPad, then Apple ID > Password and Security > Two-Factor Authentication. Follow prompts to set it up.
Enable iCloud Keychain
Likewise, iCloud Keychain needs to be enabled. Go to Settings > Apple ID > iCloud. Under Apps Using iCloud, tap Passwords and Keychain. Toggle the setting.
Fix connection strength with your Wi-Fi router
When a HomePod has a weak Wi-Fi connection, there’s a chance it won’t be able to communicate properly. You shouldn’t position a HomePod in a Wi-Fi blindspot, such as behind furniture or a TV. Likewise, your router(s) shouldn’t be immediately blocked — too many people make the mistake of stuffing a router in a closet, cabinet, or drawer.
Remove unnecessary obstacles, and bring your HomePod closer to your Wi-Fi router if possible. If that still doesn’t solve connection problems, it may be time to upgrade your Wi-Fi system, say by switching to a mesh router and/or from Wi-Fi 5 to Wi-Fi 6/6E.
Check to see if your HomePod is showing a flashing orange light
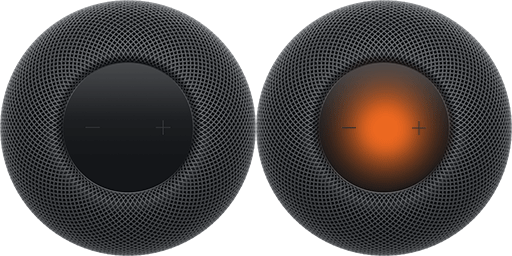
If you’ve got a HomePod mini flashing an orange light, that means it’s connected to a computer, or it’s plugged into a power adapter that isn’t rated at 20W or higher. While Apple does support third-party power adapters, that 20W rating is non-negotiable.
Disconnect the HomePod and start the pairing process again
If all else fails, disconnect your HomePod from power, wait a while, then try again. You may have done something wrong the first time or skipped something you thought was unimportant. It could even be that network conditions will be better aligned.
Contact Apple Support
If absolutely nothing works, then it likely is a defect with the HomePod. Maybe you were just unlucky and got a defective unit. Contact Apple Support and arrange for a replacement.
FAQs
You should place your HomePod on a flat, even surface within good range of your Wi-Fi router. For the best acoustics, leave 6 inches of space in every direction, especially if you want the 2nd gen’s Dolby Atmos effects to work.
Yes, for setup and control.
No. In this case, Bluetooth is used exclusively for establishing AirPlay and Handoff connections, not actual streaming.
No, since there isn’t a model with an internal battery. You can get third-party battery bases for the HomePod mini, but you’re still plugging it into something.
Yes, but the only alternative is AirPlay.
Yes, but if you want music playback, native Siri control is limited to less popular platforms like Pandora and Deezer. If you’re using Spotify or other services without Siri support, you’ll have to use AirPlay control instead.
No. There’s no power button, and HomePods automatically dip into a low-power mode.
No. HomePods can withstand some general humidity, but it’s best to keep them out of any bathroom with a shower or tub. Condensing humidity, like the kind from a hot shower, could potentially wreck their electronics.