Affiliate links on Android Authority may earn us a commission. Learn more.
How to record your screen on a Mac
If you want to show someone how to do something on a computer, a verbal explanation will only go so far. The best way to do it, to ensure there are no hiccups and misunderstandings is to make a screen recording of you doing it yourself. Then the other person can watch your recording and follow along on their device. If you want to record your screen on a Mac, the easiest way would be to use the built-in tools. Let’s see how they work, as well as how and if any third-party options stack up.
QUICK ANSWER
The easiest way to record your screen on a Mac would be to use the built-in screenshot tool. Opening QuickTime also brings you to the same screenshot tool. You can choose which area of the screen you want to record, as well as set a timer, add your voiceovers, and more. If you want to edit and polish the screen recording, you can do so in the built-in iMovie.
JUMP TO KEY SECTIONS
Record your screen on a Mac with the screenshot tool/QuickTime app
To record your MacBook screen with either the screenshot tool or QuickTime, go to your Applications folder and double-click the QuickTime Player icon.
You can find the screenshot tool in Applications > Utilities but QuickTime will take you to the screenshot tool just as quick. For the purposes of this how-to, we’ll go through QuickTime.
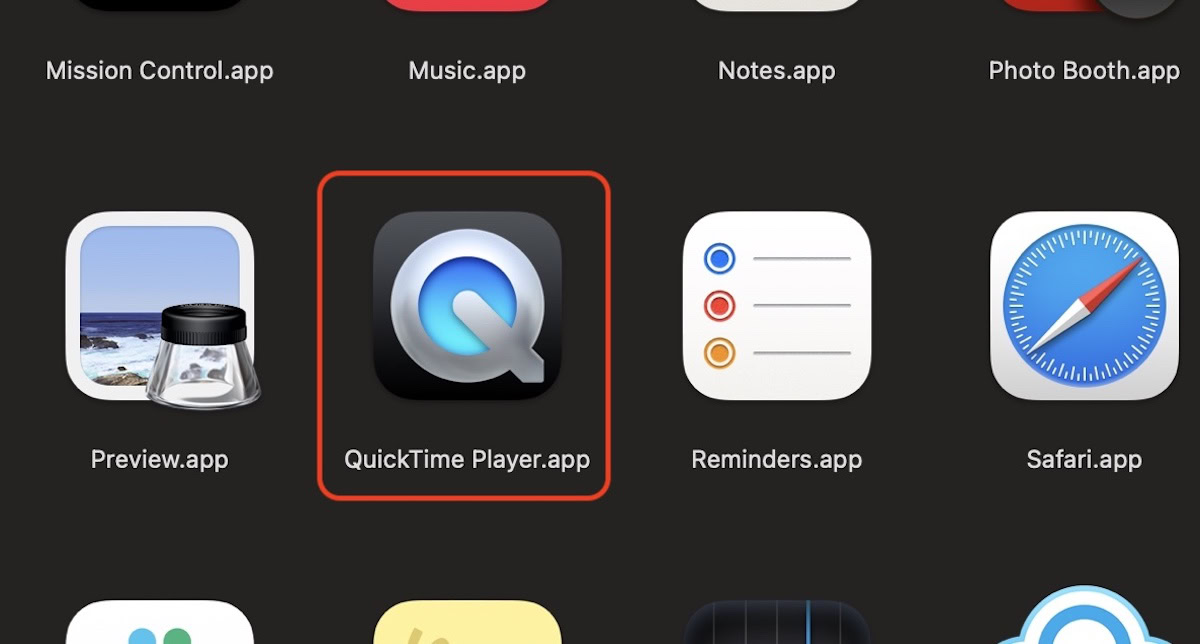
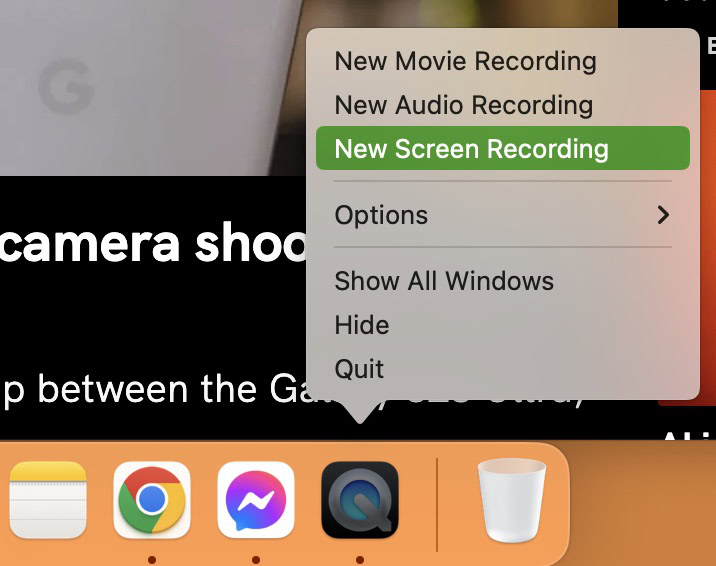
The QuickTime icon will now appear in the Dock. Right-click on it and select New Screen Recording.
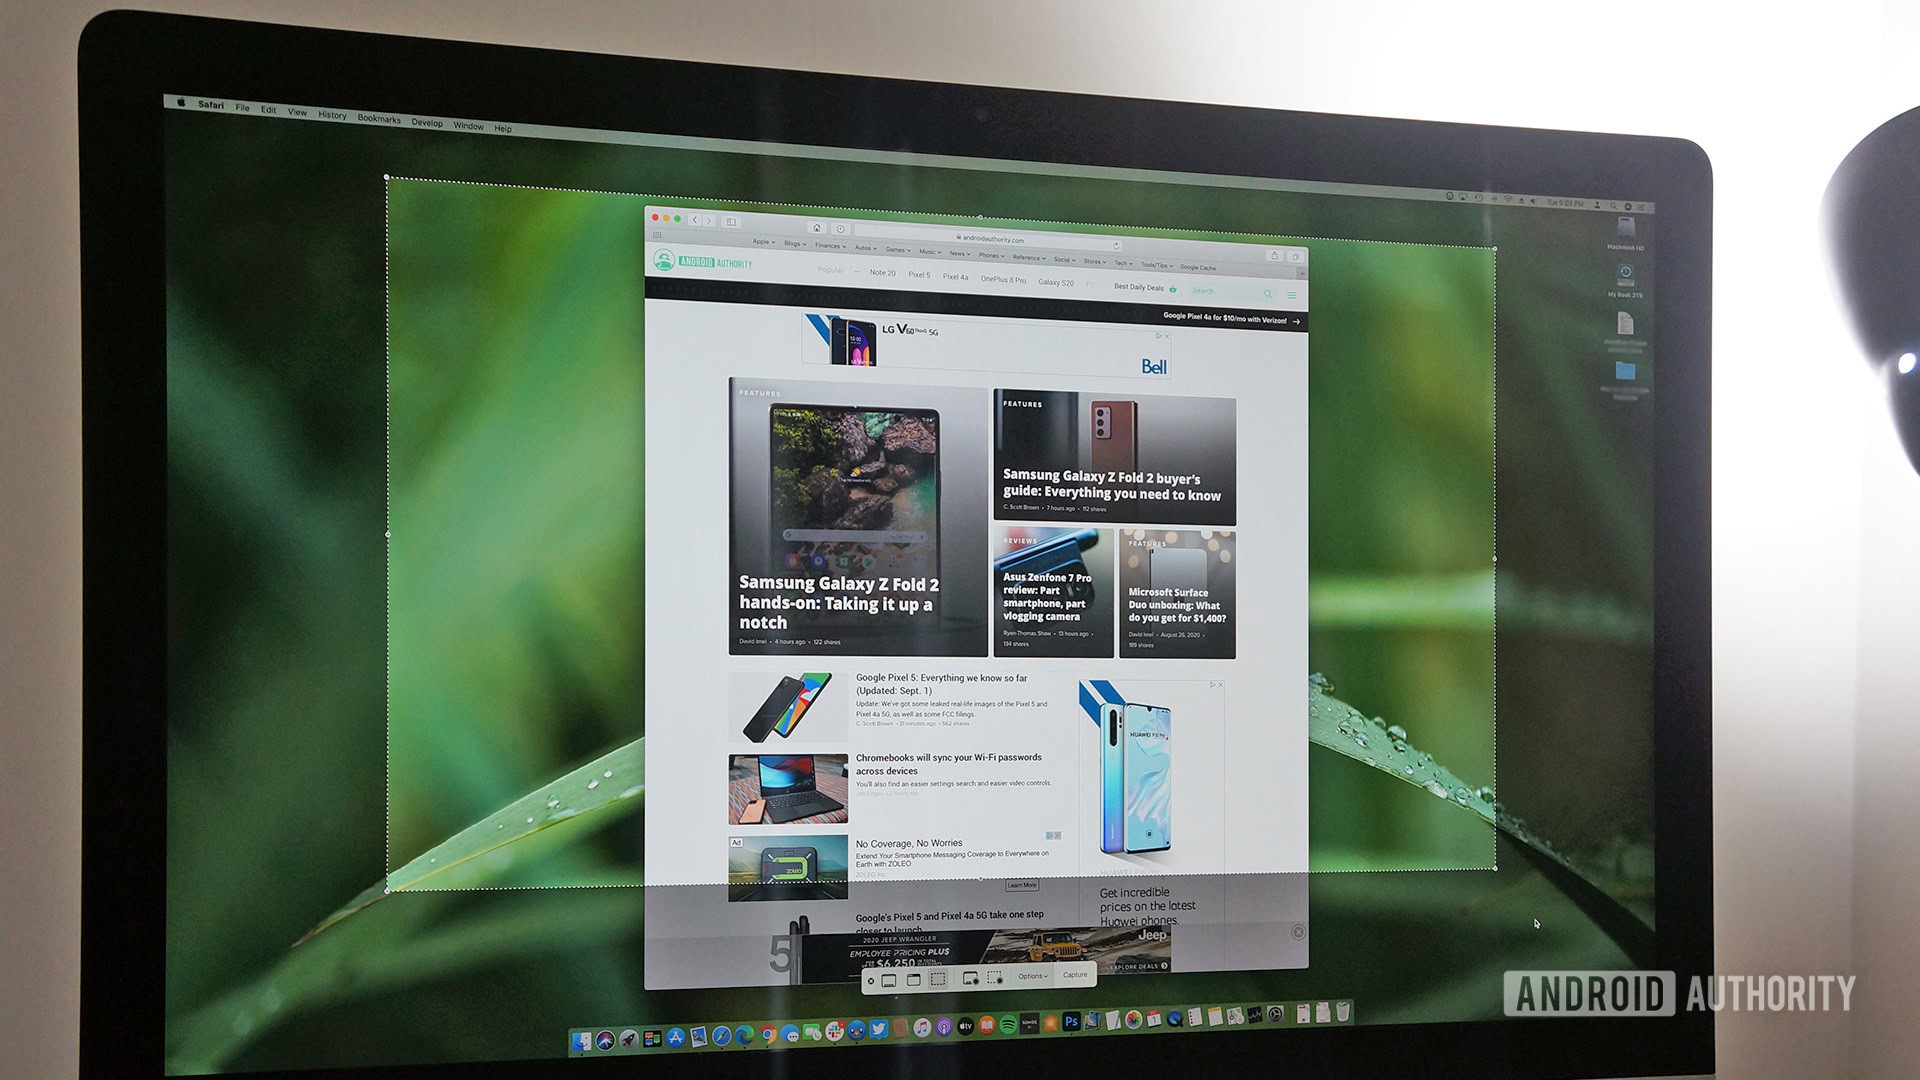
A window with a dotted line border will now appear on your screen. Everything inside this screen will be captured in your screen recording.
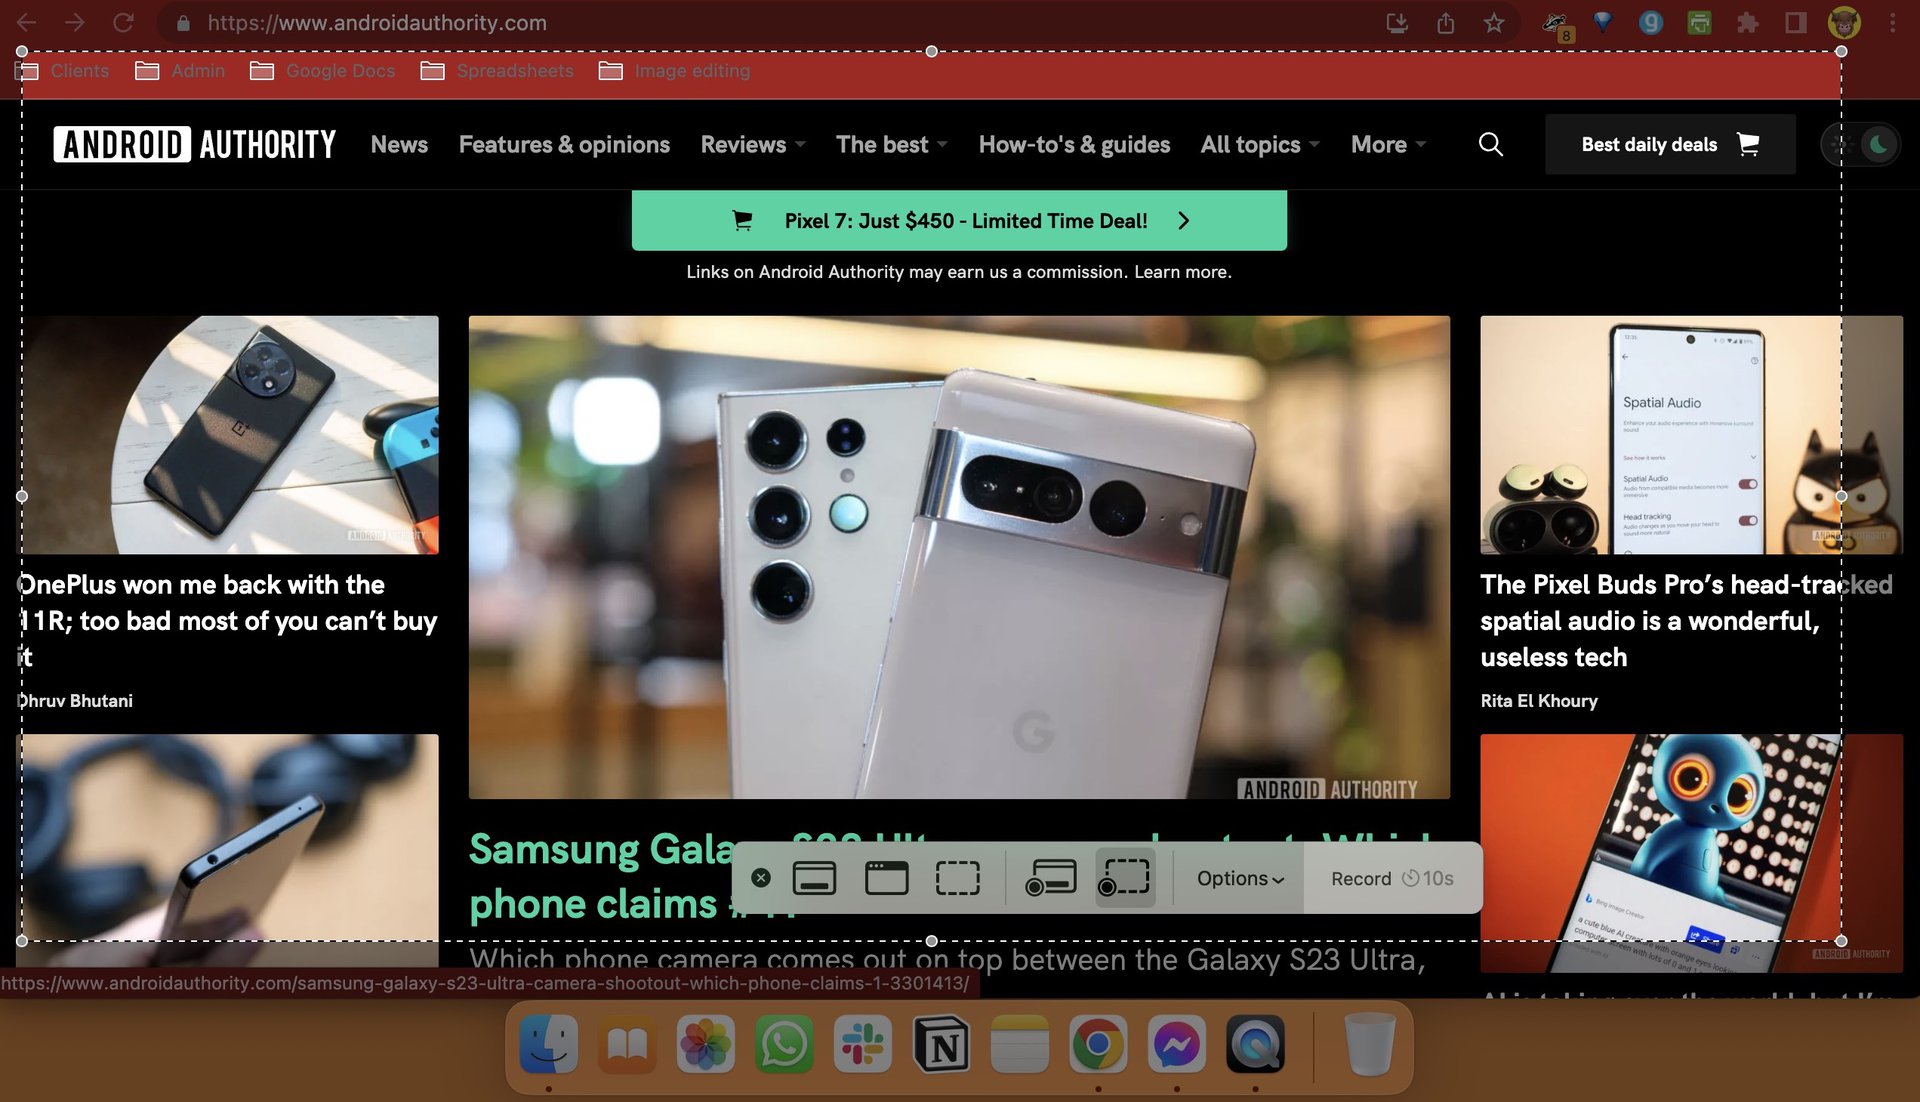
Option 1: screen record the entire screen
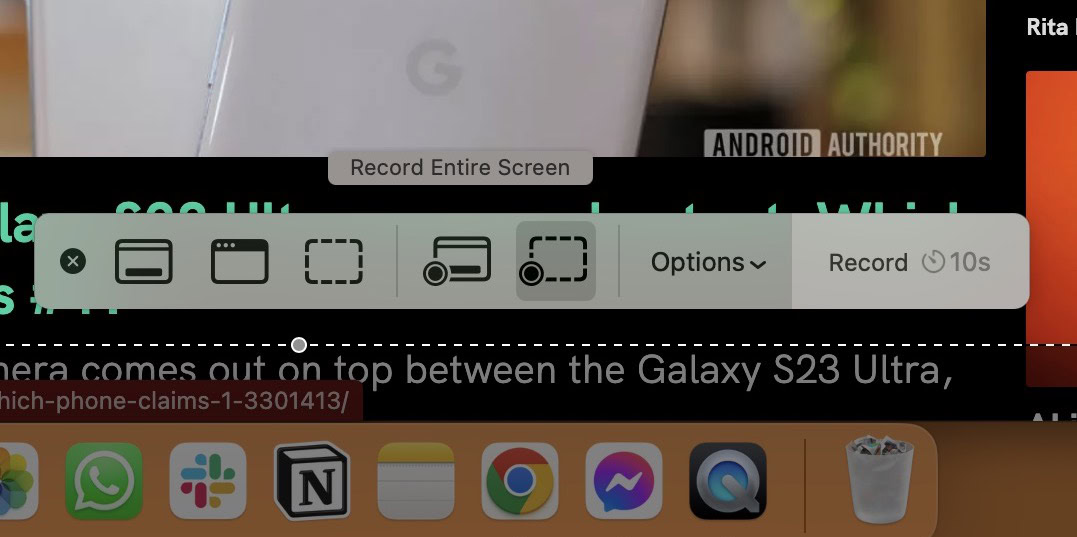
If you need to show your entire screen in the recording, then you need to select the icon fourth from the left. If you mouse over it, it will say Record Entire Screen and the dotted borders will resize automatically to fit the entire screen in. Click the Record button at the far right of the menu bar and off you go with your recording.
Option 2: screen record part of the screen
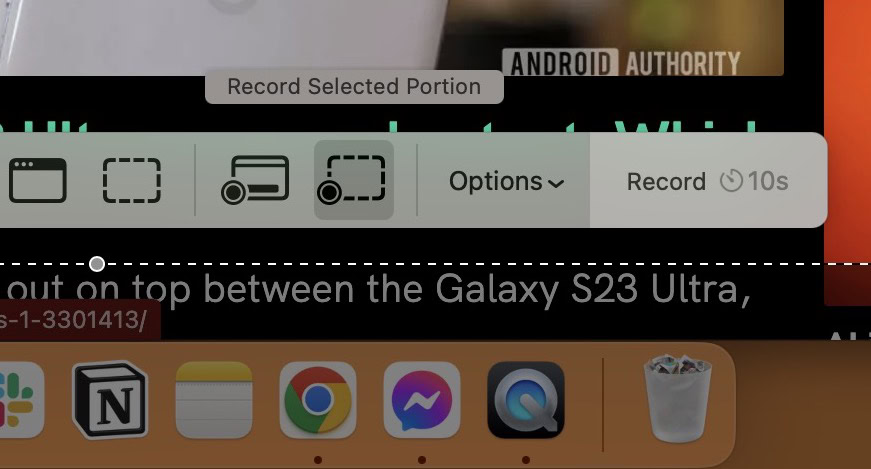
On the other hand, if you only need part of the screen for your recording, then you need the icon fifth from the left (the icon with the dotted rectangle.) Mousing over, you’ll see the words Record Selected Portion. Use your mouse or trackpad to pull out the dotted lines to the section that you need, so it’s enclosed within the lines. Then click the Record button to start your recording.
Screen record with or without audio
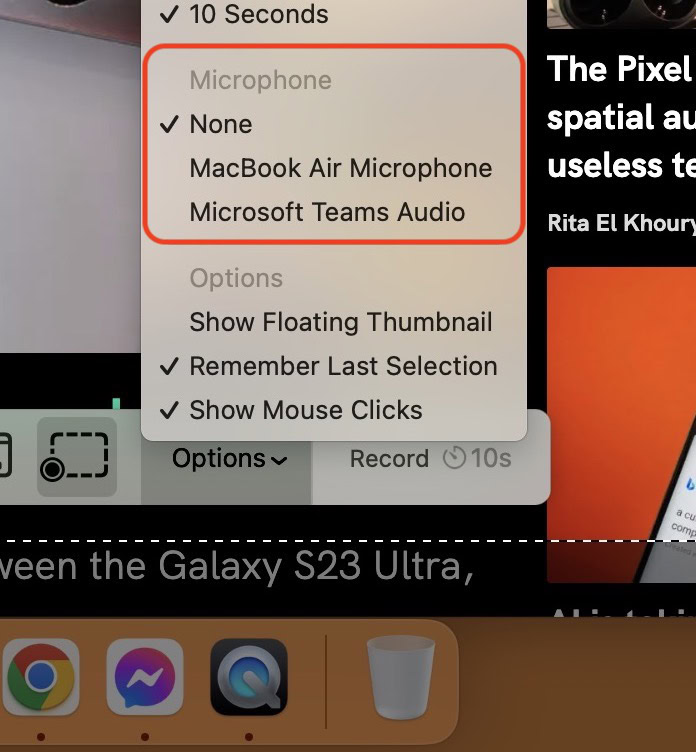
Before clicking the Record button, you need to decide if you are including audio in the recording. If you’re planning on doing any voiceovers, then select your audio input source in the Microphone section. If you plug in a third-party microphone, then it will appear in this list too, where you can select it.
When no audio is required, just select None.
Where are screen recordings saved?
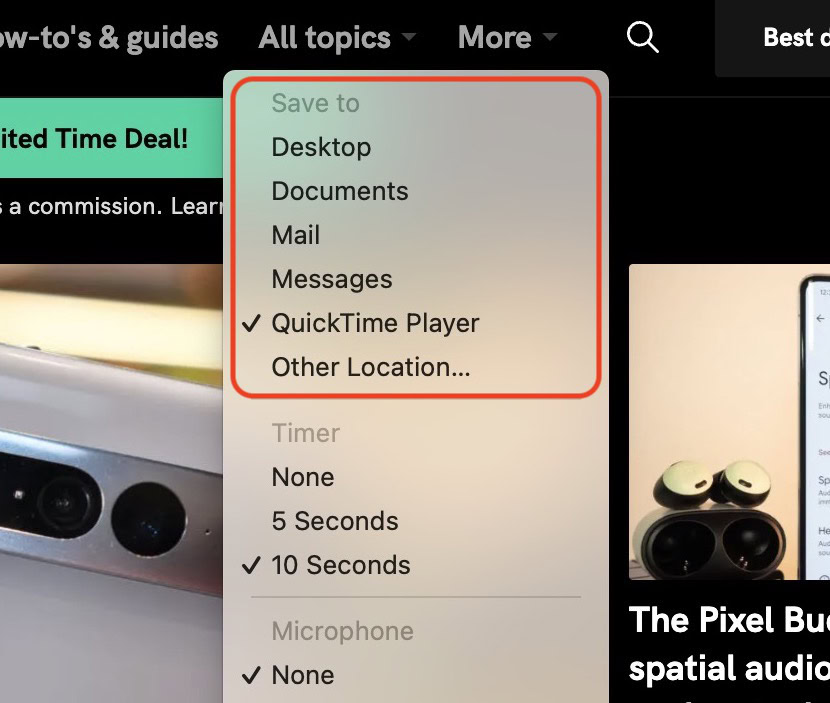
When you’re finished with the screen recording, stop QuickTime. The MOV file will then be saved to the location specified in the options shown above. If you want a specific location for your screen recordings, this needs to be selected before you begin the recording.
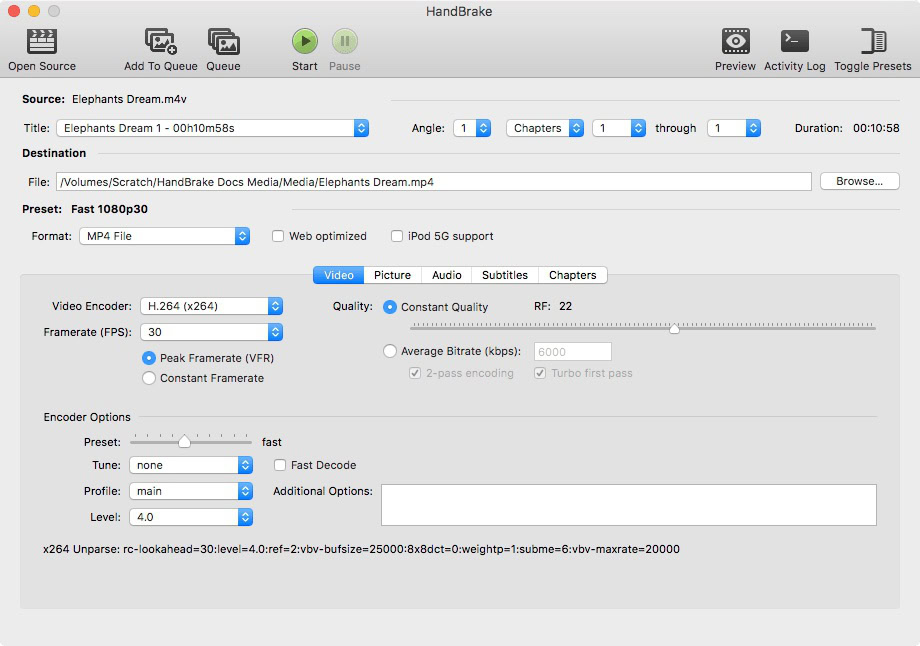
MOV files tend to be quite big, so you may want to convert them to an MP4 file for easier sending or uploading. One good free conversion tool for this is Handbrake.
Best third-party apps for recording your screen on a Mac
Given how simple the QuickTime method is, there really is no reason why you would want to use a third-party app for recording your screen on a Mac. However, in the interests of balance, let’s cover a couple of possibilities.
EaseUS RecExperts — pricing starts at $19.95 per month
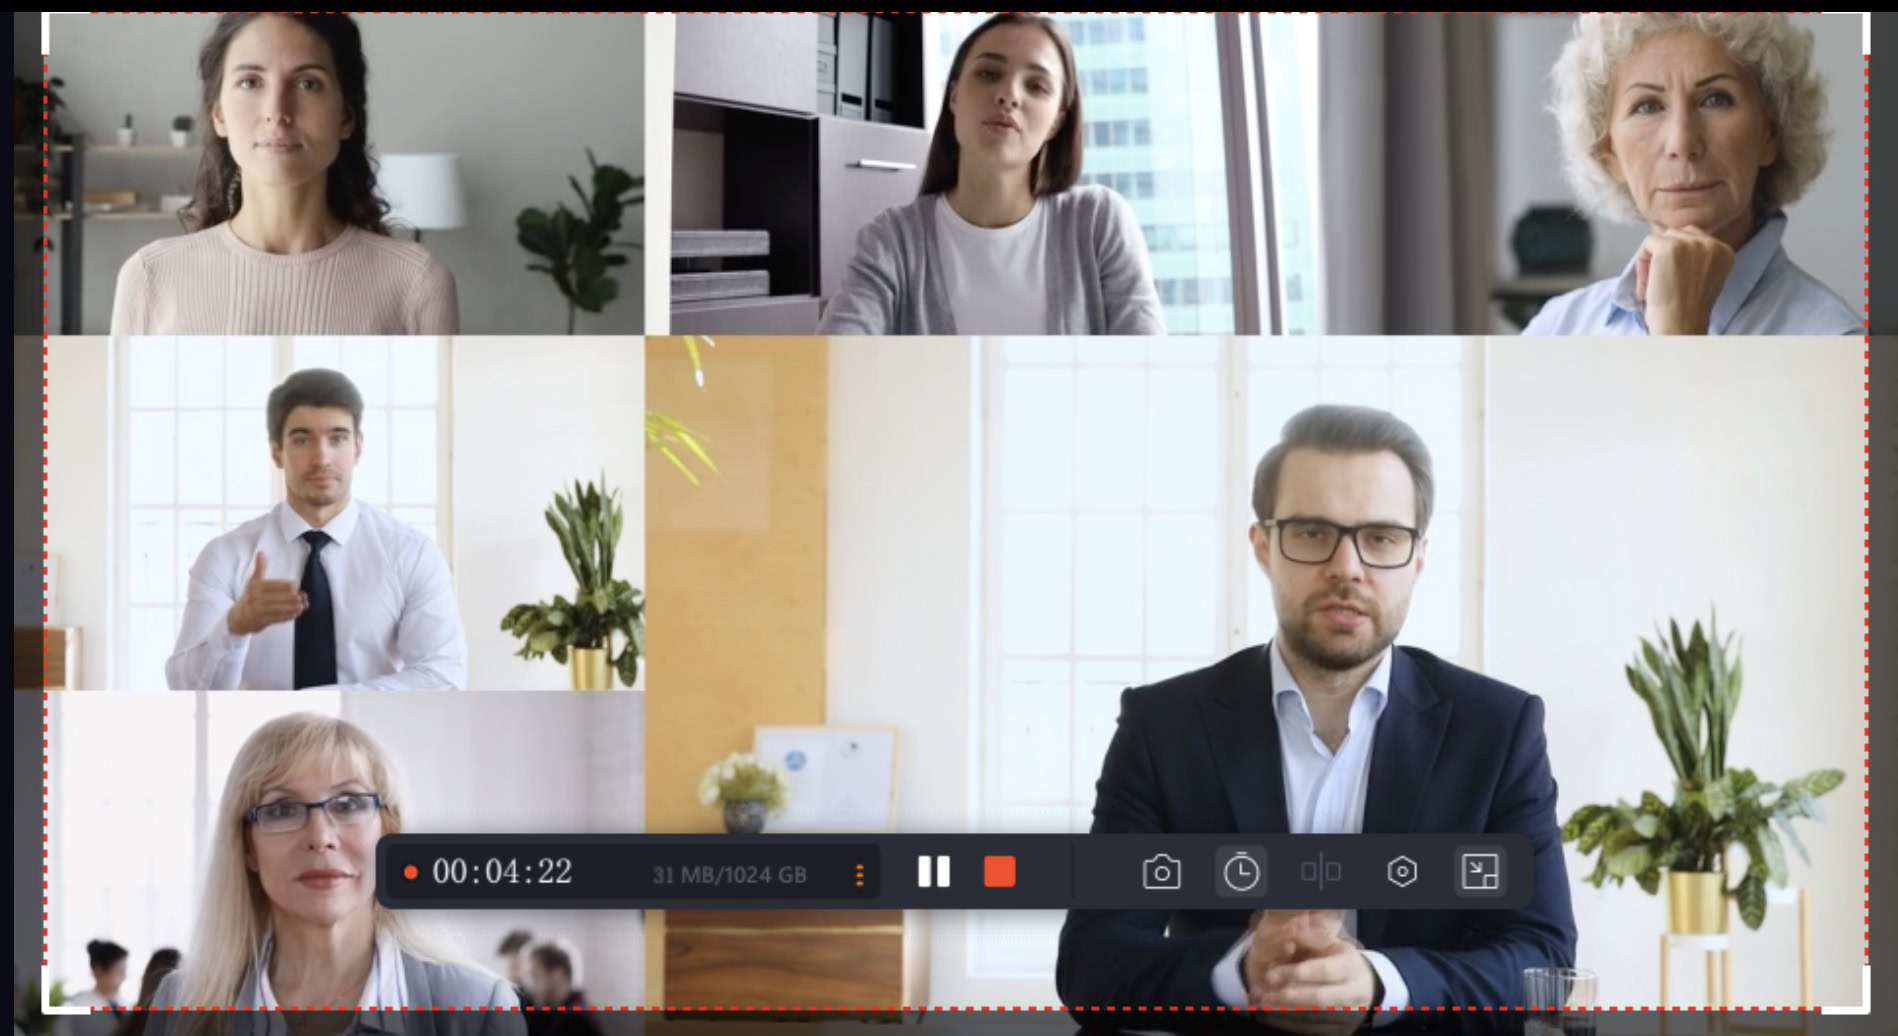
EaseUS RecExperts is quite an expensive alternative, given that it more or less does what the free QuickTime version does. It captures everything inside the dotted window, including sound. It’s easy to use and does everything that most people will need in a screen recording — without having to read an extensive user manual first.
However, instead of paying $20 per month, you also have the alternative of paying $50 per year or a one-time price of $80, which are obviously the better choices financially.
OBS — free and open source
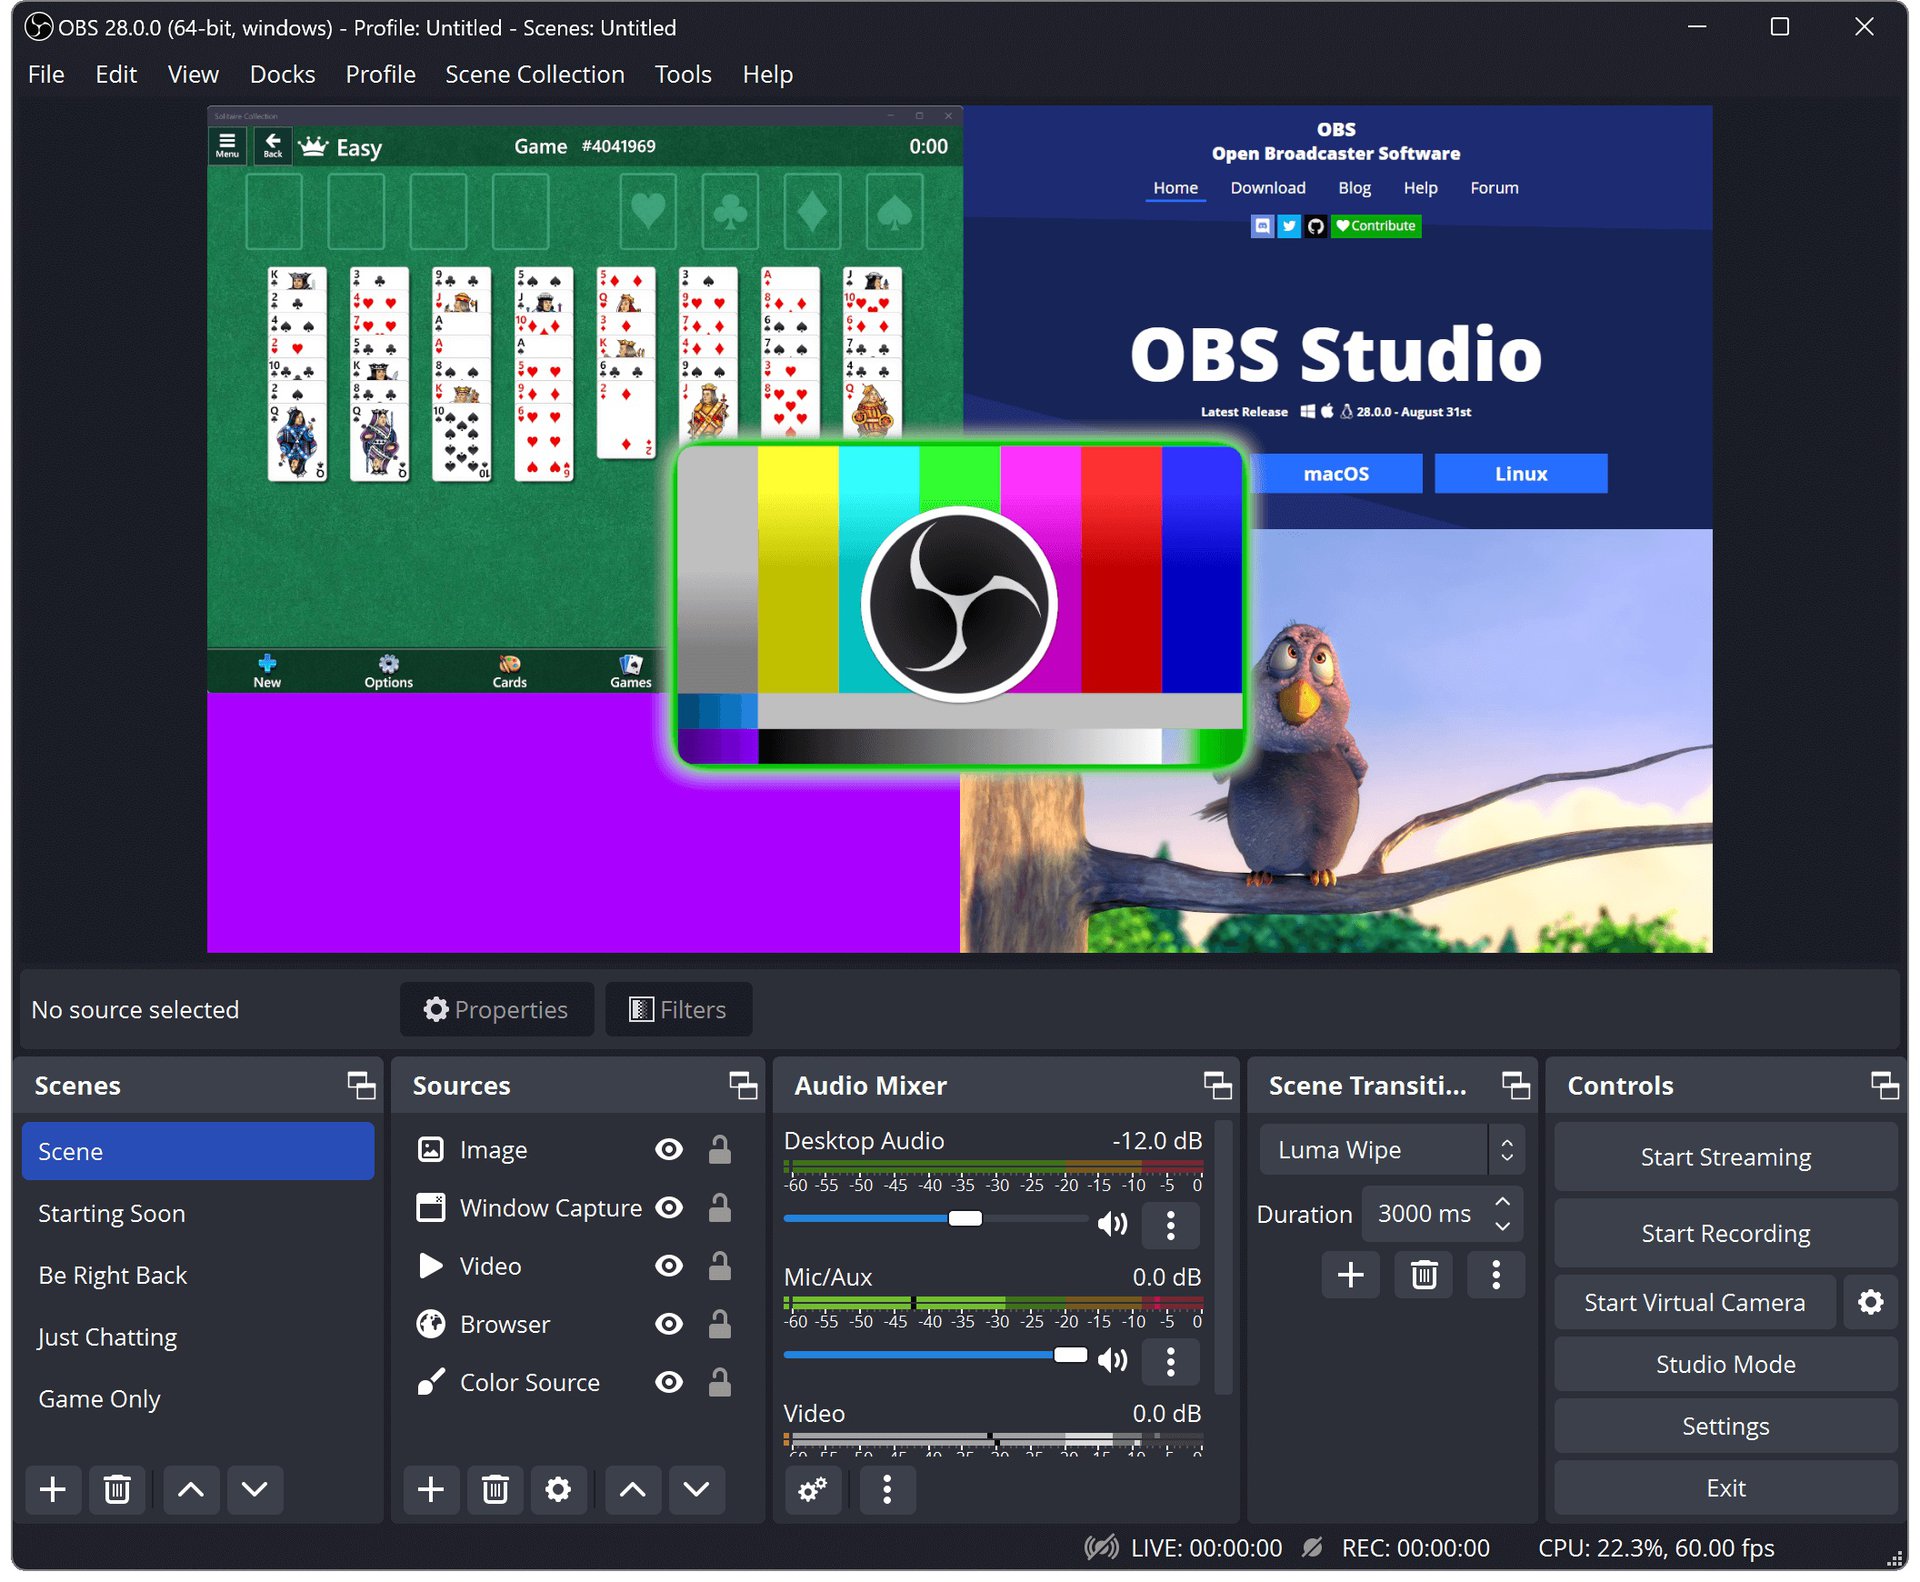
If you need something a bit more advanced, and you don’t mind a learning curve, then maybe OBS might be more your thing. It is completely free and open-source, and does everything you could ever possibly want for your screen recordings.
The downside, of course, is that the interface is quite complicated to figure out. So you would need to have some prior knowledge of how software like this works, in order to get the most out of it.
