Affiliate links on Android Authority may earn us a commission. Learn more.
Everything you need to know about Fitbit Pay

Contactless payments are essentially everywhere: in smartphones, smartwatches, and even fitness trackers. Fitbit, one of the biggest wearables companies in the world, has its own contactless payment service called Fitbit Pay. Wondering how to use Fitbit Pay and what devices work with it? We’ve got you covered.
See more: Everything you need to know about Fitbit
What is Fitbit Pay?
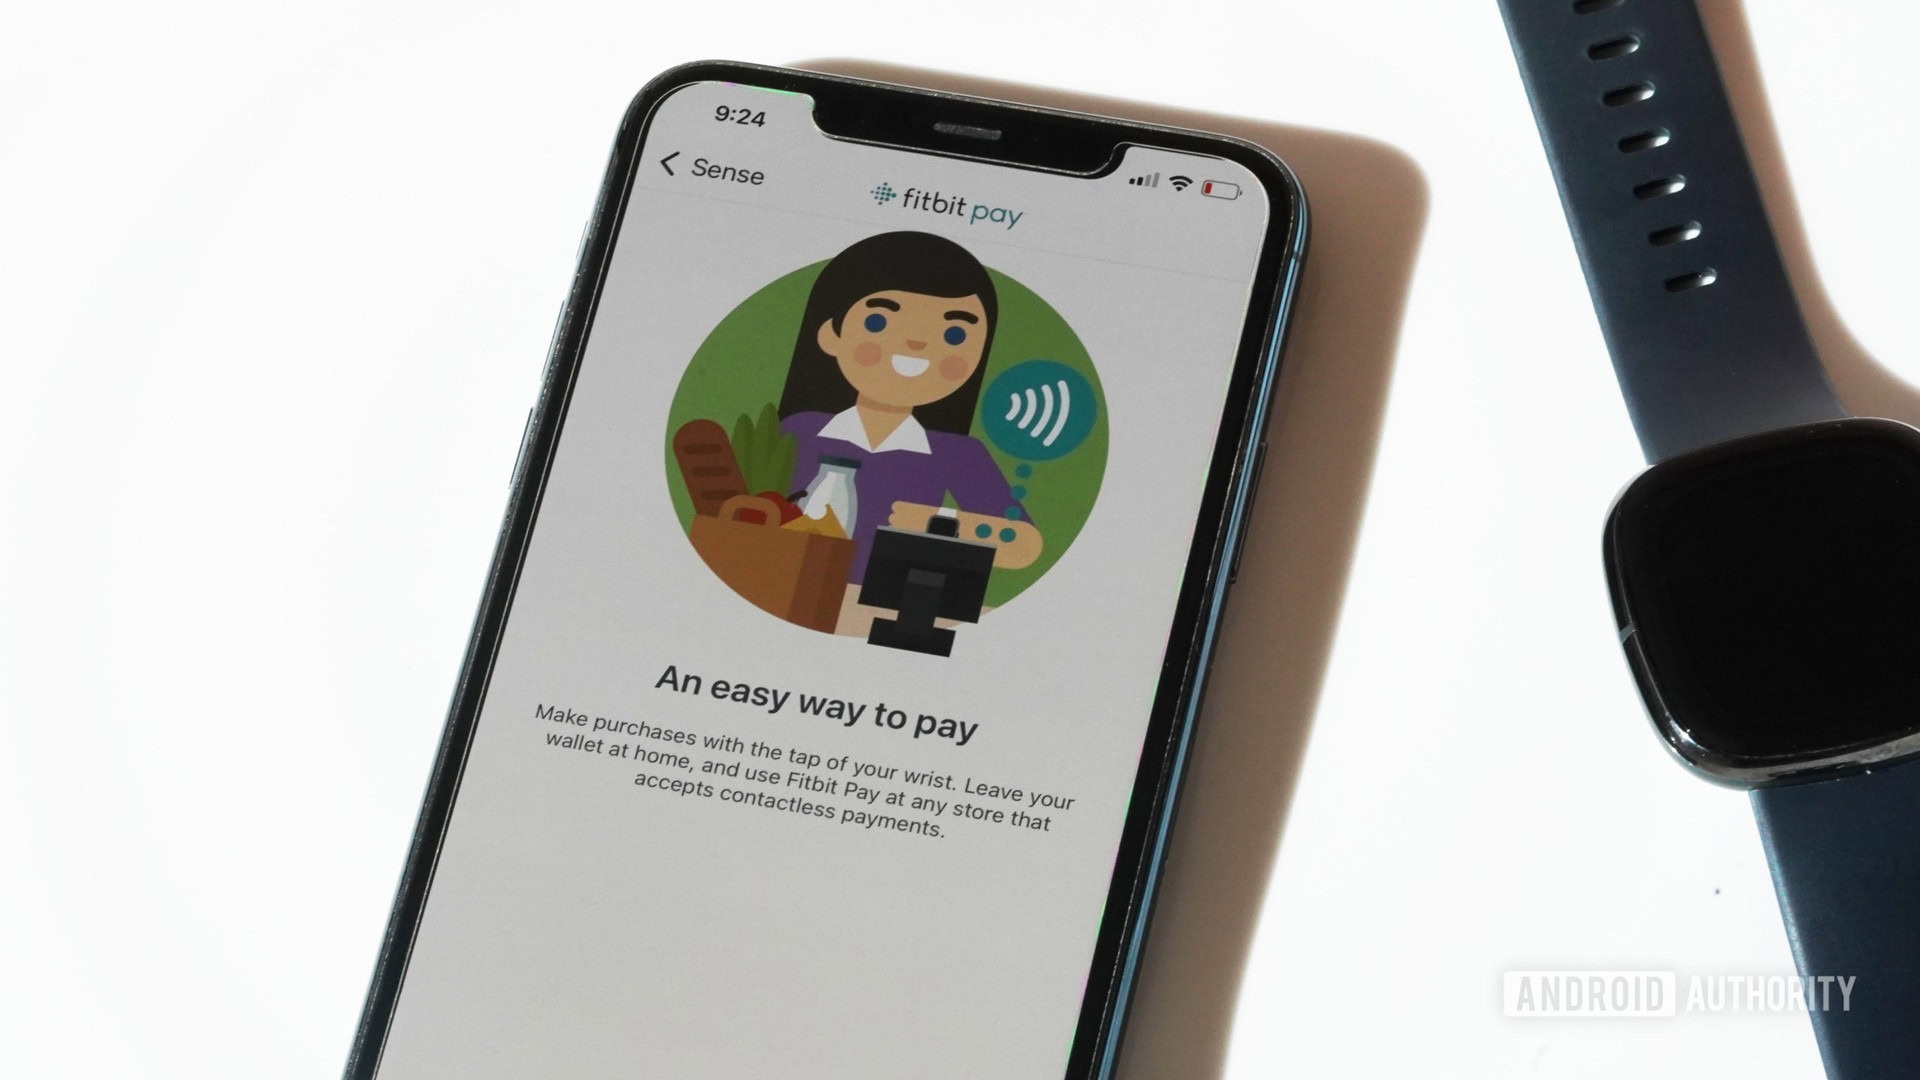
Fitbit Pay allows you to pay at accepted contactless payment terminals using your Fitbit smartwatch or fitness tracker. The device uses near-field communication (NFC) to let you pay at supported terminals. At the payment terminal, look for the wave symbol, which indicates it can accept contactless payments from a supported debit or credit card, as well as smartphones or smartwatches with NFC.
If security is a concern, Fitbit Pay includes many security features to keep your information safe. Fitbit Pay uses an industry-standard tokenization platform to ensure your card information is never revealed to merchants or Fitbit. You also have to set up and use a personal four-digit PIN for an added layer of protection. Beyond that, the security features banks and card providers already provide remain in place even if you use the card via your smartwatch.
Fitbit Pay devices

Fitbit Pay is available on Fitbit smartwatches and a handful of fitness trackers. The full list can be found below:
- Fitbit Sense (all models)
- Fitbit Versa 3 (all models)
- Fitbit Charge 5 (all models)
- Fitbit Charge 4 (all models)
- Fitbit Versa 2 (all models)
- Fitbit Charge 3 (special edition only)
- Fitbit Versa (special edition only)
- Fitbit Ionic (all models)
See also: The best Fitbit trackers available
What countries use Fitbit Pay?
In addition to in the United States, Fitbit Pay can currently be used in the following countries:
- Australia
- Austria
- Belarus
- Belgium
- Bulgaria
- Canada
- Chile
- Costa Rica
- Croatia
- Czech Republic
- Denmark
- Estonia
- Finland
- France
- Germany
- Greece
- Guatemala
- Hungary
- Iceland
- Ireland
- Italy
- Japan
- Kuwait
- Latvia
- Liechtenstein
- Lithuania
- Luxembourg
- Malta
- Mexico
- Netherlands
- New Zealand
- Norway
- Poland
- Portugal
- Republic of Cyprus
- Romania
- Singapore
- Slovakia
- Slovenia
- South Africa
- Spain
- Sweden
- Switzerland
- Taiwan
- Thailand
- United Arab Emirates
- UK
Fitbit Pay supported banks and cards
Fitbit Pay is also supported by an extensive number of global banks. The full list is too extensive to include here, but listed below are a few of the major US banks and cards supported by the digital payment system. To see if your specific bank is supported, review the full list here.
- American Express
- Bank of America
- Capital One: Credit
- Chase Bank: Visa
- PNC: Visa
- SunTrust: Mastercard
- U.S. Bank
- Wells Fargo
Additionally, you can also use Fitbit Pay at various transit systems around the world. These include the New York MTA, Chicago Transit Authority trains and buses, Florida Miami-Dade Transit’s Metrorail service, and Portland’s TriMet, C-TRAN, Portland Streetcar, and many more.
Fitbit continues to update this list as the service adds more banks, cards, and transit systems, so if your bank isn’t on the list now, it may be soon.
How to use Fitbit Pay

Adding a card
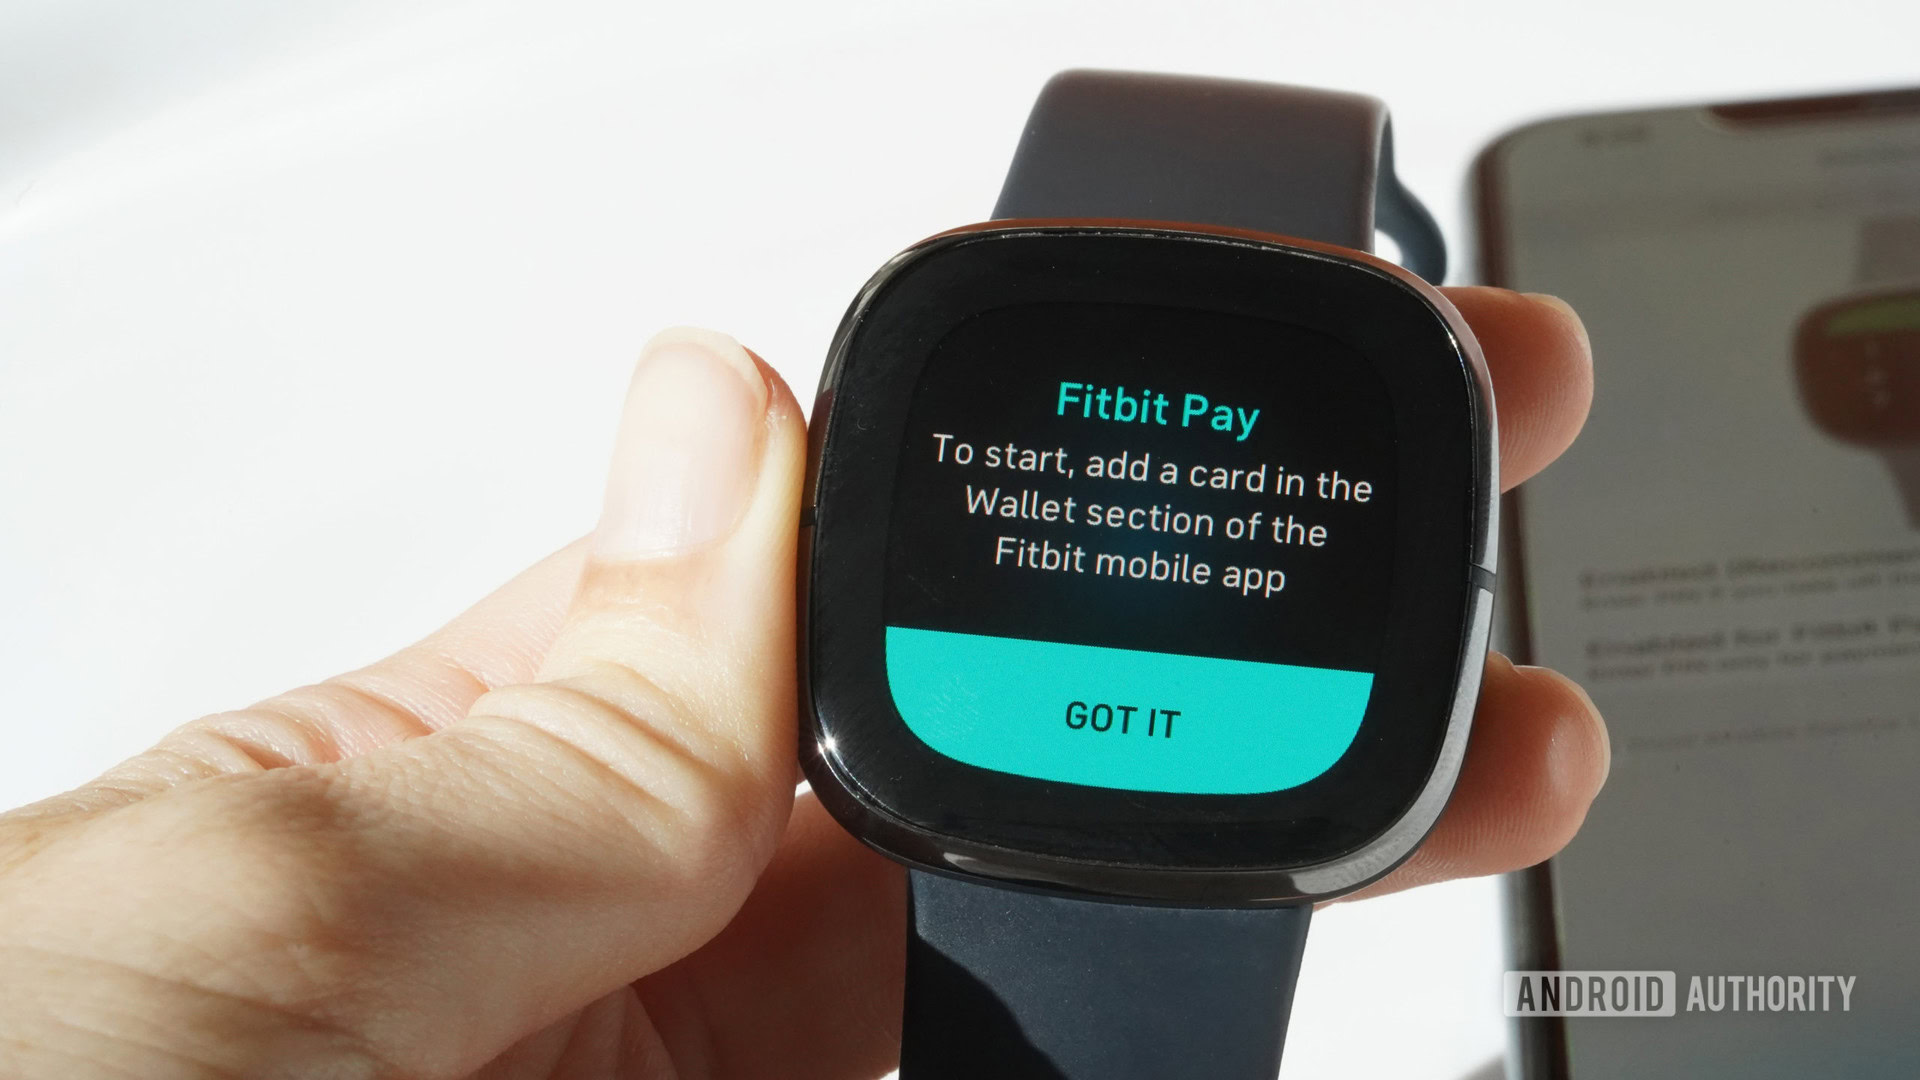
To start using Fitbit Pay, you need to add at least one debit or credit card to the Wallet on your Fitbit app.
- Open the Fitbit app on your smartphone, tap the Today tab, and then tap on your profile picture.
- Tap the Fitbit device you’d like to add to Fitbit Pay.
- Tap the Wallet tile.
- Tap Get Started, then follow the on-screen instructions to add a payment method.
- If you are setting up Fitbit Pay for the first time, you will have to set a four-digit PIN for the watch and also have a password, PIN, pattern, or fingerprint recognition set on your phone.
- Follow the instructions to enable notifications on your phone to finish the setup process.
- Up to six cards can be added to the Fitbit Wallet. To set a default card, if you have added multiple options, navigate to the Wallet section in the app, find the card that you’d like to set as your default and tap on Set as Default.
Making a payment
When trying to make a payment, the steps are slightly different depending on which Fitbit you have.
- Fitbit Charge 5: Swipe down from the clock face and tap on Payments. You might be prompted to enter your four-digit PIN (users in Australia and New Zealand will always have to).
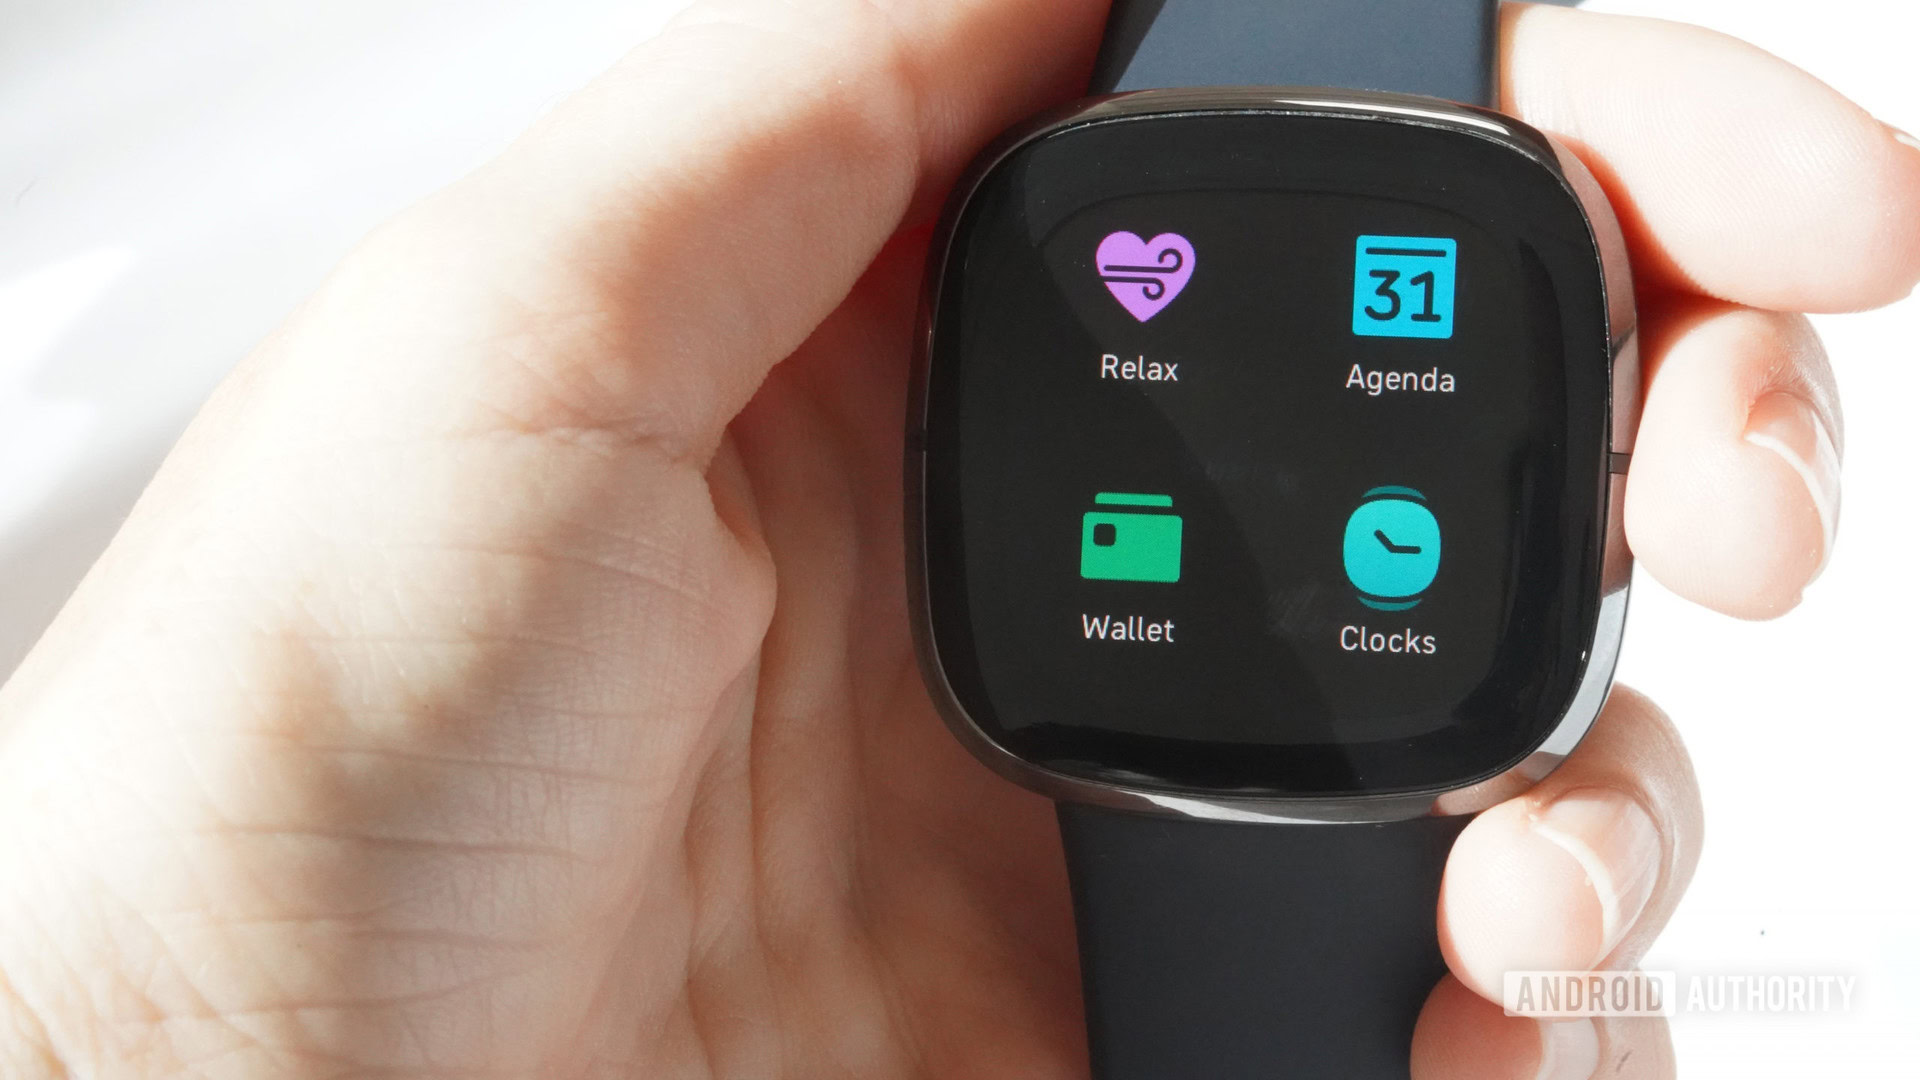
- Fitbit Sense and Versa 3: Open the Wallet app on the watch to make a payment. You can also set the app to open as a button shortcut. To do so, go to the Settings app and open the Shortcuts section to add button shortcuts.
- Fitbit Ionic, Versa, and Versa 2: If you have already set up Fitbit Pay as a button shortcut, press and hold the button for 2 seconds to activate it. If not, swipe down on the screen, swipe down again to get past the notifications screen, and open the Control Center. Tap the Fitbit Pay icon to make a payment.
- All other devices: Press and hold the left button for 2 seconds, and Fitbit Pay should pop up. If it doesn’t, swipe to the Payments screen.
- You may need to enter the four-digit PIN to unlock this page.
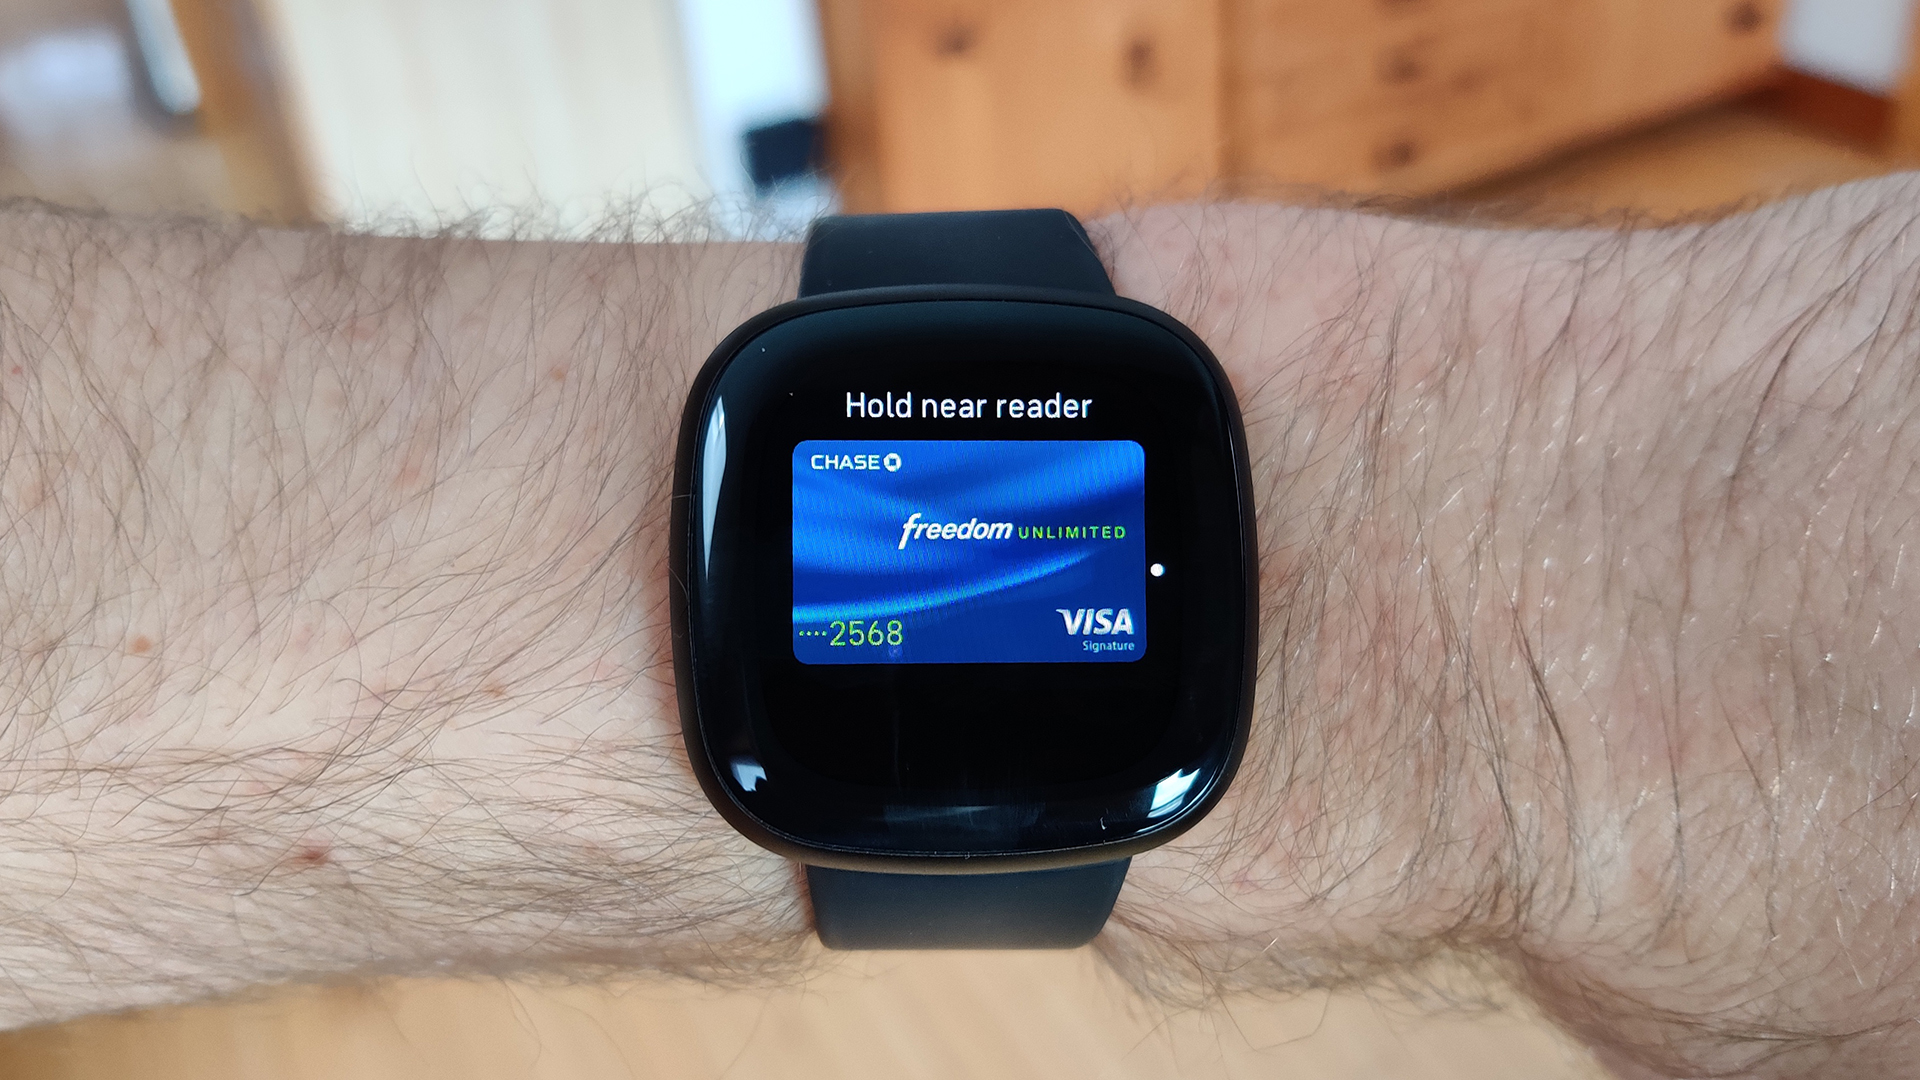
- Your default card will show up on the screen. If you want to use another card, swipe up on the screen to find the card you want to use if you have the Charge 5, Fitbit Sense, Versa 3, Versa 2, Versa, or Ionic. With the Charge 3 and Charge 4, tap on the screen until the card you want to use shows up.
- Hold your wrist towards the payment terminal. The watch’s face should be towards the terminal.
- For Australian users: If your card is from an Australian bank, you don’t have to go through the first three steps. Hold the watch to the payment terminal, and the payment should go through. If the amount is more than AU$100, you will have to enter the debit or credit card PIN directly on the payment terminal.
To keep track of card activity, tap on the Wallet tile on your Fitbit app’s Account page. Next, find the card you want to check, and scroll down to see the recent transactions.
Where can I use Fitbit Pay?
There is no official list of retailers that support Fitbit Pay. However, you can basically use it at any location or payment terminal that supports contactless payments. Start by looking for a wave symbol on the payment terminal, and Fitbit Pay should work. Additionally, since it works the same way as Apple Pay or Google Pay, any store that accepts these services should also allow for payments via Fitbit Pay.
Fitbit Pay limitations

Rolling out support for a contactless payment system takes a long time, and Fitbit Pay is still a relatively new service. Primarily, not all of the most popular banks are compatible with the payment service, so there will always be room for improvement in regard. Nevertheless, Fitbit has done a good job at adding support for new banks and bringing the service to more countries over the past few years.
Additionally, many banks and countries limit how much money you can pay using contactless payment methods, including but not limited to Fitbit Pay. The maximum amount you can pay using contactless payments in the UK is £45. Likewise, some US banks set the limit at $50. On the other hand, Australia hasn’t set a maximum limit, but if the amount is more than AU$100, you will still have to enter the card PIN on the payment terminal. We recommend checking the contactless payments Wikipedia page for details on limitations in your country.