Affiliate links on Android Authority may earn us a commission. Learn more.
How to write a 3D game for Android using Unreal Engine: Part 2
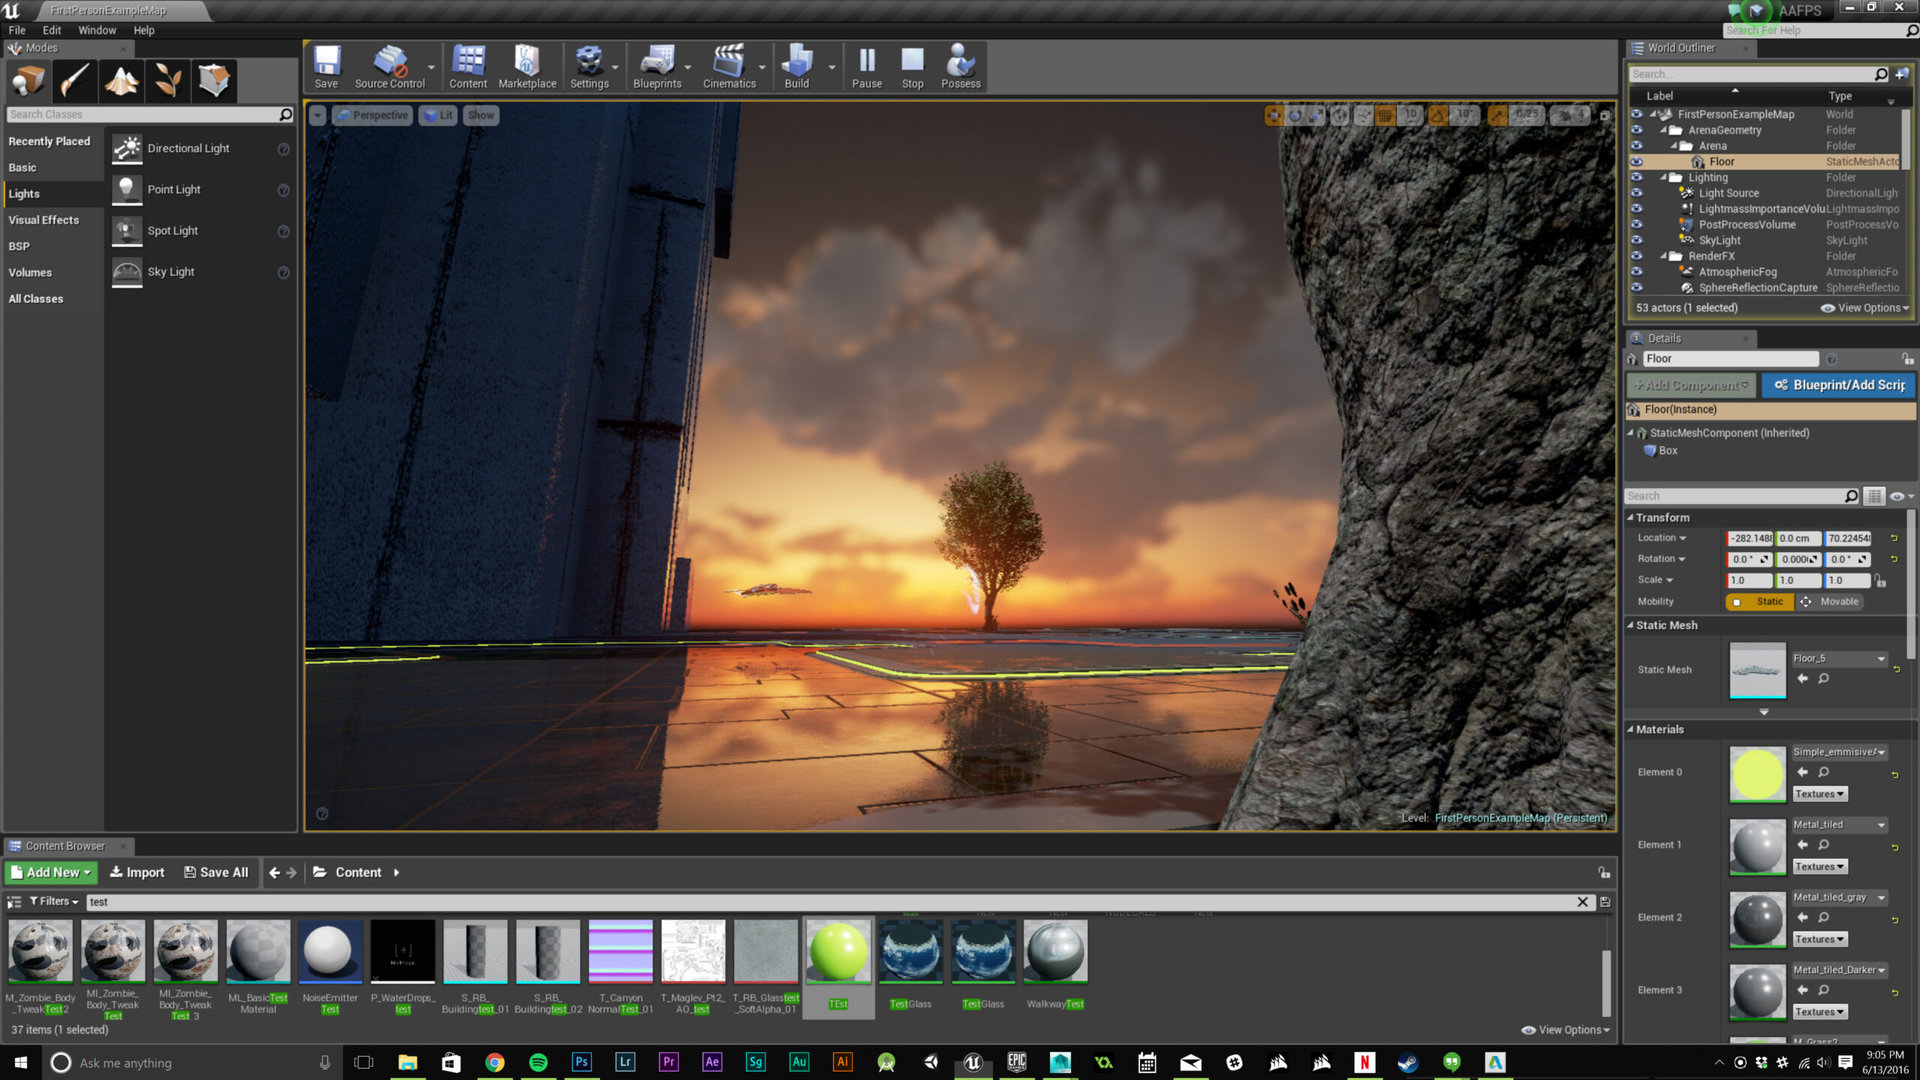
Level Design
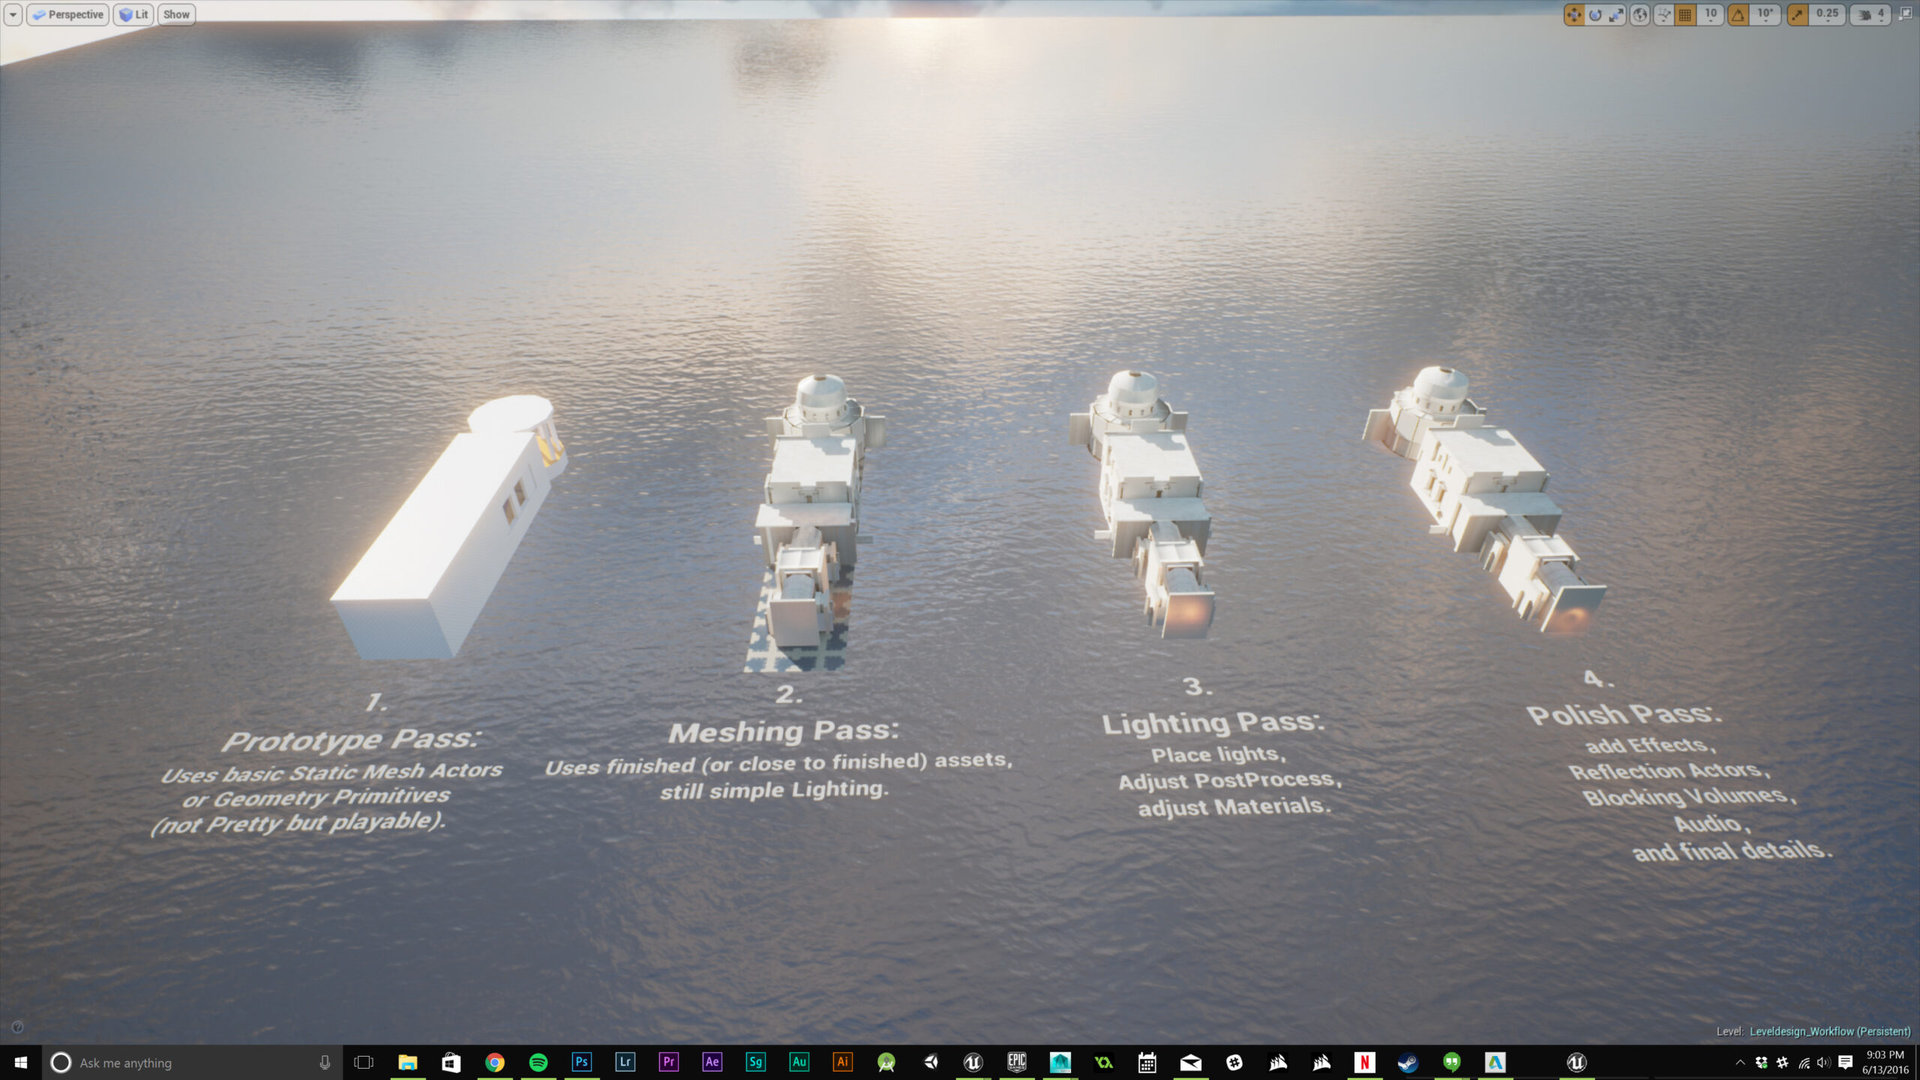
When you first set up the game, you are presented with a white square as the floor made from a cube mesh. Just like the picture, make the level with basic assets like the cube and design the layout by adding more cubes to the scene to get the floor layout and then add the basic walls and structures to get everything where you want it. Next up is how to make different scenes and add levels to your game. These levels can be accessed by scripted events in game or by clicking them in the content viewer while editing.
Any good story driven first person shooter is more than likely going to have multiple levels, so it is essential to learn how to do just that. Notice that you have your opening scene that you started out with, this will be level one. To create level two, click “Add New” in the content browser then click “Level” and follow the prompts whether you want a black design or a basic template to work off of. Just like the first level, make level two. Once done, we need to add a scripted event to be able to get to the newly created level.
You should now be able to jump to the second level through a trigger box.
This is a bit complicated, but Unreal Engine makes it as easy as possible while still having infinite customizability. The first thing to do is create a “Box Trigger”, this is exactly what it sounds like, in this example, the player will collide with the box to go to the next level. Add the box trigger by going to the left side and clicking Basic-Box Trigger. You can put this wherever you want in your first level so the player can move on to the second. Next up, click on the blueprints tab in the top middle and click the level blueprint. Once open, right click and click Add Event-Collision-Add onActorBeginOverlap. This will then add a node to the graph (more on this later). There will be an arrow pointing to the right in the node on the right side. Click and drag out a line then type in “Open Level” and click the option. There will then be a few attributes to mess with, the first one is the name of the map that needs to be opened when the box is triggered. Note the name of your second level and put that name in where it says “None”.
That’s it! You should now be able to jump to the second level through a trigger box. This is not the only way to do this of course, if you add enemies you can set attributes for the score and have the player move to different levels depending on the number for example, the possibilities are limitless. Next up, we will go into detail about graphs and how they are used.
Graphs
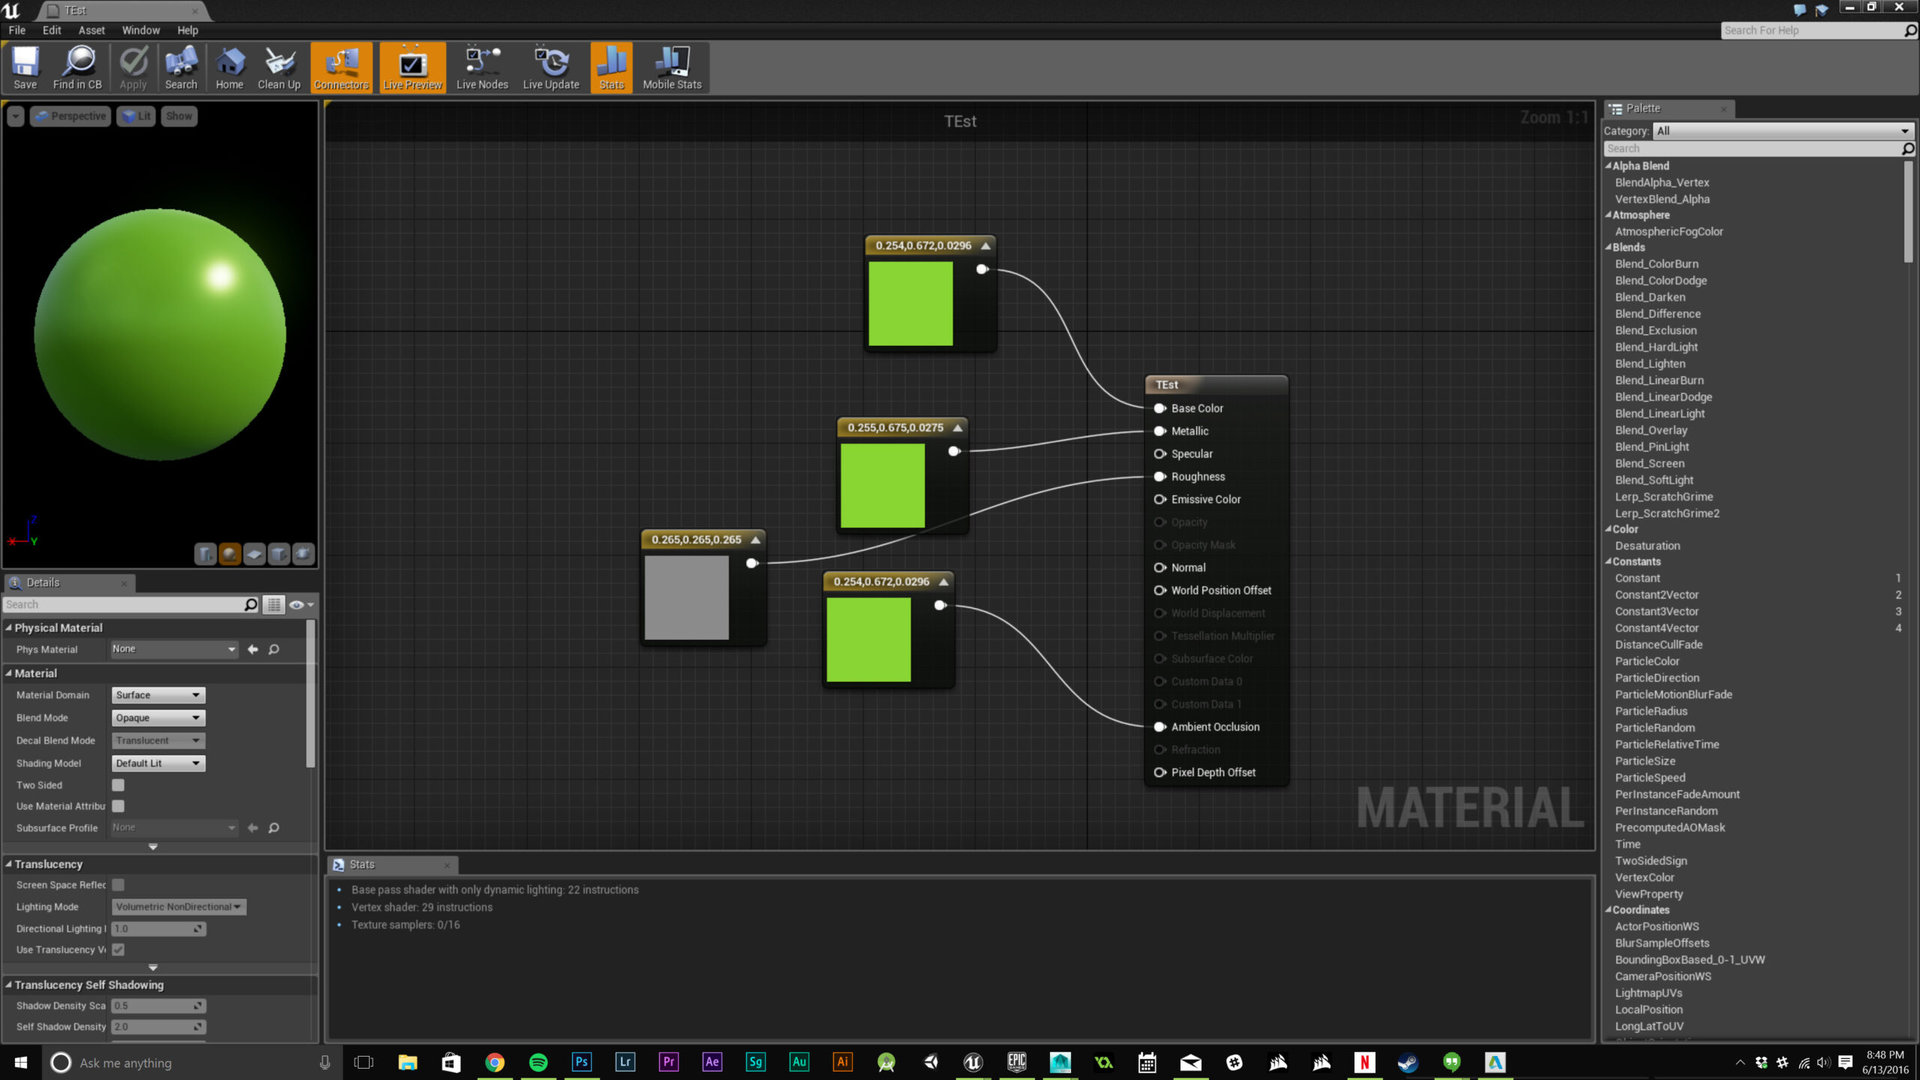
Blueprints also use graphs to make things much easier than other methods. Blueprints allow for complex scripting including vector manipulation like dot product and cross product as well as character creation and animation. In the picture above, I made a new material by clicking “Add New” just above the content browser and made a new material, once made I dragged three 3 “Contant3Vector” nodes from “Constants” then connected them in a way so I could set the base color (#8AD630), add a metallic look and some roughness to the material. The possibilities are endless and Unreal does a great job of filling in the blanks.
Collisions
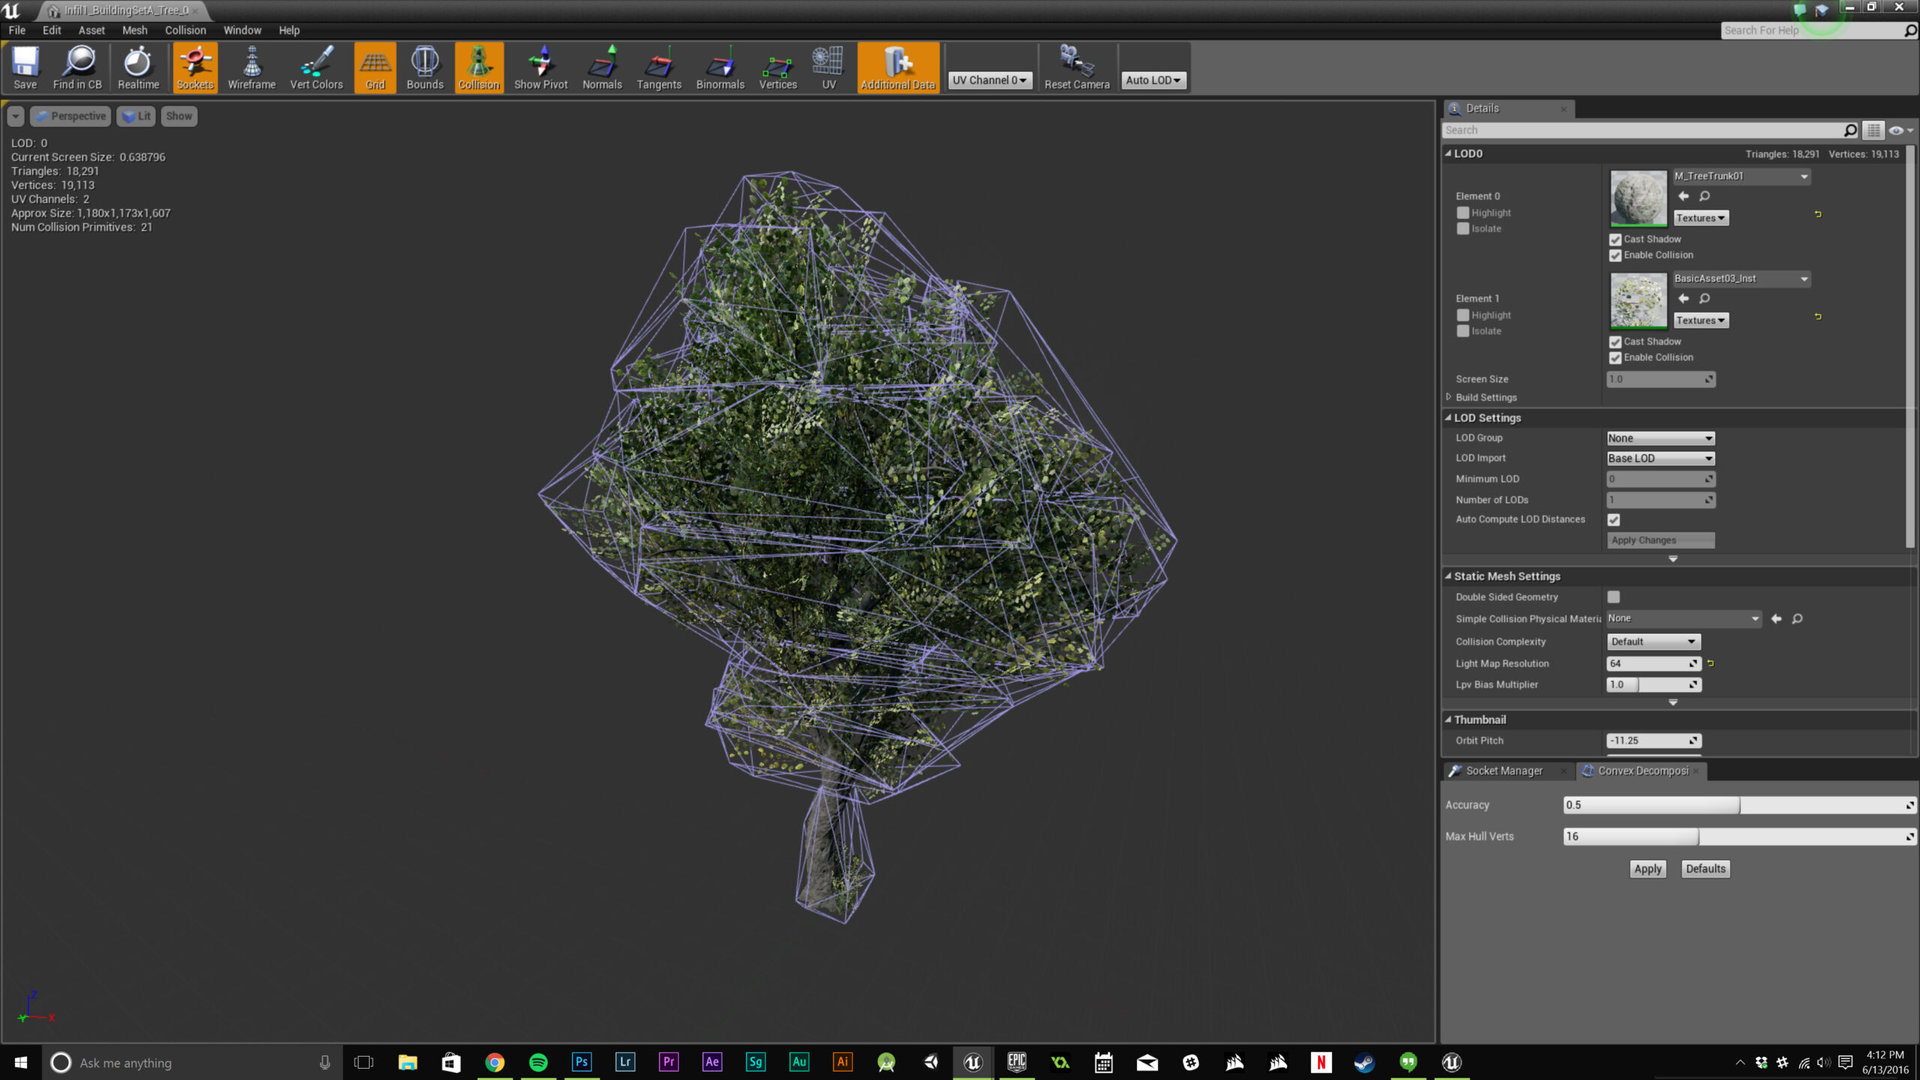
Just don’t try to be super precise on something like a tree, Unreal Engine ended up crashing when attempted! If you need something that is not precise for something like background imagery or big buildings, doing something like a “box” shaped collision box or a more simple 3D shape listed in the menu might be the way to go. This could also depend on your hardware you are using to make the game, as complex collision boxes seem to stress my computer a lot more than basic ones, so that is definitely something to keep in mind when you have a bunch of objects that need collisions and you are on a time schedule. It is worth noting that once the collisions are applied to the static mesh, this does not just affect one instance of the mesh, but every instance. This way be a little confusing as you can jump into the static mesh viewer from a specific instance of said mesh.
Test the game for the correct platform
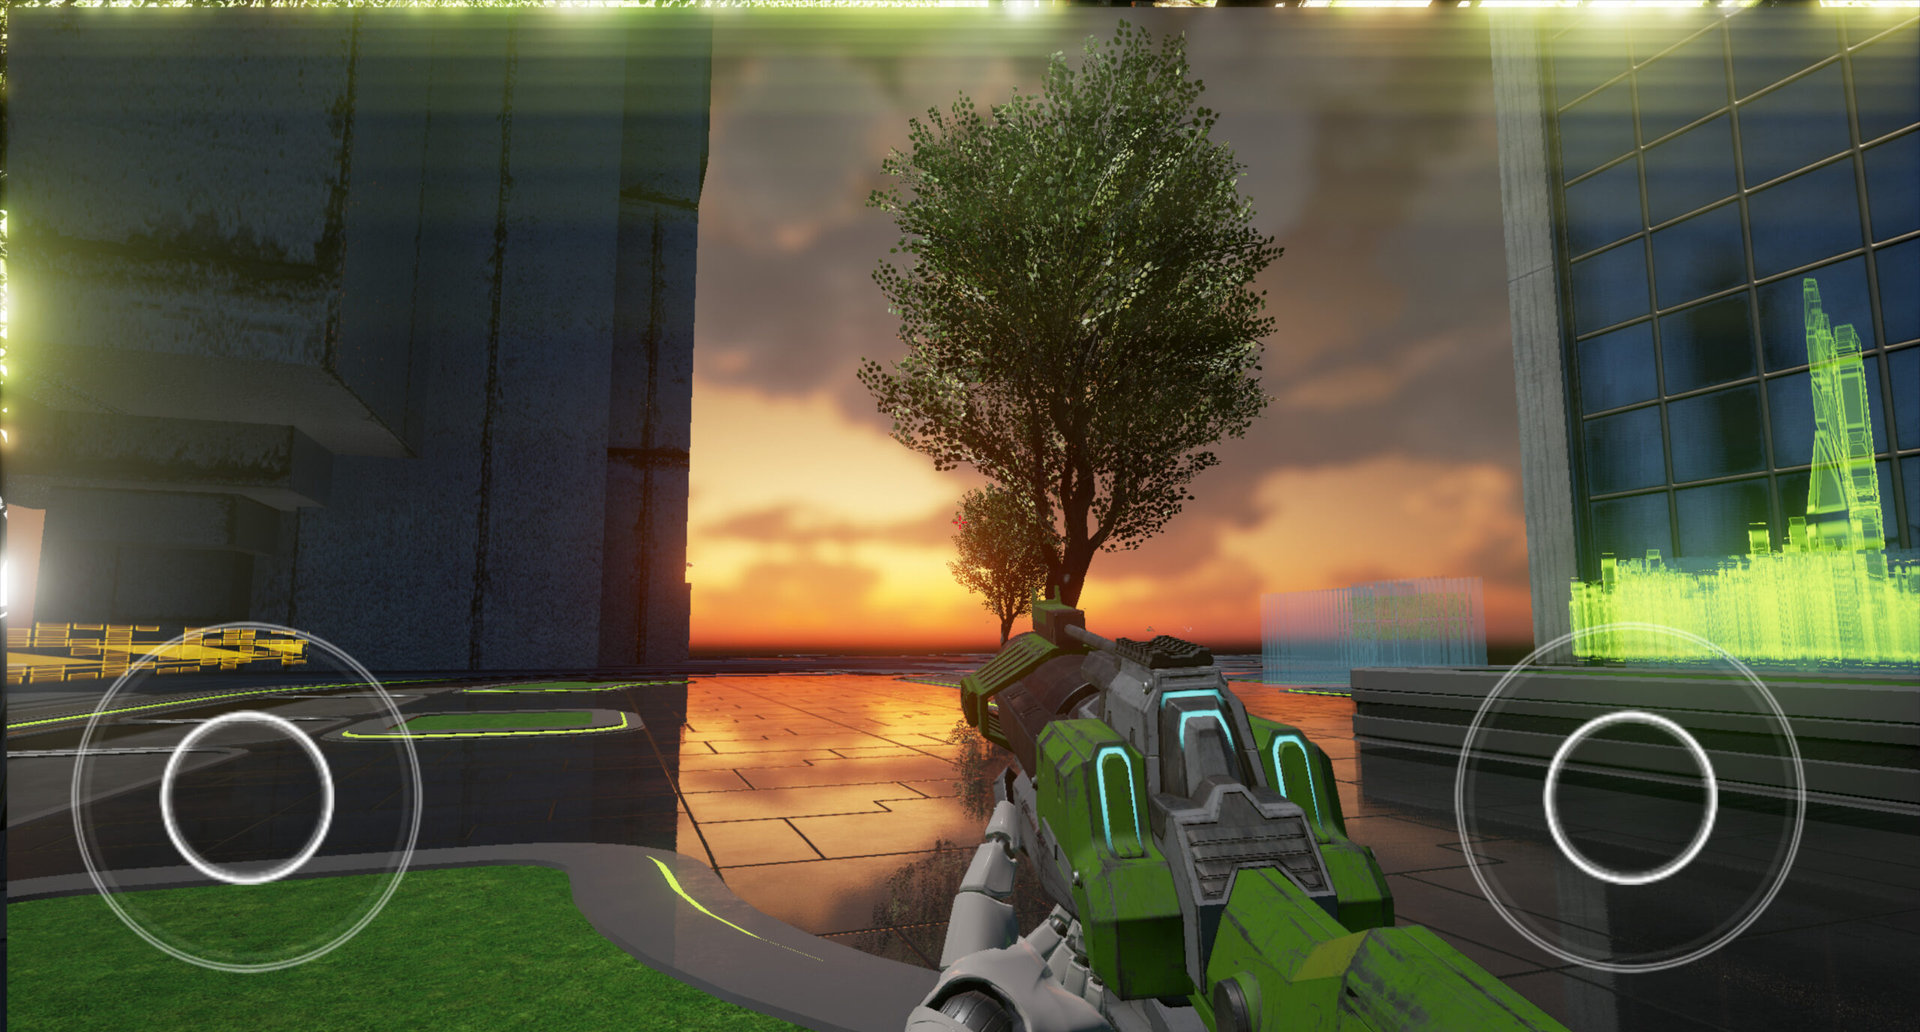
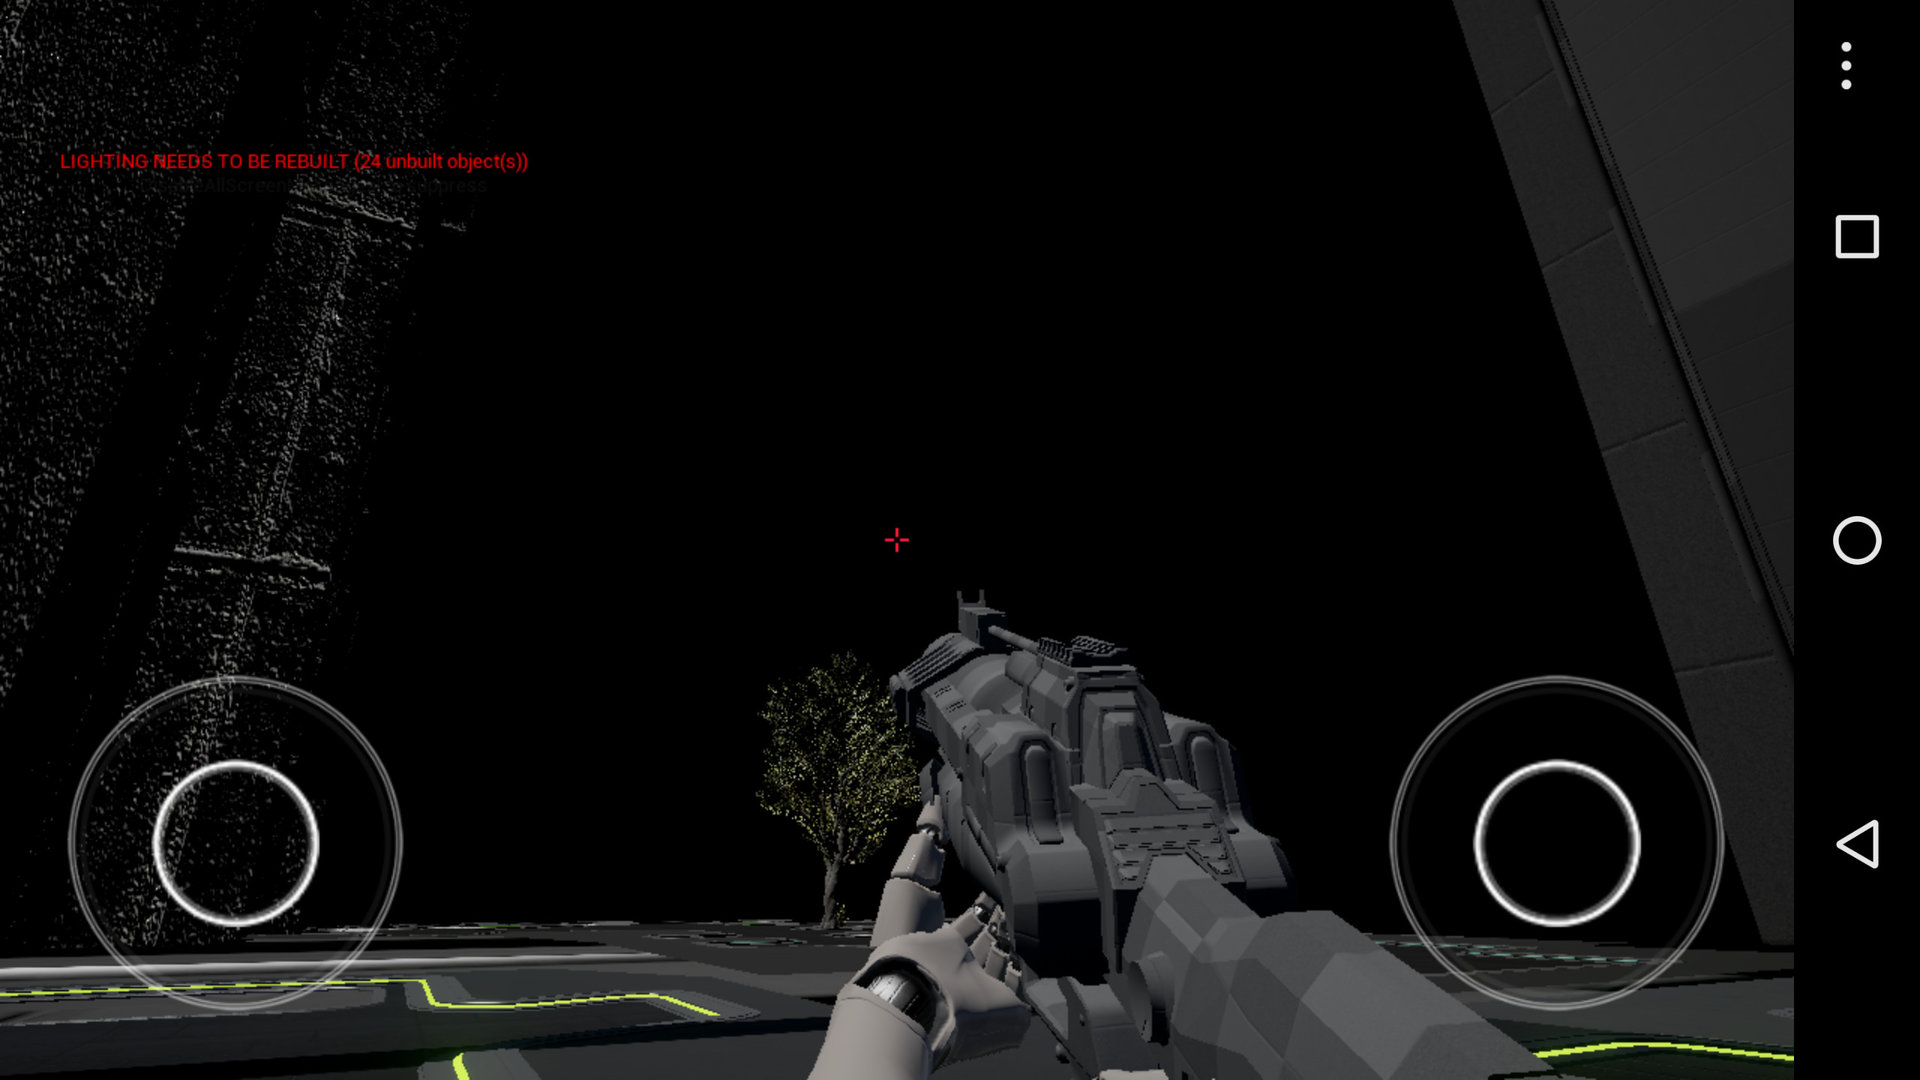
To switch to Android quality settings click on Settings -> Preview Rendering Level -> Mobile / HTML5 – Android Preview. This will show you exactly how the game will look on Android, complete with all its imperfections.
Under the “Build” tab, you can also choose to show error in lighting that will then bake the lighting errors as color in the light map data so you can see what is going wrong. These graphical differences can be as easy as rebuilding the scene to completely changing materials because Android doesn’t like a certain feature.
System requirements
It is also worth noting that you will need a lot of patience if you do not have a high end computer made for this type of development. Now that we are in part 2 and you have made a level with a bunch of objects in the scene, you will start to stress your computer quite a bit. I was able to build my scene with production level lighting with everything at the highest setting in about 15 seconds, but if your scene is any bigger than mine, or if you are using a notebook or a lower end computer, it could take all day.
Unreal Engine also loves to use as much resources as your computer can provide. While building the lighting in Unreal Engine my CPU usage went to 100% on all 8 threads at 4.4 ghz on my i7 6700k and UE used around 17 GB of RAM during the process as well. This does not even in include what my GPU is going through. Keeping all of this in mind, unless you have the hardware, or patience, it is probably a good idea to just stay in one rendering view, and not switch between them too frequently. There isn’t really a need to do so unless you are making your game cross platform.
Wrap Up
Making a FPS for Android isn’t too difficult, getting everything setup is a breeze and with the use of graphs, hard tasks become easy and with a little work on a great level or two, you have a complete game ready to go, sans some enemies. But while getting the basics set up for a first person shooter is easy, Unreal Engine can go a lot deeper. The best way to learn is to do, mess around in Unreal Engine and explore all of the features it has to offer. Unreal offers great sample projects that cover most of what you will encounter while developing with helpful tips and tricks to help you make whatever you want.
Let us know in the comments if you’ve successfully made a FPS using this guide and show us on social media, we’d love to see what has been made. Now get out there and create!