Affiliate links on Android Authority may earn us a commission. Learn more.
How to find and use the Snipping Tool in Windows
When you want to capture a partial screenshot in Windows rather than your entire screen, it’s time for the Snipping Tool. Here’s how to find it, trigger it, and use it in Windows 11 or 10.
QUICK ANSWER
To launch the Snipping tool, hit Windows-Shift-S or search for "snipping" in the Start menu. Select Rectangle, Free-form, Window, or Full-screen mode, then click New.
JUMP TO KEY SECTIONS
How to find the Snipping Tool in Windows
There are two quick ways to launch the Snipping Tool, the first being the Windows-Shift-S combo on your keyboard. If your keyboard doesn’t have a Windows key, or you’d rather use another way, you can simply click the Start button and search for “snipping.”
For even quicker access in the future, you can pin the app to your taskbar. With the tool running, right-click on its taskbar icon and choose Pin to taskbar.
How to use the Snipping Tool in Windows
Modes

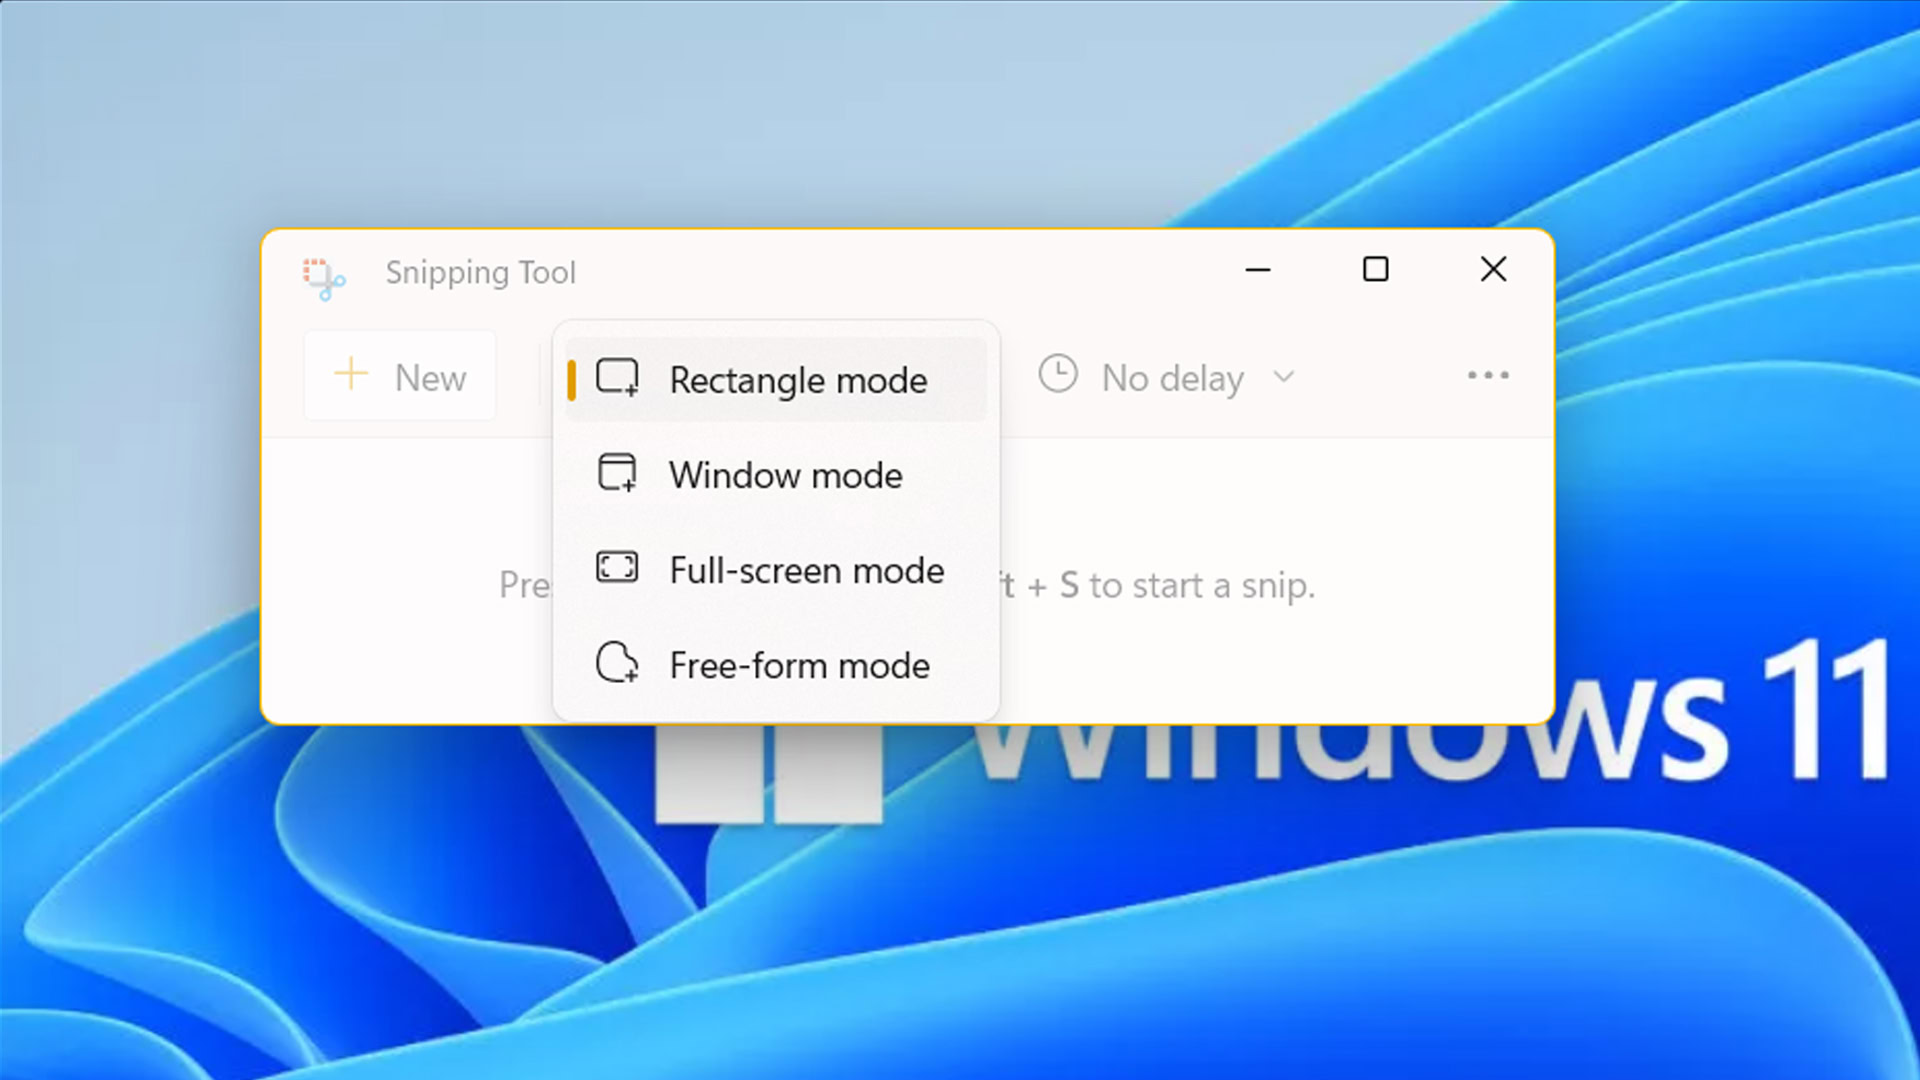
There are four modes available. Once you’ve selected one from the Mode drop-down menu, click New to take a screenshot. As you can see, there’s also a Delay menu in case you need a 3-, 5-, or 10-second wait.
- Rectangle is the default mode, and lets you click-and-drag to select a box-shaped area.
- Free-form allows click-and-drag capture of an arbitrary shape. This isn’t often practical, but does let you get creative.
- Window asks you to choose a specific window to copy in its entirety. This and Rectangle are often the most useful modes, but choose Rectangle if you don’t want to copy interface elements like browser tabs.
- Full-screen is the shotgun approach, capturing absolutely everything onscreen.
Editing your snip

Once you’ve taken a screenshot, there are a few different editing options.
- If you want to annotate an image, use the ballpoint pen or highlighter. In either case, you can click on a tool’s icon a second time to adjust its color and brush thickness.
- Select the eraser to undo some or all of your annotation. If you click on its icon when it’s already selected, you’ll see an Erase all ink option.
- Image crop lets you slim down a screenshot by clicking and dragging tabs on a selection box. Click the checkmark when you’re done, or X to back out and preserve original framing.
- The curved arrows are Undo and Redo buttons in case you make a mistake or change your mind.
Saving a snip
When you’re ready, hit the Save (floppy disk) button in the upper-right corner. You’ll be prompted to choose a destination and filename. You can also choose to save in PNG, JPG, or GIF formats.
Copying a snip to the clipboard
All snips are automatically copied to the Windows clipboard. If a snip isn’t copied for some reason, or you want to copy an edited version, hit the Copy button (overlapping rectangles) in the upper-right corner. From there, you can just paste into another app.