Affiliate links on Android Authority may earn us a commission. Learn more.
Nexus 9 Tips and Tricks!
Google changed its ideology a bit with the Nexus line last year, with both the latest Nexus smartphone and tablet featuring price tags that weren’t nearly as competitive as previous generations. With the premium price point came a premium device though. The HTC-manufactured Nexus 9 brought with it HTC’s prowess in the design and build quality department, their signature front-facing BoomSound speakers, a beautiful display, and even a decent camera experience, for those looking for one with a tablet.
While not without its flaws, everything the Nexus 9 offers for its price, along with the allure of a stock Android software experience and the promise of timely updates, makes the latest Google tablet a great buy. If you have just picked up a Nexus 9, we’re here to help you get the most out of your device. Today, we’ll be taking a quick look at some of our top tips and tricks for the Nexus 9!
Note: A common theme with these tips and tricks is that they may not be specific just to the Nexus 9, with a lot of the new features related to Android 5.0 Lollipop, and will depend on the hardware capabilities of your device.
Tip #1 – Double Tap to Wake
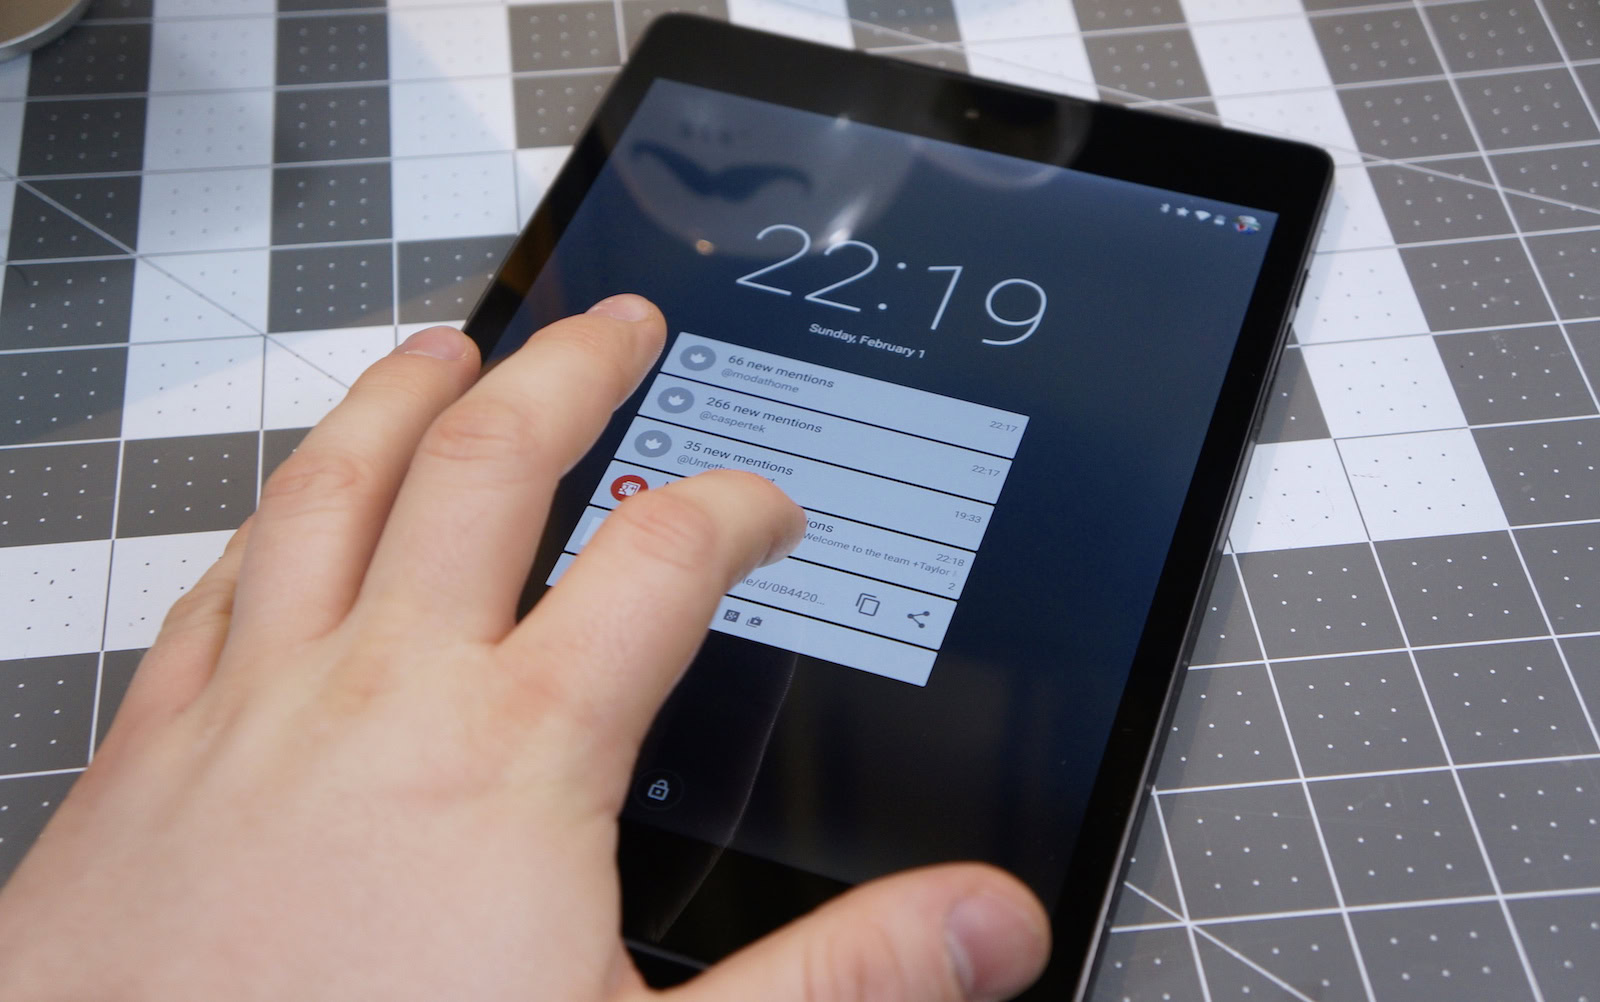
The Nexus 9, and a few other devices, come with a double tap to wake feature, which is pretty self explanatory. All you have to do is double tap on the screen at any time when the display is off to wake the tablet. Depending on how often you need to wake your device, always having to reach for the power button can get very annoying very quickly.
The power button on the Nexus 9 is difficult to get to if you’re not holding up the device, with its placement to the side, and its relatively small size. Not having to do so is very helpful, and this is easily one of the best features of the Nexus 9, or any device that has it.
Tip #2 – “OK Google”
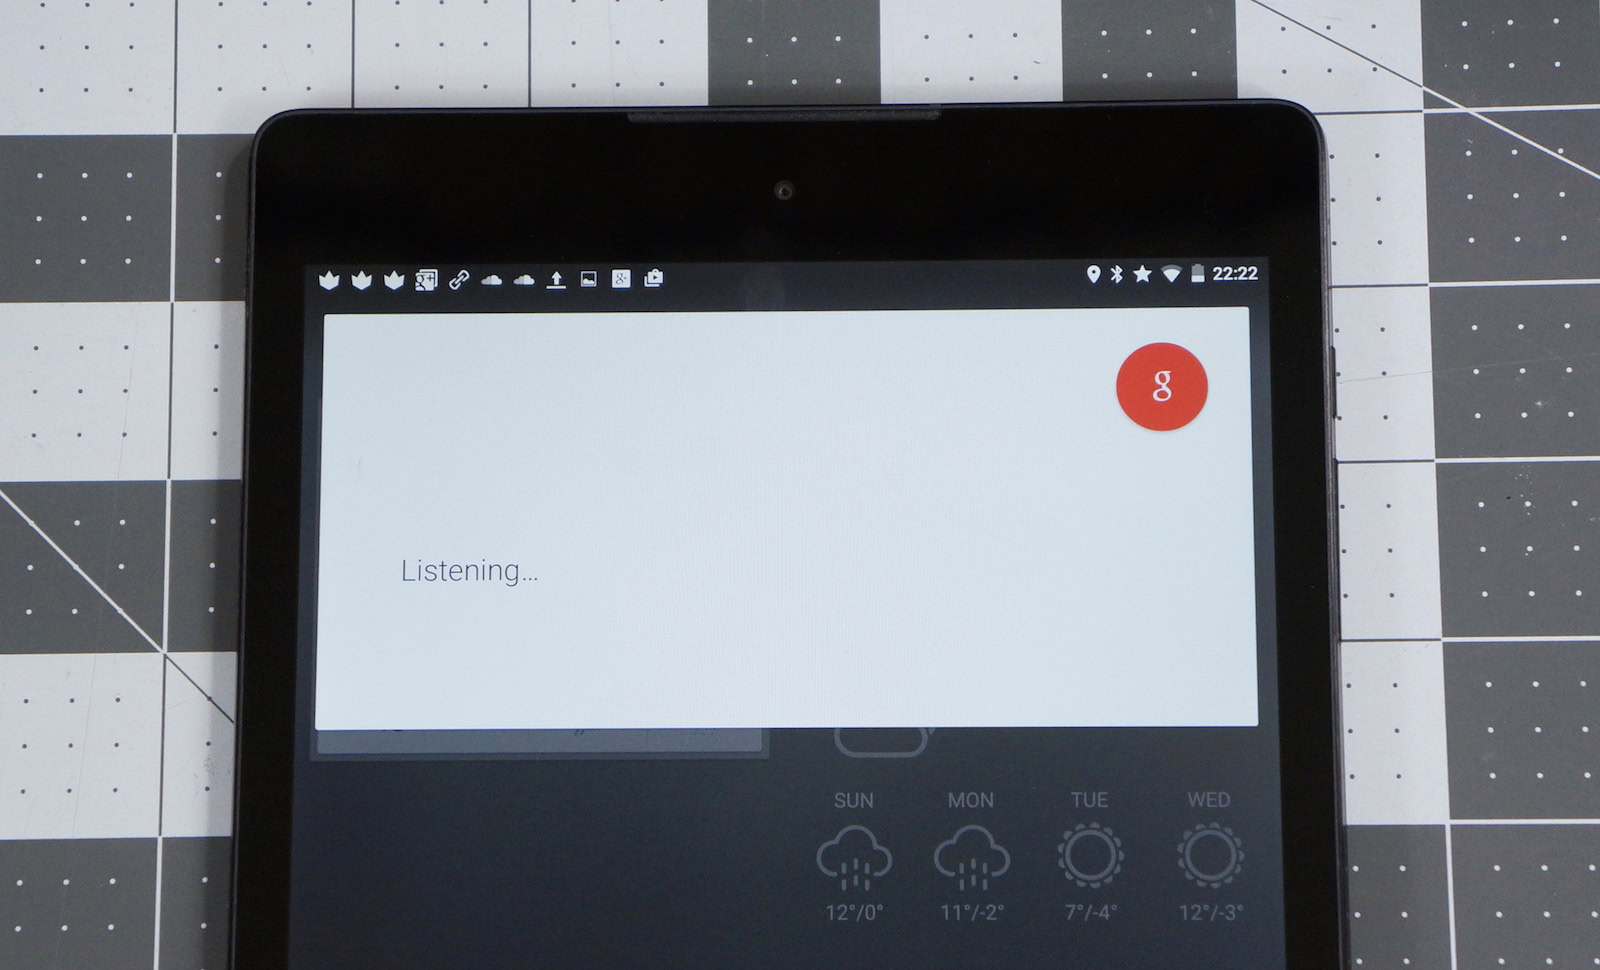
You have the ability to trigger a voice search from the homescreen, just by saying “OK Google.” If you go to the Voice sub menu in the Google Now settings page, you’ll see that the voice search activation from the Google app or any homescreen of the Google Now launcher is on by default, but you also have the option to turn on “Always On,” allowing the device to respond to your command even when the screen is off.
Tip #3 – Guest Mode
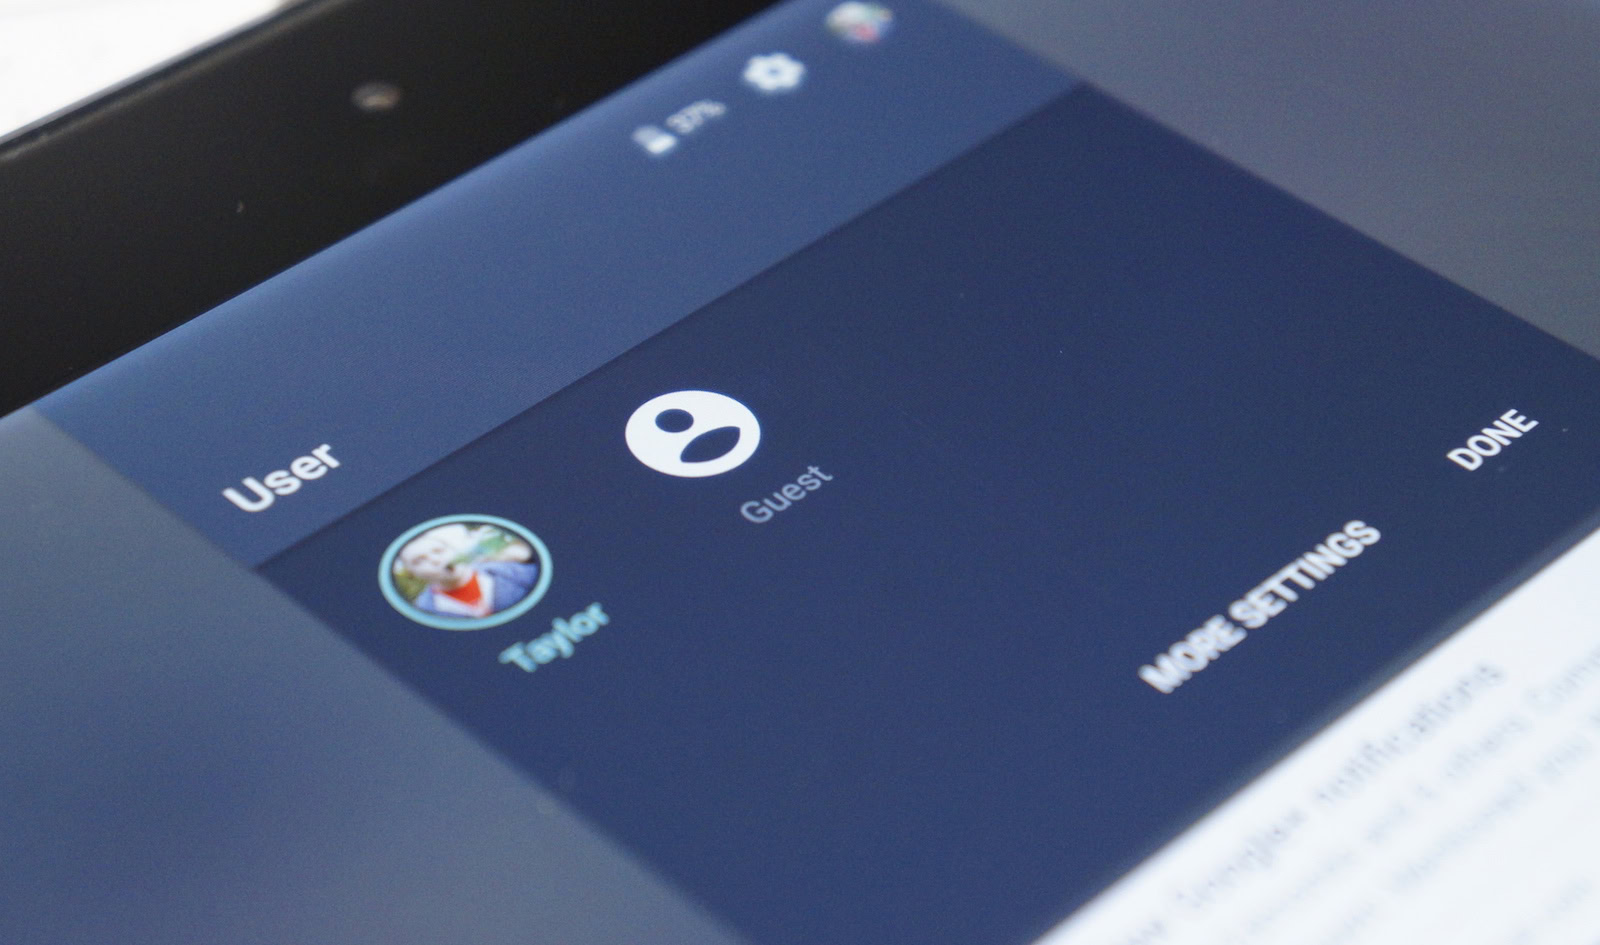
Guest Mode is very useful if you want to keep what is on your device private from anyone else using it. Especially with a tablet that is often used by multiple users, you can also set up various user accounts, instead of just Guest Mode.
To activate Guest Mode, pull down the quick settings menu by swiping down twice from the top, tap on the user profile image at the top right corner, where you will have the option the enable guest mode, or add a new user. This is also accessible from the Settings menu, where you can go the Users sub menu, and select different accounts there.
Tip #4 – Screen Pinning
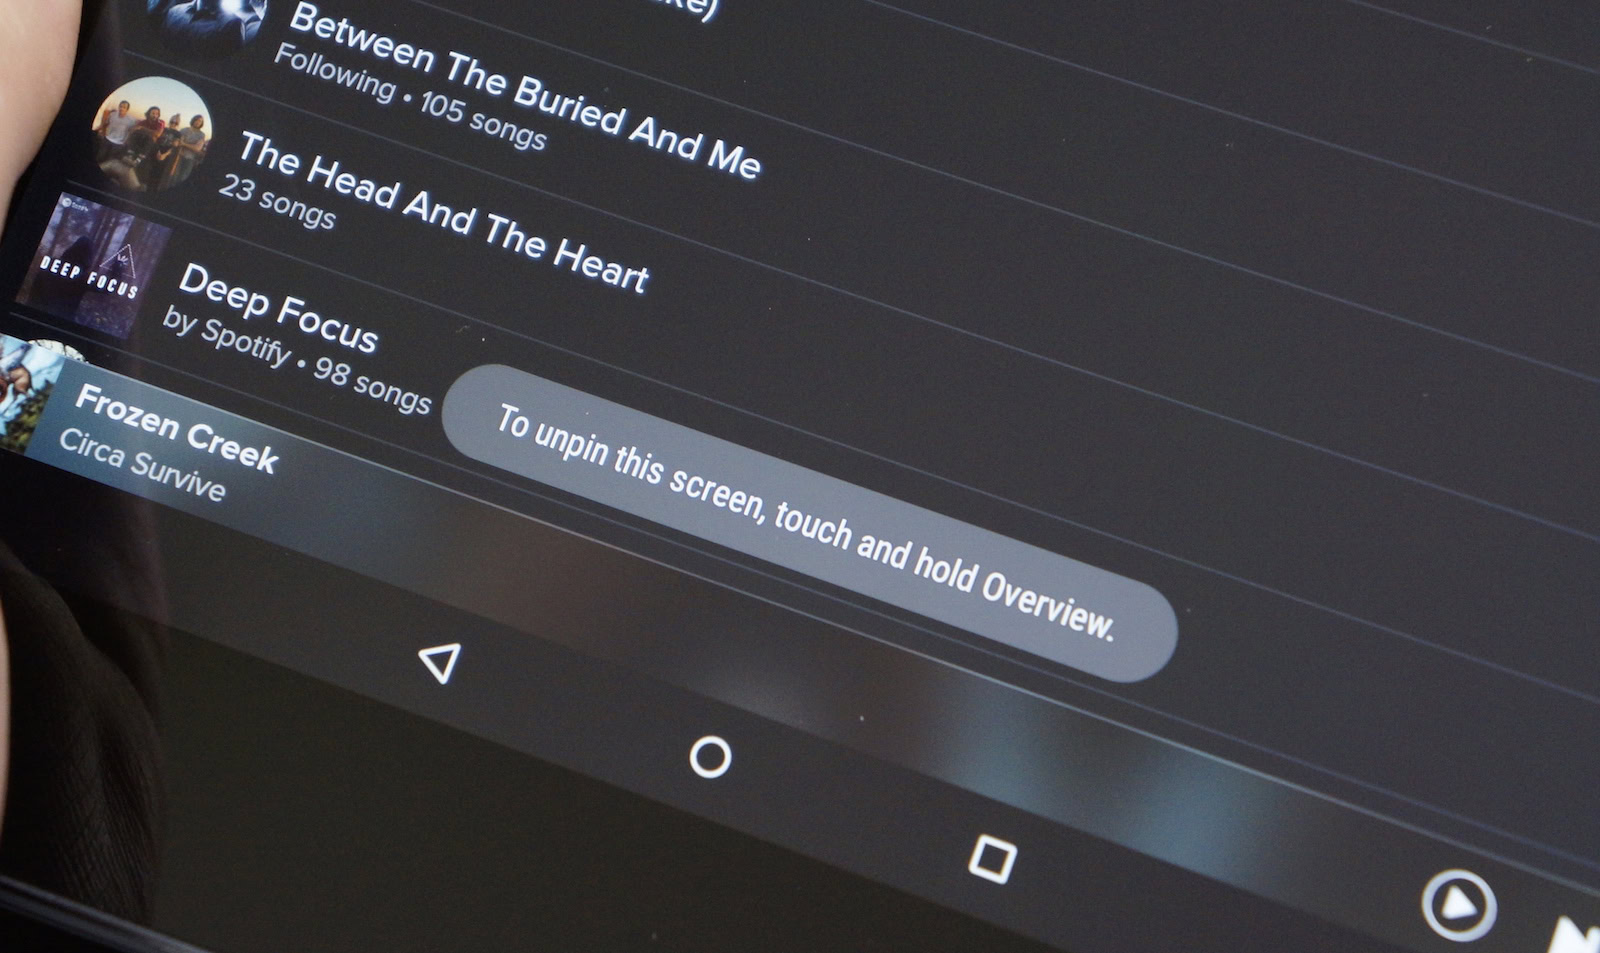
Screen pinning is a feature introduced with Android 5.0 Lollipop, and is useful if you’re giving your tablet to someone who wants to one specific thing. For example, you can lock the tablet to a specific app or game, with the device requiring your unlock pin or pattern to access anything else on it.
To activate screen pinning, first open the application you want, then tap on the Overview key, scroll to the bottom of the window and tap on the pin icon. You won’t be able to pin an application that you aren’t currently using, so you will have to open the app first. To activate the screen pinning feature itself, go to Settings – Security and scroll till you see Screen Pinning, where you can turn it on. To get out of screen pinning, simply press and hold the overview button, and enter your pin, password, or pattern.
Tip #5 – Smart Lock
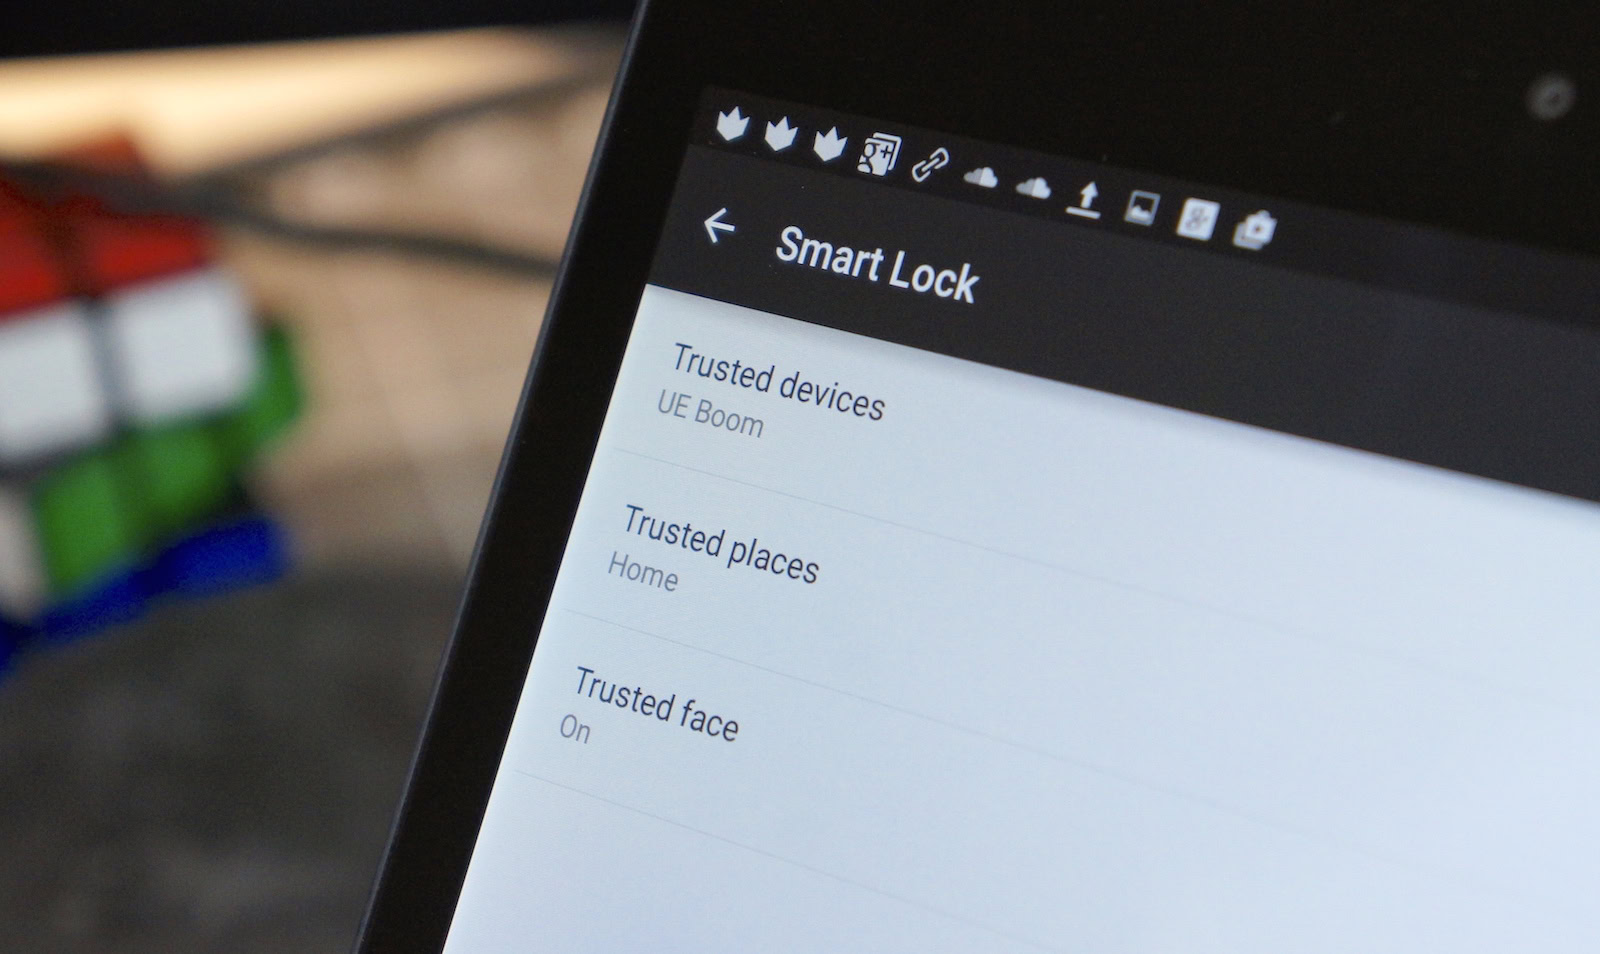
Smart Lock is another new feature introduced with Android 5.0 Lollipop. Having a pin or pattern set up to unlock your device is a must, but needing to enter this pin or pattern every time can also be a pain. What Smart Lock lets you do is select between Trusted Device, Trusted Places, and Trusted Face, that will let you unlock the tablet without needing to enter the pin.
The first lets you select a companion device that will be connected to your tablet via Bluetooth or NFC, the second lets you set a location, and the third functions as an automatic face unlock, setting any of which means you won’t need to enter a pin or pattern to unlock your phone.
Tip #6 – Hidden Game
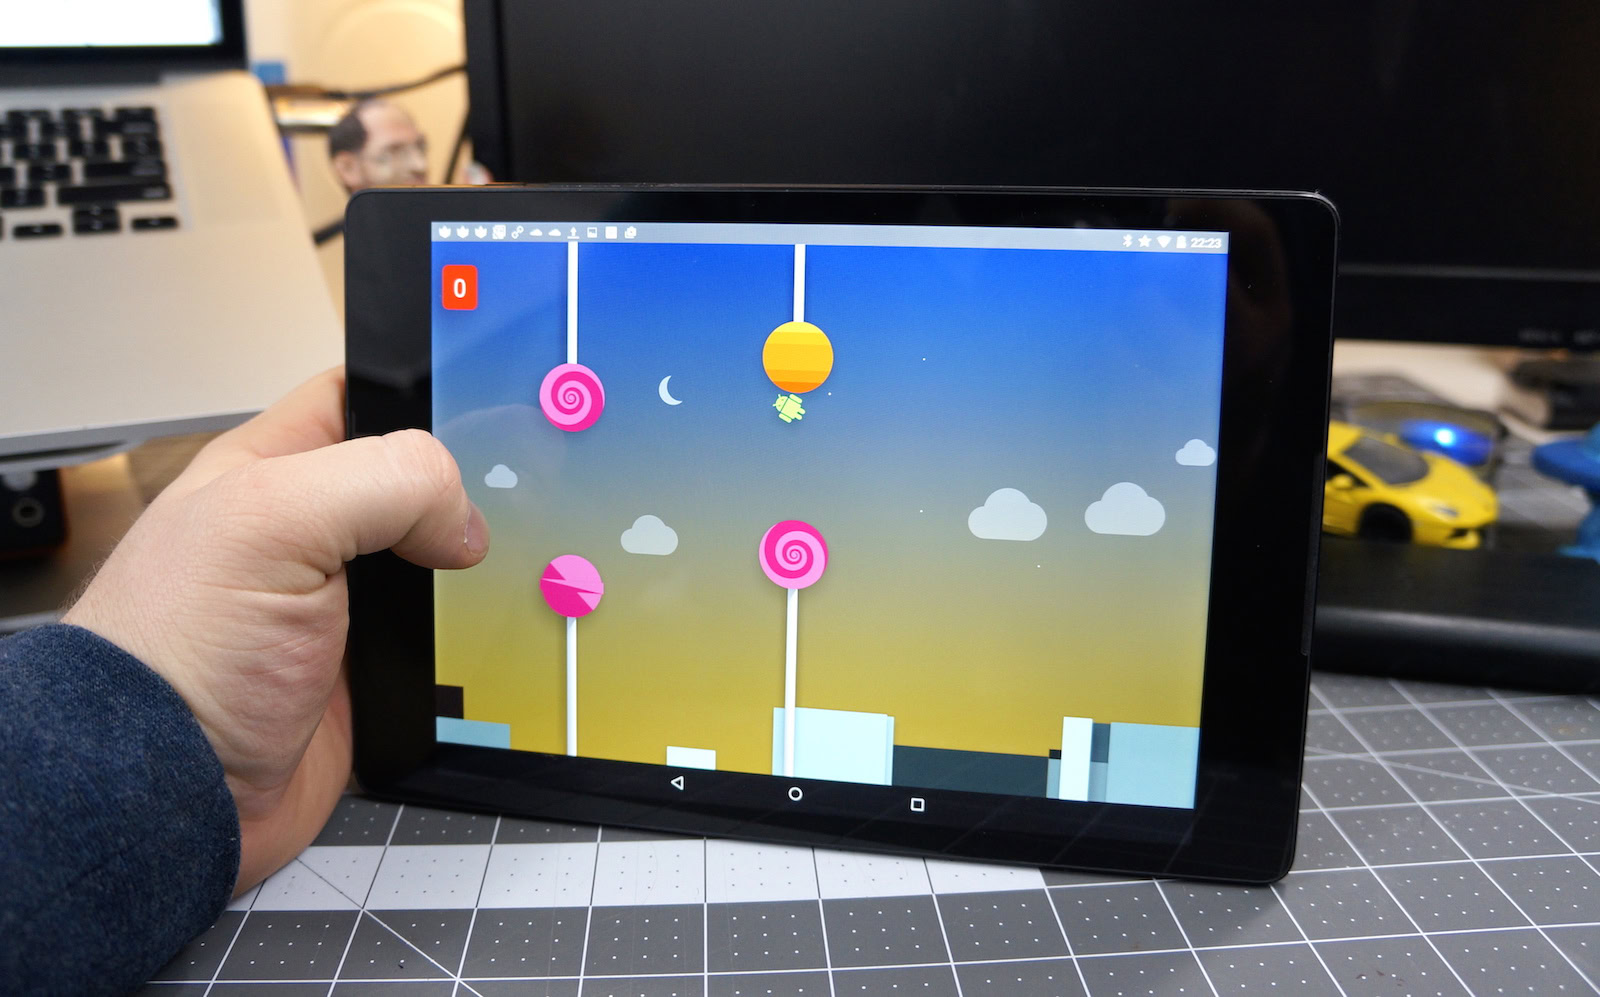
Something that Google does with every major Android release is have some kind of fun easter egg present. In the case of Lollipop, what you have to do is go to Settings – About Phone and tap on the Android version section rapidly a few times. When you see a large lollipop image pop up, tap on the circle five times, with it changing colors, and finally, press and hold on the circle to start the game. The game is basically a Flappy Birds clone, with the Android robot now bouncing in between lollipops. It does require a few steps to get to, but the game can prove to be as addictive as Flappy Birds was.
Tip #7 – Extending Battery Life
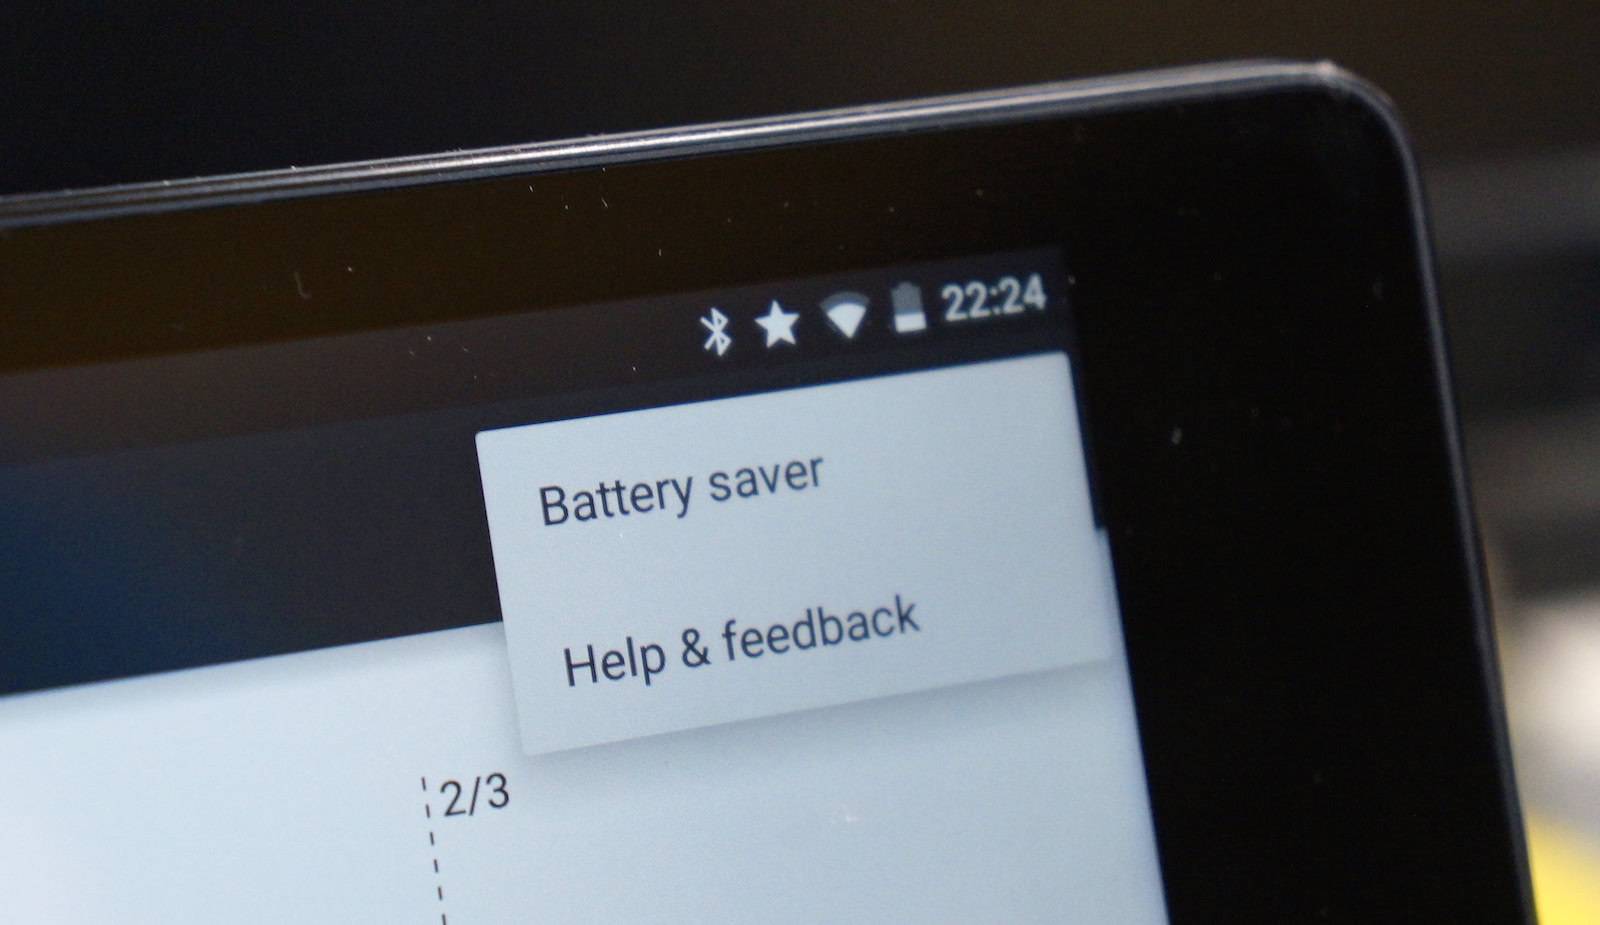
Battery life is always a concern, and with the Nexus 9, it isn’t exactly the best, especially with regards to the standby time. The tablet does come with a battery saver mode though, that will help you get just a little bit more juice out of the battery. You can go into the battery settings by tapping on the battery icon in the quick settings drop down, tap on the menu button at the top right corner, and open battery saver. You can turn it on from there, and also set it to automatically activate when the battery is down to either 5% or 15%. It does limit functionality though, so it’s not always the best option.
Tip #8 – Editing Notifications
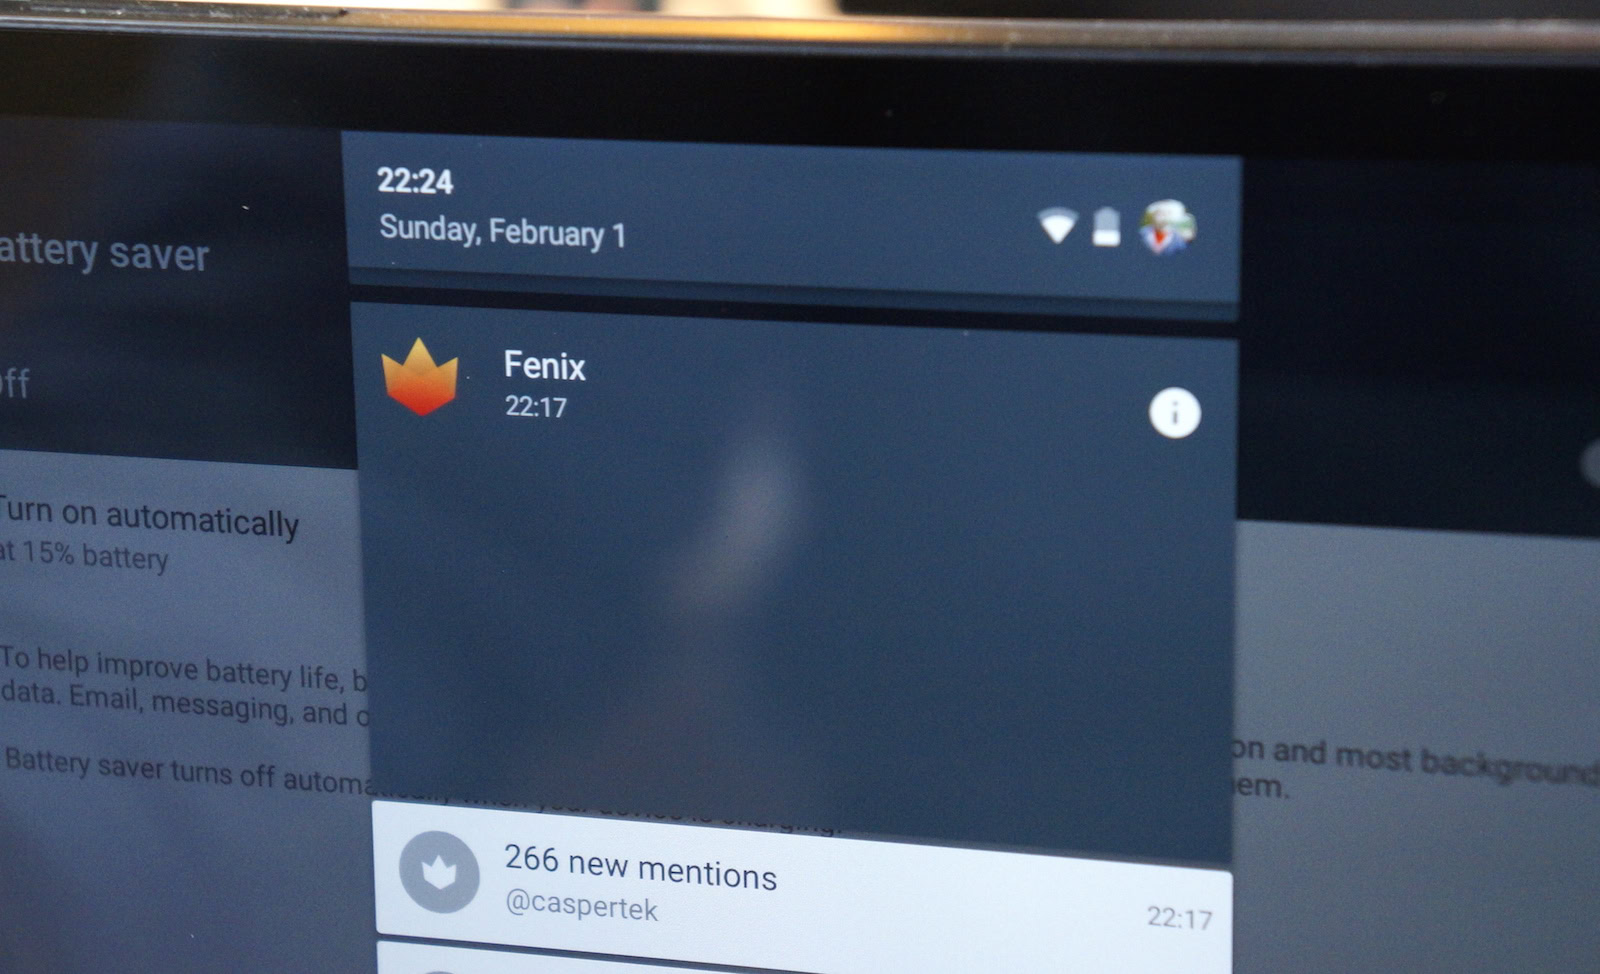
Another feature is the ability to edit the behavior of notifications directly in the notification drop down. If you get a lot of notifications from a particular app and you want to turn that off, simply long press on that notification, tap on the information button on the right to open the settings, and there you can block any more notifications, set it as a priority, or set it as a sensitive notification. With the last option, you can block the notification from showing any information on your lockscreen.
Tip #9 – Priority Mode
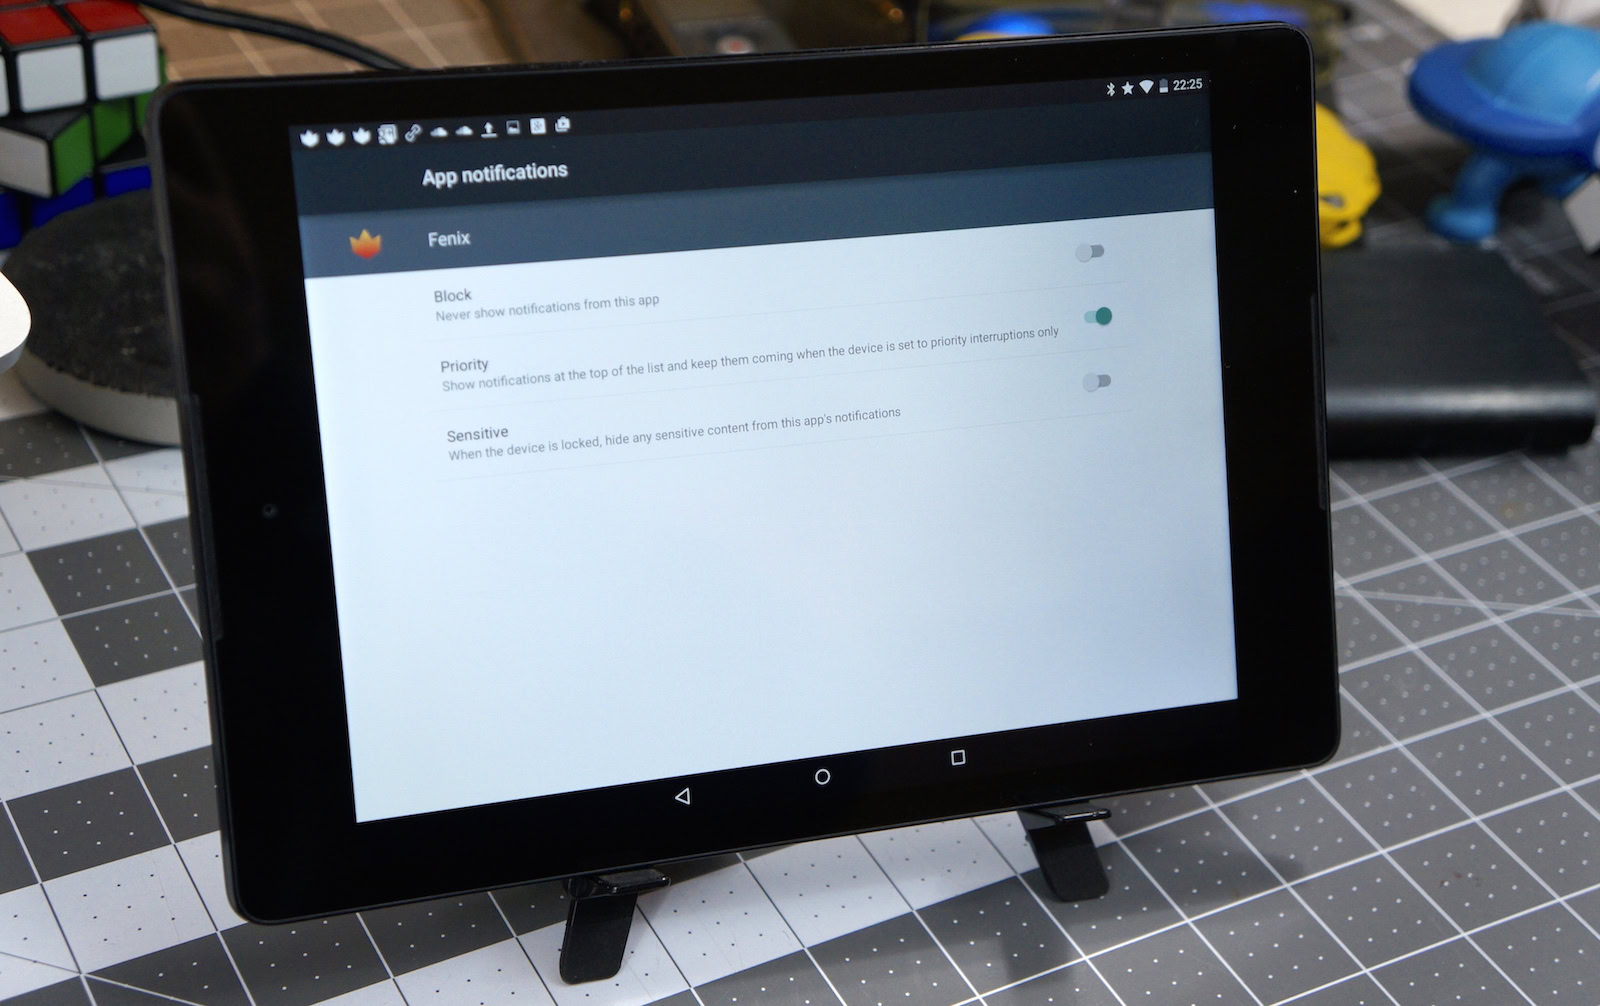
You have the ability to completely silence the tablet or set up priority mode, that will only allow for notifications that are set as a priority from coming through. To set these priority notifications, go to Settings – Sound and Notifications – App Notifications, that will open up a list of applications that send notifications, and individually select each one that you want.
Tip #10 – Quick Settings menu
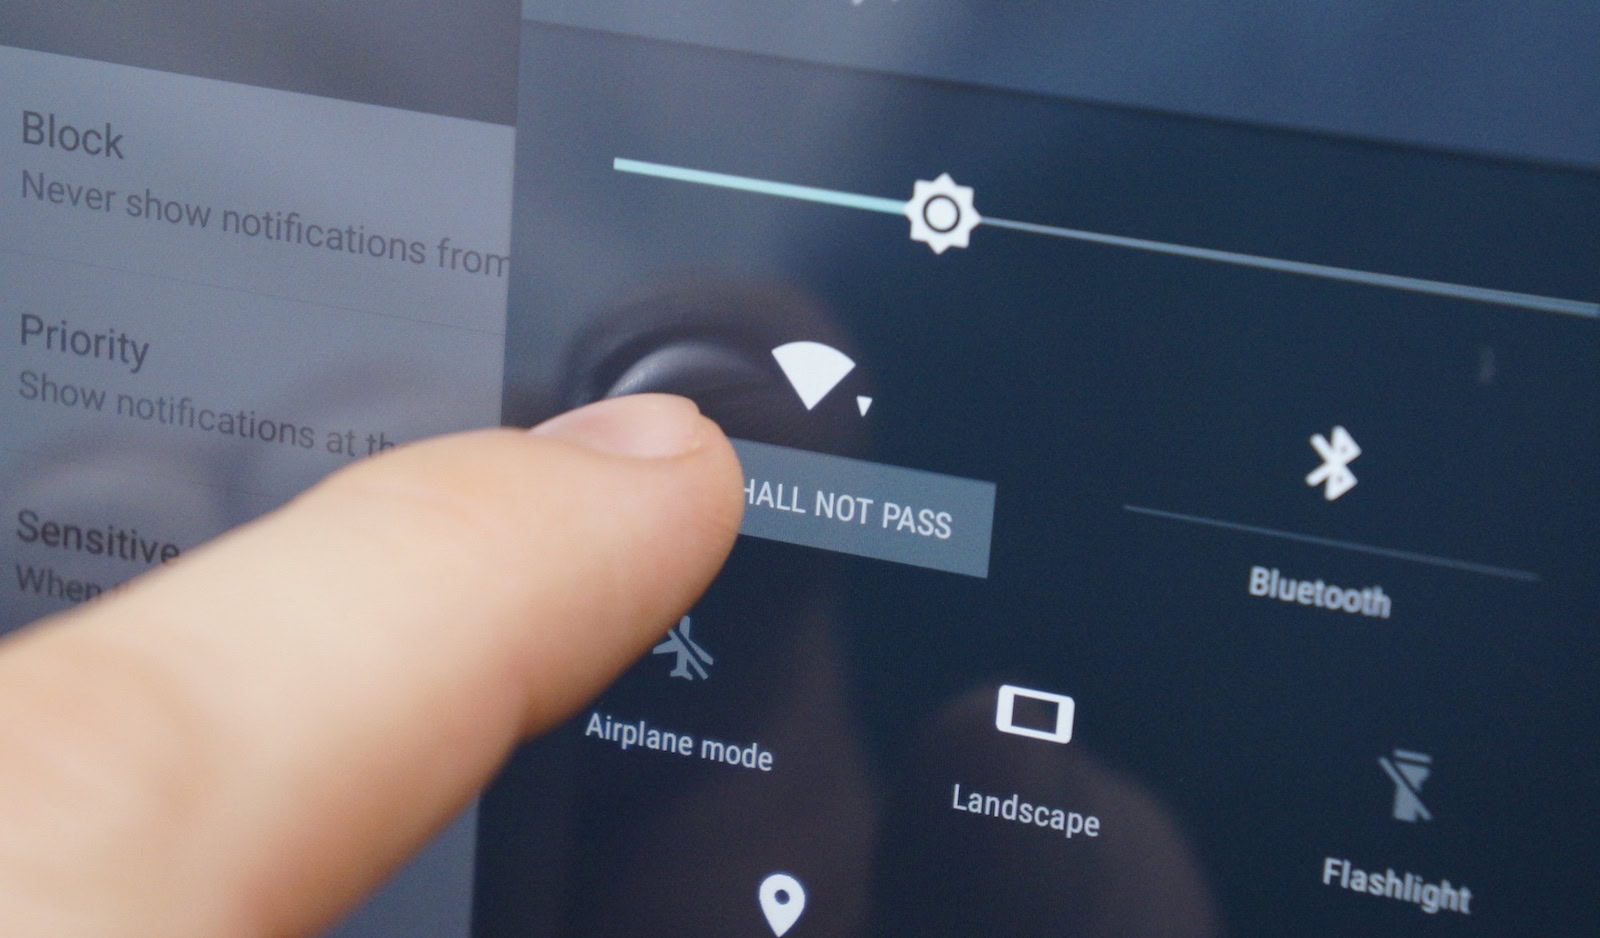
The quick settings menu can be opened by swiping down from the top of the display twice, that will give you a list of toggles to easily turn features on or off by tapping on the icon. In the case of Wi-Fi and Bluetooth though, you can also go into their respective settings pages by tapping on the name below the icon.
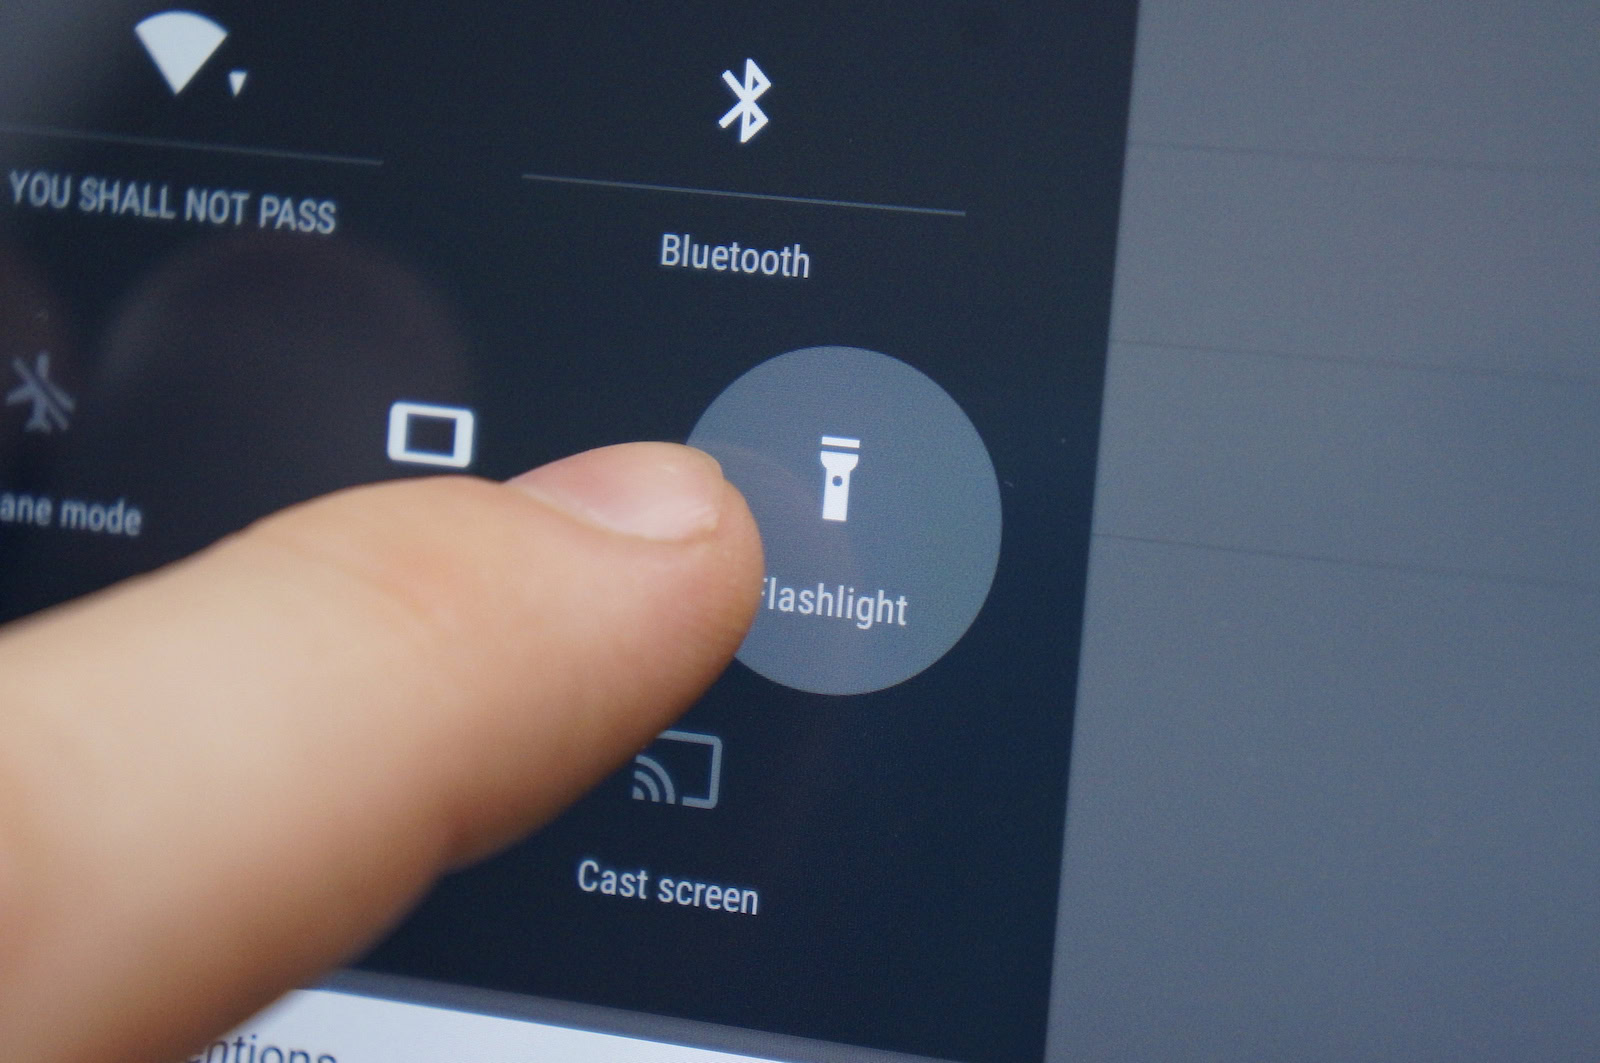
In the quick settings drop down is where you will also see a flashlight toggle, which is there courtesy of the fact that the Nexus 9 is one of the few tablets that comes with an LED flash for the camera.
Tip #11 – Using the Google Search bar
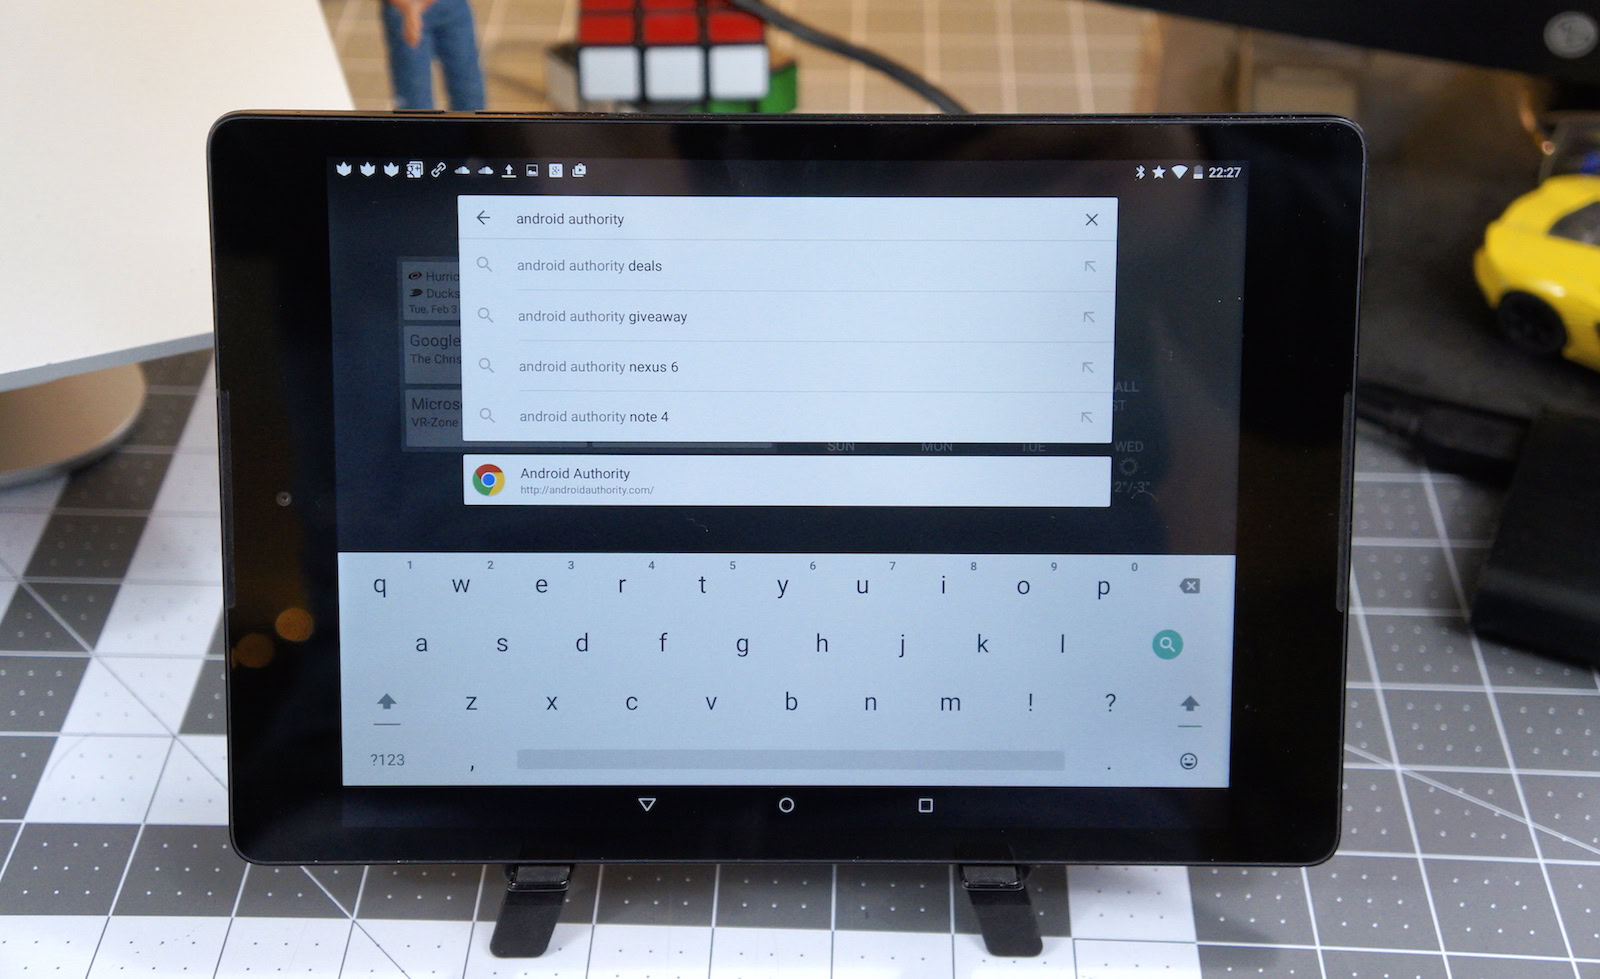
If you use the Google Now launcher on any device, which is the default launcher on the Nexus 9, you will have noticed the Google Search bar at the top of every homescreen. What a lot of users may not know is that other than functioning as a quick way to quickly search for something on the web using Google, you can also use it to easily search for any application on the phone. If you have a lot of apps installed, you won’t have to worry about wading through the app drawer to find what you’re looking for anymore. You can also use the search bar for any other information on your device, such as contacts.
See Also:
- Nexus 9 Review
- Nexus 9 vs Samsung Galaxy Tab S 8.4
- Common problems with the Nexus 9 and how to fix them
- Nexus 9 Magic Cover and Keyboard Folio case review
So, there you have it, some useful tips and tricks to help you get the best experience on your Nexus 9! If there is anything you feel we’ve missed out on, don’t forget to drop us a note in the comments section below.