Affiliate links on Android Authority may earn us a commission. Learn more.
How to write an Android CPU benchmark tool (part 2)

In the last exciting installment of ‘How to Write an Android CPU Benchmark Tool’, we discovered how you could create a piece of code to test the performance of your CPU. Specifically, we had it encrypt a short string 20,000 times and measured how long that would take in nanoseconds. It was awesome.
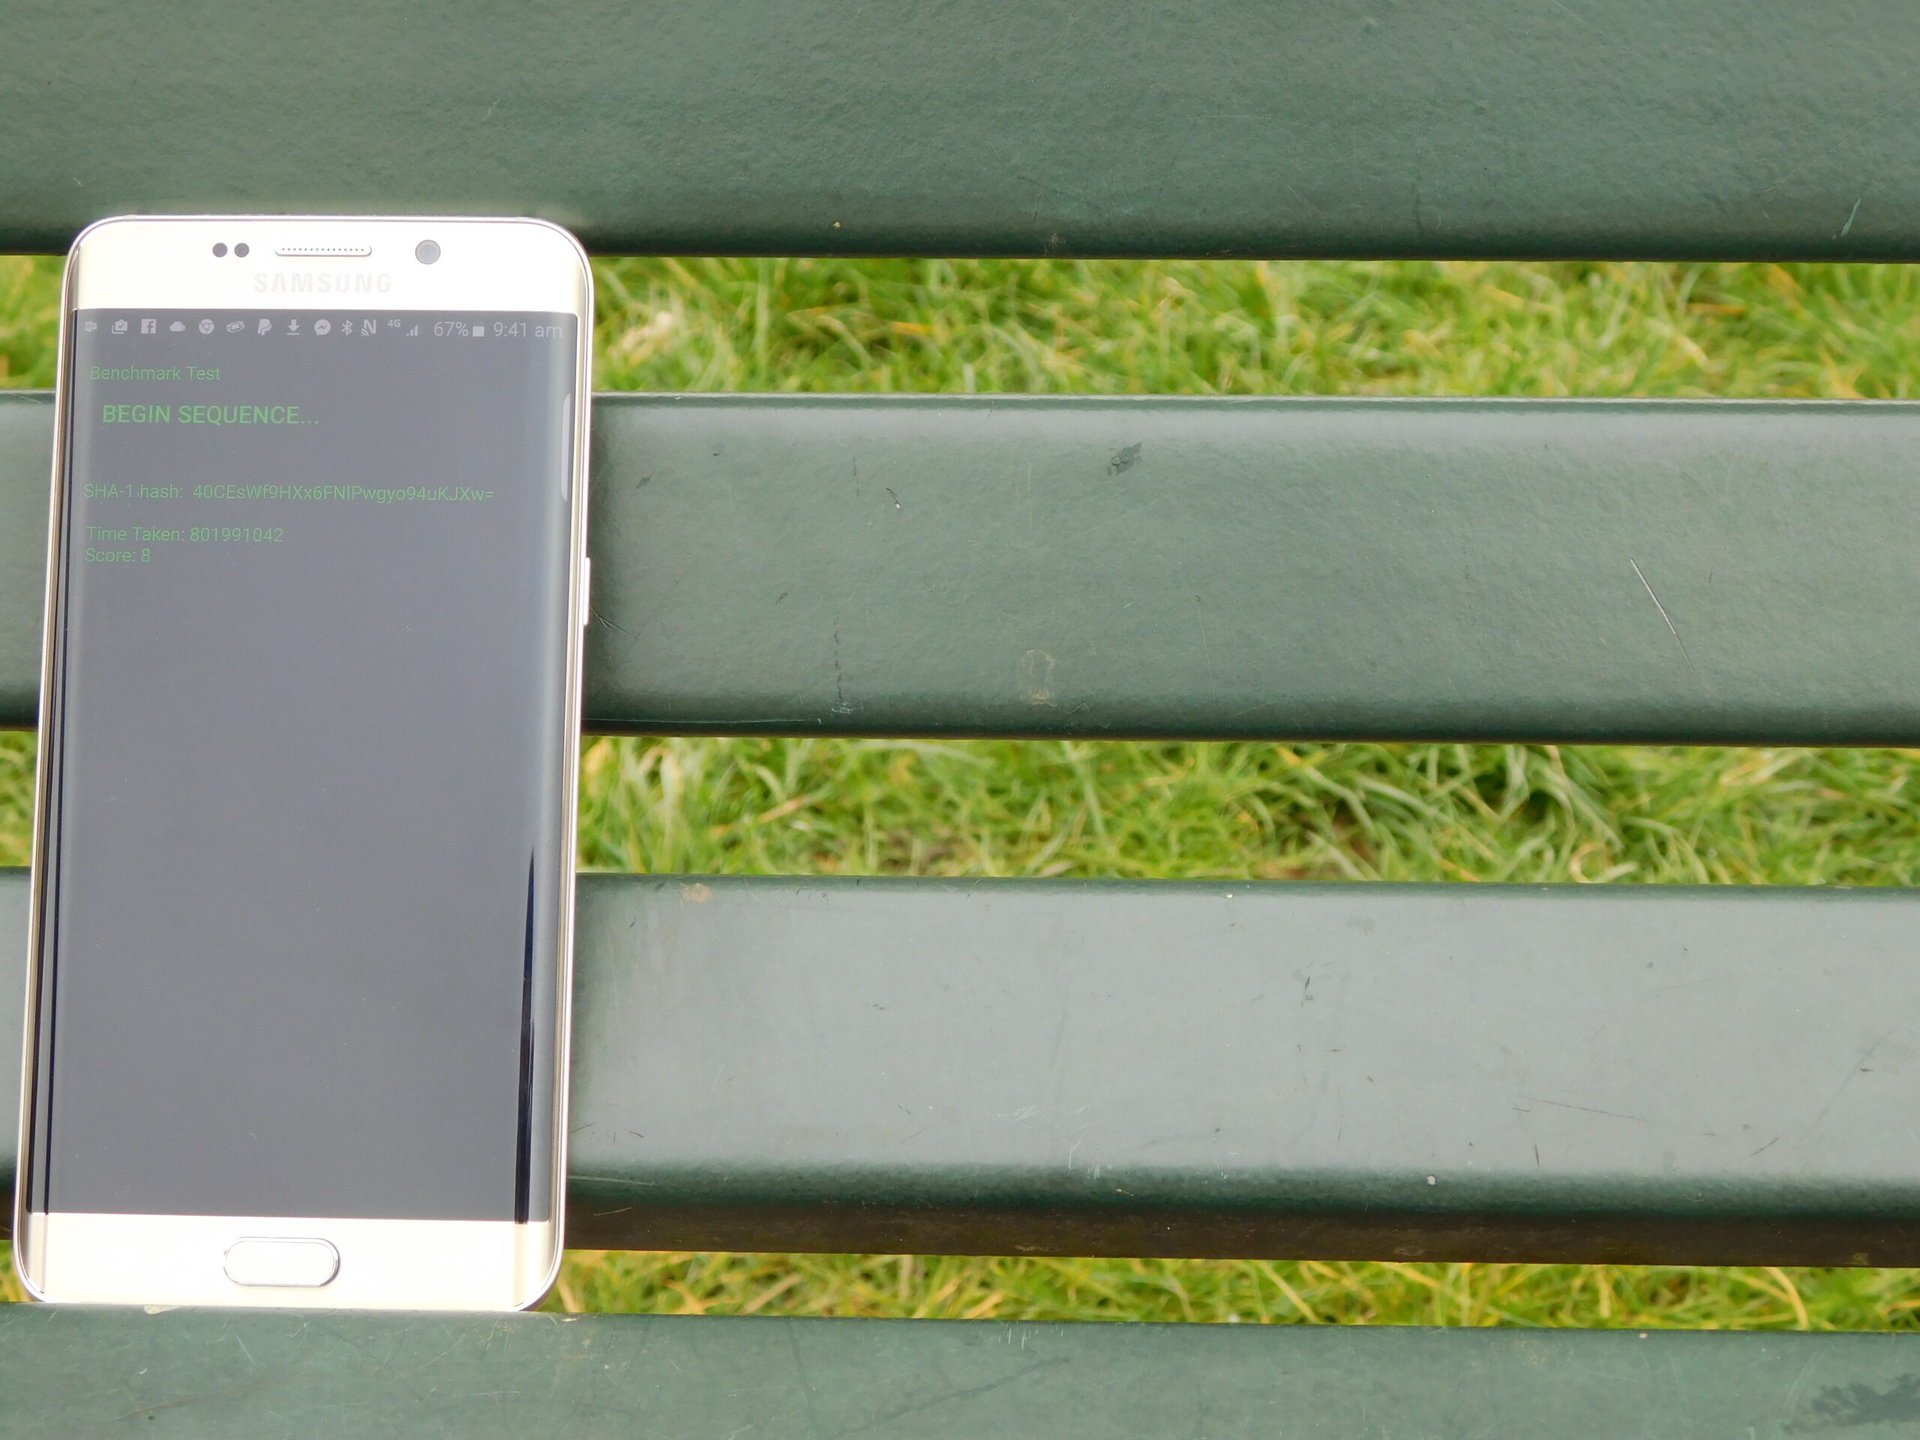
In this, the (nano)second episode, we’ll be building on that foundation and throwing some more challenges at our phones. In the process, we’ll learn a bit about hacking, security and how to use threads and handlers for more efficient code!
MD5 encryption
Let’s kick things off right away by adding an additional test to our program. We’ve done SHA-1 encryption, so how about we give MD5 encryption a go?
Like SHA-1, MD5 is another cryptographic hash function. This one produces 128-bit hash values that have been used for a wide number of applications. However, it has also been severely compromised and is even less secure than SHA-1, so today it’s only really useful for fun little projects like this…
To start with, we need to create a new variable in Benchmark.java. We already have tt which is the string that tells us the amount of time that the SHA-1 encryption took. Next, we need one for MD5, which we may as well call tt2. Likewise, just as we had a string for HashValue, let’s create one for MD5Value. So add these lines to create the variables:
private String MD5Value;
private String tt2;
Put these alongside the other variables you created. Now we’re going to add a whole new function. Once again, I’m not going to go over how this works in detail; but we’re using the MessageDigest class to encrypt our test string (which is ‘The big bad wolf’ for no particular reason) via MD5. The try and catch commands are used to ‘catch’ exceptions. This is basically a type of error handling that allows us to surround code that is likely to throw an error. Anything inside the catch block runs when the code in the try block invokes an exception (doesn’t work). Certain lines of code require you to use try and catch.
But you don’t need to know all this to enjoy testing your CPU with MD5. Just copy and paste the following as a new function:
public void computeMD5Hash(String password)
{

    try {
        MessageDigest digest = java.security.MessageDigest.getInstance("MD5");
        digest.update(password.getBytes());
        byte messageDigest[] = digest.digest();

        StringBuffer MD5Hash = new StringBuffer();
        for (int i = 0; i < messageDigest.length; i++)
        {
            String h = Integer.toHexString(0xFF & messageDigest[i]);
            while (h.length() < 2)
                h = "0" + h;
            MD5Hash.append(h);
        }

        MD5Value = MD5Hash.toString();

    }
    catch (NoSuchAlgorithmException e)
    {
        Log.e("Benchmark", "Error initializing MD5");
    }

}
Nicely done. Now we’re going to update the onBeginClick function.
Before, it read:
public void onBeginClick (View view) {
    tsLong = System.nanoTime();
    for (Integer i = 0; i<20000; i++) {
        computeSHAHash(teststring);
    }
    Long ttLong = System.nanoTime() - tsLong;
    tt = ttLong.toString();
    Integer roundnumber = Math.round(ttLong / 100000000);
    String score =  roundnumber.toString();

    output = "SHA-1 hash: " + HashValue + "\n Time Taken: " + tt + "\n Score: " + score;
    result.settext(output);
}
That simply: took the time (tsLong = System.nanoTime()), ran the computeSHAHash function 20,000 times inside a loop, then took the new time and calculated the difference before showing it on the widget called ‘result’. We also created a ‘score’ by dividing the nanoseconds taken by 100,000,000 and rounding it to the nearest whole number.
We’re going to do the same thing again, but this time with the MD5. Then we’re going to display the two different message digests we created and the two different total times. The new score will be a mean average of the two (so we add both together and divide by 2).
Then we’ll display all of this to the user. So this little bit of code looks like so:
public void onBeginClick (View view) {
    tsLong = System.nanoTime();
    for (Integer i = 0; i<20000; i++) {
        computeSHAHash(teststring);
    }
    Long ttLong = System.nanoTime() - tsLong;
    tt = ttLong.toString();

    tsLong = System.nanoTime();
    for (Integer i = 0; i<20000; i++) {
        computeMD5Hash(teststring);
    }
    Long ttLong2 = System.nanoTime() - tsLong;
    tt2 = ttLong2.toString();

    Integer floor = Math.round(ttLong / 100000000);
    Integer floor2 = Math.round(ttLong2 / 100000000);
    Integer total = (floor + floor2) / 2;
    String score =  total.toString();


    output = "SHA-1 hash: " + HashValue + "\n Time Taken: " + tt + "\n \n MD5 Hash: " + MD5Value + "\n Time Taken: " + tt2 + "\n Score: " + score;
    result.setText(output);

}
Give it a go and you should find that both functions take about the same amount of time. But by taking an average of both, we should have a somewhat more reliable estimate of CPU performance. In other words, the score should now vary less from one attempt to the next.
Brute force attacks, AKA counting
Okay, that was fun. But really we’re cheating seeing as we didn’t write the algorithm ourselves. What could we come up with that would be a suitable test for our device?
Well, how about trying to crack a password? When we discussed SHA-1 last time, we mentioned that it was now possible to decrypt SHA-1. How? By guessing. In other words, the computer guesses every single combination until it comes across the correct solution. This is called a ‘brute force attack’.
This is also how some hackers steal your password. Let’s say you have a PIN code that is made up of four numbers. This means that there are 10^4 possible solutions, AKA 10 x 10 x 10 x 10 or 10,000. That’s because there are ten possible positions for each digit (0-9). If a program were trying to hack your PIN code, then it could do so very quickly by simply going through each possible combination in order: 0000,0001,0002,0003 all the way up to 9999.
Did you know that 10% of people use '1234' as their PIN codes?
This would take no time at all. After all, we’ve seen just how quickly our smartphones can encrypt a string with SHA-1 20,000 times! It would take barely any time at all to crack your PIN. Now isn’t that reassuring?
But what if your password were 5 digits? Or 10? Now you have a password with 10^10 possible combinations which is 10,000,000,000. The latter would take a much longer time and wouldn’t be terribly practical for what we’re about to do. So let’s stick with five digits for now, which gives us 100,000.
First, create another new variable for your program. This time:
private String tt3;Now let’s create our bruteForce function. Before I share this with you though, have a think yourself about how you’d go about trying to go through every single possible combination for a 10 digit string… Must be some very complicated algorithm right?
Still thinking? If so, you’re probably over complicating it. All we actually need to do is to use decimal places. This will account for our ‘0’ positions and we could then compare that to a string. So we can just count from 0 to 99999, which will take 100,000 steps! Then, to convert it into a PIN we would just have to divide it by 100,000, so that ‘109’ would become ‘.00109’. For numbers ending in zeros, you would need to add them to the end to make the password the right length. We don’t need to do any of this because we’re not really trying to crack a code – we’re just trying to see how long it would take. So this is perfectly sufficient for our purposes:
Integer code = 99999;
for (Integer i = 0; i < code; i++) {

}
All we’re really doing here then is counting to 100,000. But we sure made it sound a lot more interesting…
Except we’re not really supposed to do this, seeing as it looks like bad code to the compiler. This loop doesn’t do anything, in a real life hacking situation the code in the loop would need to do something every iteration, use the generated PIN against the target system, but here we are just going to loop around doing almost nothing. This is called a ‘NOOP’ or No Operation. So just to make sure that it doesn’t get ignored, I’m just going to make code a global variable (by declaring it outside this function) and set a new variable called successfulcode to equal i.
Integer successfulcode = 0;
for (Integer i = 0; i < code; i++) {
    successfulcode = i;
}
Once the loop ends, successfulcode will have the same value as code.
This takes my phone 15663834 nanoseconds. So that’s how quickly my phone could crack a 5 digit PIN code. Cool! If I increase this to six digits (by making the Integer code 999999), then this takes significantly longer. By the time I’m at 9 digits, I’m getting ‘Benchmark isn’t responding’. The total time it takes to crack this code is 127715825311 nanoseconds – over 127 seconds (AKA two minutes).
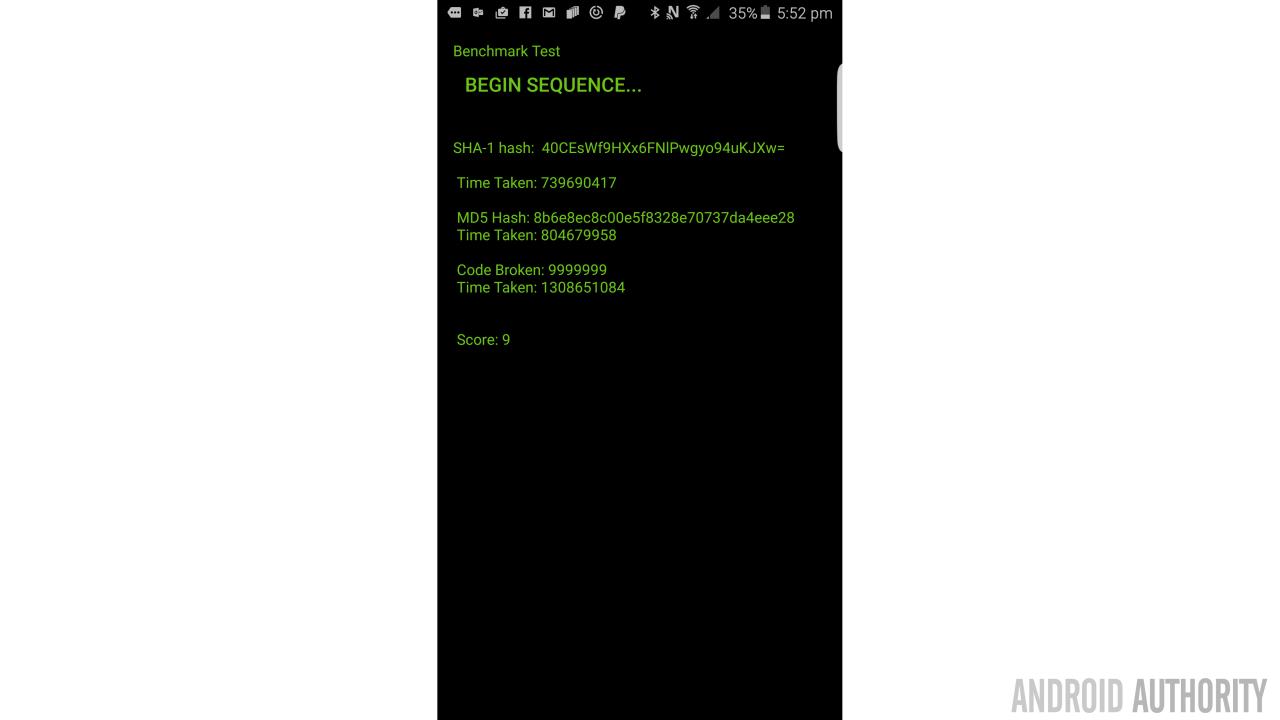
To make this test equivalent to the other two though, I’ve found that seven digits is the sweet spot. If I use the same calculations and take an average, then I consistently get a score of ‘9’ now for my device.
Let’s update the onBeginClick one more time so it now takes into account all three tests:
public void onBeginClick (View view) {
    tsLong = System.nanoTime();
    for (Integer i = 0; i<20000; i++) {
        computeSHAHash(teststring);
    }
    Long ttLong = System.nanoTime() - tsLong;
    tt = ttLong.toString();

    tsLong = System.nanoTime();
    for (Integer i = 0; i<20000; i++) {
        computeMD5Hash(teststring);
    }
    Long ttLong2 = System.nanoTime() - tsLong;
    tt2 = ttLong2.toString();

    tsLong = System.nanoTime();
    bruteForce();
    Long ttLong3 = System.nanoTime() - tsLong;
    tt3 = ttLong3.toString();

    Integer floor = Math.round(ttLong / 100000000);
    Integer floor2 = Math.round(ttLong2 / 100000000);
    Integer floor3 = Math.round(ttLong3 / 100000000);
    Integer total = (floor + floor2 + floor3) / 3;
    String score =  total.toString();

    output = "SHA-1 hash: " + HashValue + "\n Time Taken: " + tt + "\n \n MD5 Hash: " + MD5Value + "\n Time Taken: " + tt2 + "\n \n Code Broken: 9999999 \n Time Taken: " + tt3 + "\n \n \n Score: " + score;
    result.setText(output);

}
So you see, it doesn’t take much computing power to crack a 7 digit PIN number very quickly; let alone a 4-digit PIN code. And hackers who do this sort of thing will normally use dedicated computers with a lot more power and they’ll happily wait weeks if necessary… so you see why we need things like SHA-1!

And the same kind of attacks can be used against your regular passwords. The only difference is that there are now 26 possible positions for each character (because there are 26 letters) so a four digit password has 26^4 possible solutions, or 456,976. If we let the password be up to 10 characters long, then that’s now 26^10. Throw in capital letters, numbers and symbols and you’re starting to get a lot more secure; which is why websites are always telling you to come up with more complex passwords. But we don’t listen. Did you know that 10% of people use ‘1234’ as their PIN codes? And crazy numbers of people use passwords like ‘qwerty’ and ‘password’. These are things that a brute force attack would crack very quickly.
This is also why online forms use things like Turing tests to add extra security as well. A Turing test (named after Alan Turing of course) is any kind of test that is designed to see if the user inputting the password attempt is a human. This might mean you have to identify numbers in a squiggly pattern. Frustrating yes but it prevents a computer from automatically entering millions of attempts. Clever hackers get around this with OCR software (optical character recognition) or by outsourcing the Turing test to thousands of people through the web via tools like Amazon’s ‘Mechanical Turk‘ marketplace.

Stay safe people!
By the way, our ‘PIN cracker’ function ended up being pretty simple but coming up with algorithms to perform tasks can be a lot of fun if you enjoy problem solving. Here’s a great post on creating an algorithm to find every possible combination of a set. It’s worth a read and you could even implement it into this code if you were so inclined!
Threads, runnables and handlers
Up until now, I hope that this has been a moderately interesting project that maybe taught you a little about internet security and algorithms. Next though, we’re going to look at something that might actually come in handy when you’re making your own apps: using threads.
If you have been playing along with this post and testing the Benchmark app for yourself, then you may have noticed that it ‘freezes’ while it completes the work. This is because everything is taking place in the main ‘UI thread’. In other words, the program is going through each task in a linear manner and can’t begin any given task until the previous task is finished. That means it can’t use onClick while it’s in the middle of a For loop. This is bad practice for developers because it means the user will be left twiddling their thumbs while their app looks frozen. Even the back button won’t respond and if this goes on too long, then they’ll get the message ‘Benchmark isn’t responding’.

To deal with this, we create new ‘threads’ which run in parallel to the main ones. This means that a process can take place in the background, allowing you to get on with other things. So, for example, you could load up a bunch of image thumbnails for a file explorer while still letting the user browse through the file names as that happens. Using threads is a much more efficient way to code and ensures everything appears instantly from the user’s perspective.
First have to create a ‘runnable’, which is a block of code that can run inside a thread. We’re going to use the bruteForce function we just created, as that one is nice and simple compared with the other two. To begin with, simply surround the counting loop like so:
Runnable r = new Runnable() {
    public void run() {
        Integer successfulcode = 0;
        for (Integer i = 0; i < code; i++) {
            successfulcode = i;
        }
    }
};
Think of this a little like a class in that it won’t run until we tell it to. Now we just have to create our thread, put the runnable (r) inside it and then tell it to start:
Thread newThread = new Thread(r);
newThread.start();
This now runs the loop in a separate thread, which means we’ll be able to click ‘back’ and interact with the UI while we’re waiting. This also means we can try and crack a nine digit PIN without our app telling us it’s not responding.
Note: For the purposes of testing this part of the app I have commented out the SHA-1 and MD5 function calls and removed all the results calculations. Right now the app just focuses on bruteForce. You may find it easier to do this, or even to create a new app if this is the first time you’re using threads.
What happens in the runnable, stays in the runnable. Just like Vegas!
But there’s just one problem: we’re no longer able to measure how long bruteForce takes by taking the time before and after – because the code isn’t running sequentially. And we can’t update the widget from within the runnable either, because you can’t update UI elements from within a separate thread (only the Main UI thread can do that). What’s worse is that we also can’t access shared variables from within our runnable. So there’s no way for us to share the tt variable that records how long it takes. What happens in the runnable, stays in the runnable. Just like Vegas!
Luckily, there is a way around this which is to use something called a ‘handler’. Handlers are used to manage different threads and to allow them to communicate with the rest of the activity. First we need to import the Handler and Message classes:
import android.os.Handler;
import android.os.Message;
Next, add this somewhere on the main thread:
Handler handler = new Handler() {
    @Override
    public void handleMessage (Message msg) {
        result.setText("Brute Force Complete!");
    }
};
Because the handler is within the main thread, it can change your UI and your shared variables. Better yet, it’s also possible to call the handler from inside the runnable. Just add this line once the loop is finished:
handler.sendEmptyMessage(0);Now anything inside the handler will happen once the loop has finished; in this case that means the text will be updated to inform us that the process is over. And we could work out how long the loop takes that way by taking the time before the loop begins and after it messages the handler.
But that wouldn’t be a very efficient way of doing things. Much better would be to send a message to the handler that would contain the time the process took. We’d do this like so:
Runnable r = new Runnable() {

        public void run() {
            Long tsLong3 = System.nanoTime();
            Integer successfulcode = 0;

            for (Integer i = 0; i < code; i++) {
                successfulcode = i;
            }

            Long ttLong3 = System.nanoTime() - tsLong3;
            Message msg = Message.obtain();
            msg.obj = ttLong3;
            msg.setTarget(handler);

            if (successfulcode != 0) {
                msg.sendToTarget();
            }

        }
    };

    Thread newThread = new Thread(r);
    newThread.start();

}
We’re simply taking the time before the loop runs and after, then converting the variable that creates into a message to send to the handler. It looks lengthy but this is all you’ll need to use to send strings, numbers and more out.
You’ll also notice that sending the message to the handler is dependent on us finding the correct code. This is just to make extra certain that the loop doesn’t get optimized out.
The handler then needs to receive and interpret that message, which it can do like so:
Handler handler = new Handler() {
    @Override
    public void handleMessage (Message msg) {
        final Long tt3 = (Long) msg.obj;
        result.setText("Brute Force Complete! Time Taken: " + tt3.toString());
    }
};
So it’s just receiving the message, converting it to the long tt3 and then showing it on our button.
Like I said, this is easiest to understand if make bruteForce the only thing that our app does. So other than the variables and imports, all you need to make this work is:
protected void onCreate(Bundle savedInstanceState) {
    super.onCreate(savedInstanceState);
    setContentView(R.layout.activity_benchmark);
    compute = (Button) findViewById(R.id.btn1);
    result = (TextView) findViewById(R.id.textView2);
    teststring = getResources().getString(R.string.teststring);

}

public void onBeginClick(View view) {
    bruteForce();
}

Handler handler = new Handler() {
    @Override
    public void handleMessage (Message msg) {
        final Long tt3 = (Long) msg.obj;
        result.setText("Brute Force Complete! Time Taken: " + tt3.toString());
    }
};

public void bruteForce() {Runnable r = new Runnable() {
public void run() {
Long tsLong3 = System.nanoTime();
Integer successfulcode = 0;
for (Integer i = 0; i < code; i++) {
successfulcode = i;
}
Long ttLong3 = System.nanoTime() - tsLong3;
Message msg = Message.obtain();
msg.obj = ttLong3;
msg.setTarget(handler);
if (successfulcode != 0) {
msg.sendToTarget();
}
}
};
Thread newThread = new Thread(r);
newThread.start();
}
}And that’s essentially how you use threads. There’s more to learn here (such as AsyncTask which is very handy for things like progress bars) but this is a good foundation.
Closing notes
Now if we wanted to make the app more efficient as easily as possible, we could stick all of our processes in a single runnable. I actually opted against this though and decided instead to create separate runnables for each one.
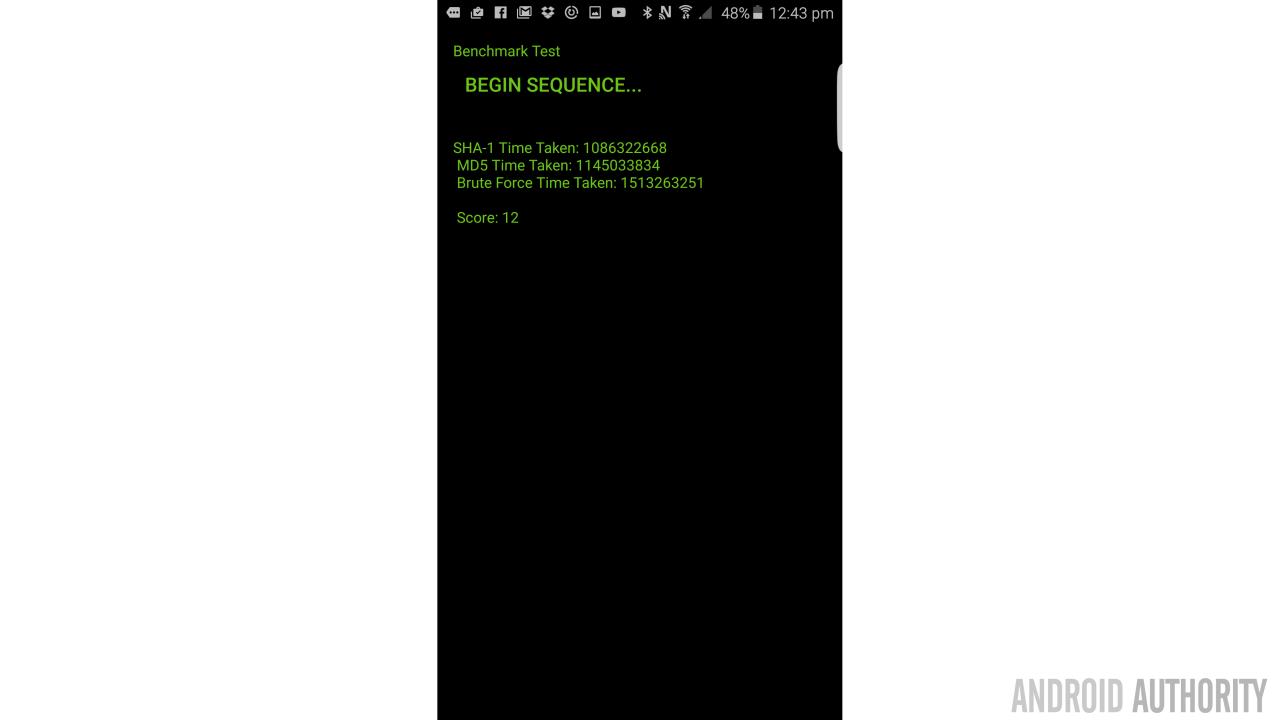
It was basically just a lot of tidying and moving things around, so not a fun article! I’ve put the full version up on GitHub here though in case you want to give it a shot. With all three running simultaneously, I now consistently get a score of ’12’ or ’13’ on a Samsung Galaxy S6 Edge+. My wife’s S3 gets around 87… (lower is better!)

Or you could go outside and talk to people… I guess that’s an option too. I know what I’ll be doing!