Affiliate links on Android Authority may earn us a commission. Learn more.
How to write an Android CPU benchmark tool (part 1)
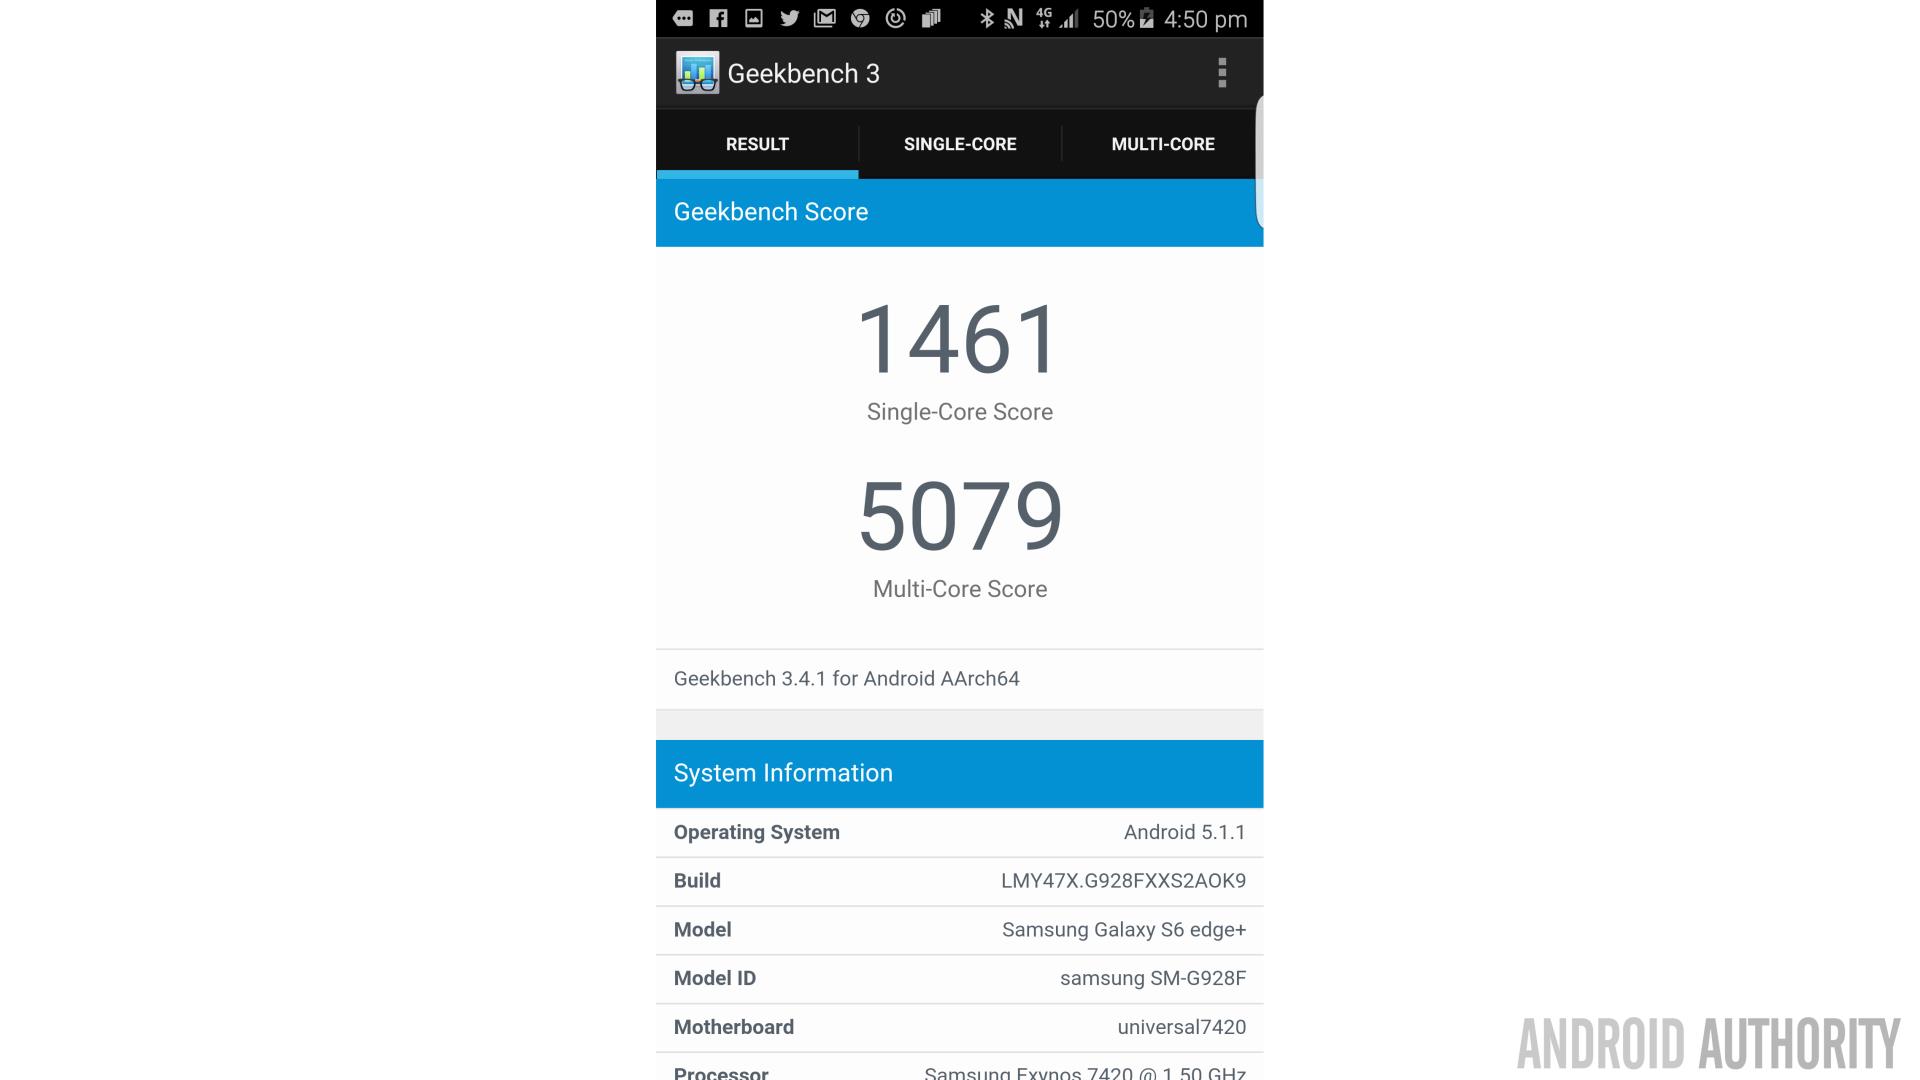
Of course it’s a bit more complicated than that though. Just like some people are better at maths and others are better at art, your smartphones and tablets can be better at some tasks than others (see Gardner’s theory of multiple intelligences, if you’re in the mood for a massive psychology tangent…). For example, there is a difference between graphical capability and pure processing power and so you need to use different tests for each.
What’s more, is that the amount of time that a function takes can vary each time you run it based on numerous factors, such as background processes you have running. As such, a well designed benchmark tool will run multiple different functions and then compare performance across the board in order to create a fairly consistent ‘score’ that users can judge their device’s performance by.
In this exercise we’re going to be testing processing power specifically, which is handled by the CPU. To do this, we’re going to write a program that challenges the device to perform some complex math and then time how long that takes. Of course this isn’t going to be anywhere near as accurate as a real benchmark tool but it will hopefully be a fun, educational project nonetheless.
Introducing SHA-1
Over the course of this two-part series, we’re going to try out a couple of different tests for our devices. To begin with for part one though, we’ll be looking at SHA-1 encryption.
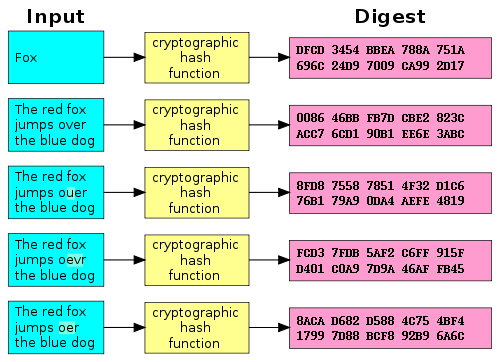
SHA-1 stands for ‘Secure Hash Algorithm 1’ and is a ‘cryptographic hash function’. It’s a tool that can be used to encrypt data by storing it in a array (an array being a collection of data, like a list). The idea is that any string of characters can be represented by a 40 digit hexadecimal ‘hash value’ (called a message digest), which essentially points to a ‘location’ in the array where the string is stored. Almost like a pigeon hole. The location is worked out by applying a complex algorithm to the given string.
As a cryptographic function, the objective is to encode that information in a way that it can’t be easily decoded. To meet this requirement, the algorithm needs to be such that it would be impossible or near impossible to decipher the string from the hash value alone. This means that the hash value for a password won’t be worth anything to a sneaky hacker. What’s more, there can be no ambiguity – meaning that you can’t assign multiple strings to the same hash value.
SHA-1 is one of the algorithms that has been keeping your private data secure for the last few years while you’ve been browsing the web. Unfortunately, it’s no longer considered secure enough for that use and is in the process of being phased out in favor of SHA-2, SHA-3 and other solutions. This is because ‘brute force’ attacks can crack it if there’s enough power behind them. Essentially, this means a hacker could run an algorithm that would keep guessing until it got it right and today some computers are powerful enough that that wouldn’t take 100 years.
But we’re not actually interested in the security of our encryption. All that matters to us is that the encryption requires a heavy algorithm that slightly taxes the CPU. It happens super fast but it’s enough to form the basis of our little race.
And it’s also quite cool to play around with cryptography. If you want to make this all more exciting, you can pretend you’re a WW2 cryptographer protecting crucial information from hacker-Nazis.
‘Hacker-Nazis’ is the best thing I’ve written this year by the way.
Setting up
We’ve already covered setting up Android Studio in previous articles. Likewise, we’ve gone over the process of building a simple app with a basic UI. So in other words, I’m not going to go through the whole set-up process again here. I will quickly implement a quick UI though, so if you want to follow along you can do. Otherwise, if you’re just here to see how to implement that SHA-1 encryption, you can skip this section.
First create a new project and select ’empty activity’. I called the app and the activity ‘Benchmark’ because why complicate matters? For the look of this app, I’m going to go with a kind of ‘green screen’ aesthetic. It’s a very easy look to create and it feels cool and techy. Also, I may have been playing Tron Run/r too much lately…
So with that in mind, find ‘Colors.xml’ and set the values as so:
<color name="colorPrimary">#6CC417</color>
<color name="colorPrimaryDark">#000</color>
<color name="colorAccent">#FF4081</color>
Now head over to your ‘activity_benchmark.xml’ file and we’re going to create a linearlayout with a two text views and a button. We’re also going to add a background to the activity (colorPrimaryDark) and make the text our new green color (which is called ‘alien green’. We’re using a linear layout, setting the orientation to horizontal and adding some IDs and onClicks. It should look something like this:
<LinearLayout xmlns:android="http://schemas.android.com/apk/res/android"
    xmlns:tools="http://schemas.android.com/tools"
    android:layout_width="match_parent"
    android:layout_height="match_parent"
    android:paddingBottom="@dimen/activity_vertical_margin"
    android:paddingLeft="@dimen/activity_horizontal_margin"
    android:paddingRight="@dimen/activity_horizontal_margin"
    android:paddingTop="@dimen/activity_vertical_margin"
    android:background="@color/colorPrimaryDark"
    android:orientation="vertical"
    tools:context=".MainActivity" >

    <TextView
        android:id="@+id/textView1"
        android:layout_width="wrap_content"
        android:layout_height="wrap_content"
        android:text="Benchmark Test"
        android:textSize="15dp"
        android:textColor="@color/colorPrimary"/>

    <Button
        android:id="@+id/btn1"
        android:layout_height="wrap_content"
        android:layout_width="wrap_content"
        android:textSize="20dp"
        android:text="Begin Sequence..."
        android:onClick="onBeginClick"
        android:textColor="@color/colorPrimary"
        style="@style/Base.Widget.AppCompat.Button.Borderless.Colored"/>

    <TextView
        android:id="@+id/textView2"
        android:layout_width="wrap_content"
        android:layout_marginTop="30dp"
        android:textColor="@color/colorPrimary"
        android:textSize="15dp"
        android:text="Output will go here..."
        android:layout_height="wrap_content" />

</LinearLayout>Which in turn should appear like so in the designer:
[aa_image src="https://www.androidauthority.com/wp-content/uploads/2016/03/Benchmark-App-840x560.png" alt="Benchmark App" width="840" height="560" class="aligncenter wp-image-679979 size-large"]If we were making this into an actual app, then I’d suggest making a old-school blinking cursor. But that wouldn’t really be a good use of our time right now…
In fact, that’s all we’re going to do for the layout at this point. On to the actual test!
The SHA-1 function
Now comes the moment we’ve been waiting for: adding the SHA-1 function!
Fortunately, this isn’t an algorithm we’re going to write ourselves. Happily, there’s a class that can do this for us called MessageDigest.
Before you do that though, head over to your ‘Strings.xml’ file and insert the following line of code:
<string name="teststring">The big bad wolf</string>This is going to come in handy as the string that we’ll be encrypting. Why did I choose ‘The big bad wolf’? I literally do not know… You should also make sure to import the classes you’re going to need right at the start to save yourself trouble later on. Just open up Benchmark.java (we’ll be working here from now on) and add the following statements:
import android.util.Base64;
import java.io.UnsupportedEncodingException;
import java.security.MessageDigest;
import java.security.NoSuchAlgorithmException;

import android.os.Bundle;
import android.app.Activity;
import android.util.Log;
import android.view.View;
import android.widget.Button;
import android.widget.TextView;
Remember: if at any point a command isn’t recognized, you can usually find out why by selecting it and pressing Alt+Return. On doing this, you may get the option to automatically import the class if that’s the problem.
Now let’s create a function that will use MessageDigest to convert the string into a hash value. Use the following but don’t worry too much about precisely what’s going on here:
public void computeSHAHash(String password)
{

    MessageDigest mdSha1 = null;
    try
    {
        mdSha1 = MessageDigest.getInstance("SHA-1");
    } catch (NoSuchAlgorithmException e1) {
        Log.e("Benchmark", "Error initializing SHA1");
    }
    try {
        mdSha1.update(password.getBytes("ASCII"));
    } catch (UnsupportedEncodingException e) {
        // TODO Auto-generated catch block
        e.printStackTrace();
    }
    byte[] data = mdSha1.digest();
    StringBuffer sb = new StringBuffer();
    String hex=null;

    hex = Base64.encodeToString(data, 0, data.length, 0);

    sb.append(hex);
    HashValue=sb.toString();

}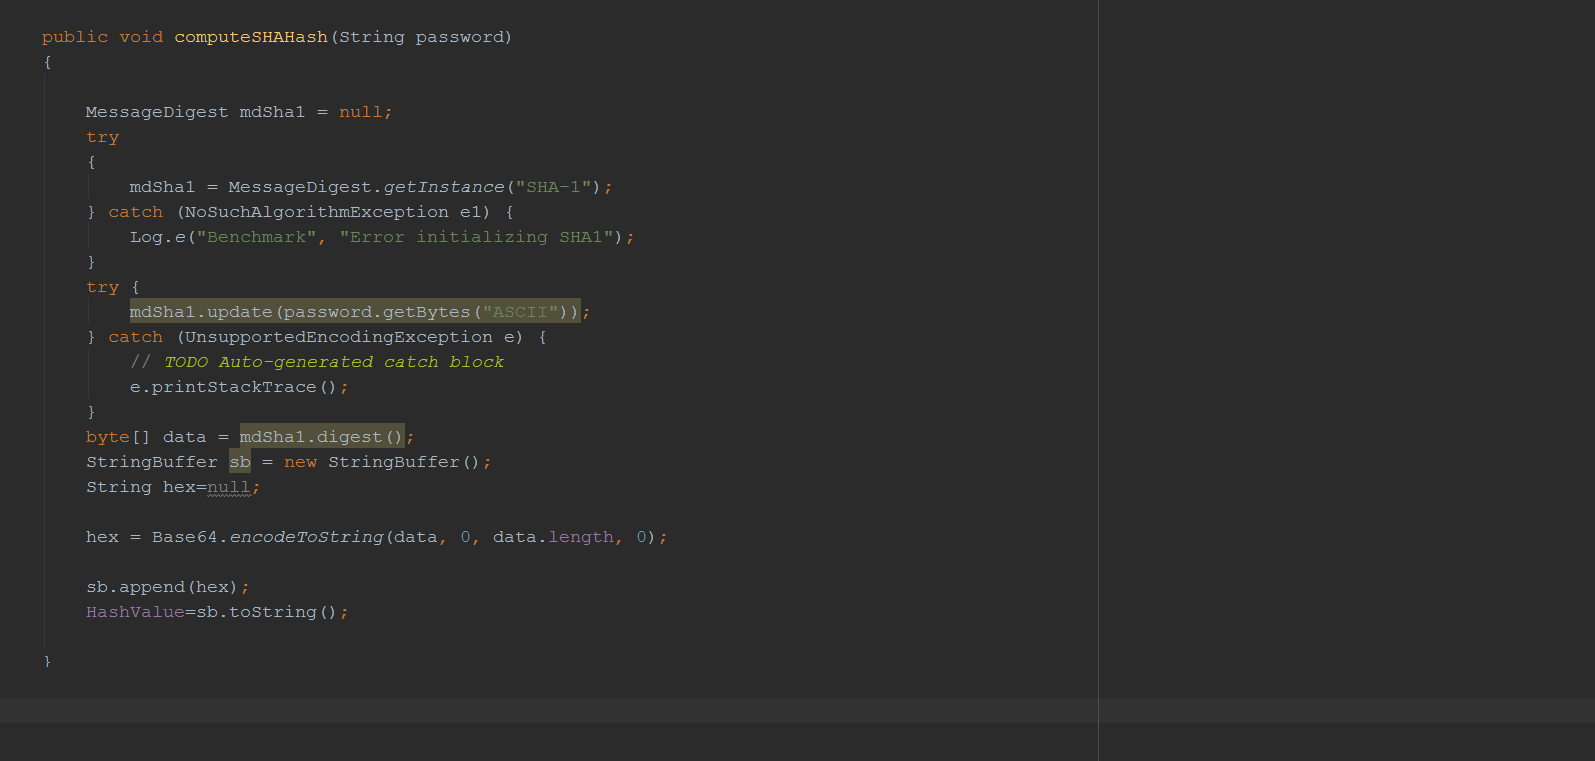
The input is passed as a string called ‘password’ (seeing as this is what you would often use SHA-1 for). ‘HashValue’ is our hash value, which is the output. We’re going to be using the HashValue string in multiple functions so add:
private String HashValue;To the top of your code. We’ll also need to define some of our views here, so while you’re at it, go ahead and include:
private TextView result;
private Button compute;
private String teststring;
private String HashValue;
private String tt;
private String output;
private long tsLong;
This goes underneath ‘Public Class Benchmark…’. Those extra variables (tt, teststring and tsLong) will come in handy in a moment but you may as well add them now.
Now we need to initialize the views and that means identifying them by the IDs we gave them in activity_benchmark.xml. We’re doing this in ‘onCreate’ which is important because it has to come after ‘setContentView’. Until that point, your views don’t really ‘exist’ as far as the Java code is concerned.
Add the following code beneath onCreate:
compute=(Button)findViewById(R.id.btn1);
result= (TextView)findViewById(R.id.textView2);
teststring= getResources().getString(R.string.teststring);
So now you should have something that looks like this:
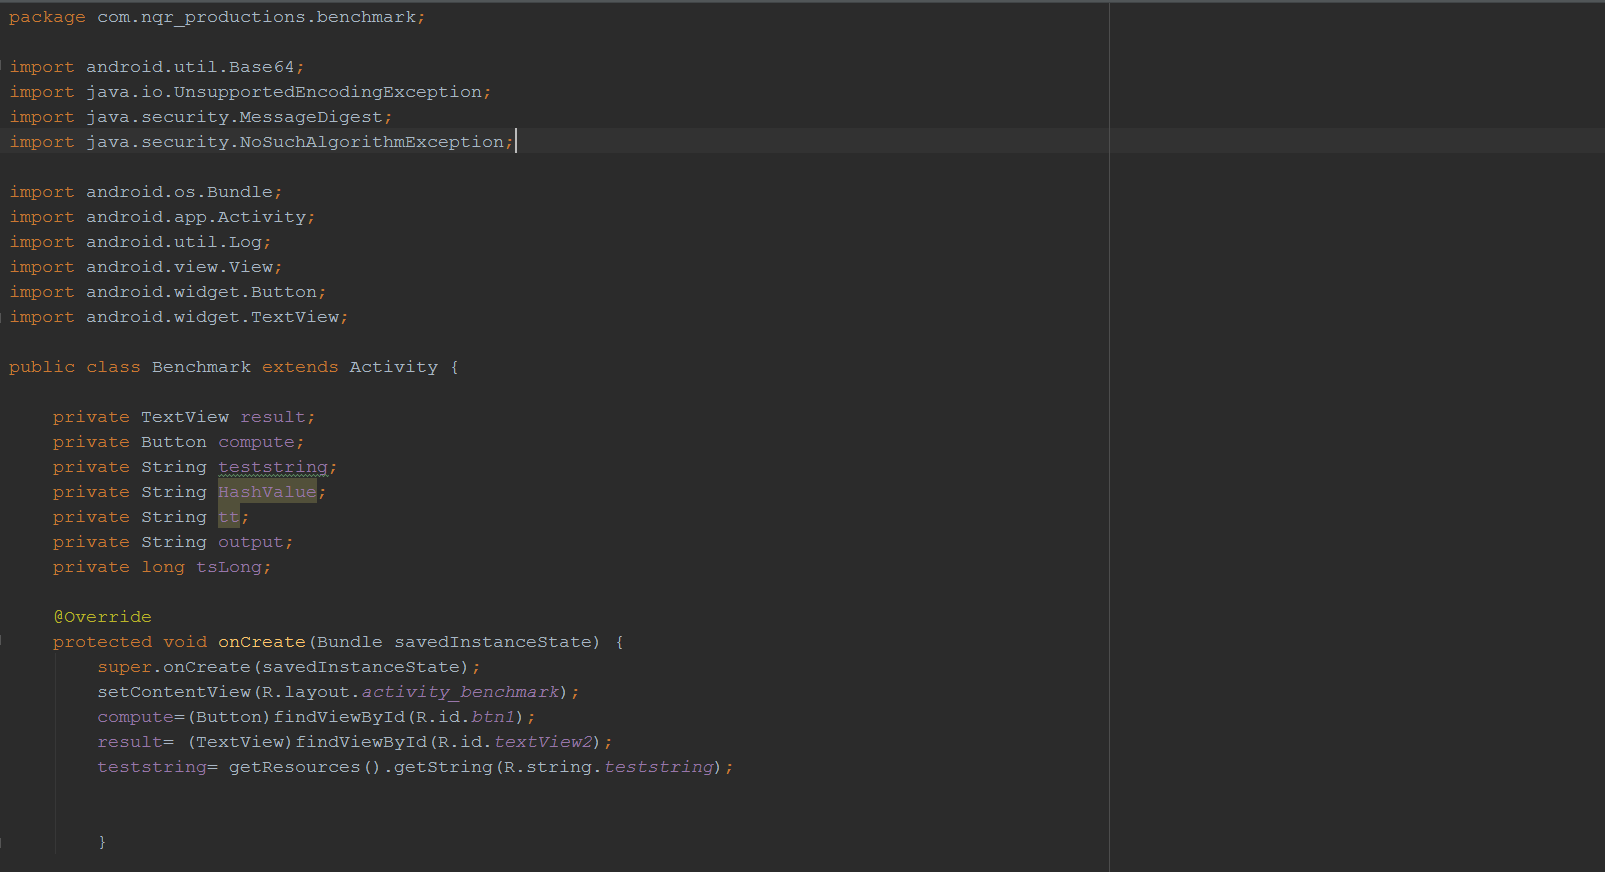
Note that we also set ‘teststring’ as the string we added to ‘strings.xml’.
Interactivity and time stamps
This is all good and well but right now the app still doesn’t do anything because our hash function never gets called. We need to make it so that clicking the ‘Begin sequence’ button actually executes it. To do this we added the function onBeginClick() and inside of it we call computeSHAHash().
Since this is a benchmark app, we want to know exactly how long the computeSHAHash function takes to complete. The best way to do this is to get a timestamp is with ‘System.nanoTime’. This doesn’t give us the actual time, but it does access the most accurate internal clock available to us, it operates in nano seconds. This ‘clock’ doesn’t correspond with the real time and date and shouldn’t be used to display such. However, it can nevertheless be used to measure time, which is what we want to do here.
So to take a time stamp before calling we used tsLong = System.nanoTime(); and then after the call to the SHA hash function we take another look at the clock and work out the difference like this: Long ttLong = System.nanoTime() – tsLong;
tsLong is a Long (numerical variable with decimal places) and stands for ‘time started’; whereas ttLong is ‘total time’. Total time is the time at the end of the function, minus ‘time started’. We can also add this to the information we display after the hash has been calculated. This means that the first version of the onBeginClick() function will look like this:
public void onBeginClick (View view) {
    tsLong = System.nanoTime();
    computeSHAHash(teststring);
    Long ttLong = System.nanoTime() - tsLong;
    output = "SHA-1 hash: " + " " + HashValue + "\n Time Taken: " + ttLong.toString();
    result.setText(output);
}
The result should now show the hash value, plus the amount of time it took to calculate it in nanoseconds. The ‘\n’ just means ‘new line’ and can be used in any string. Go ahead and build the project and see how it runs!
Slowing it down
What you’ll find is that this function completes really quickly. This isn’t really much of a challenge for your CPU and that makes it very variable and not particularly useful for comparing different hardware. Try clicking ‘Begin Sequence…’ a few times and you’ll see that the time taken to complete varies drastically.
The solution is to make this a little more challenging. How? By doing the same thing 20,000 times. Pretty much any given task is going to be more difficult when you perform it 20,000 times. Try doing 20,000 press-ups for example. See? I just did that and I’m now slightly tireder than I would be if I had only done one.
To make our hash value function run 20,000 times, we’ll just use a ‘for’ loop. Like so:
for (Integer i = 0; i<20000; i++) {
    computeSHAHash(teststring);
}
For loops run as long as the middle statement is ‘true’, while increasing a variable incrementally. The format is: variable being used, statement that must be true, amount to increase variable by’. We’re simply creating the integer ‘i’, increasing ‘i’ by one each time round and running the hash function over and over until i is equal to 20,000.
Now it takes a bit longer and we get a really long number denoting the number of milliseconds. My Galaxy S6 Edge+ takes roughly 801982125 nanoseconds to do this, which is 801 milliseconds. I’d like to display this as a nice ‘score’ that will remain fairly consistent, so I’m going to divide that number by 100,000,000, giving me ‘8’.
I’m showing all this new information in my final output, so the entire ‘onBeginClick’ is as follows:
public void onBeginClick (View view) {
    tsLong = System.nanoTime();
    for (Integer i = 0; i<20000; i++) {
        computeSHAHash(teststring);
    }
    Long ttLong = System.nanoTime() - tsLong;
    tt = ttLong.toString();
    Integer roundnumber = Math.round(ttLong / 100000000);
    String score =  roundnumber.toString();
    output = "SHA-1 hash: " + " " + HashValue + "\n Time Taken: " + tt + "\n Score: " + score;
    result.settext(output);
}
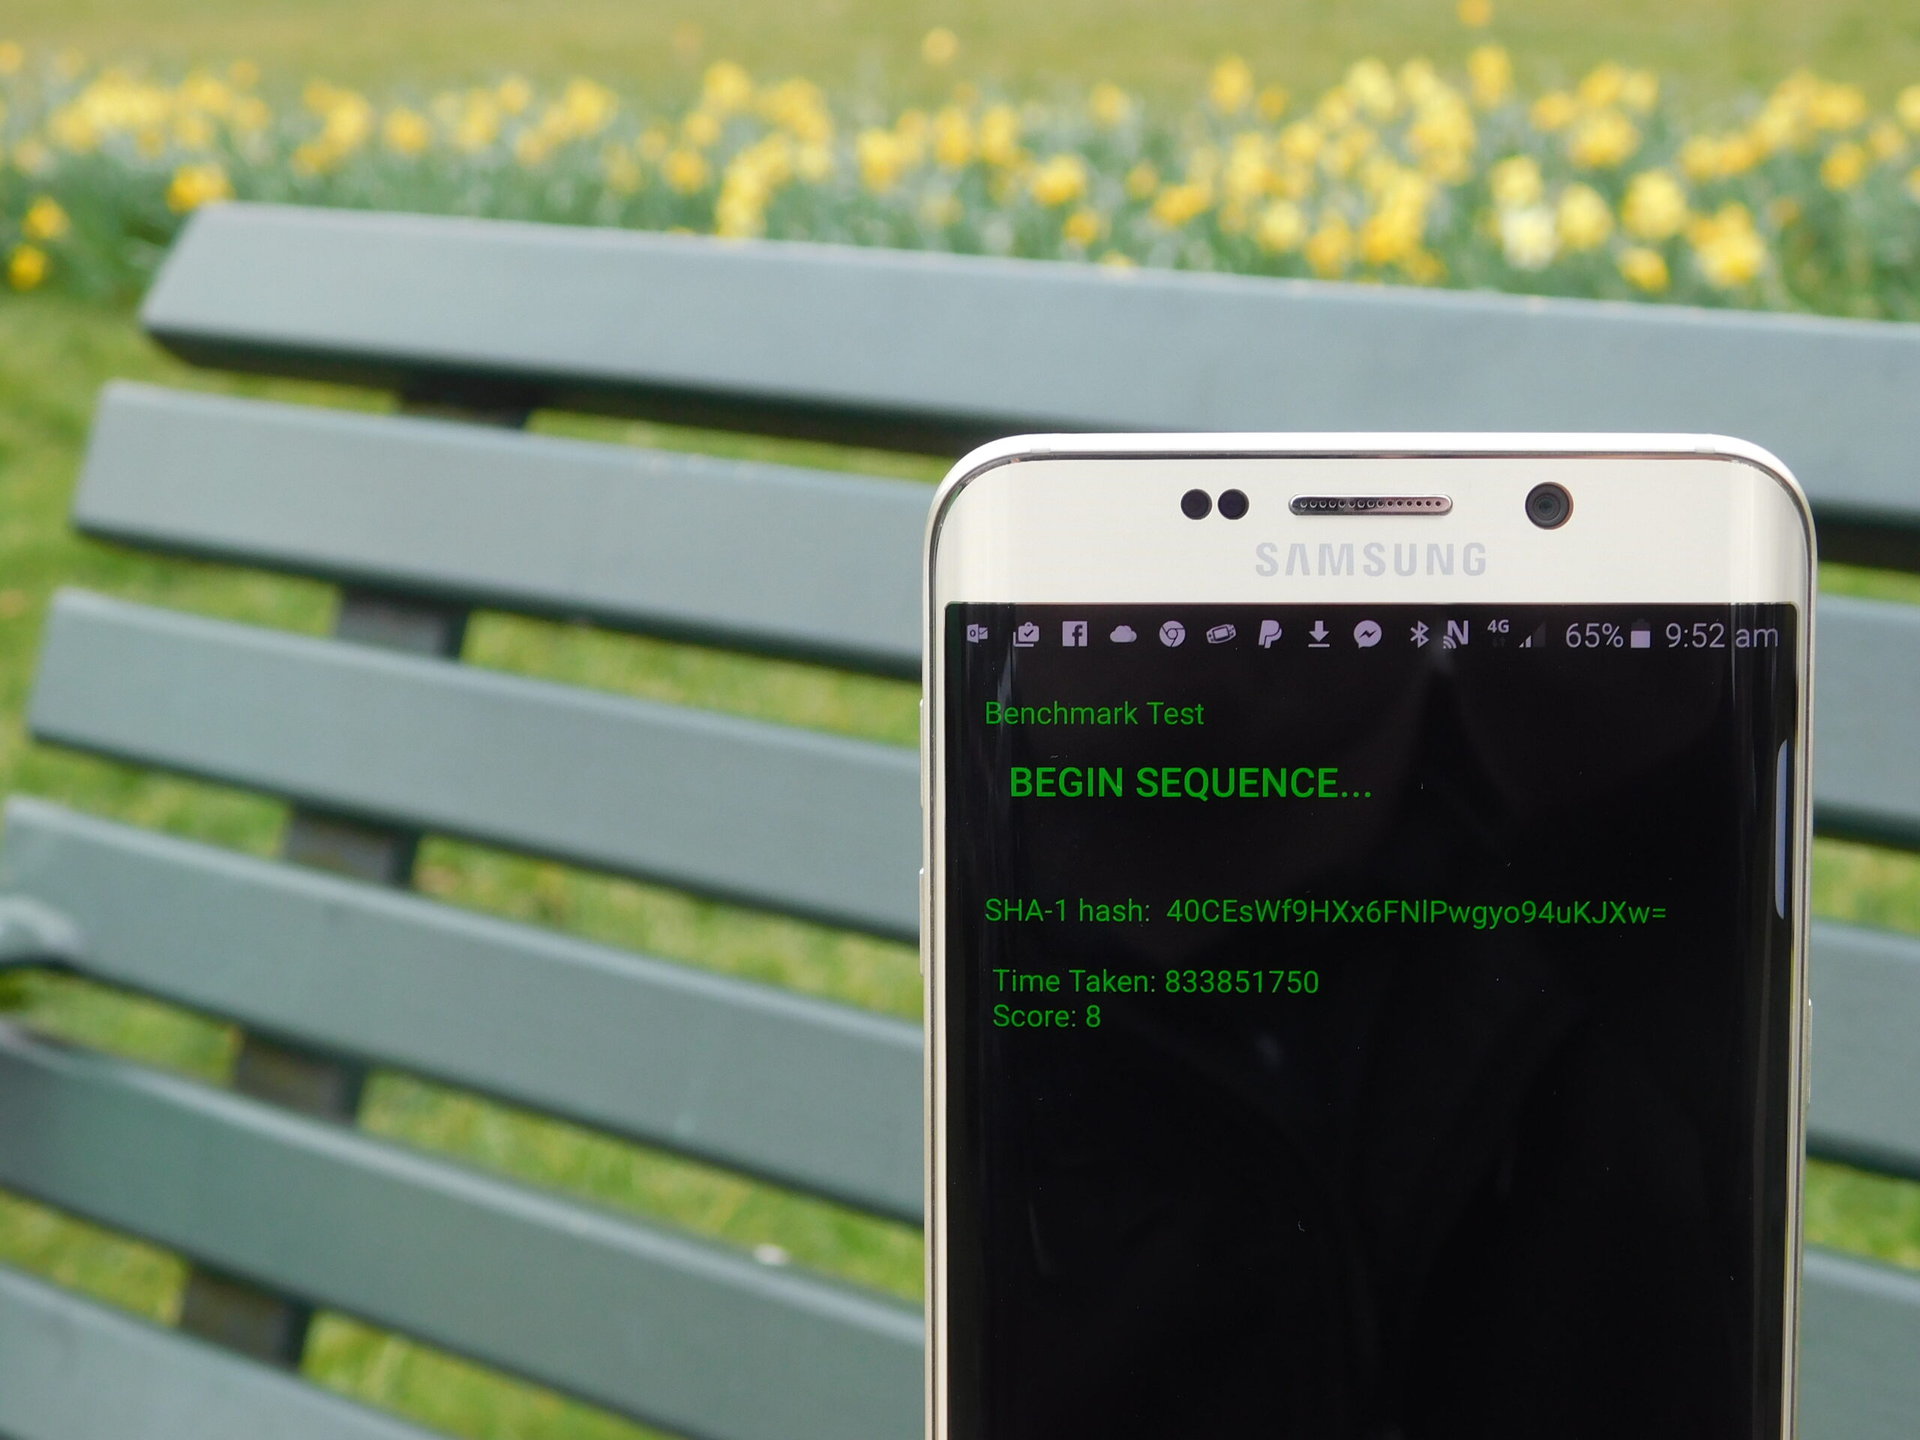
This shows the following:
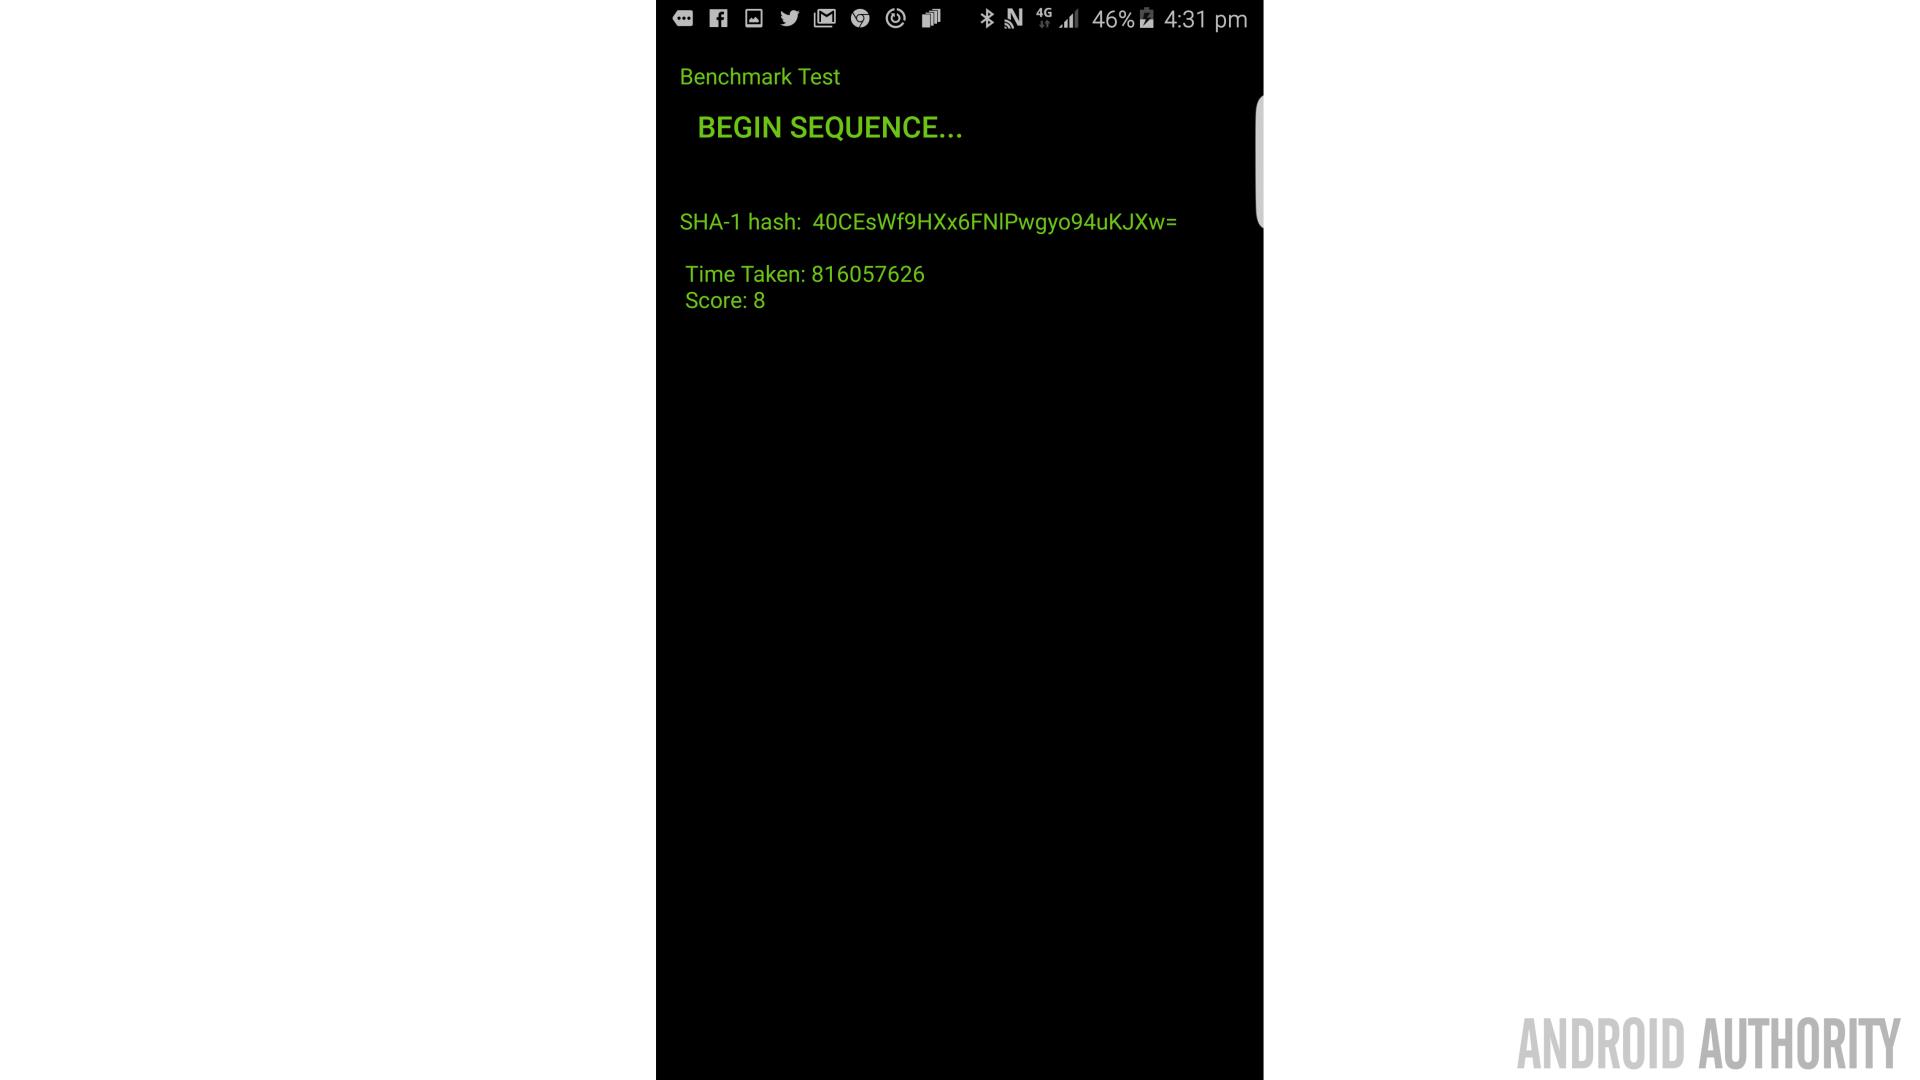
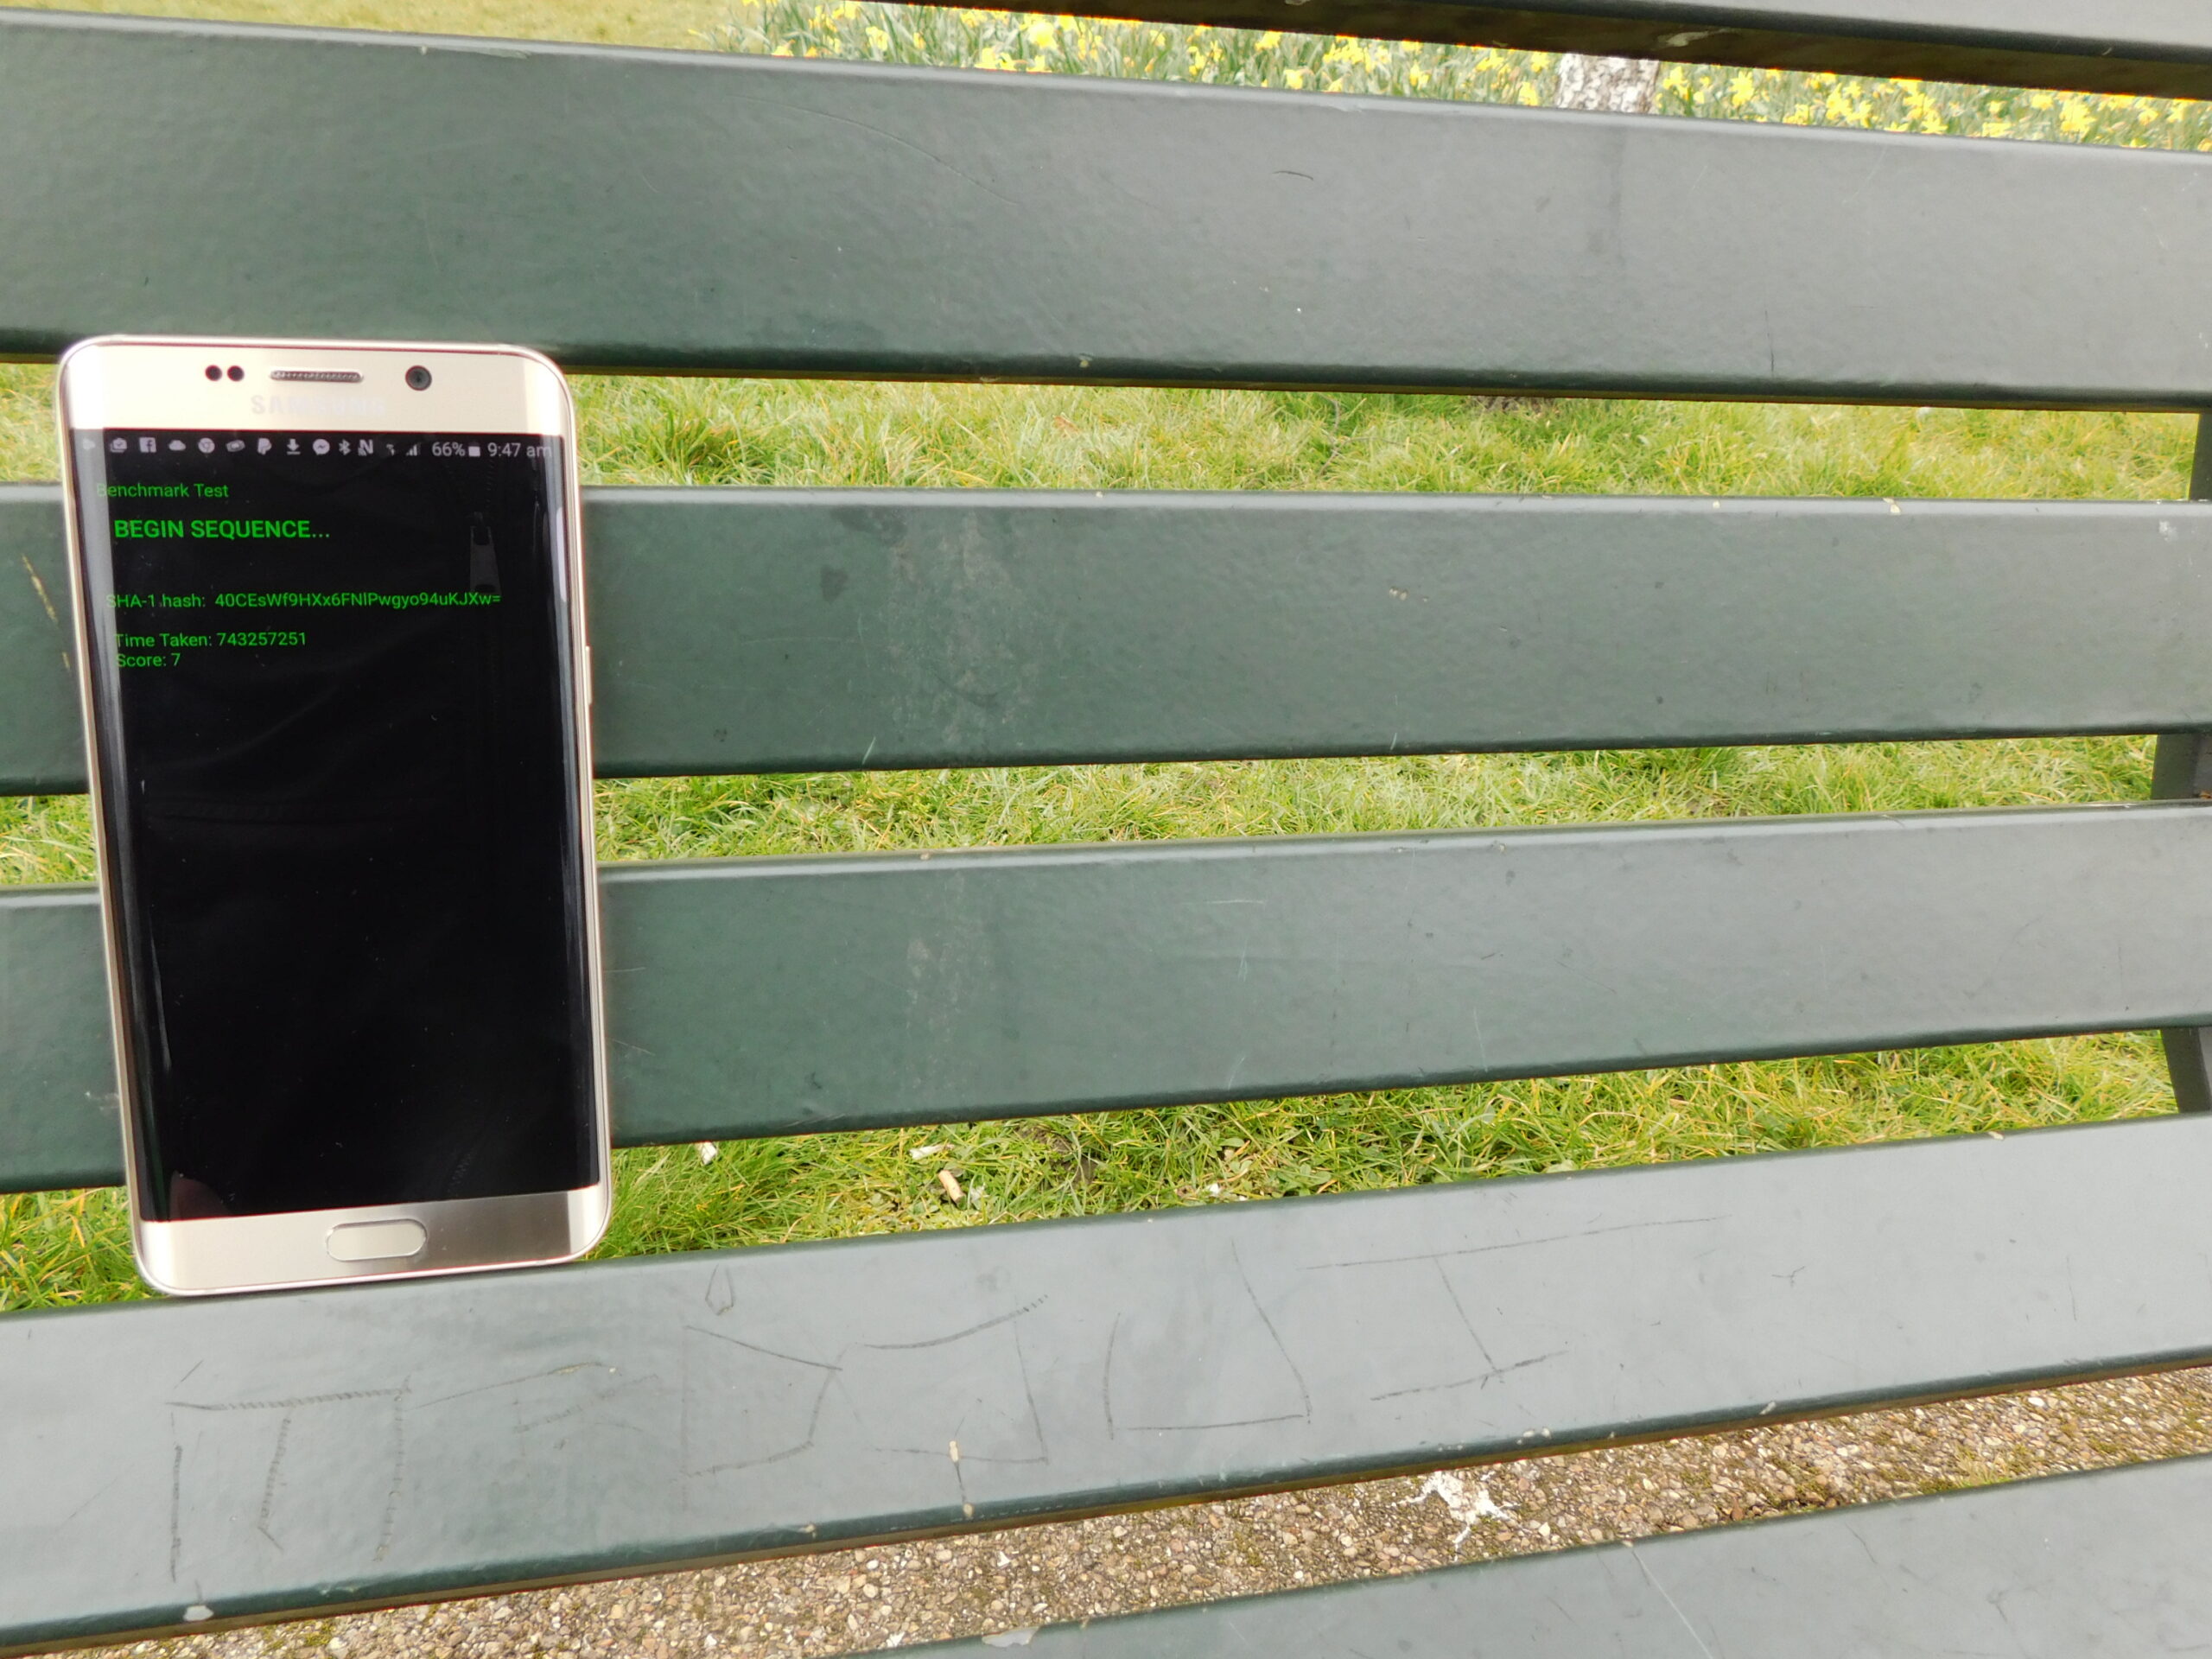
While I sometimes get a 7, it’s overall pretty consistent. If I run it on my wife’s Galaxy S3 though, we get a less impressive score:

Was this all just a very elaborate ruse to get my wife to upgrade her phone or at least run an update? You decide!
(It goes without saying that in this test, a lower score should be considered preferable. Like golf.)
Finishing up
So we can’t really use this for much but you can see that this simple test takes a variable amount of time from device to device which should at least roughly correlate with CPU performance. If you want to try it yourself but don’t want to write out all the code, you can nab the source from here.
In the next part of this series, I’ll be tidying things up a little with a progress bar and some more UI. Moreover, we’ll add some other tests such as MD5 and if there’s time, we can even make our own little algorithm and see how long each device would take to crack passwords of different lengths. We’ll also look at using threads to get a ‘multi-core’ score, similar to Geekbench.
So stay tuned for that and don’t be too upset if your friends’ phones outperform yours!