Affiliate links on Android Authority may earn us a commission. Learn more.
How to recover a deleted Facebook post
When you permanently delete your posts on Facebook, they cannot be retrieved. However, there is a grace period of 30 days where a post you wish to delete remains in your trash. Let’s go over how you can recover a deleted post on Facebook.
QUICK ANSWER
To recover a deleted Facebook post, go to Settings & privacy > Activity log > Trash. On the post you wish to recover, select Restore to profile > Restore.
JUMP TO KEY SECTIONS
How to recover deleted Facebook posts
Before we get started, we must clarify that you cannot recover deleted posts. Deleted posts are permanently wiped from Facebook’s servers and backup systems. However, before a post is deleted, it is sent to trash, where it can be recovered for 30 days.
If the post you are looking to restore is still in trash, meaning it hasn’t been 30 days or you haven’t manually deleted it, then you can recover it.
Recover posts on mobile
- Launch the Facebook app. From the home screen, go to Profile.
- Tap the three-dot button (…).
- Select Activity log.
- Within the Activity log, tap Trash.
- Tick on the box beside the post you want to recover.
- Tap Restore.
- In the confirmation box, select Restore.
Recover posts on desktop
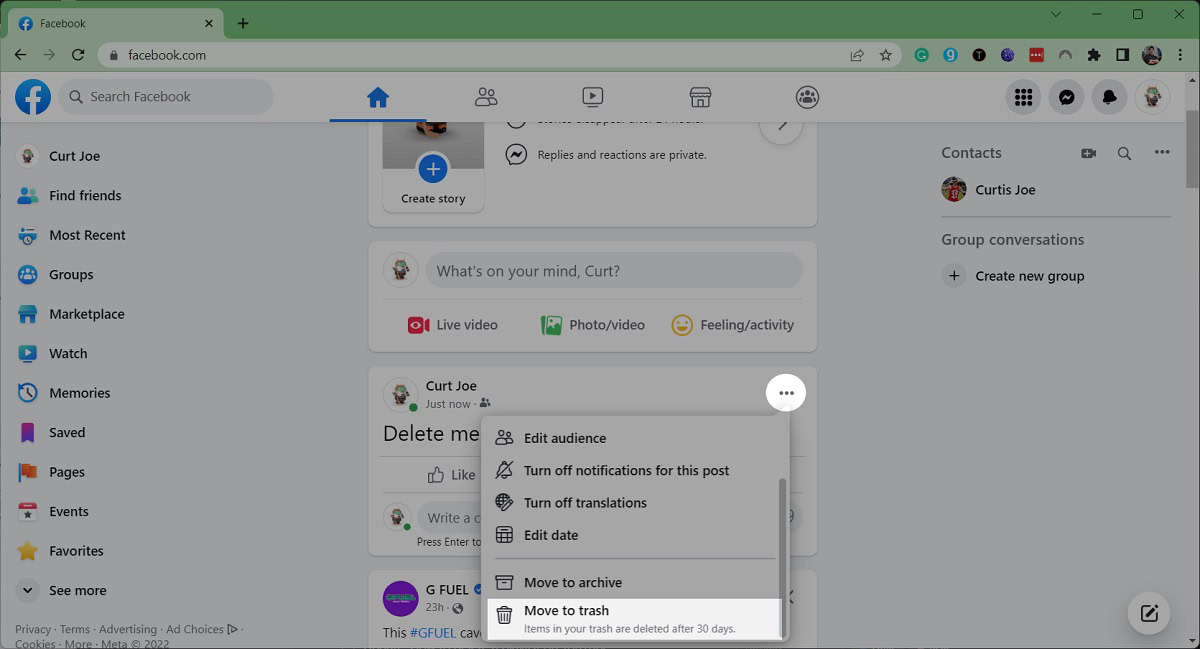
Items that are restorable on Facebook are those you have clicked Move to trash on.

- On Facebook, click your profile icon in the top right corner of the screen.
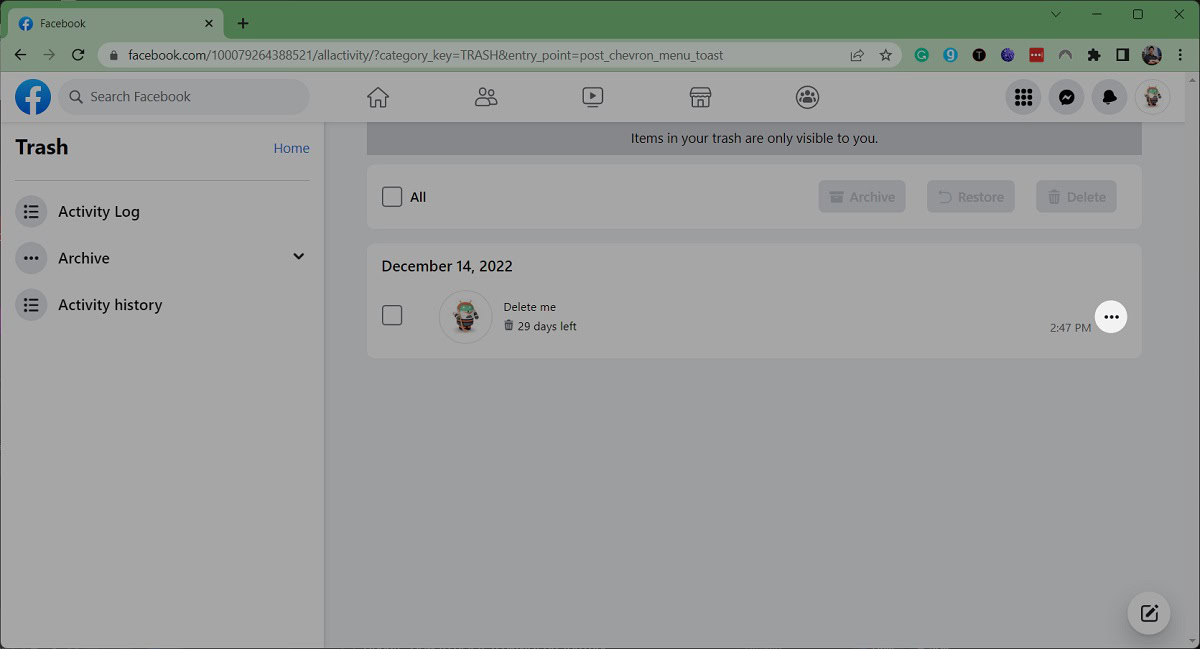
- From there, select Settings & privacy > Activity log > Trash.
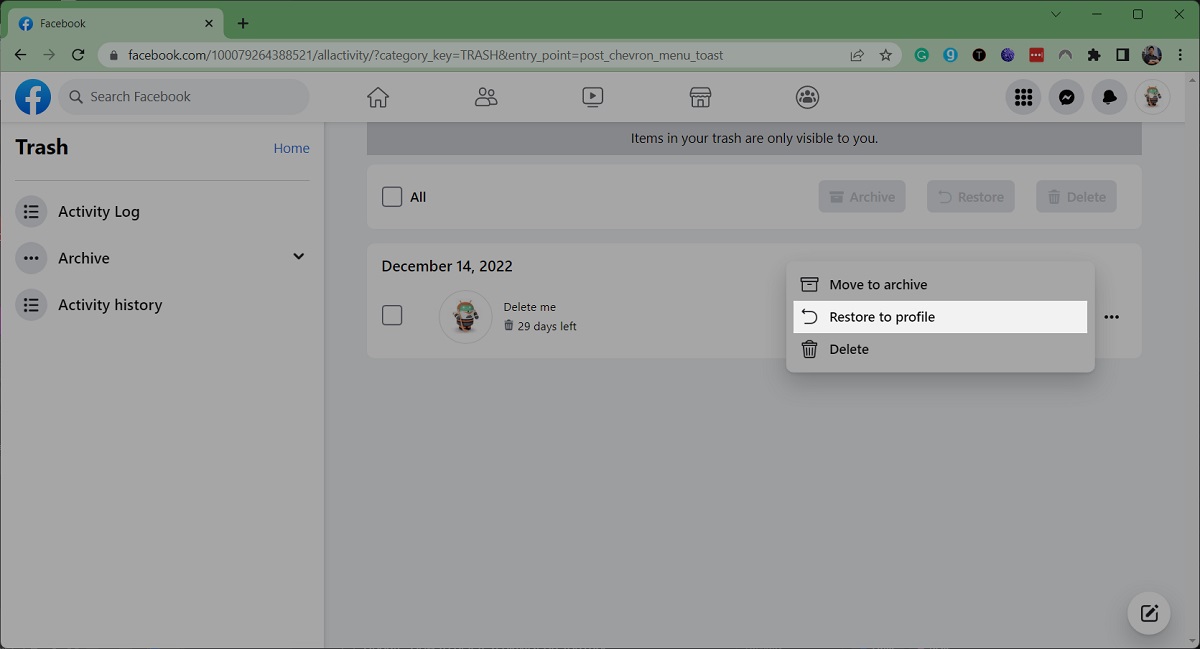
- Click the three horizontal dots (⋯) button next to the post you want to recover.

- Click Restore to profile.

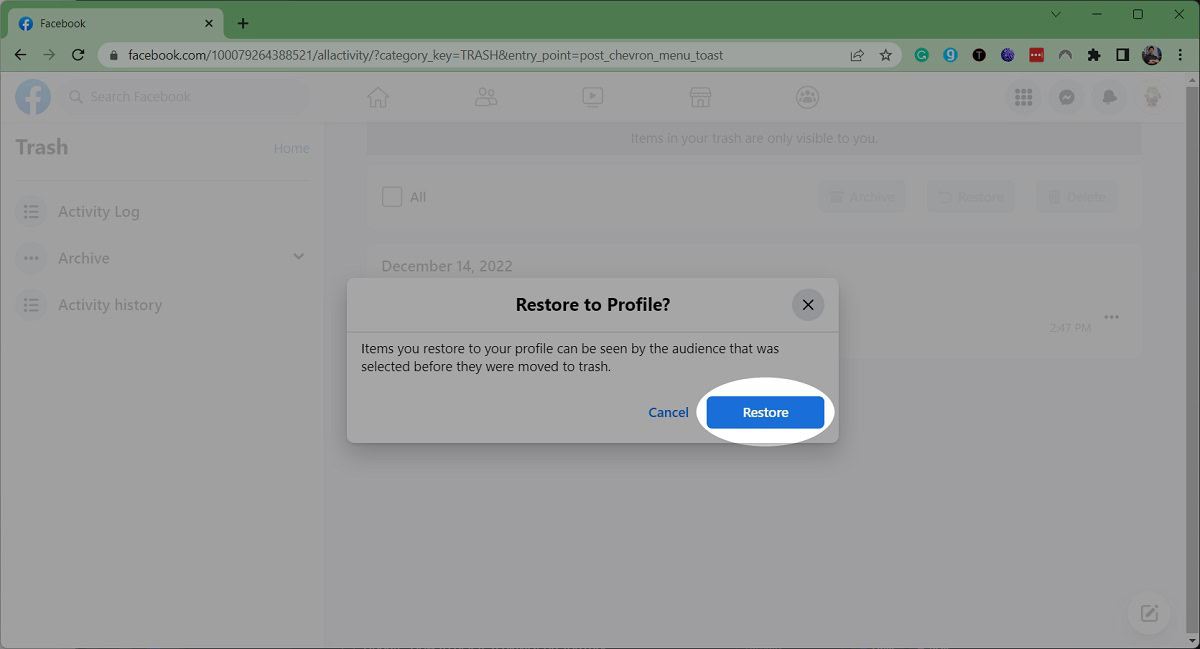
- In the Restore to Profile? pop-up tab, select Restore.

How to back up your data on Facebook?
In our quest to restore lost Facebook posts, it’s essential to first understand how to safeguard your precious memories. This section will guide you through the simple steps of backing up your Facebook information, ensuring you never lose those cherished moments again.
Facebook allows you to back up your data, including posts, photos, videos, and other information. Here’s how to do it:
- Go to Facebook and log in to your account.
- Click the down arrow in the top right corner and select Settings & privacy.
- Click on Settings and go to your Accounts Center.
- In the left sidebar menu, click on Your information and permissions.
- Click on Download your information.
- Choose Download or transfer information.
- You’ll see a selection of options for what data to include in your download. By default, Facebook will select everything, but you can deselect categories you’re not interested in.
- You can also choose the date range of the data you want to download and the quality of the photos and videos (high, medium, or low).
- Once you’ve made your selections, click on Create files.
Facebook will prepare your download file, which might take some time depending on the amount of data you have. You’ll receive a notification when it’s ready.
FAQs
No. After those 30 days or if you manually go to delete a post in the trash can, that post is permanently wiped from Facebook’s servers and backup systems. There is no way to recover those posts.
To delete Facebook photos, go to the photo you wish to delete. Select the three-dots icon and in the drop-down menu. Then, select Delete Photo. You can also do the same to delete whole albums.
According to the Facebook Help Center, you can move your post to Archive which will only be visible to you.