Affiliate links on Android Authority may earn us a commission. Learn more.
How to make a slideshow on Windows
Slideshows are often essential for work, but can also be a way of sharing photos without loading them one-by-one or making someone scroll through a Facebook or Instagram feed. Windows has a quick and easy way to put one together that doesn’t require any third-party apps. Whether you’re a beginner or an experienced user, this guide will help you create an informative and visually appealing slideshow. Here’s how to make a slideshow on Windows.
QUICK ANSWER
To make a slideshow on Windows:
- Navigate to a folder with photos in it.
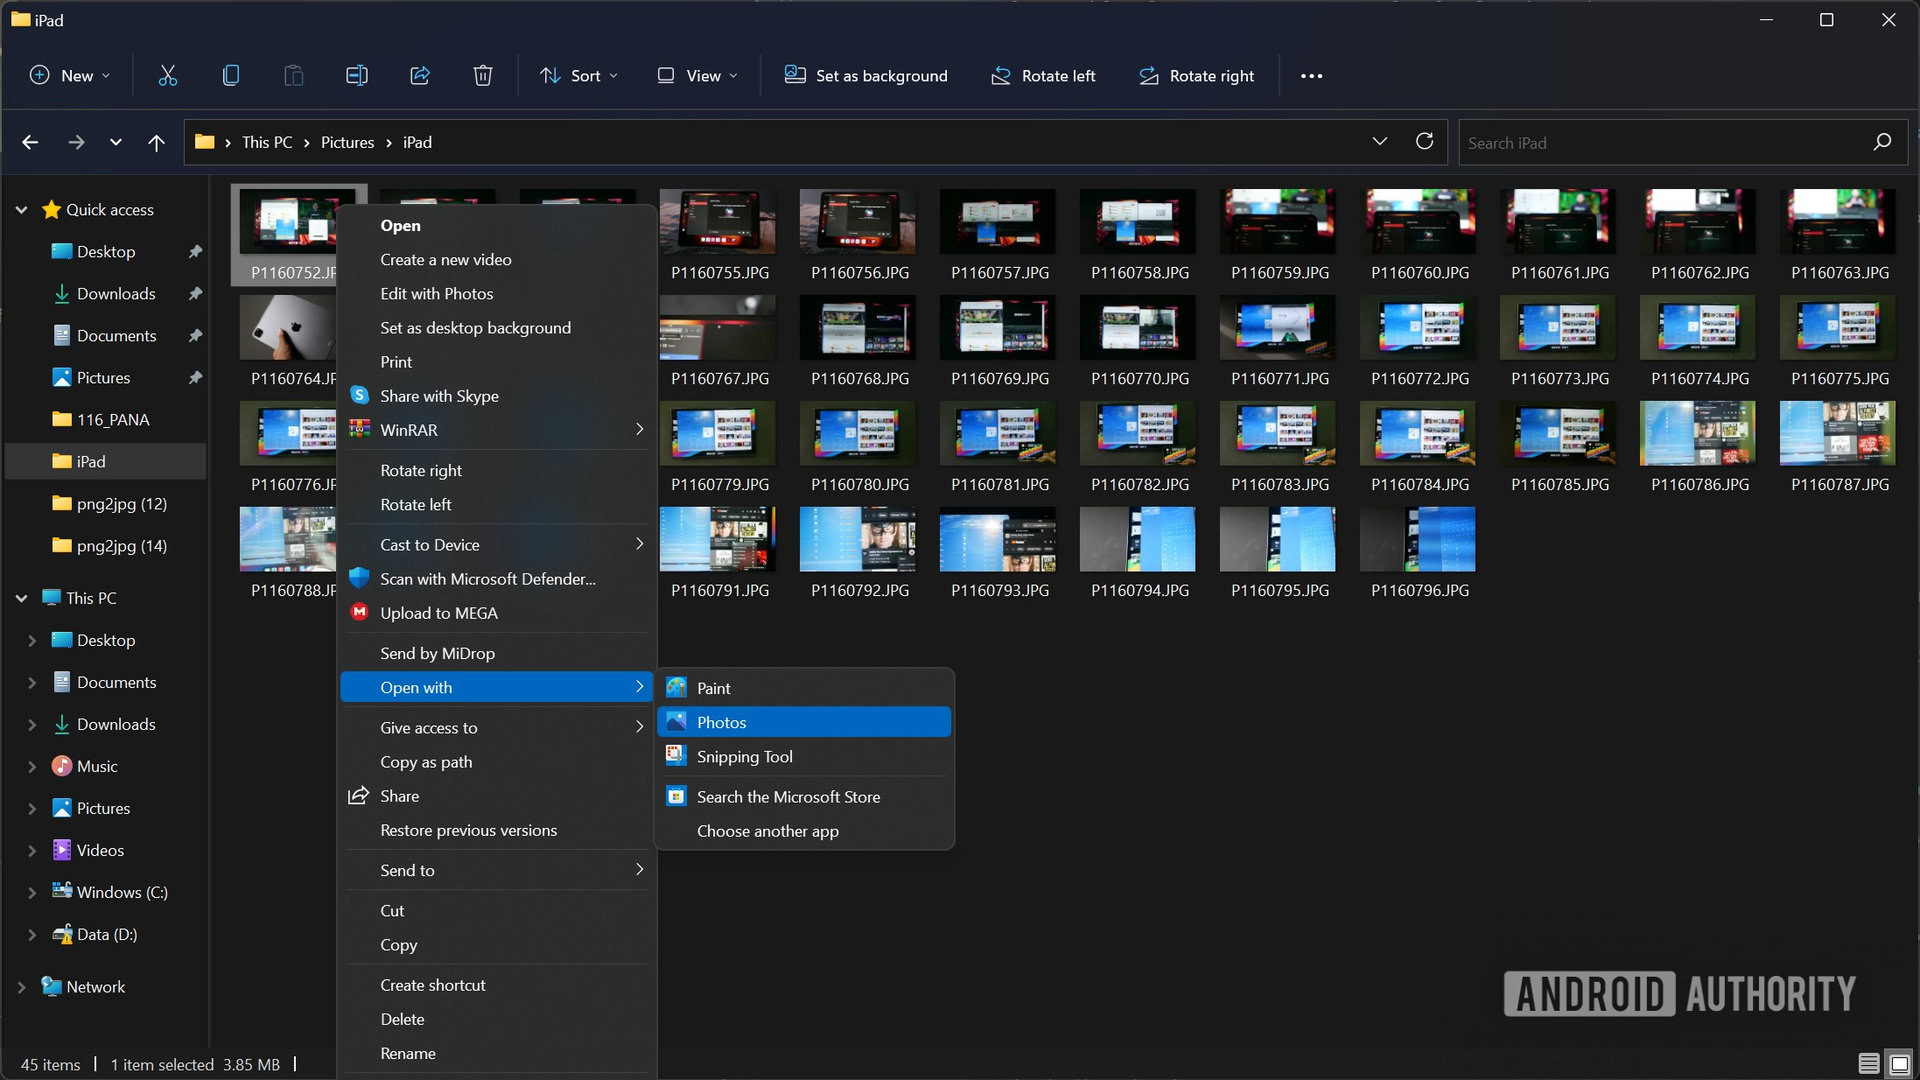
- Double-click any image to open it in the Photos app. You can also right-click a picture and select Open with -> Photos.
- Press F5, or click the triple-dot menu button at the top and choose Slideshow.
How to make a slideshow on Windows
Windows offers many possibilities, but for our purposes we’ll be using the Photos app built into Windows 11, since it already includes a slideshow feature.
To get started, navigate to the folder where your images are saved. If you don’t have all the images for your slideshow in one folder, you should copy or move them now.
Once you have that folder open in File Explorer, double-click on any photo to open it in Photos. If Photos isn’t your default image app, right-click the photo, hover over Open with, and click Photos.
In the Photos app, locate the triple-dot menu button and click it. If you’re using the Windows 10 version of the app, this button will be in the top-left corner of the menu bar. In Windows 11, it will be in the menu bar as well, but towards the middle.
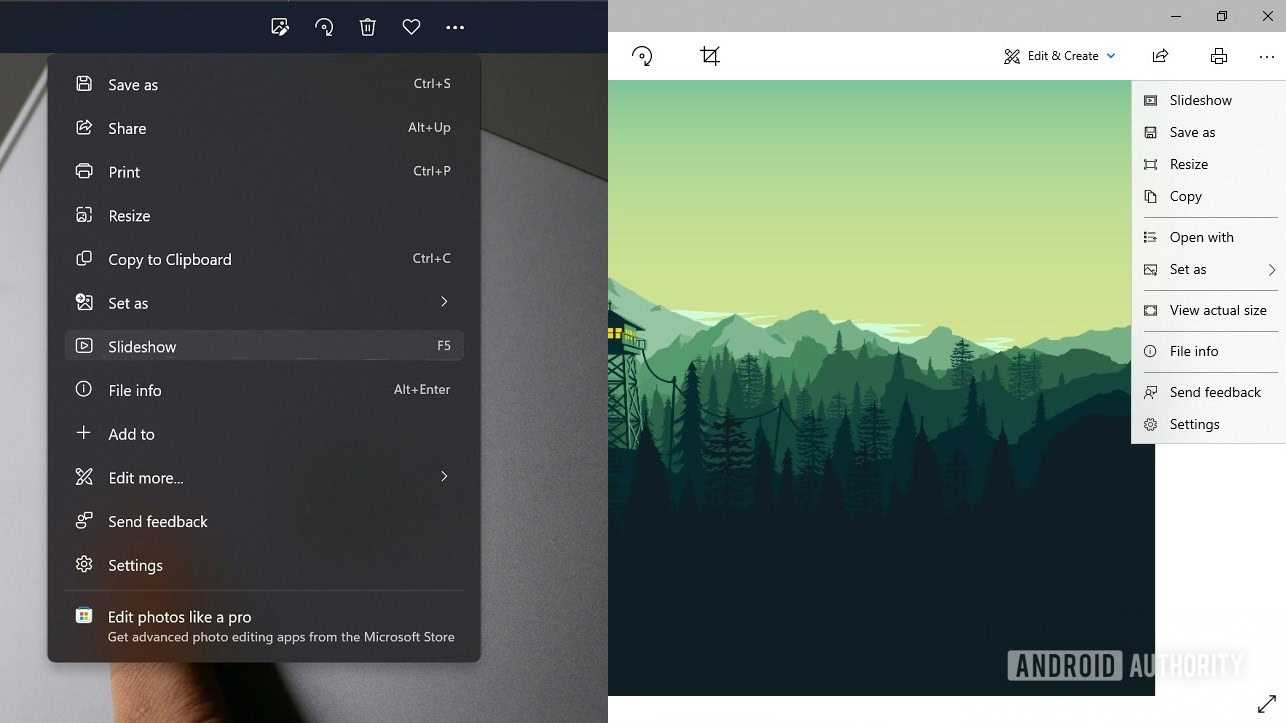
Click the Slideshow button. You can actually press the F5 key in the Photos app to skip the last couple of steps, but it’s good to be familiar with both methods.
When a slideshow is active, use your keyboard’s left and right arrow keys if you want to go back or forward.
Setting up a slideshow for later
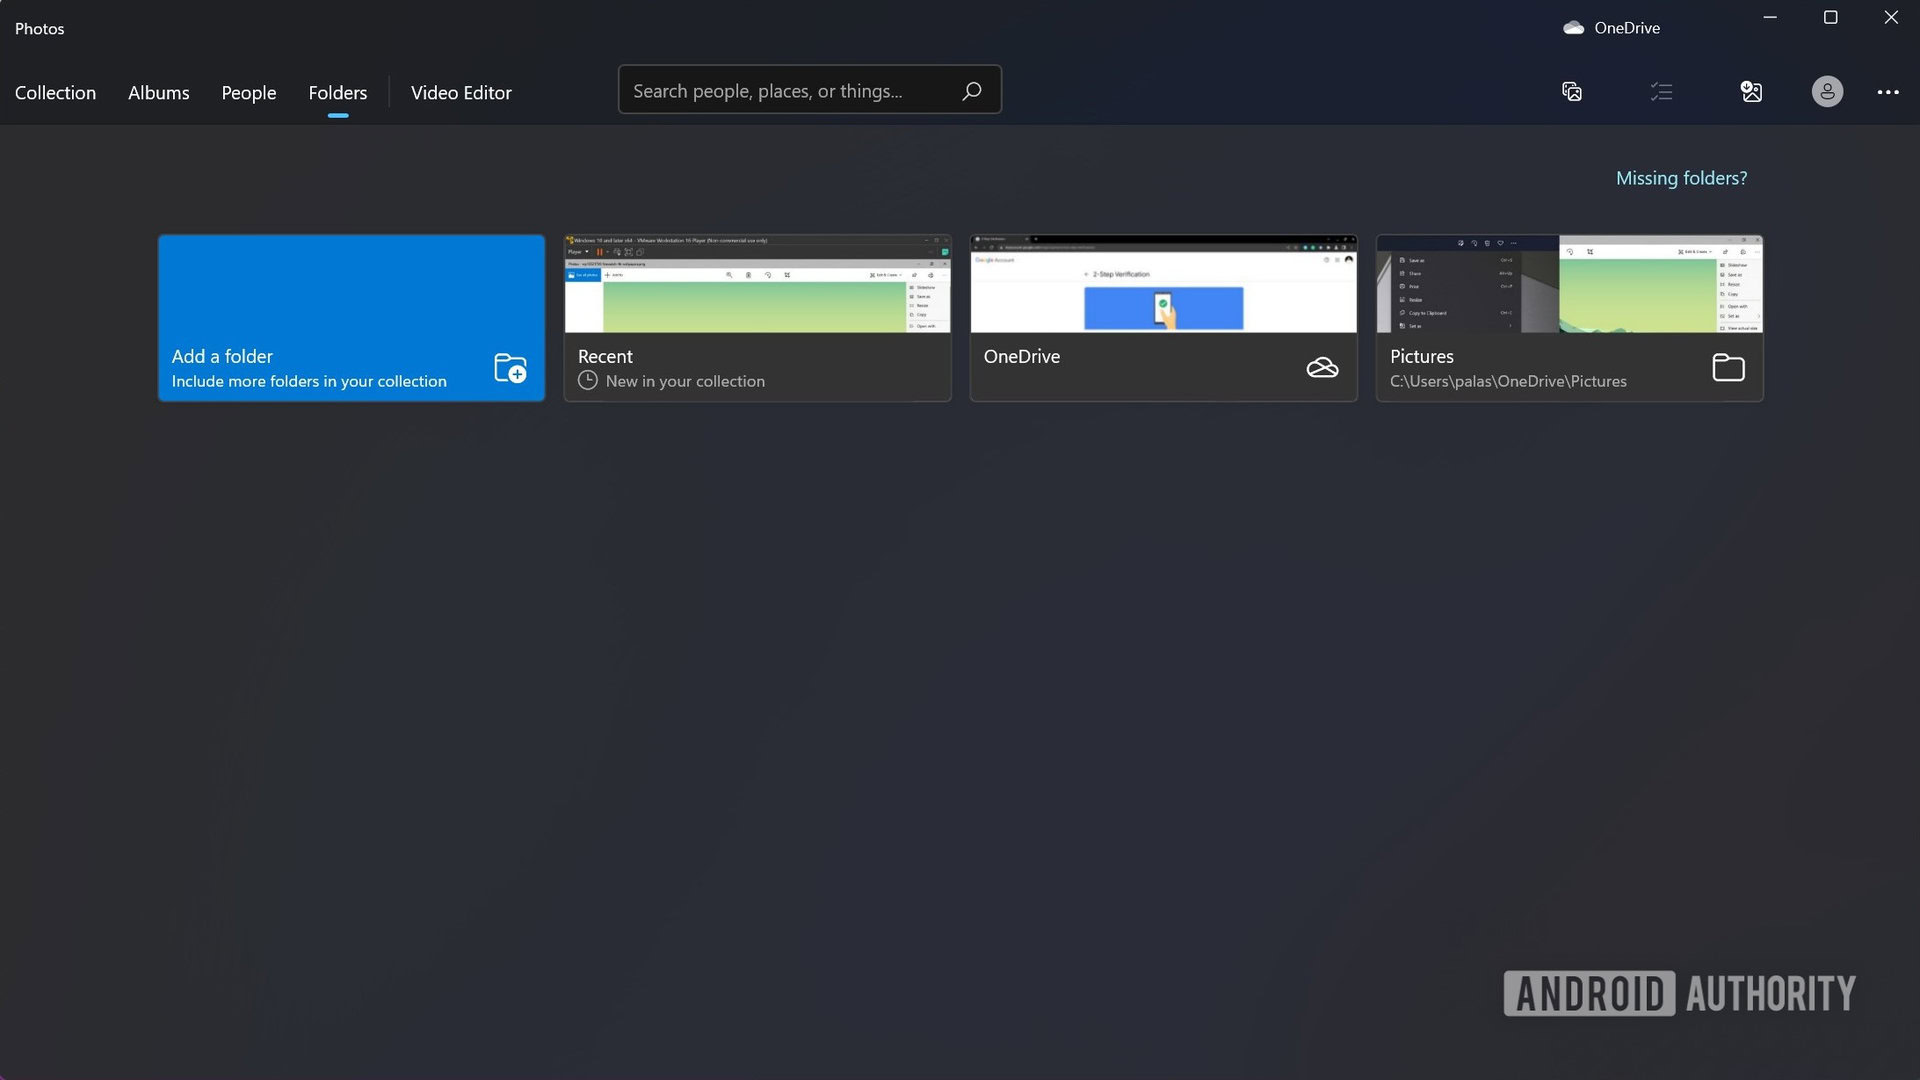
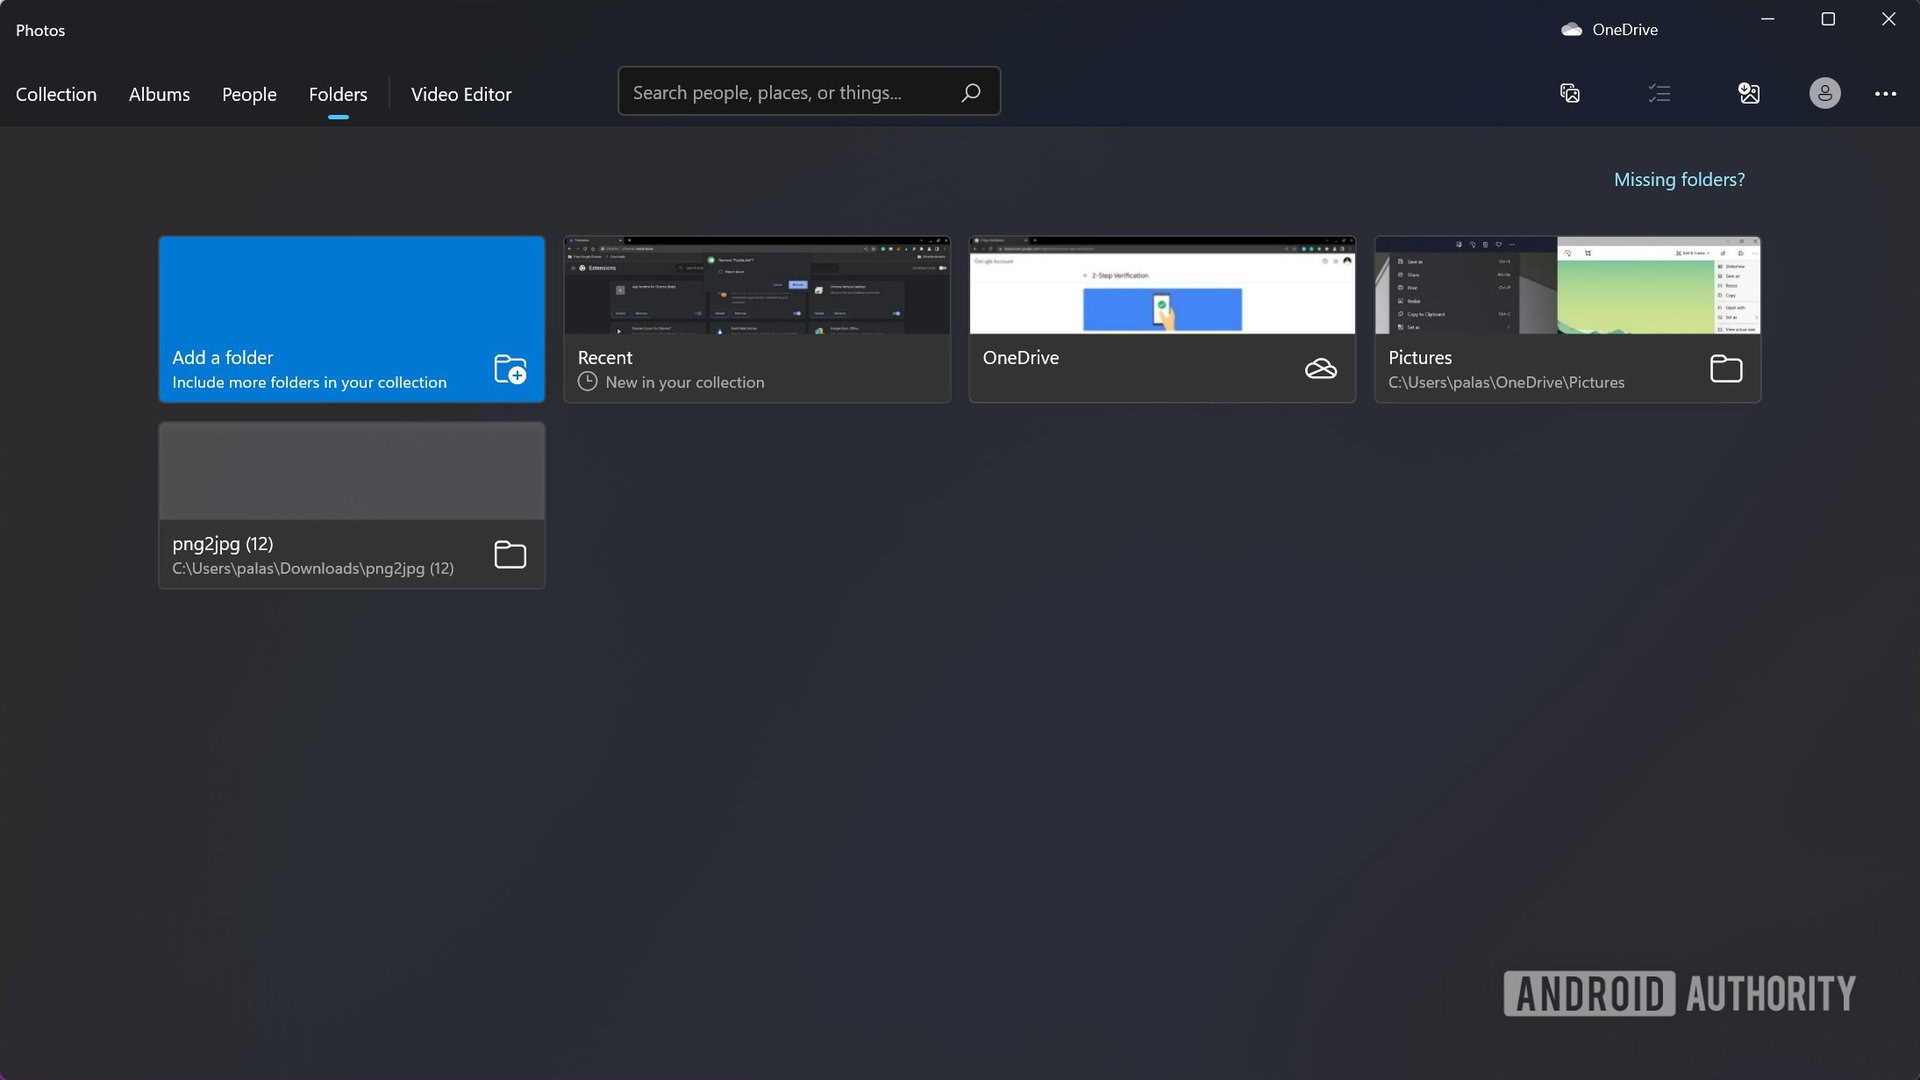
The Photos app also lets you add folders in a way that can be used for watching a slideshow later. Open the Photos app, and select the Folders tab towards the top. Click Add a folder.
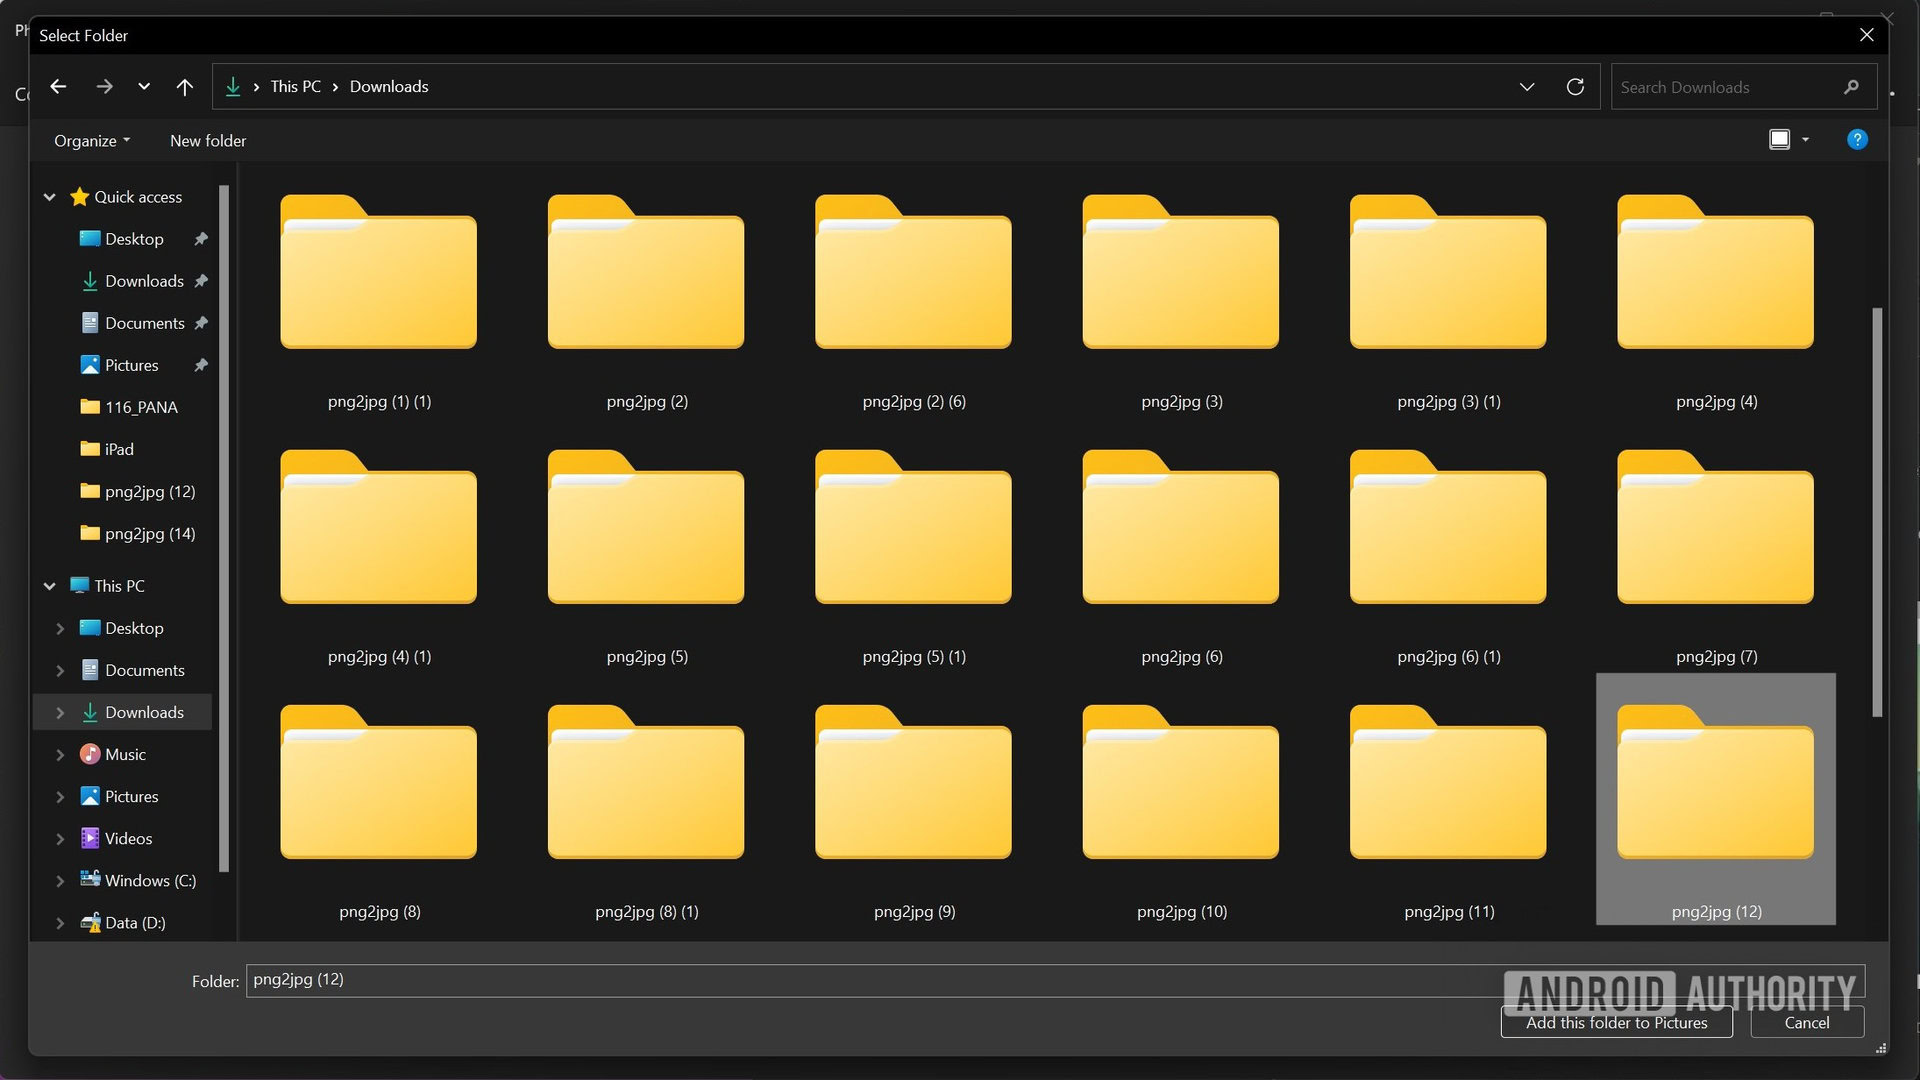
A File Explorer window will pop up, allowing you to pick the folder you want to add. Navigate to the correct one, click to select it, and then click the Add this folder to pictures button.
The folder will show up in the Folders tab view. Double-click it to open the images in it.
Once you’re in the photos view for the folder, click the triple-dot menu button in the top-right corner, followed by Slideshow.
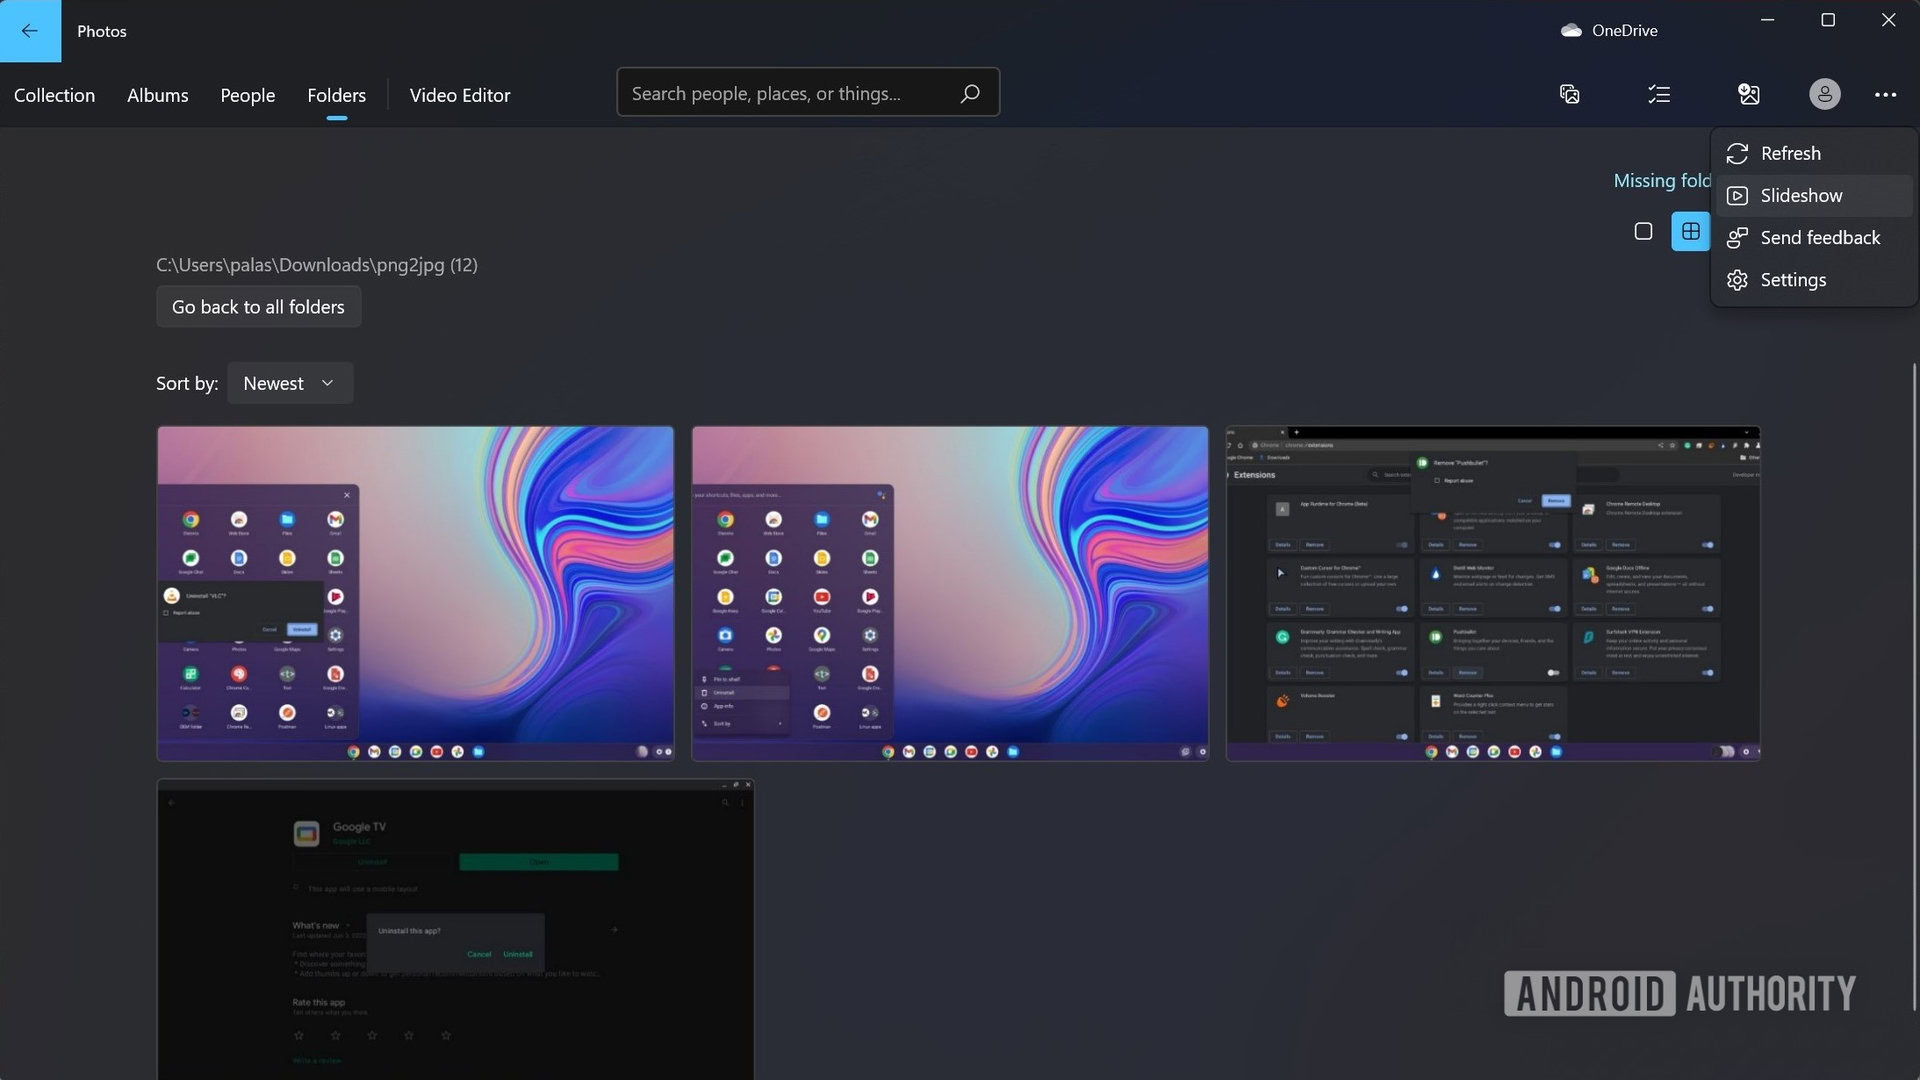
That’s it. The slideshow will run automatically, going from one photo to the next. You can use arrow keys to control the slideshow as needed.
FAQs
Windows 10 doesn’t have a dedicated slideshow maker, but the Photos app that comes preinstalled includes a slideshow feature that works well enough for many purposes.
Some of the top-rated apps for Windows include Microsoft PowerPoint, Adobe Premiere Elements, and Icecream Slideshow Maker. PowerPoint is usually considered the industry standard, but you’ll need to pay for Microsoft Office, whether in standalone form or as part of Microsoft 365.