Affiliate links on Android Authority may earn us a commission. Learn more.
How to use iTunes on a Chromebook
Published onJune 15, 2022
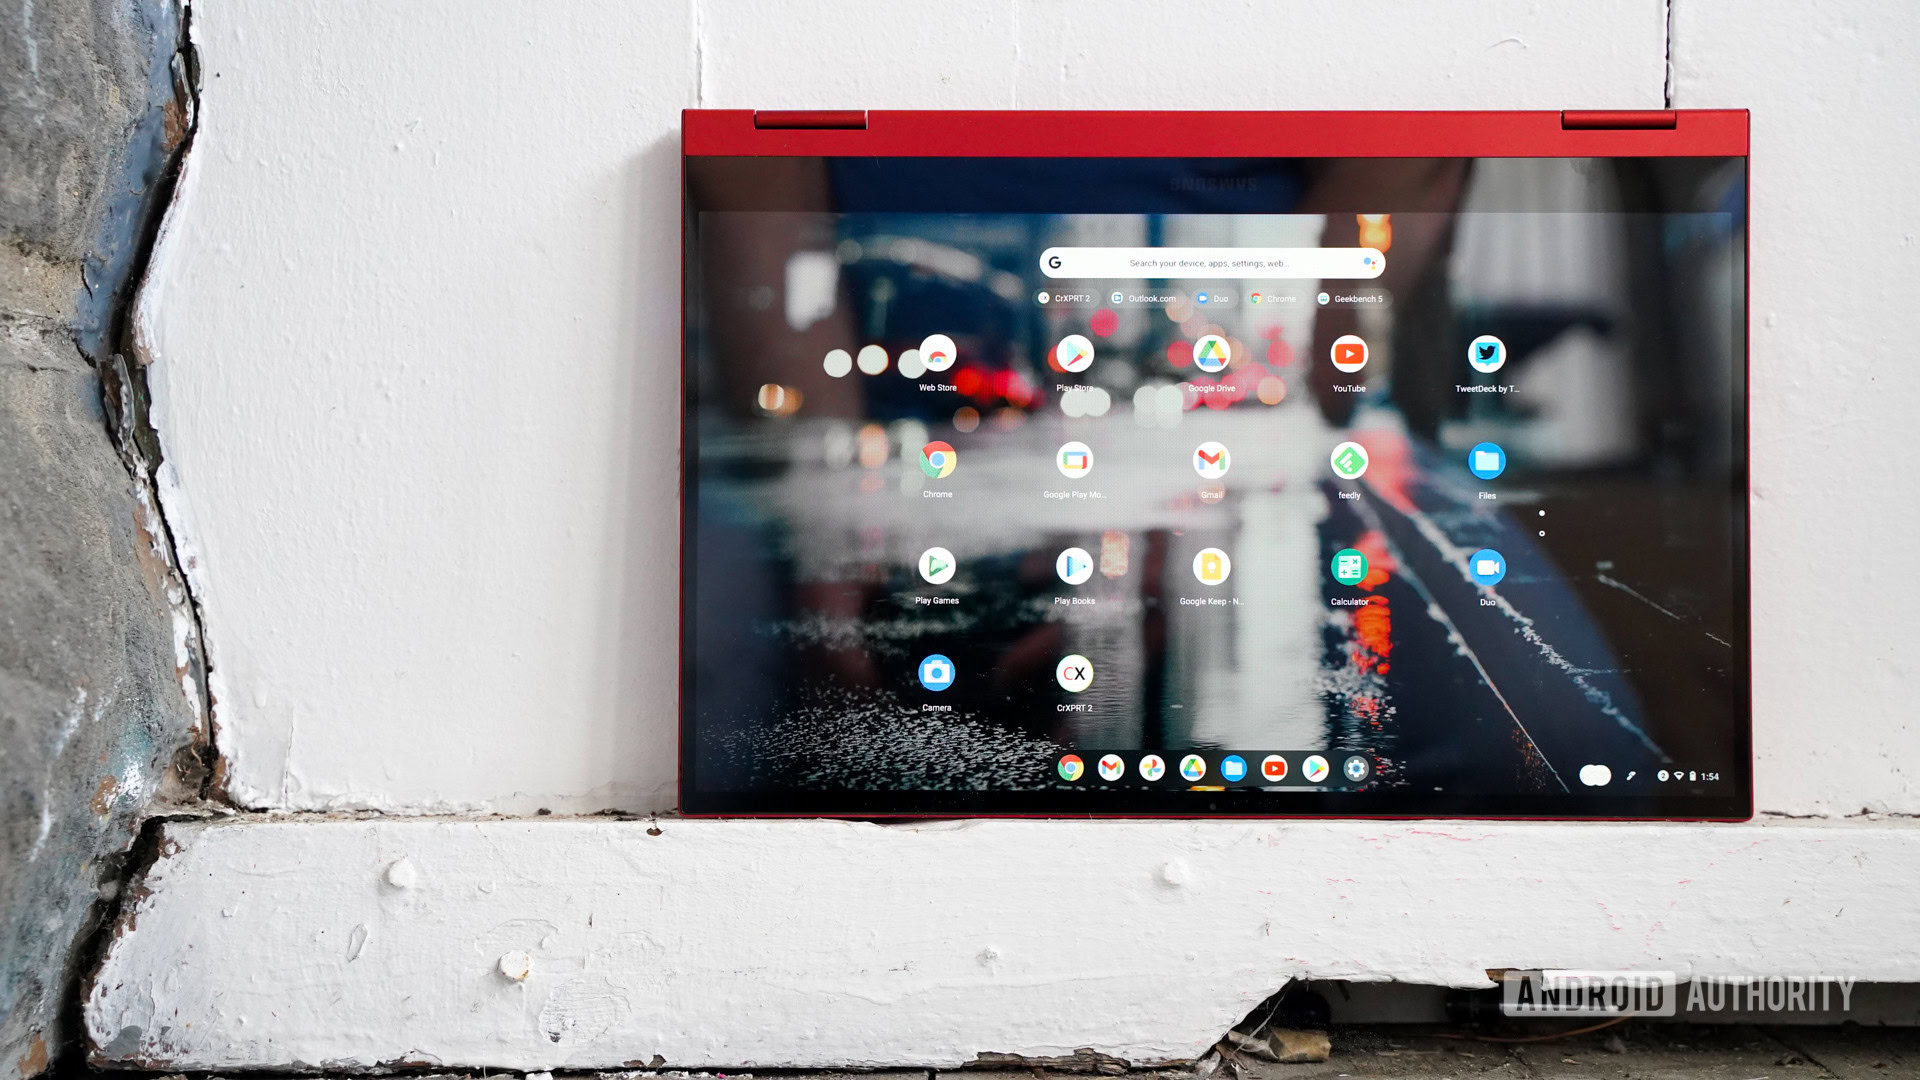
Chromebooks improve with each passing year, and they’re finally genuine laptop alternatives. They don’t suffer from many tablet limitations, but Chromebooks still have a few quirks. One such drawback is that there’s no easy way to download iTunes on a Chromebook. It’s an unfortunate hurdle to face and can pose significant problems for iOS users. Luckily, there’s a workaround.
We will cover how to run the Windows version of iTunes on a Chromebook using Wine. It’s an unreliable method you can try if you badly need it to work. We’ll also show you how to bring your favorite iTunes songs to YouTube Music. Google Play Music has gone the way of the dodo, so this is your best bet.
See also: The best Chromebooks to get
QUICK ANSWER
To use iTunes on a Chromebook, you can enable the Linux development environment on supported Chromebooks and install Wine. You can then run the Windows version of the iTunes installer via Wine. However, this isn't a very reliable method, so your best option on a Chromebook is to move your library to a supported app like YouTube Music or Apple Music.
JUMP TO KEY SECTIONS
Can you install iTunes on Chromebook using Linux?
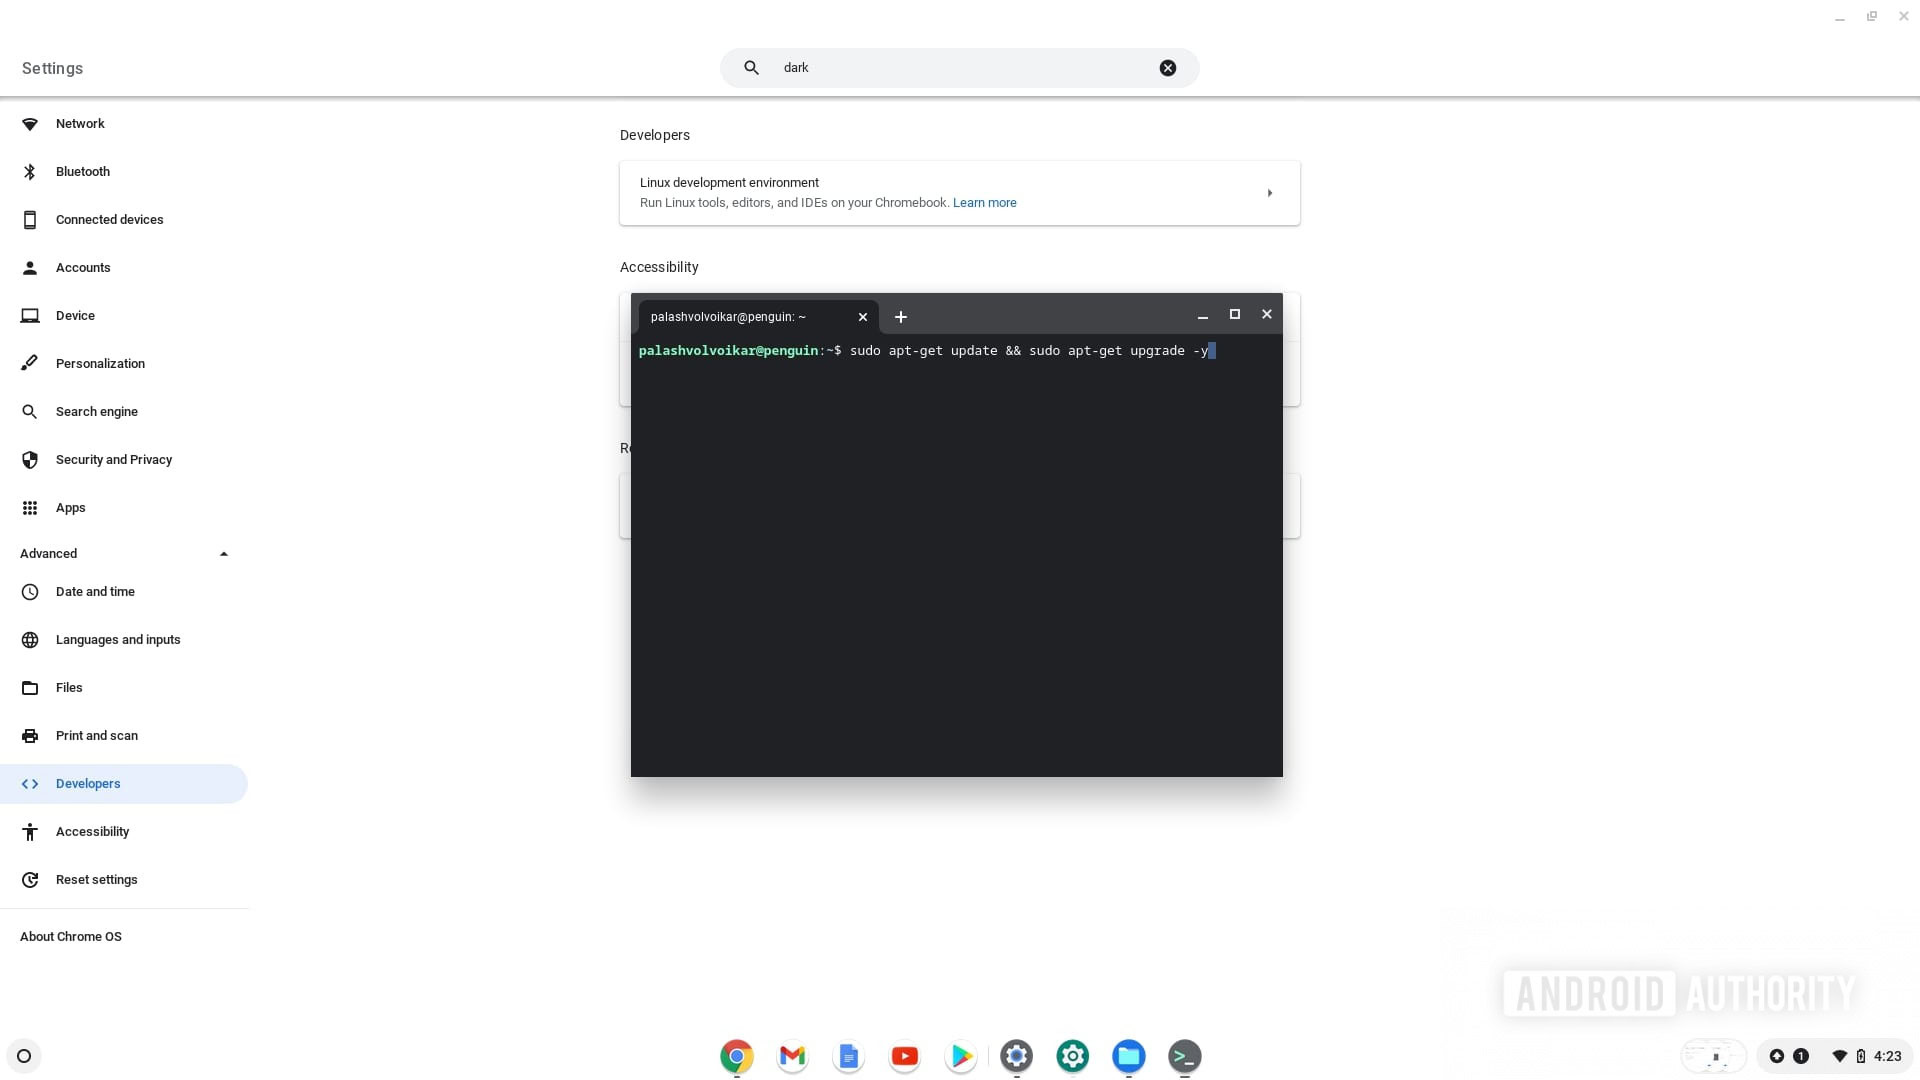
There’s no native Linux version of iTunes. If you have a Chromebook that supports Linux, you can enable it and install Wine. Wine lets you run Windows apps on Linux, so technically, you can use it to run iTunes on Linux and thus on a supported Chromebook.
However, we tried doing this with both the 32-bit and 64-bit versions of iTunes, but neither worked. The Windows version of iTunes on a Chromebook Linux environment using Wine seems to be one of too many emulation layers for the app. You can install iTunes this way, but it doesn’t launch properly enough to classify it as a working solution. If you still want to give it a shot, here are the steps to get it done. Before you begin, check whether your Chromebook supports Linux apps and enable Linux on your Chromebook.
Set up Wine on Chromebook
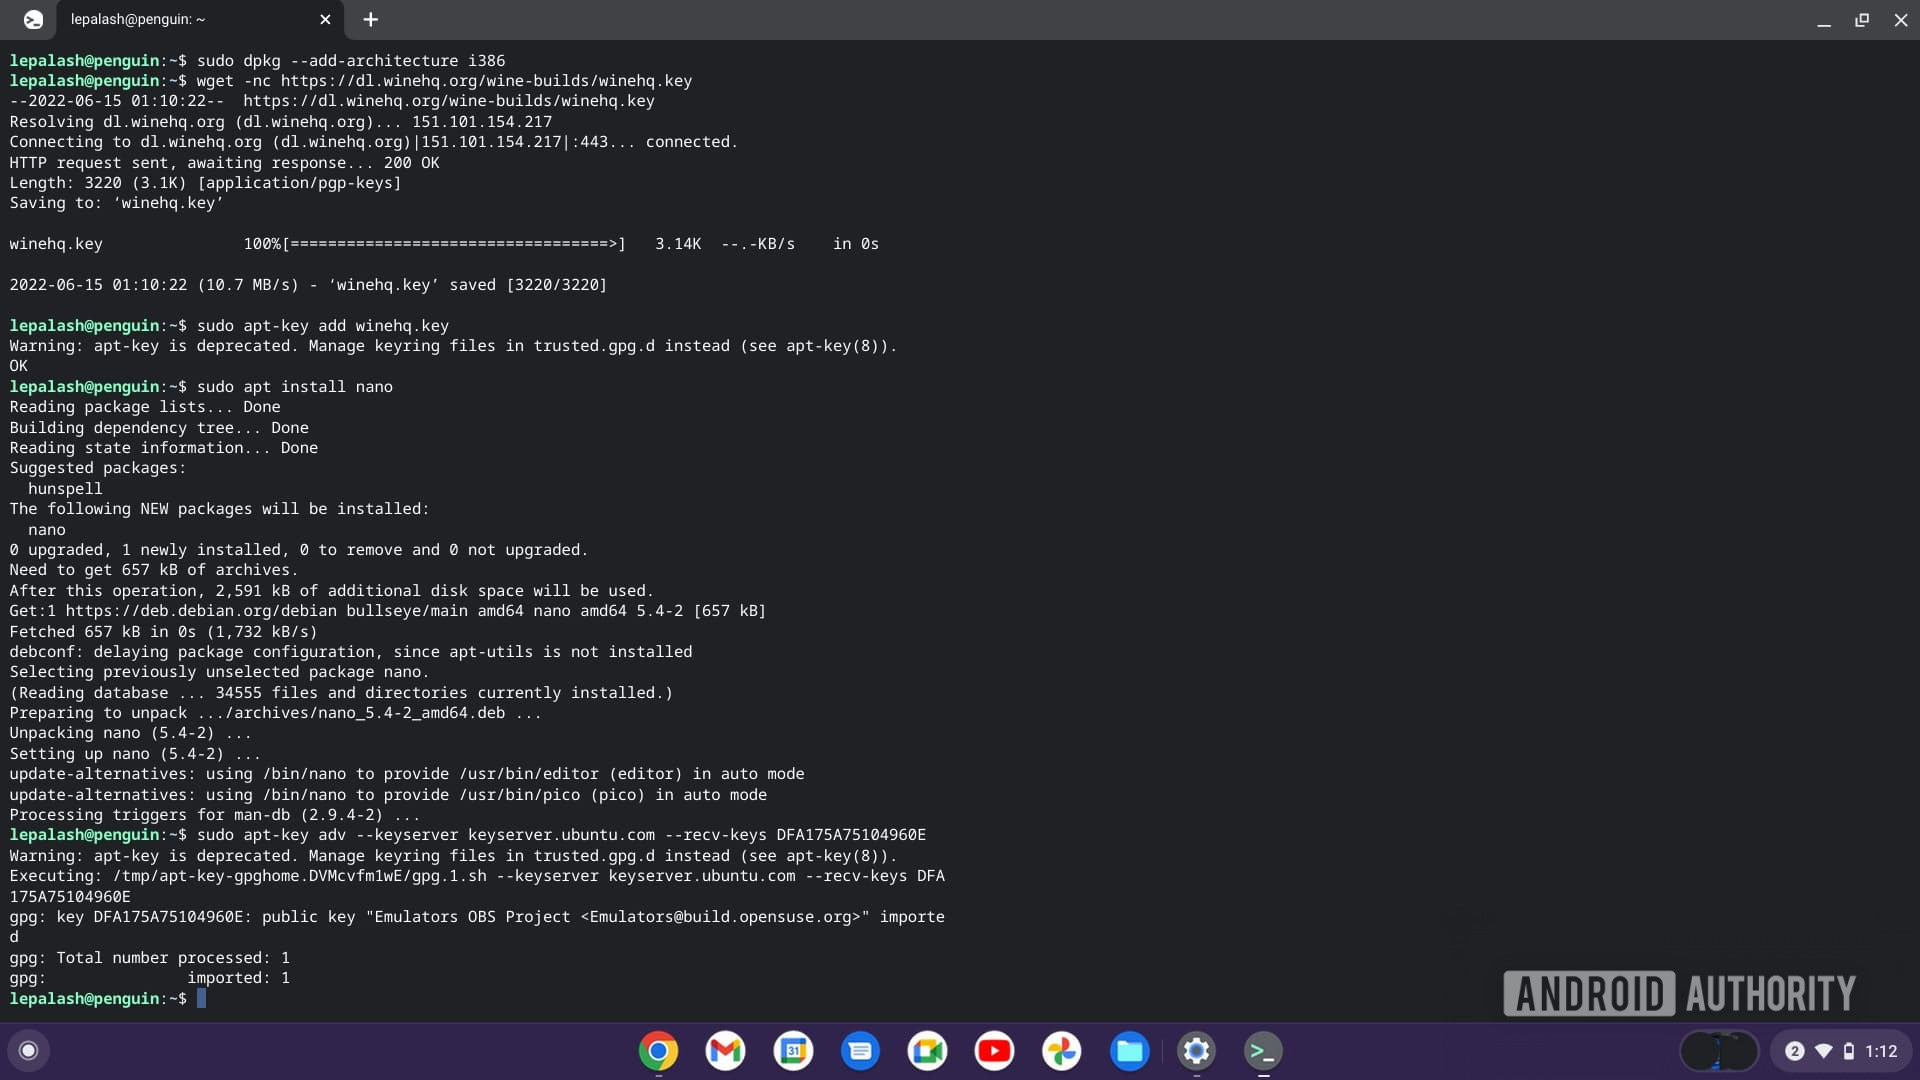
Open the Linux Terminal, type in the following commands, and press Enter. You may need to wait for some commands to execute, and give additional permission by pressing Y and then the Enter key, if prompted.
sudo dpkg --add-architecture i386
wget -nc https://dl.winehq.org/wine-builds/winehq.key
sudo apt-key add winehq.key
sudo apt install nano
sudo nano /etc/apt/sources.list
The last command will open up the Nano editor. Paste the following commands in the editor, and press Enter after each one.
deb https://dl.winehq.org/wine-builds/debian/ buster main
deb https://download.opensuse.org/repositories/Emulators:/Wine:/Debian/Debian_10 ./
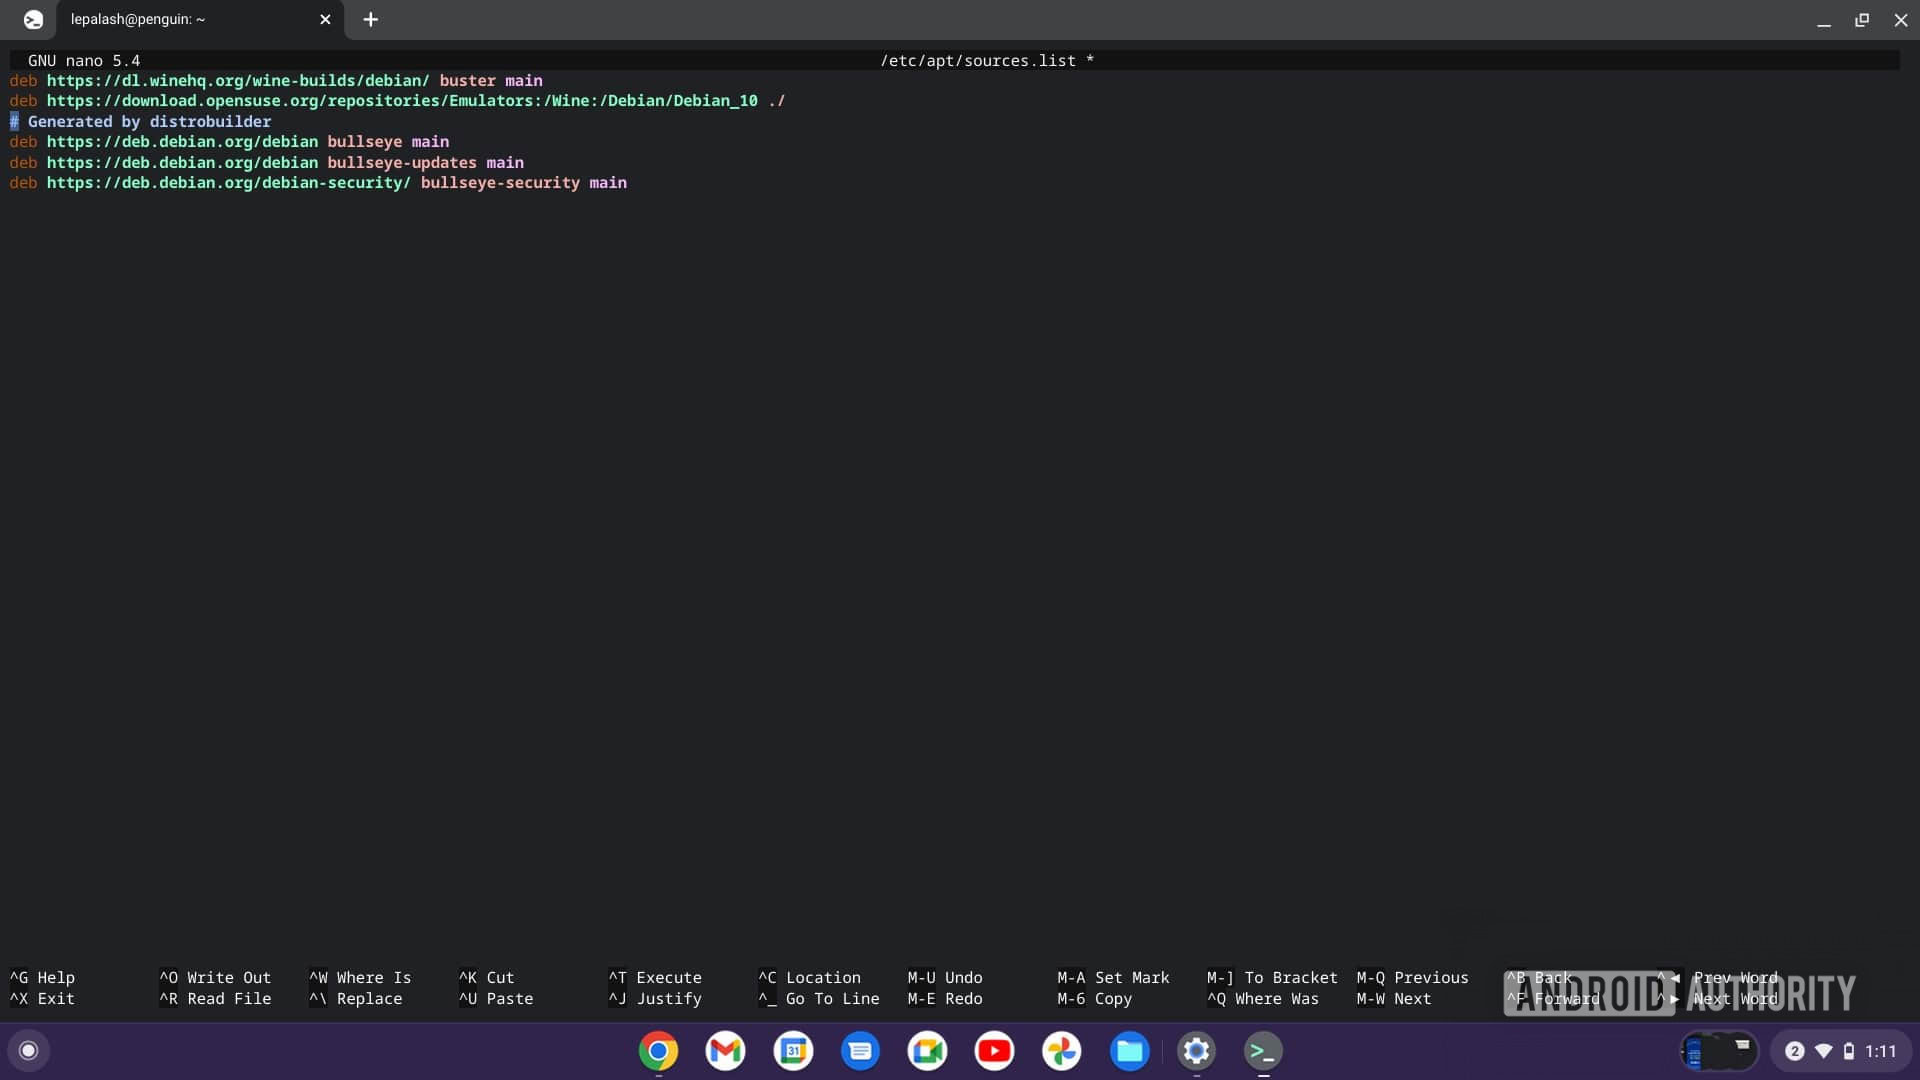
To save these changes and exit, press Ctrl + X, Y, and Enter in succession, as prompted. You will return to the usual terminal interface. Enter the following commands to finish the Wine installation. Press Enter after every command.
sudo apt-key adv --keyserver keyserver.ubuntu.com --recv-keys DFA175A75104960E
sudo apt update
sudo apt install --install-recommends winehq-stable
To check if Wine has installed properly, type winecfg in the Terminal and press Enter. It should open up the Wine configuration window.
Install iTunes via Wine
Download the iTunes 32-bit Windows installer to the Downloads folder on your Chromebook. Copy or move it to the Linux files folder, which you can find in the left navigation pane of the Files app.
Open the Terminal, and change Wine to the 32-bit mode by running the following command. Make sure to replace the username word in the command with the actual username used on your Chromebook.
WINEARCH=win32 WINEPREFIX=/home/username/.wine32 winecfg
Next, run the iTunes installer by running the following command. Make sure to replace the username word in the command with the actual username used on your Chromebook. Also, change the name of the iTunes setup file to the actual name of the file you have. It should be iTunesSetup.exe by default.
WINEARCH=win32 WINEPREFIX=/home/username/.wine32/ wine iTunesSetup.exe
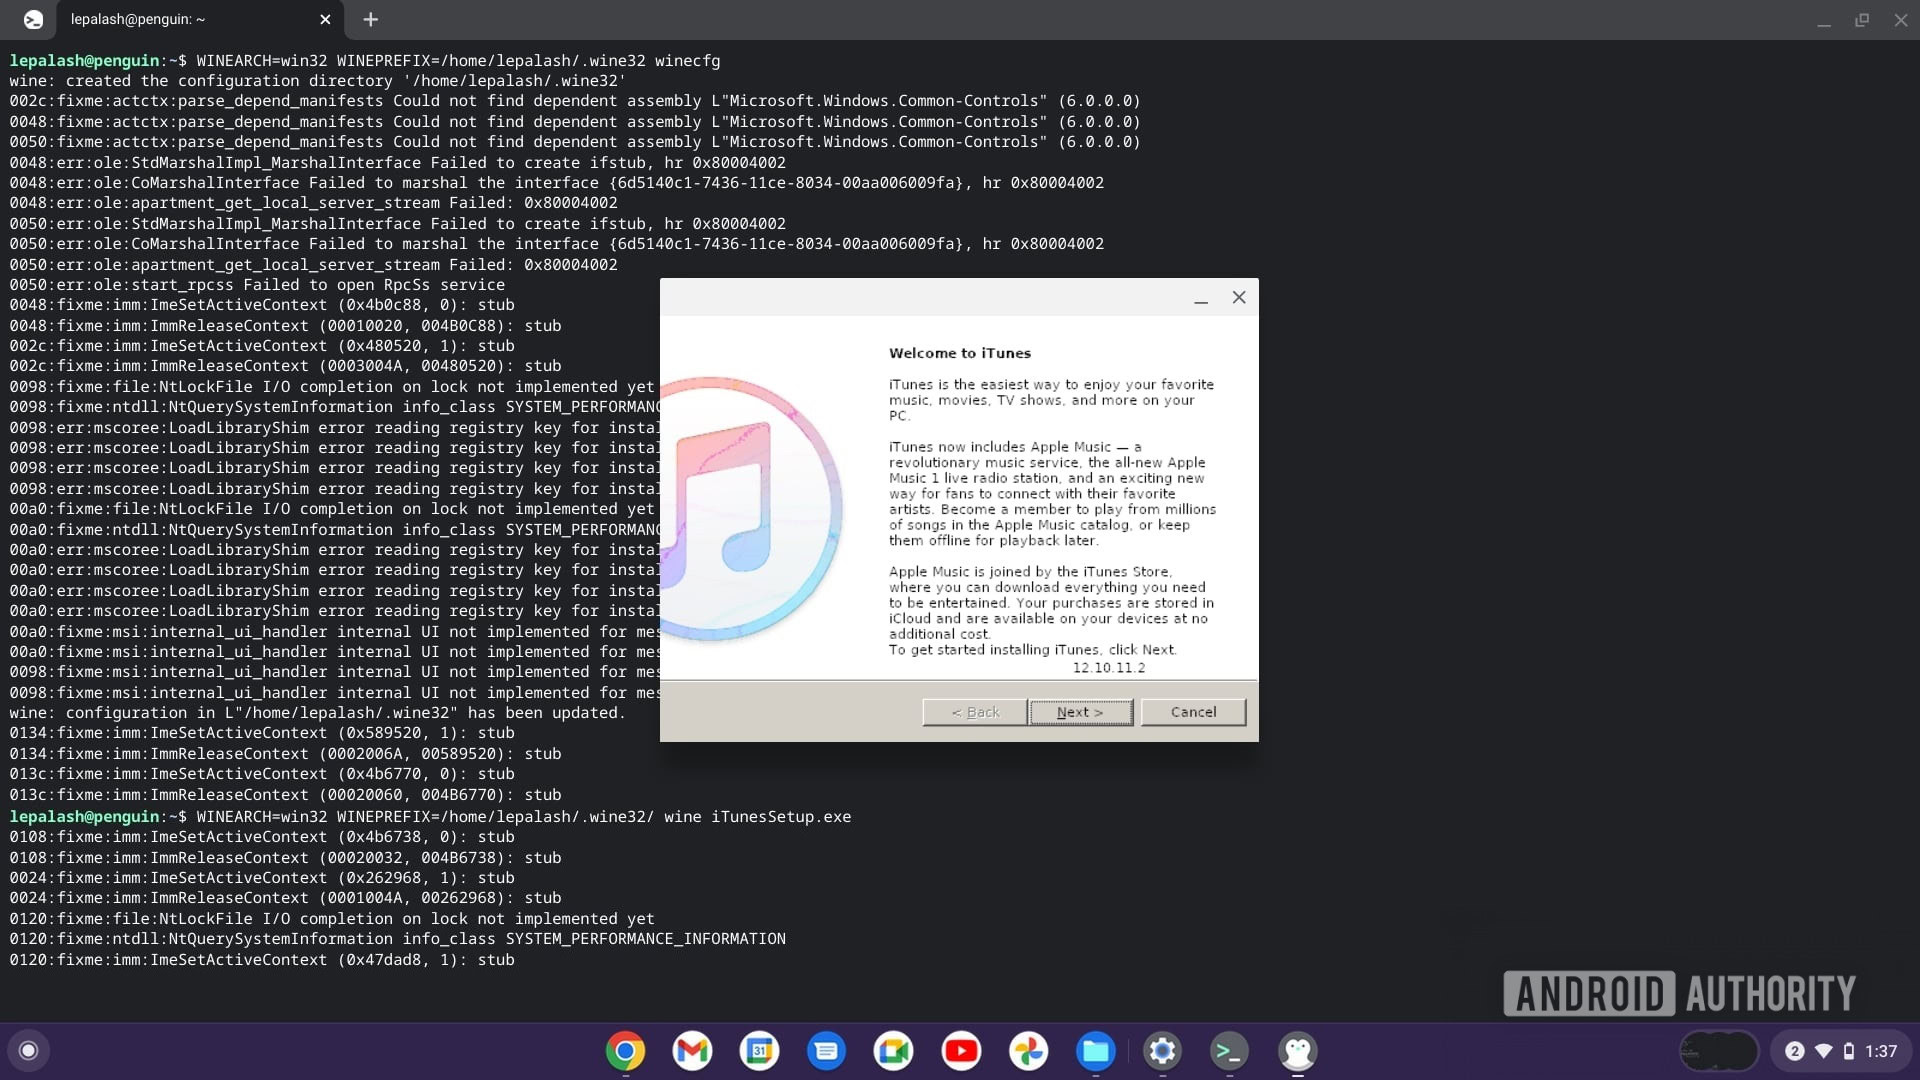
The iTunes setup will begin. Just follow through the steps, and choose any presented options per your preference. When you click Finish, iTunes will be installed on your Chromebook.

If you want to start iTunes, you can look for it in the Chromebook search and click it.
How to get YouTube Music on a Chromebook
Once again, there’s no easy way to download iTunes software to your Chromebook. So we’ll show you how to download YouTube Music and port your music over. Thanks to your Google account, you already have a YouTube Music account, so this should be very easy.
- You can use YouTube Music from the official webpage, using Chrome.
- If you want a native app and have a Chromebook that supports Android apps, you can also get YouTube Music for Chromebook straight from the Google Play Store.
You can get into the most important steps when you have YouTube Music installed on your Chromebook.
How to copy your iTunes library into YouTube Music
You’ve already installed the correct app to your Chromebook, so now you’ll have to head to whichever Mac or PC you keep your iTunes music on.
- Open your browser of choice and head to the YouTube Music website.
- Click on your profile image in the top-right corner of the page.
- Select Upload music.
- Find the iTunes music files and select them.
- Click Open to upload your songs.
You may find that it helps to label your iTunes folder very clearly before uploading. This may save you some time in finding your preferred songs and albums.
See also: YouTube Music vs. Spotify: Can Google even compete?
How do you access the iTunes music you’ve uploaded on your Chromebook?
At this point, all of the hard work is done. Your music already calls YouTube Music home, but how do you find it? It won’t be in the main section of your library.
- Open your browser of choice and head to the YouTube Music website.
- Select the Library tab.
- Select Albums, Songs, or Artists.
- Hit the YouTube Music drop-down menu and switch it to Uploads.
What if you switched to Apple Music?
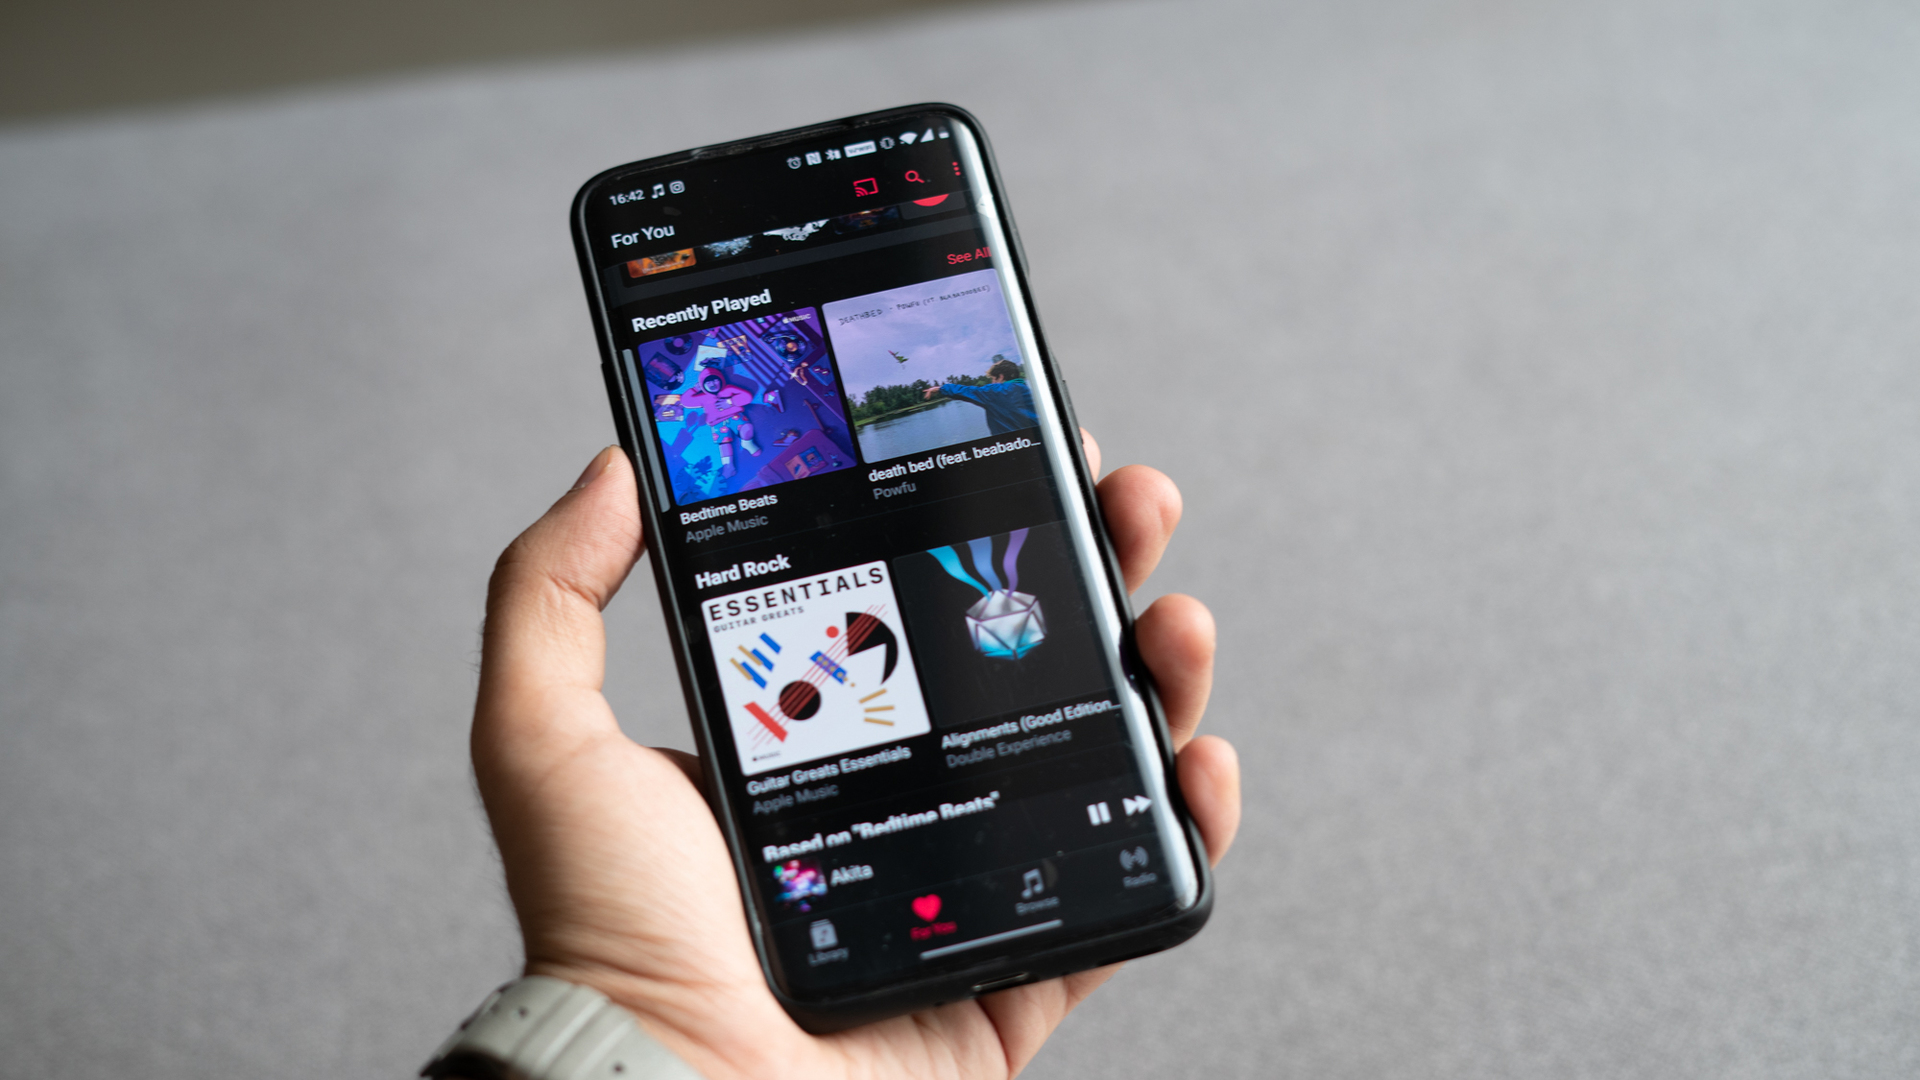
If you’ve ditched iTunes in favor of Apple Music, you can skip all of the steps we’ve talked about above. Apple built a version of its Apple Music app for Android, so you can head to the Play Store and download it. Once it’s installed, open the app and log in. Now you should be able to dig into your favorite songs and playlists without any issues.
See also: Apple Music: Everything you need to know