Affiliate links on Android Authority may earn us a commission. Learn more.
How to check VRAM on Windows 11
Published onMay 9, 2022
VRAM is the amount of system memory dedicated to the graphics processor in a computer. There are many reasons why you may need to find out how much VRAM you’re working with. For example, if some games are not working too well on your PC, limited VRAM may be a reason. Here’s how to check VRAM on Windows 11.
QUICK ANSWER
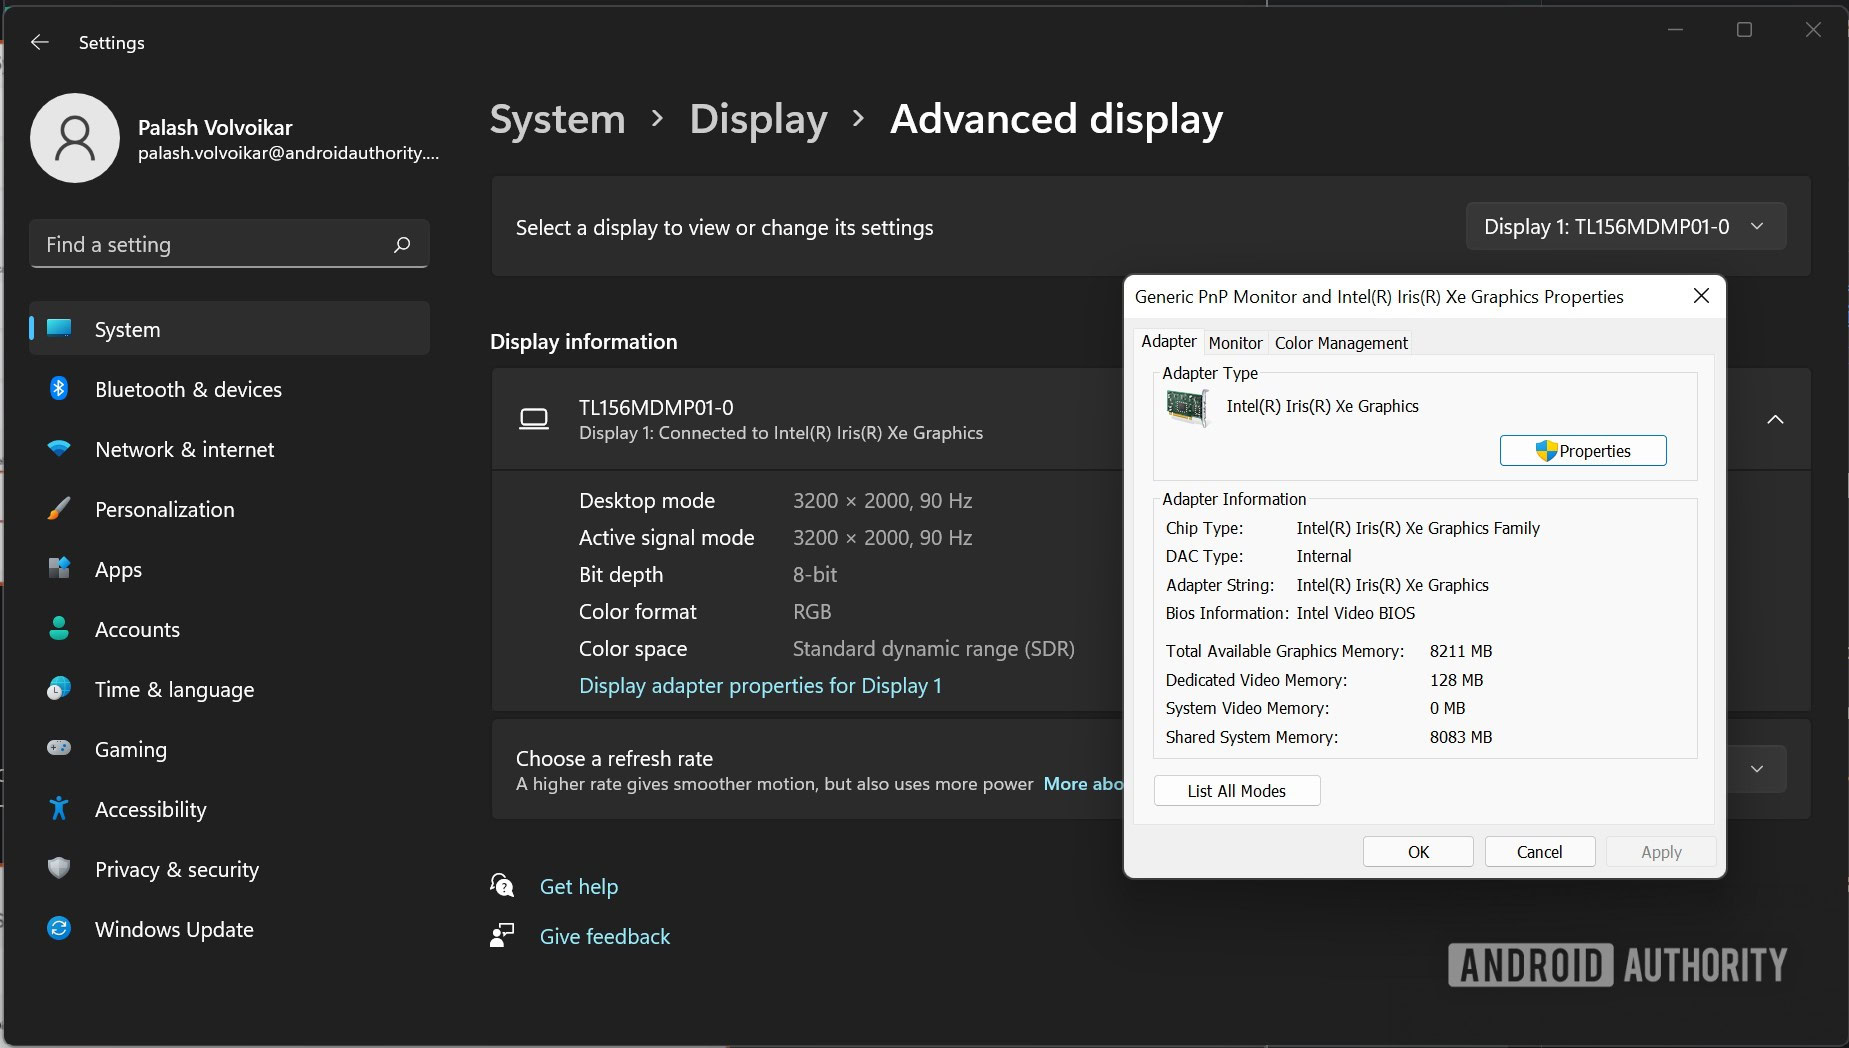
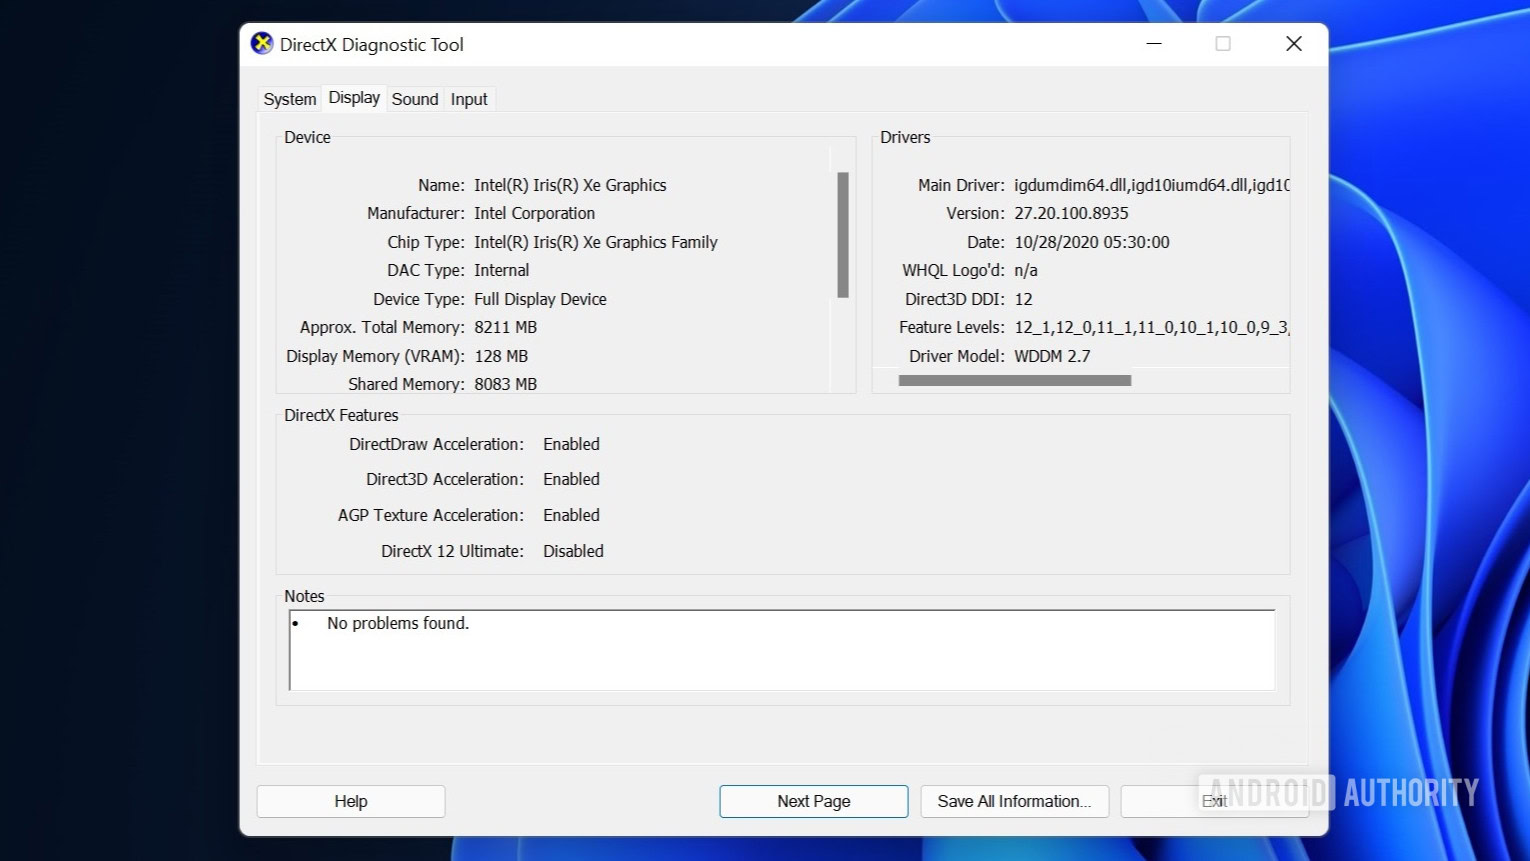
To check the VRAM on Windows 11, head to Windows settings -> System -> Display -> Advanced display -> Display adapter properties for Display 1 and check the Dedicated Video Memory label. You can also find the VRAM in the Display tab of the DirectX Diagnostic Tool or use CPU-Z to check VRAM.
JUMP TO KEY SECTIONS
How to check VRAM in Windows 11 using Windows settings
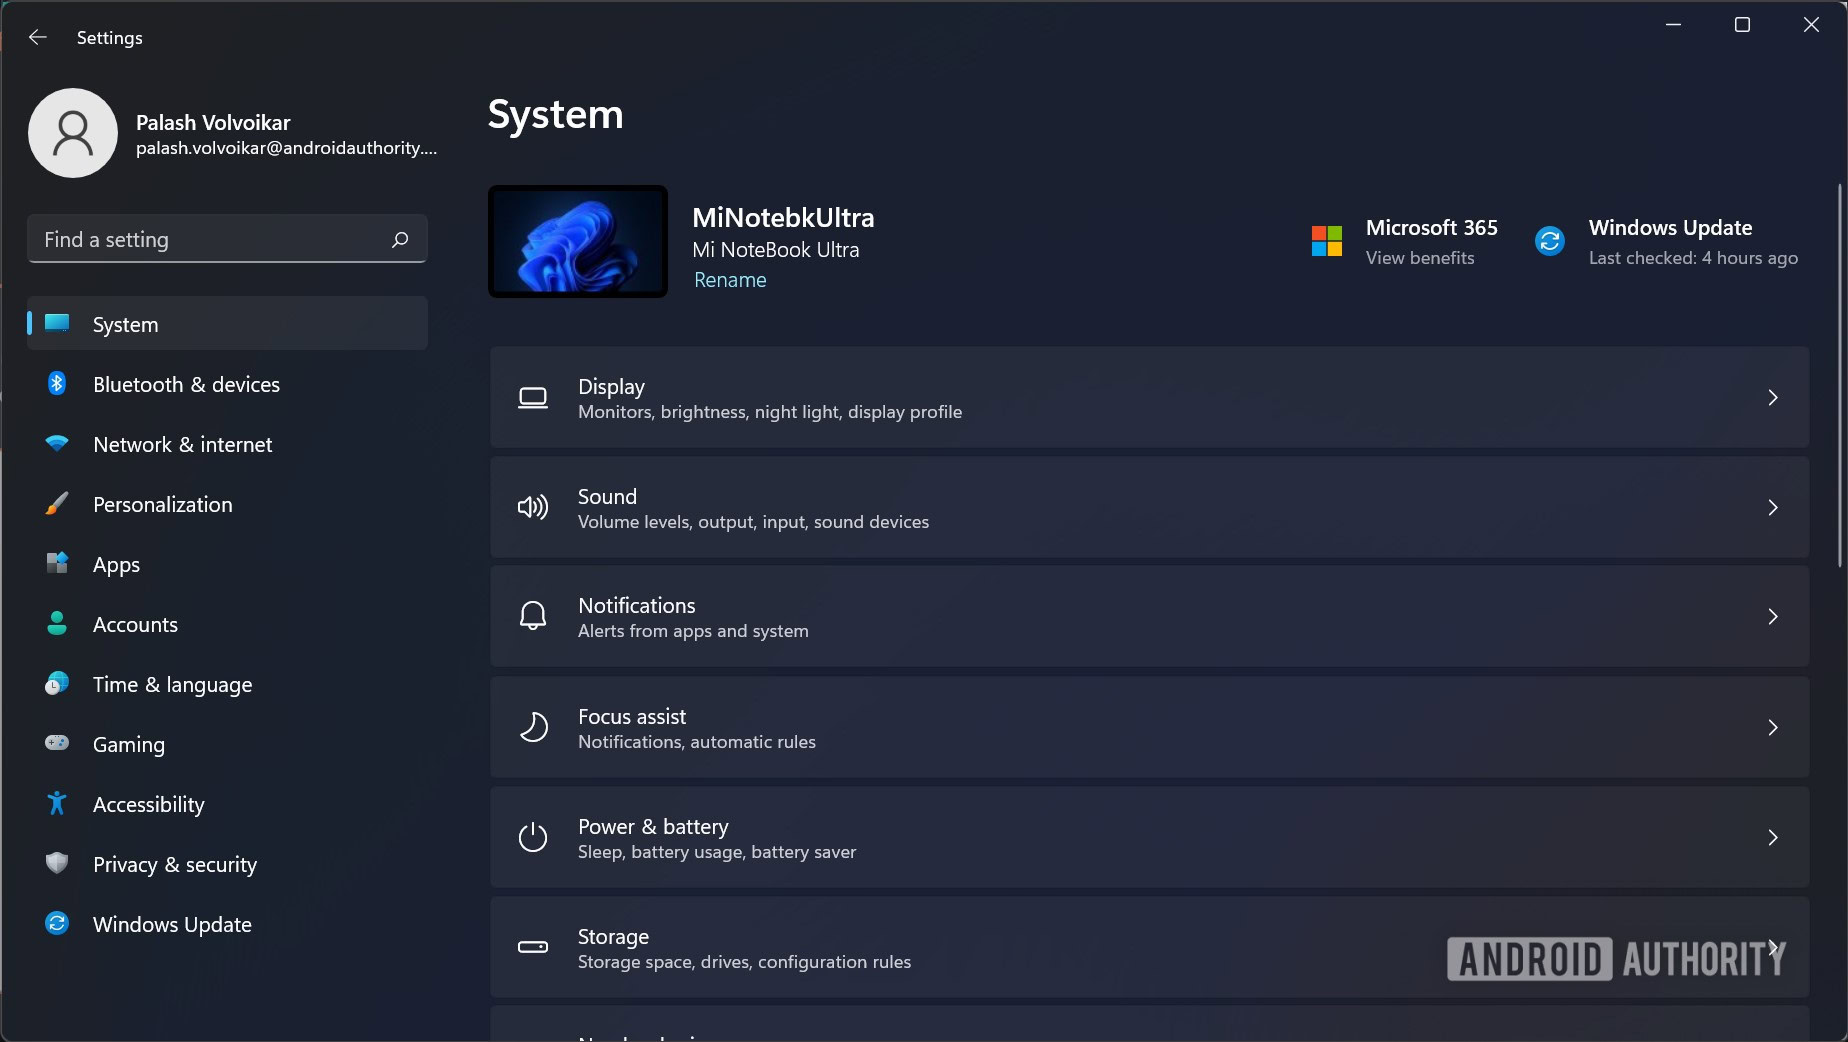
Open the Windows settings app by looking for it in Windows Search. Click System in the left navigation pane then Display in the right pane.
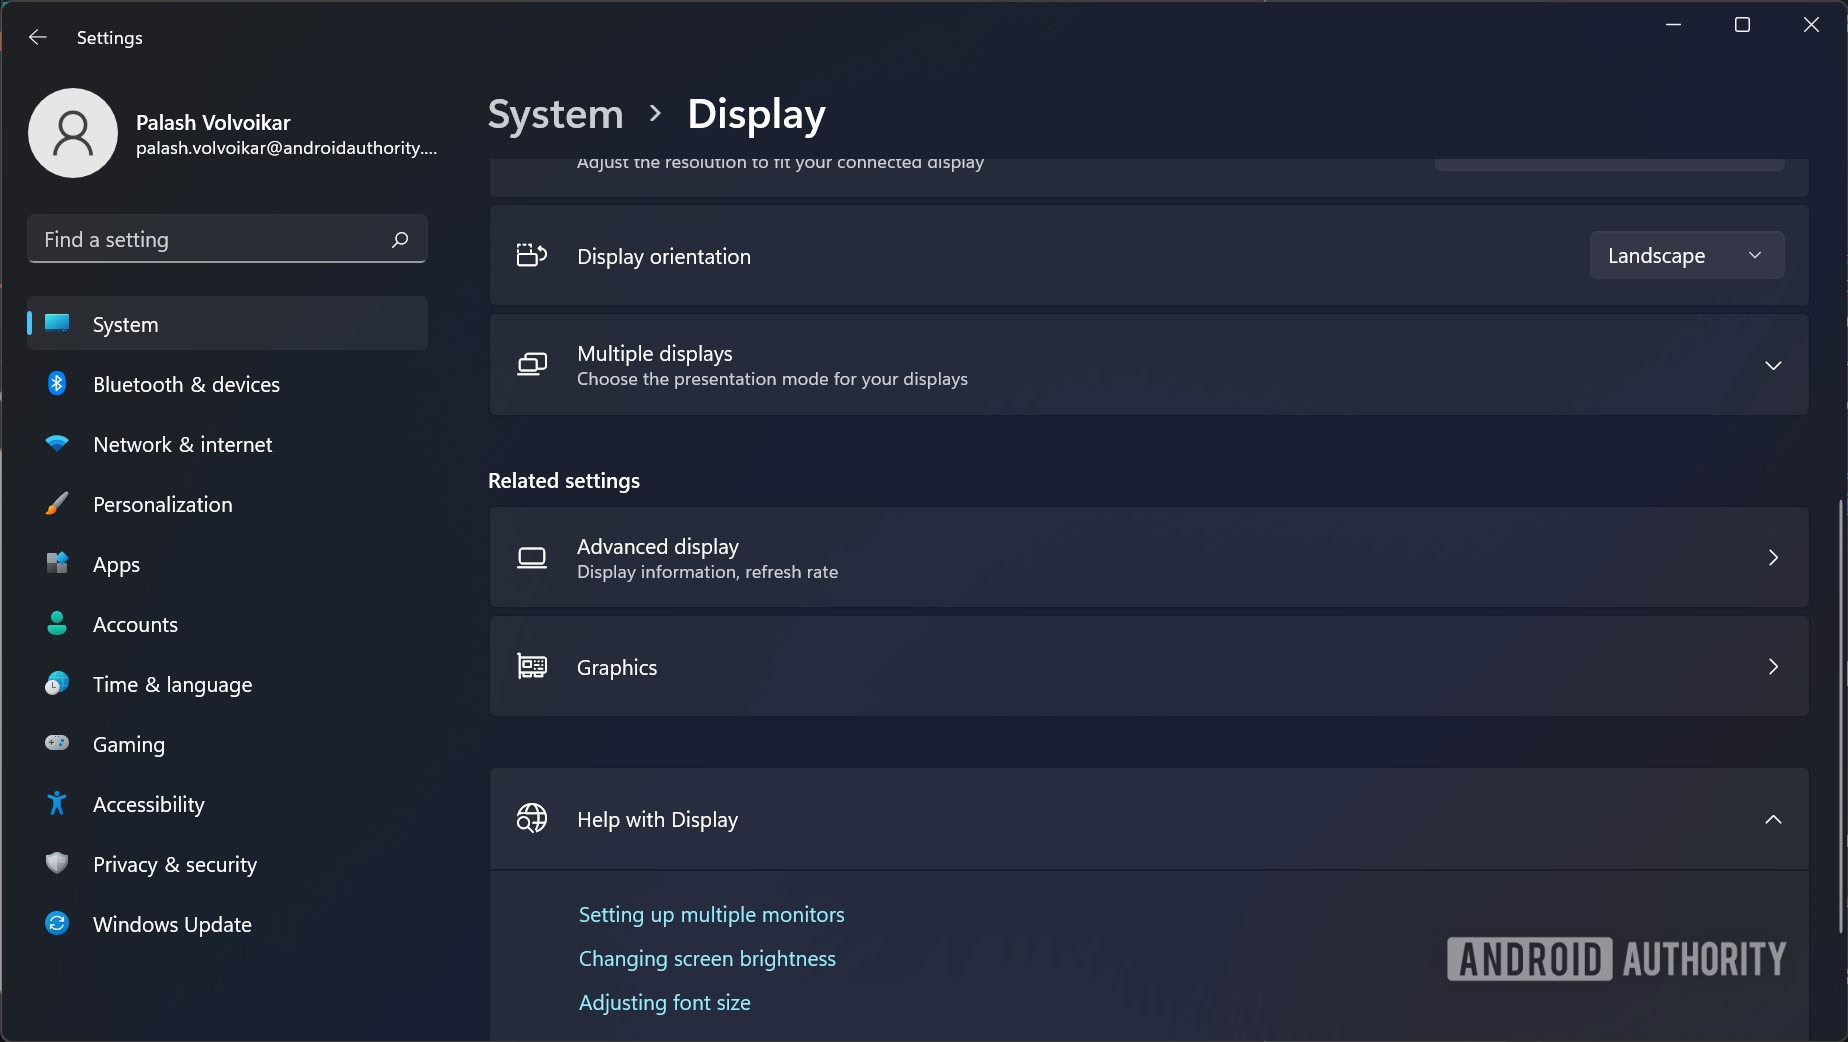
Scroll down and click Advanced display under Related settings.
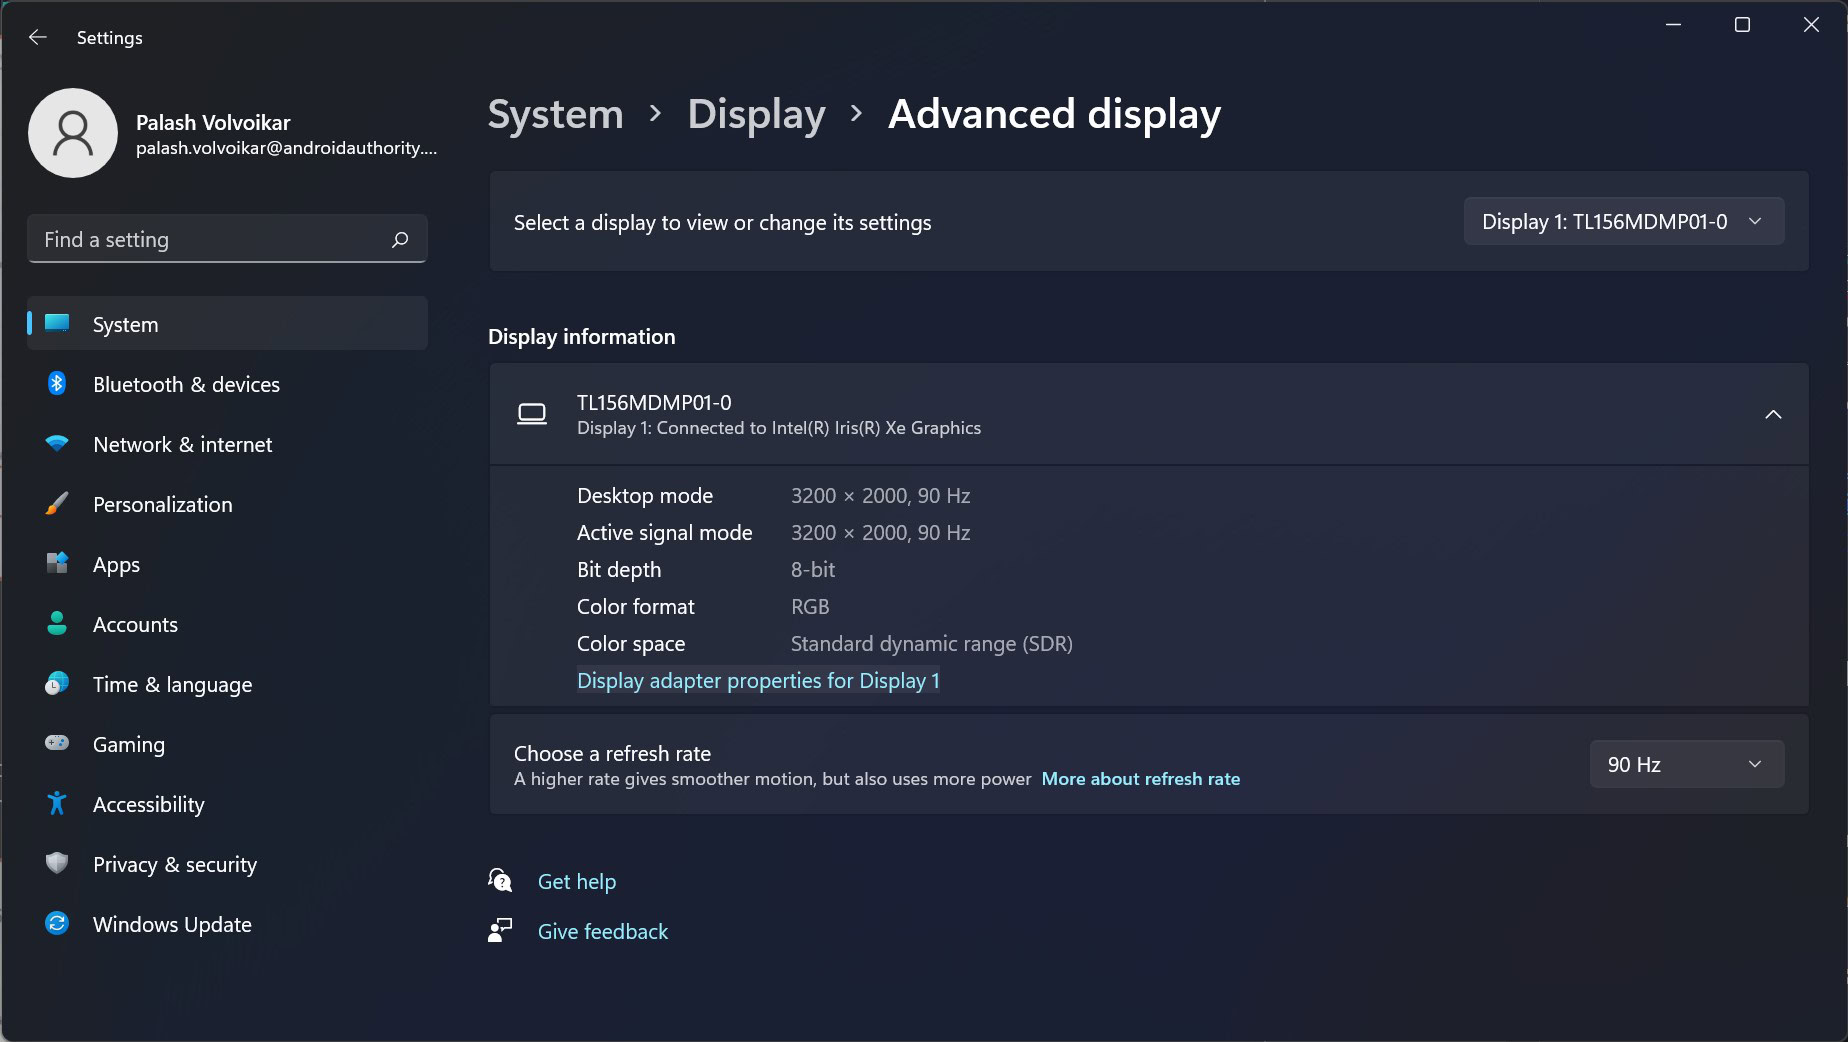
Under Display information, click the Display adapter properties for Display 1 option.
The VRAM will be listed next to the Dedicated Video Memory label.
Read more: How to install Windows 11
Check VRAM using DirectX Diagnostic Tool
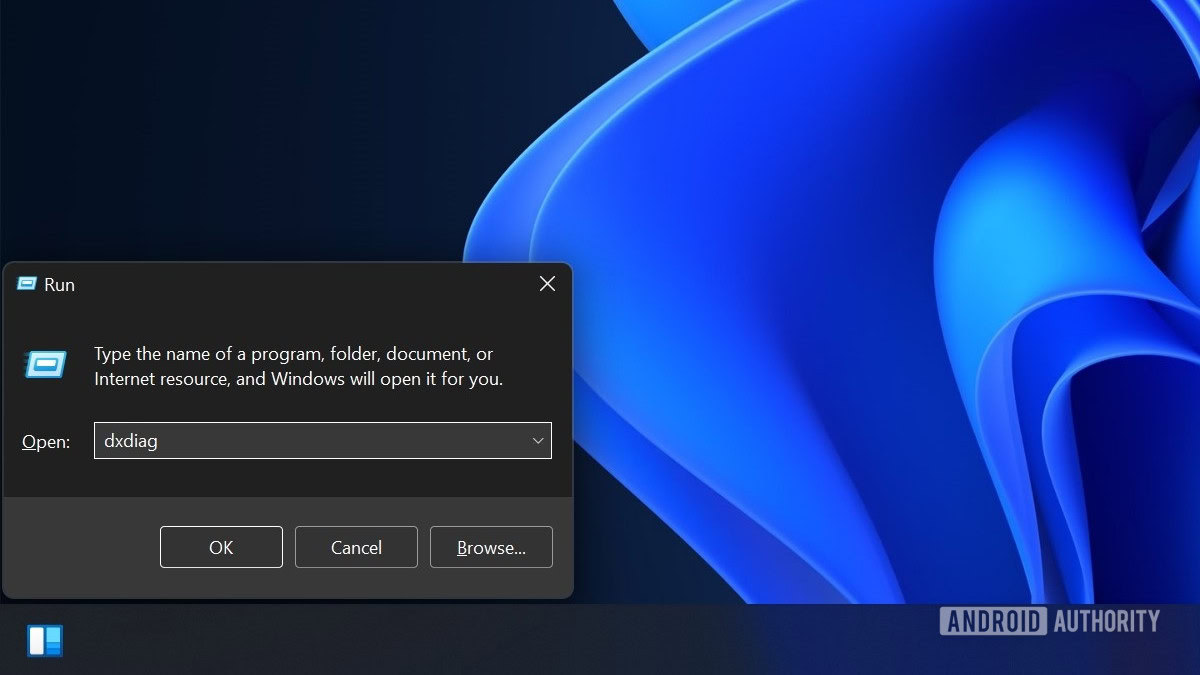
You can also check the VRAM using the DirectX Diagnostic Tool. To summon it, open Run by pressing Windows + R. In the dialog box, type dxdiag and click OK or the Enter key. According to your preference, click Yes or No if a window about driver signing pops up.
Once the DirectX Diagnostic Tool opens up, click the Display tab towards the top. The VRAM will be listed next to the Display Memory (VRAM) label under Device.
Read more: How to run Android apps on Windows 11
Using CPU-Z, a third-party app
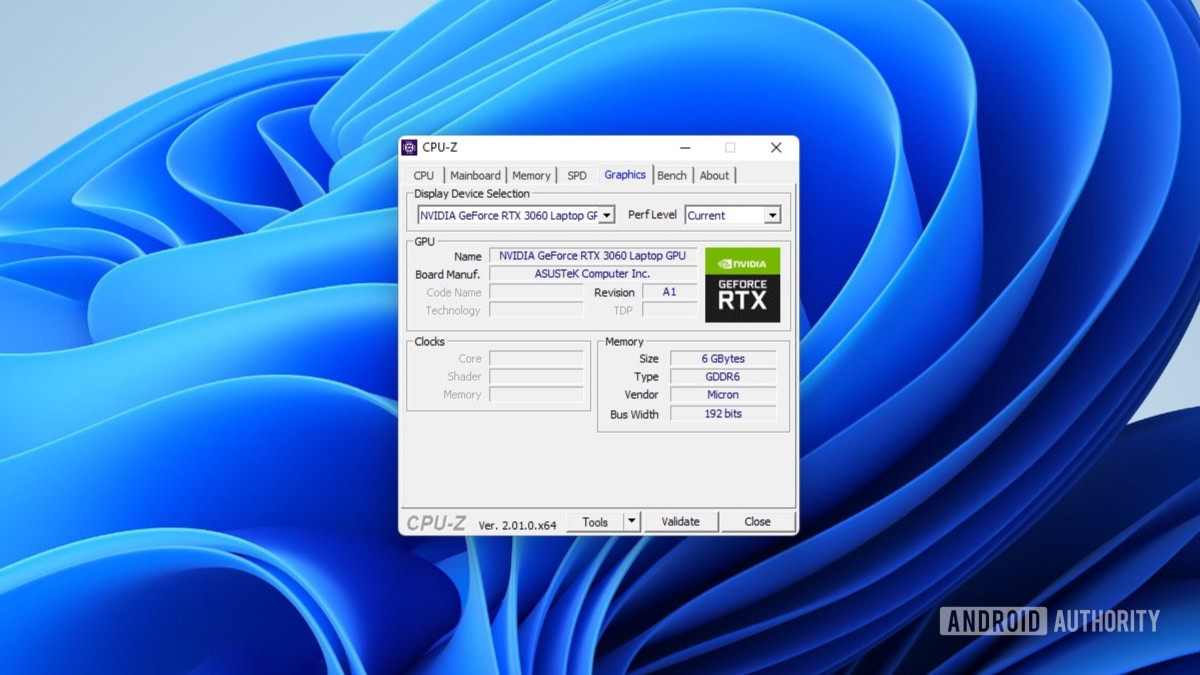
You can also use the popular third-party app CPU-Z to find the VRAM on Windows 11 and other hardware details. Install or extract it once downloaded, and run the app.
In CPU-Z, click the Graphics tab at the top. CPU-Z will display your VRAM next to the Size label under Memory.
