Affiliate links on Android Authority may earn us a commission. Learn more.
How to take better pictures with your Android smartphone
In today’s smartphone-centric world, everybody and their mom (quite literally) has a camera in their pockets at all times, and the end result is millions of pics splashed all over the web. Of course, anyone can snap a photo and share it with the world, but taking a good pic is another story.
We all think we can take nice pictures nowadays, but keep in mind photography is no easy skill to master. There’s a plethora of factors that go into shooting a good photograph, and the same general rules apply to any camera (if you want to excel, that is).
Things are a little different with smartphones when compared to a traditional camera, though. This is why we are giving you a comprehensive tutorial for making the best out of your smartphone camera. Let’s get started, shall we?
Composition, composition, composition!
Composition is the #1 priority for taking a good shot. There is no way around it. I don’t care if your picture is perfect in every other way; bad framing will ruin your photograph. Sadly, there are way too many rules of composition to compile them in a post like this one. I mean, people go to college for years to learn this, but we will give you some general tips that will take you a long way.
Rule of thirds
If you take any photography class, this is more than likely the first rule of composition you will be taught. It’s really quite simple. Just imagine the frame is divided in 9 equal rectangles, with two vertical lines and two horizontal dividing the frame.
The idea is that your subject (by the way, always have a clear subject) should be mainly located towards one of the corners of the rectangle in the middle. Here’s an example:
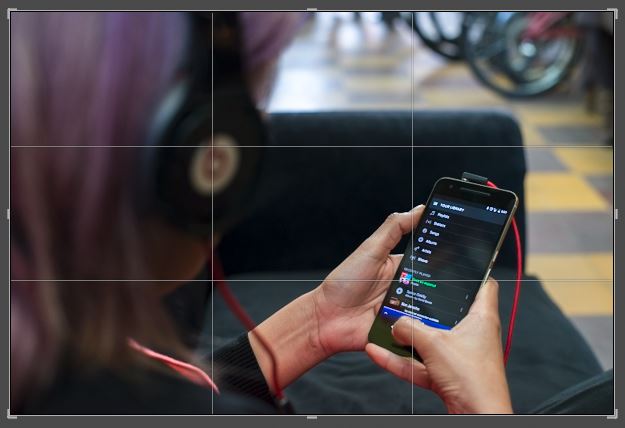
By the way, most smartphones have the option to show a grid you can base your photographs on. The thirds are sure to be included in there, if yours has the option.
Oh, and one common mistake people make is that they leave a lot of dead space in order to keep their subjects in one of these corners. Remember, if there is nothing interesting in the rest of the photograph, the rule of thirds won’t help much. In those cases it’s better to close in on your subject.
Use lines
There are lines everywhere. Use them to your advantage. These can help lead to your subject. A cliche example is railroads, as well as bridges or roads, but really, there are lines everywhere.

Point of view
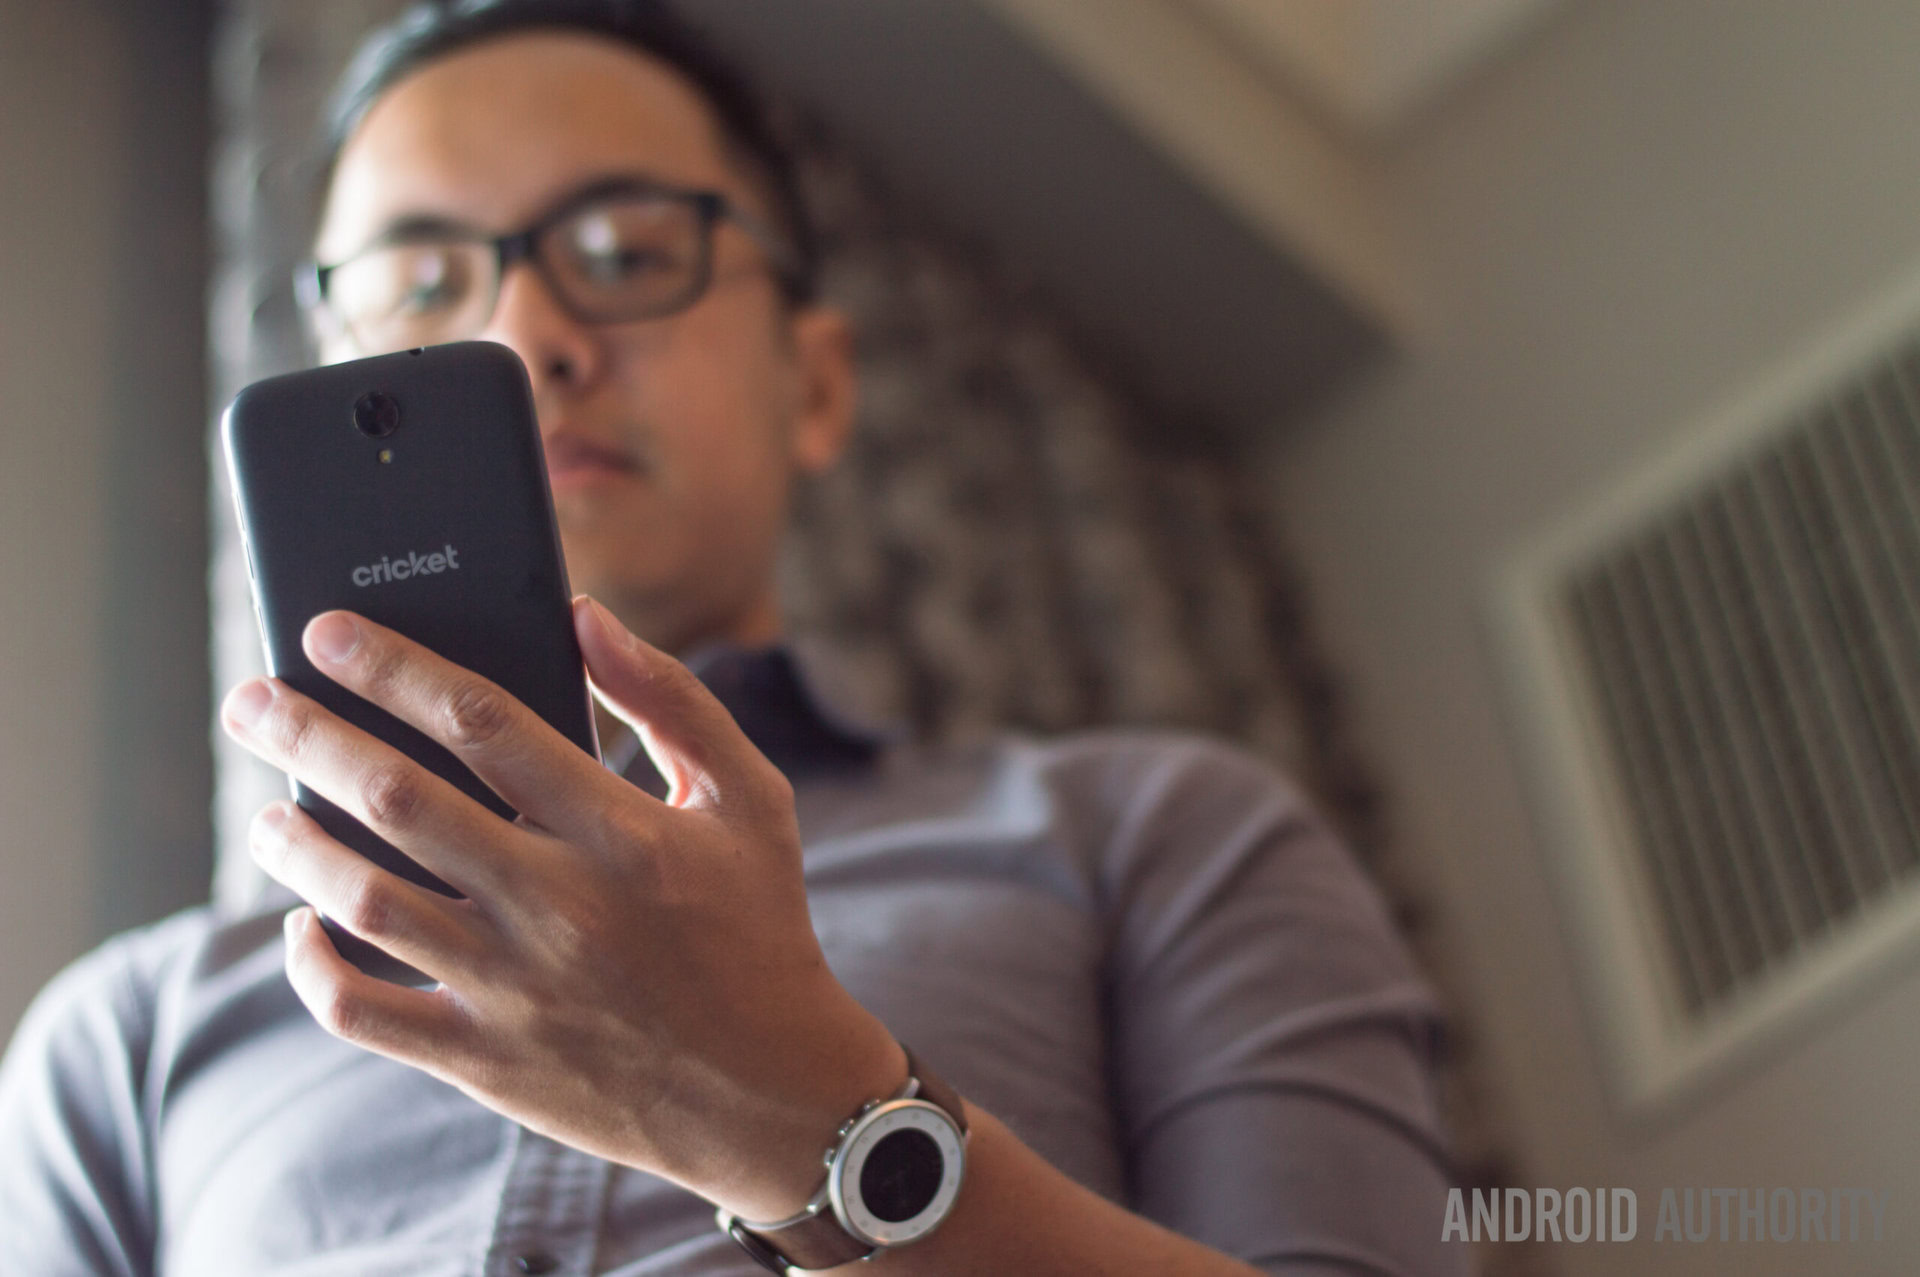
Anyone can stand in front of an object and take a shot, but quite frankly, that is boring. You have to find the right angle, and sometimes the right angle is not in the most conventional place. See a rock? Maybe you can climb it and see how things look from there. Or maybe you can get on the ground and shoot facing up. Anything, just make the effort to find the angle that most people won’t think of capturing.
Background
The background is just as important as your subject. Make sure it looks good; if not, at least keep it clean. Ensure there is no trash or obvious discrepancies. Watch out for points of escape (distractions) that will lead your viewers away from your subject. This would include bright lights or colors, as well as striking objects.
Lighting
Professional photographers are lighting experts. Really, that is all photography is about – working with light and trying to capture it with the sensor (or film). Be smart about the way you use lighting. Turn to a direction in which the light is hitting your subject better. In the case of a selfie, for example, face the light.
The issue with smartphone cameras is that they tend to have very small sensors. Technology is at a point where you can still take great photos… in daylight. But the sad truth is that having a small sensor will always mean lesser performance when the lights go off. Your smartphone camera needs as much help as possible. Turn on the lights, get a lamp close to you, or something.
Stop using flash
Flash photography is very tricky. People spend years trying to perfect it, so for most casual users it does more harm than good to use the flash. Especially if you are going to be using a single-direction, low-quality flash like the ones you find in smartphones. They will usually mess up your highlights, blow up the shadows and create a very unnatural look.
I would just never use the flash unless you are in a very dark place with no artificial lighting to help.

Or use it smartly
With that said, this doesn’t mean you can’t use lights to improve your images. In fact, those who want to get creative can go all out and make images look stunning with the right knowledge and combination of lights. You could use soft boxes, flash, reflectors, continuous LED lights and more.
It’s really hard to go into detail about how these all work, but if you take the time to learn it all it will change everything you know about mobile photography. The guys over at Fstoppers actually made an amazing video on how they created great professional photos by using an iPhone.
I know: “it’s an iPhone!”. The point is that the fundamentals of lighting are the same, and this happens to be my favorite video of its kind.
Keep an eye on your lens
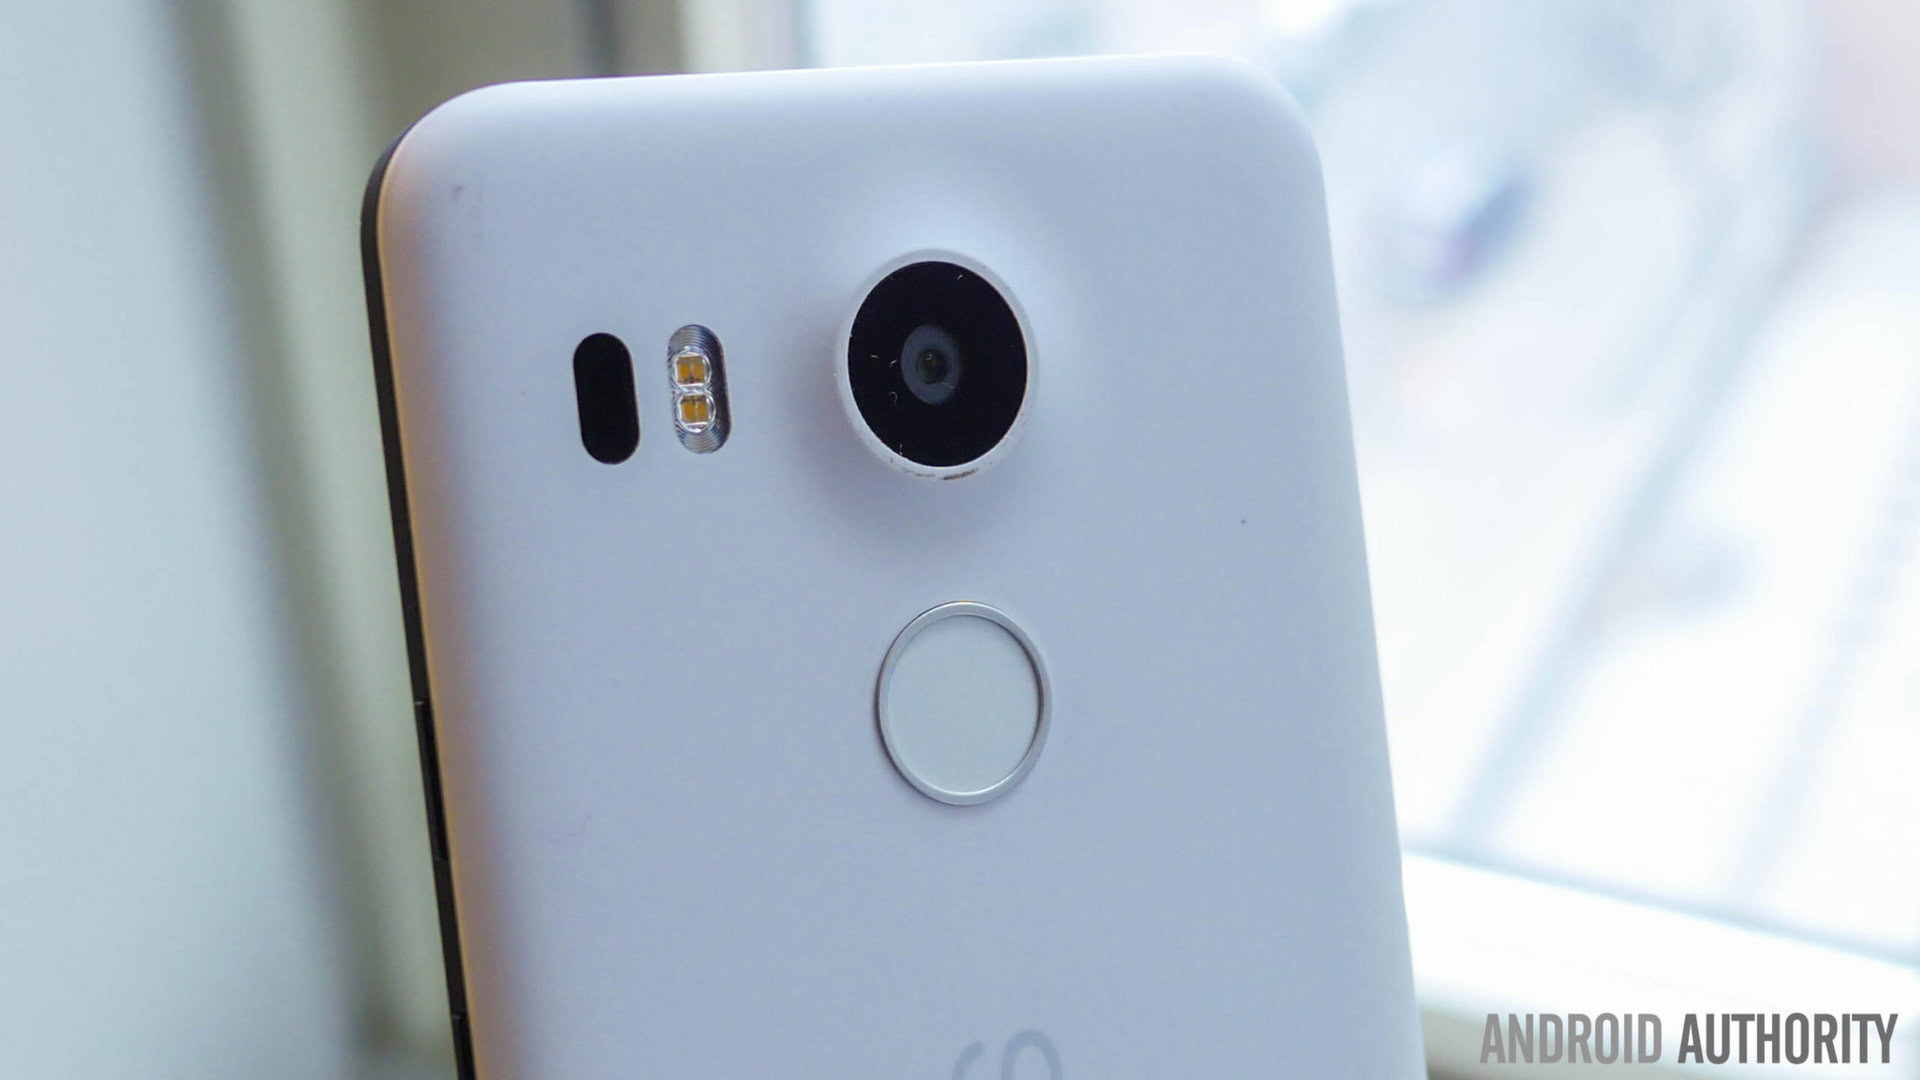
Lenses can get dirty, scratched, cracked and more. These delicate pieces of glass are a key factor in your photography. It has been said time and again: the lens is actually more important than the sensor and body in your camera. And keep in mind your phone only has one lens! Make sure it’s always clean and try to protect it from damage to keep your images nice and crisp.
Go manual?
Most smartphones won’t allow you to change all the elements of your exposure triangle. But first… what the heck is the exposure triangle? Well, when taking a shot one of the main focuses is to get the right exposure. Getting the right amount of light in consists of three factors: aperture, shutter speed and ISO.
In a nutshell, the ISO determines your sensor’s sensibility, aperture is how open the light hole is, and shutter speed dictates how long the sensor will be exposed.
But we are not here to talk about the exposure triangle. You can do plenty of searches to learn all that. Instead, what we wanted to focus on here is that there are apps out there that will allow you to control as much as possible.
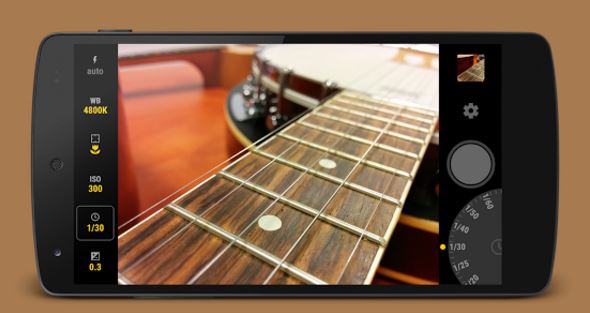

My favorite apps are Manual Camera and DSLR Camera Pro. These will allow you to take charge and manipulate things like ISO, shutter speed, shooting mode, white balance and much more. Undoubtedly, it will be superior over the stock camera apps. They do both cost $2.99, but they are very well worth it if you are into taking full control of your camera.
Take advantage of HDR
Most modern smartphones can take advantage of HDR (High Dynamic Range). But what does that even mean? In the traditional sense, HDR is done by taking multiple images of the same frame at different exposure levels. These are then merged and balanced for perfect lighting. It’s great for producing images showing drastic difference in lighting in the same scene; for example, when standing next to a window inside a darker room.
It works a bit differently with phones, and it’s mostly done digitally, but the results continue to be great. Make sure you use HDR when the opportunity shows itself, it will make a huge difference when dealing with images displaying varying levels of light.
Post processing
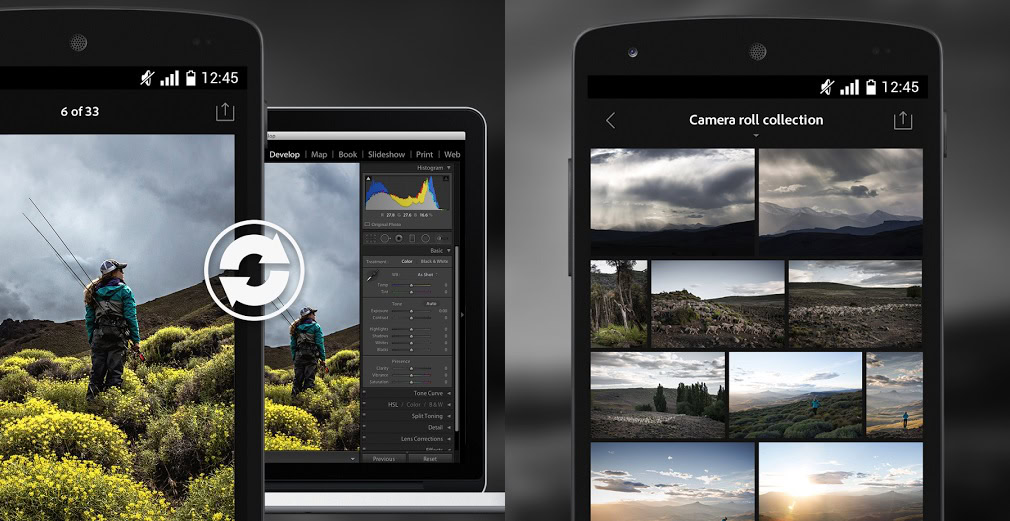
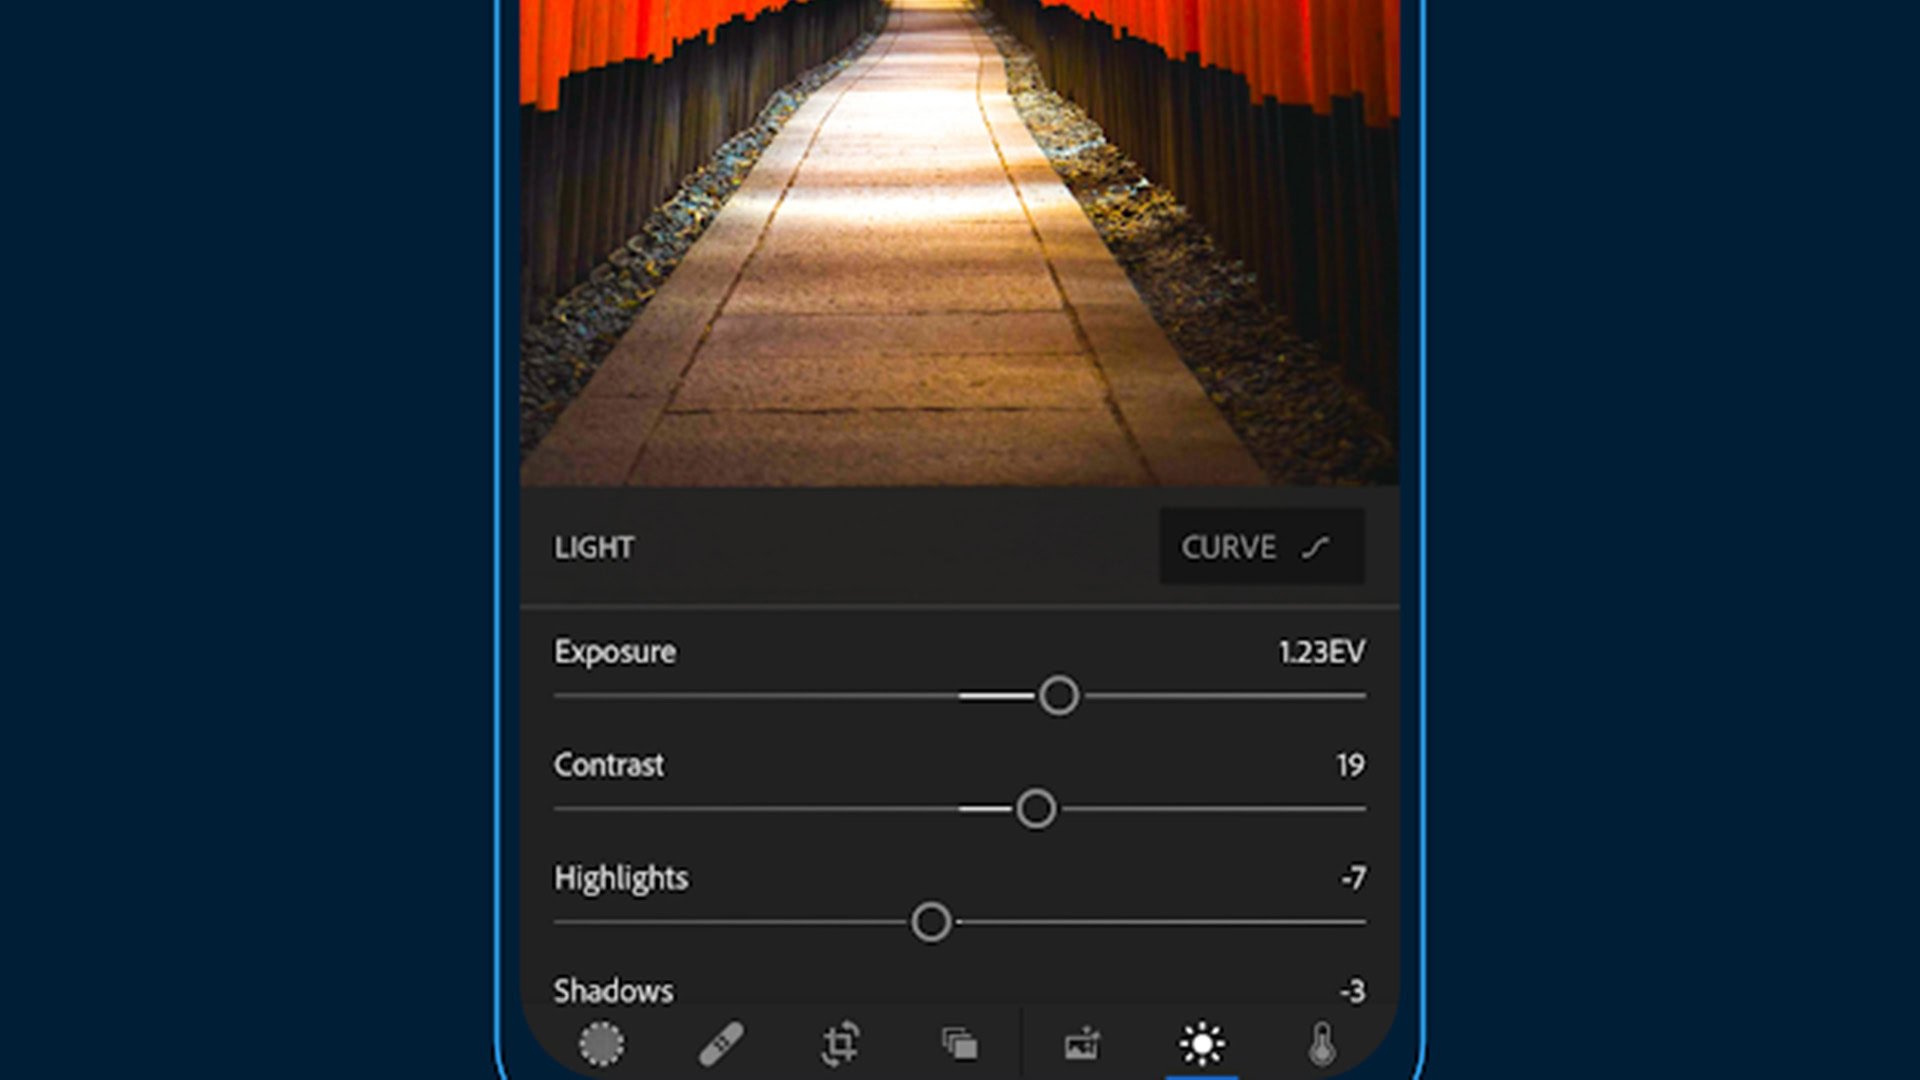
Editing is a whole other world, folks. It will also take a long time for you to really master your style, but you can get started by downloading a simpler app like Snapseed. Once you grow out of that application, you can get something more complex like Lightroom or Photoshop Express.
Something to stress is that you get in the habit of actually editing your photos. Most people just shoot images and share. Smartphone cameras are super smart, but they will almost never take the image the way you envisioned it. Edit it to make it perfect. After that, you can add filters if you so choose to.
Stop using that fake blur, pretty please
You’ve probably seen those images. People add blur to their photos to try and imitate the bokeh you can usually get from DSLRs when using specific lenses in specific ways. Well, unless you are using something like Google’s camera app (bokeh emulated by moving camera during shot to detect distances) or a dual-camera phone, it will more than likely look horrible.
Not that blurry backgrounds are bad looking; they are gorgeous. The problem is that it’s hard to imitate if you don’t really understand the fundamentals of depth of field. People often blur things they shouldn’t making the image look extremely unnatural.
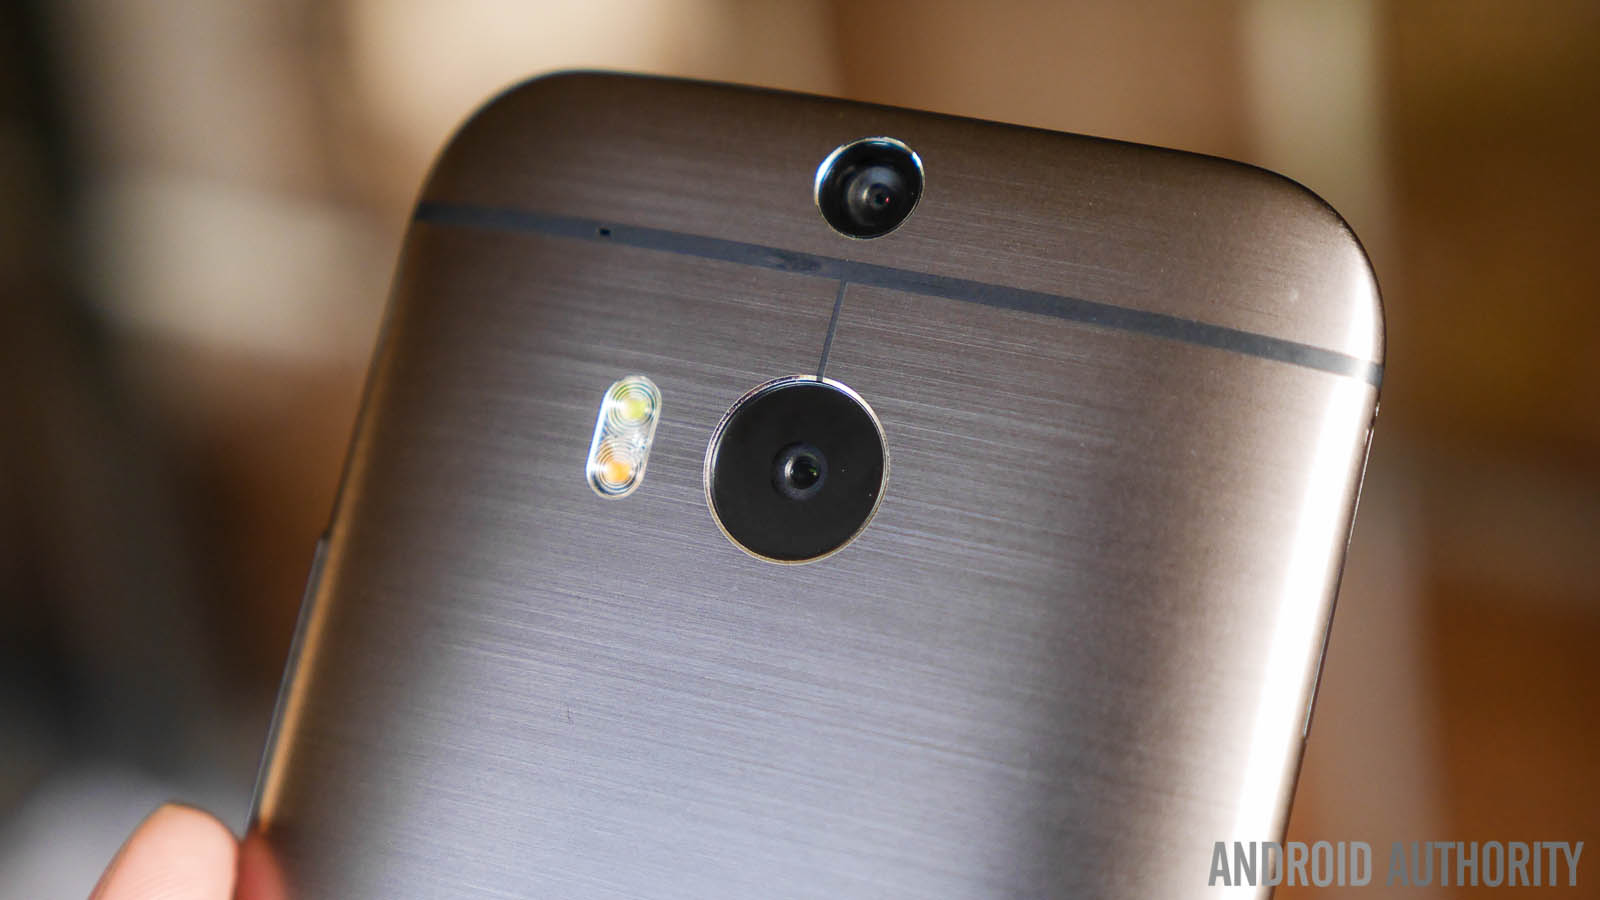
And even if you have previous knowledge in the topic, most times mobile software is not good enough to recreate the effect in a natural-looking manner.
Your images can look great without the fake blur, guys. No need for bells and whistles when you have taken a good shot. You would just be trying to make an image look interesting; something you won’t achieve with blur if your photo isn’t interesting already.
Sure, Megapixels don’t matter… but they do
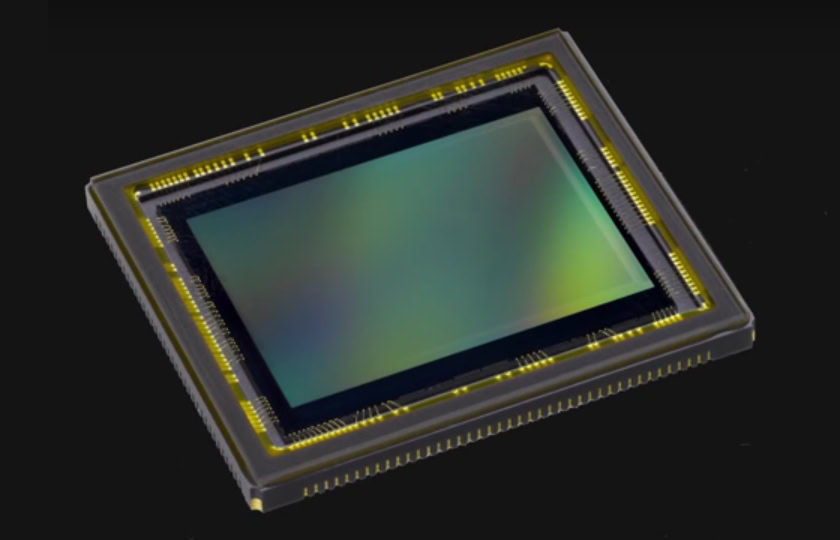
We’ve all heard it, right? The common saying is that Megapixels don’t matter for photo quality, but this is mostly to emphasize that cameras with a smaller MP count can still produce great images. But as it goes with anything in photography, things are not that simple. The truth is megapixels do make a difference in some ways (though it’s true a 1 MP image can still look gorgeous, albeit small).
With that said, we would like to stress that you should take advantage of your full sensor. Go into the settings and bump your MP all the way up. This will help with noise and give you more leg room in the case that you want to crop or make further edits.
And make sure that you find out your camera’s native sensor aspect ratio. you want to stick with it, as you would otherwise be letting your camera crop the photo. If you want things cropped, just go ahead and do it in post processing. You can do it in a smarter way that way.
Stop zooming
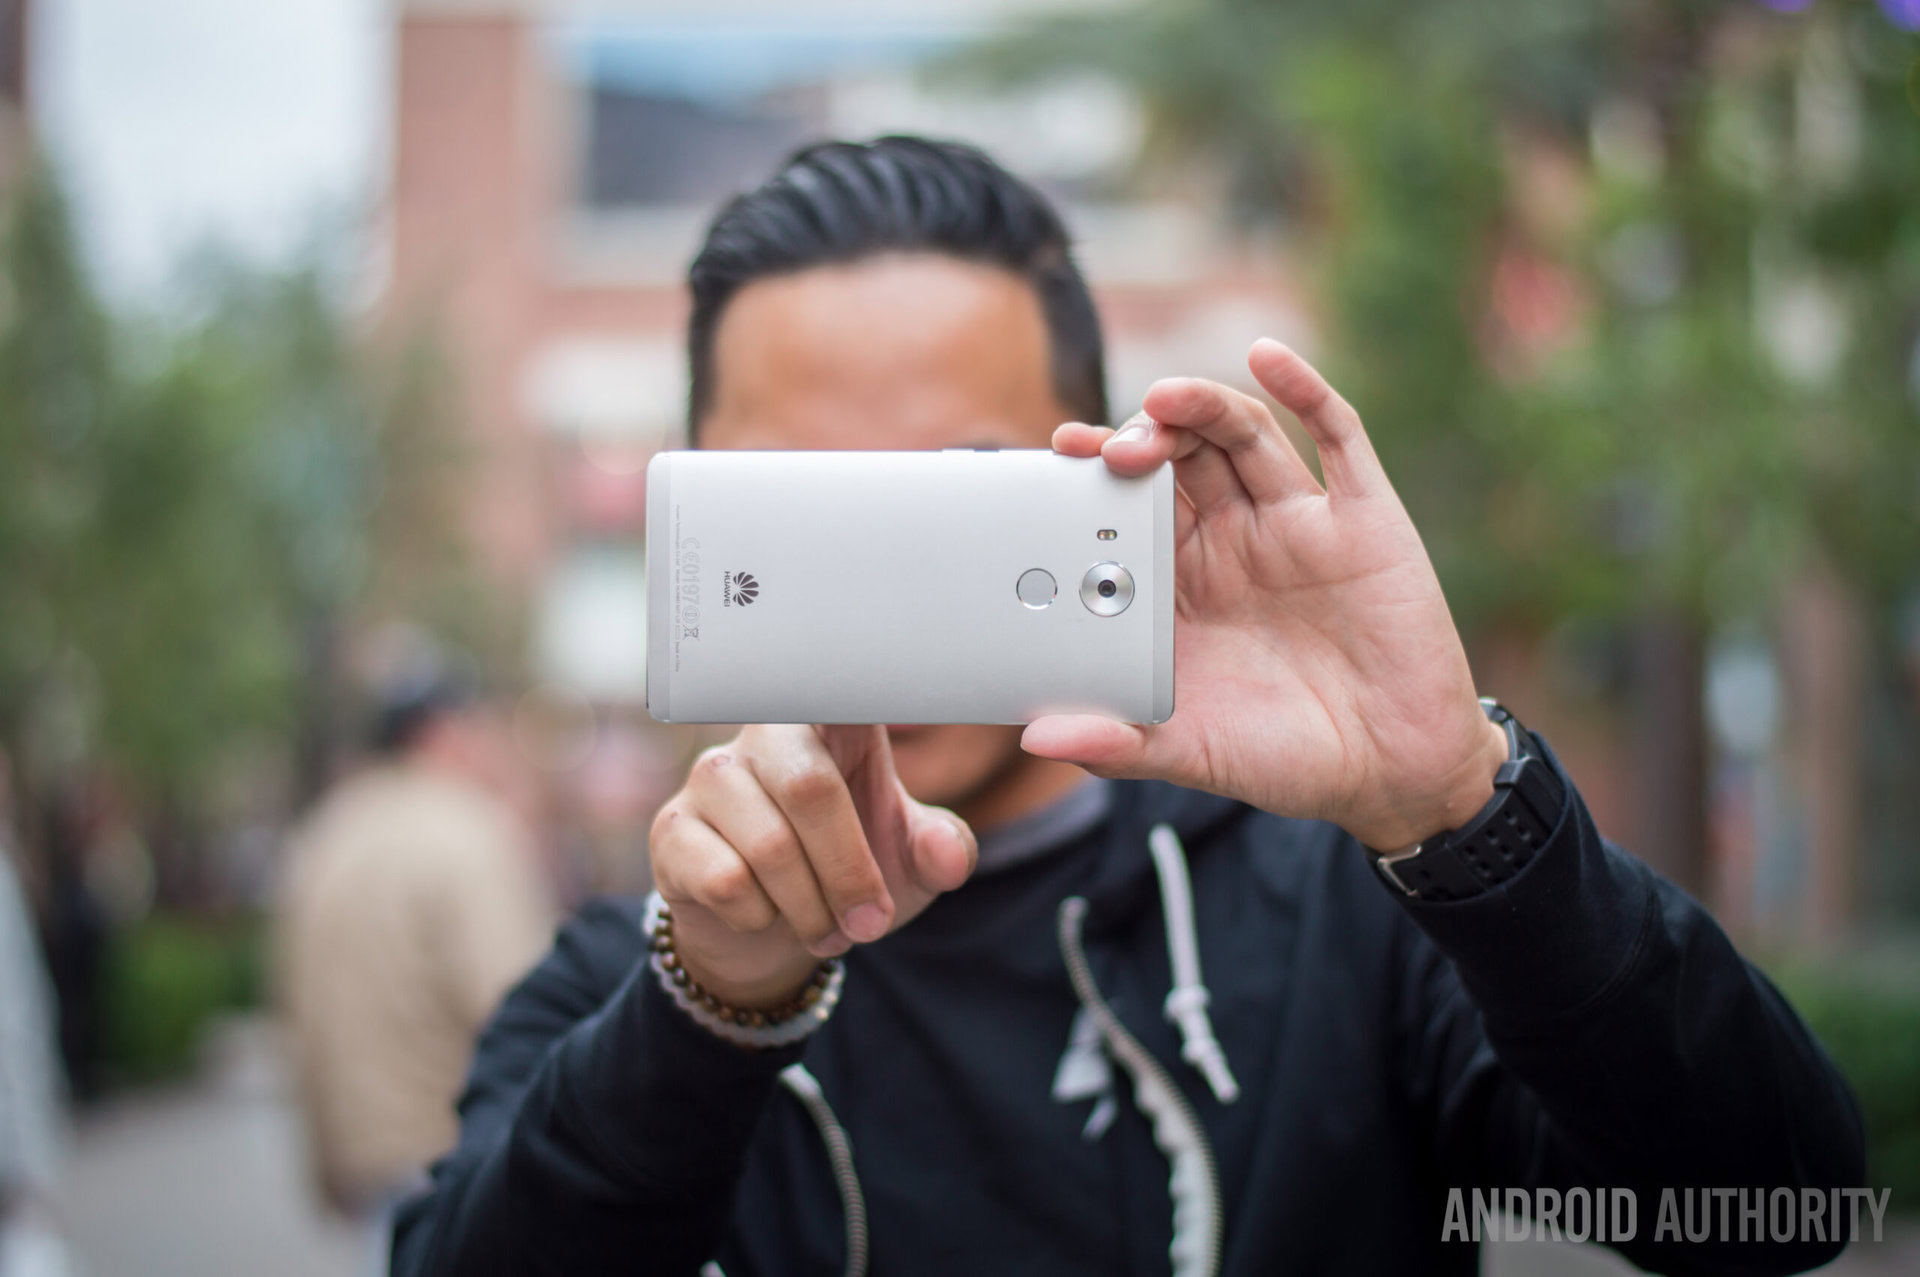
Well… stop zooming unless you have an Android device with actual optical zoom (like the Samsung Galaxy K Zoom). There are a few, but chances are you don’t have one of those. In which case, you should never zoom in while taking a photo with your smartphone.
Digital zoom does nothing but actively crop the picture you are taking. You can kiss picture quality out the door if you do this. Just get closer to the subject if you can. And if you can’t, we still advise that you shoot the whole frame and then crop later. You will still lose the quality, but at least you can play around with it more and make a more rational decision after the fact.
Get out there!
Photography is nothing but a recollection of your experiences. Get out there and enjoy life! It’s the only way you can really take outstanding photos. And now that we have given you some great tools to excel, you really have no excuses. The best part? You have a camera with you at all times!
What are your best smartphone-taken photos? Hit the comments and maybe share a link with us.