Affiliate links on Android Authority may earn us a commission. Learn more.
How to take apart the Galaxy S4, put it back together [video]
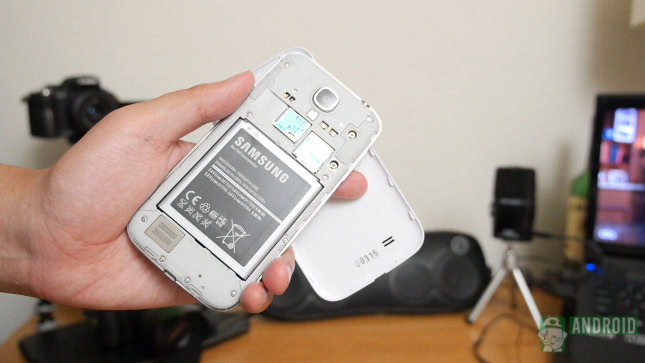
The Galaxy S4 is now available from many top carriers and, as with any smartphone, there comes the risk of breaking something, typically the screen. Unfortunately, the Galaxy S4 has not performed well in drop tests. In our most recent drop test, it did not hold up to the build quality of the iPhone 5. This is a little disappointing considering the display features Gorilla Glass 3.
However, in somewhat good news, the Galaxy S4 is easy to repair, scoring an 8 out of 10 in iFixit’s teardown. While having your phone repaired under warranty is ideal, if you do ever end up having to replace the screen, digitizer, camera, USB port, etc. yourself, Max Lee from HighOnAndroid has you covered.
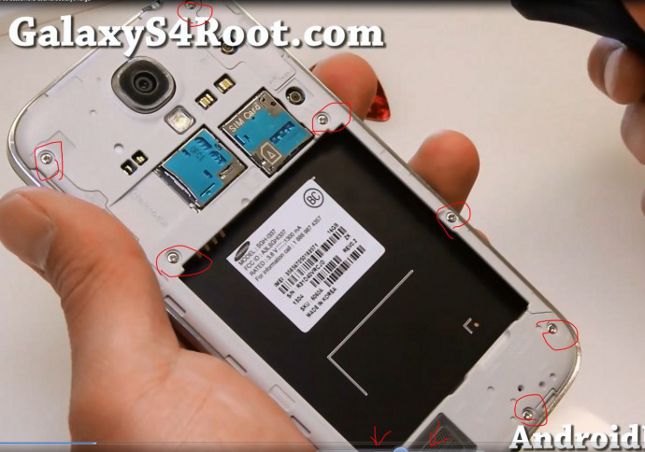
Before getting started, you will need a Philips #00 screwdriver, and plastic prying tool. Both can be purchased for several bucks or less on Amazon. To get started, remove the cover, and pull out the battery. Then, simply unscrew all nine screws.
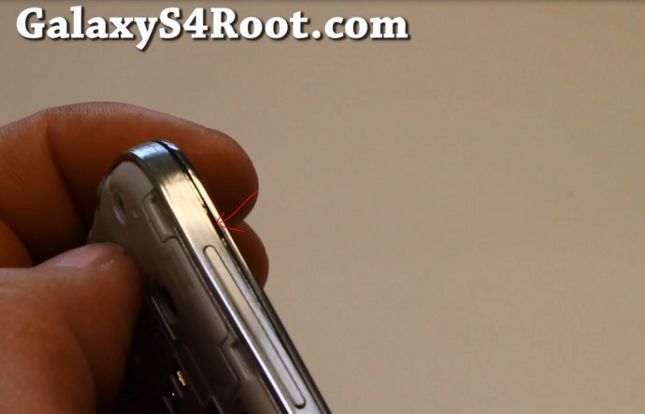
Once you have removed all nine screws, use the plastic pry tool along the entire edge of the phone, starting at the volume buttons. This will help to pop the frame off, revealing the hardware inside.
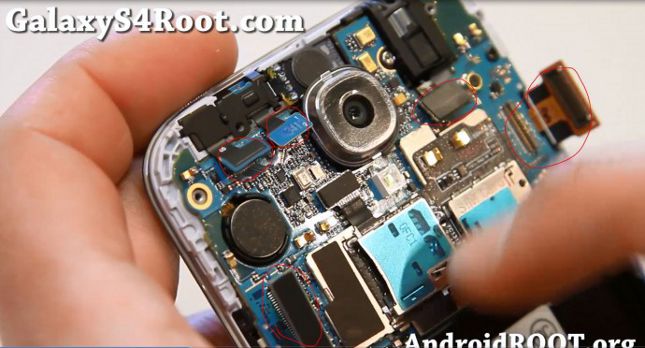
With the frame removed, it is now time to remove the motherboard. Unplug all connectors, and unscrew the black screw on the top right that is holding the motherboard in place.
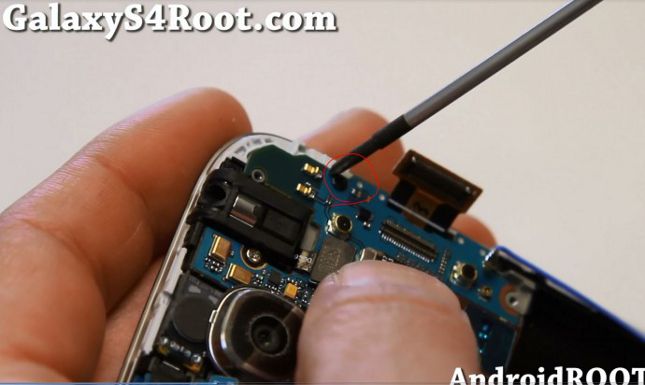
At this point, the motherboard should come off with very little effort. If you just need to replace the camera, you can skip removing the motherboard.
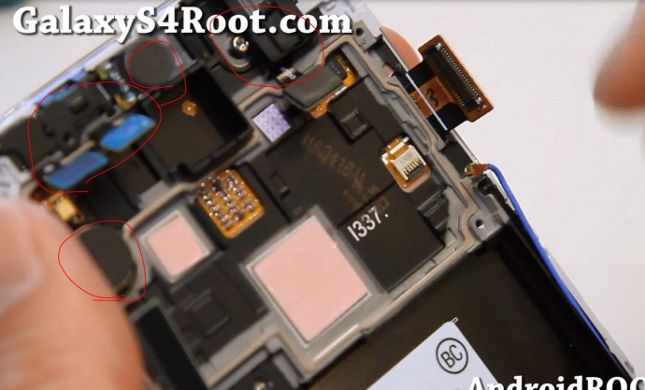
To replace the screen, and digitizer, you first need to remove all the sensors on the top. Also, there is a vibrating motor on the left, and the 3.5mm headphone jack on the right.
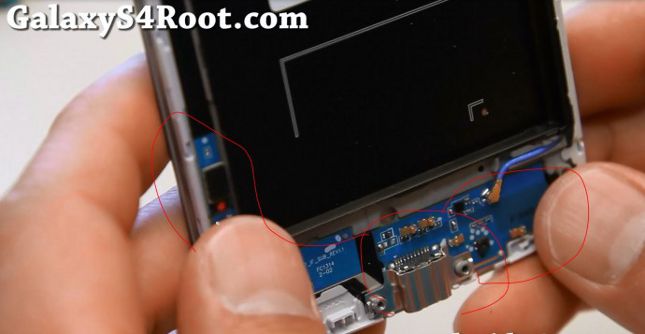
In some cases, you will need to remove the USB board due to space constraints.
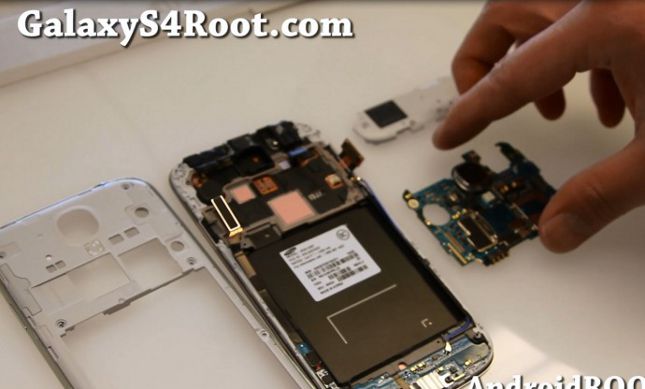
From there, you can replace the screen, and digitizer. Once completed, simply follow these steps in reverse to put the Galaxy S4 back together.
For more detailed hands-on instructions, you can watch the video above. As a disclaimer, we are not responsible for any damage caused to your phone.
Next > The best Galaxy s4 cases