Affiliate links on Android Authority may earn us a commission. Learn more.
How to Wirelessly Sync Files Between PC and Android
If there’s an app that each Android user finds useful, it would certainly be SweetHome by SweeSoft. The reason why the app is so useful is because it enables an automatic sync between the Android device onto a computer over a Wi-Fi network. If you find this really helpful, you’re in for a better treat. This same developer has modified the concept into something much better. By introducing the alpha version of the Cloudless Magic Media Transfer, you get to have an extended feature. Apart from just transferring media files, syncing music files is now a breeze.
By choosing the Cloudless transfer, you eradicate the use of cables when transferring your media files. It also enables syncing across several computers. As long as they are connected to your network, you can easily share files among all your devices.

For a successful transfer of data between your Android device and computer, you just need to verify that you the two are connected to a similar Wi-Fi network. In addition, the option for remote sharing needs to be enabled on both computers. After fixing the necessary settings, all you need to do is access Cloudless on your Android. Then you will have to add the required computers. To do this, you need to:
- Tap Settings > New
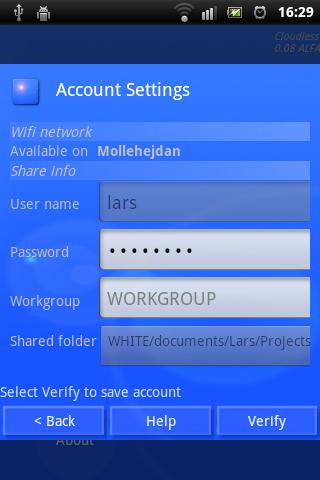
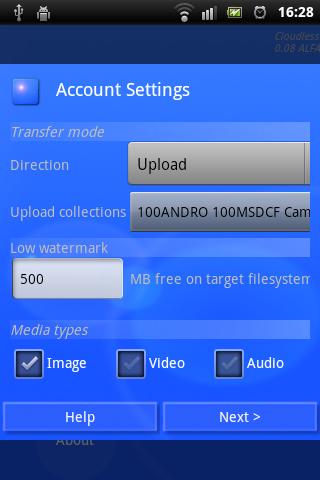
- Specify the type of sync you will do on the Account Setting screen. Modify settings for Direction, Username, Password, and Workgroup. This is also where you will be adding all users for the sync to be successful.
- Tap on Shared Folder so you can choose the desired computer and network directory where the sync will be established.
- Specify what type of file you will be transferring. There will be a number displayed on the Low watermark field. This depicts the number of available MB you need in your SD card storage. If you don’t have enough free space on your SD card, the app will automatically stop transferring files.
- When you’re done choosing the file, simply tap Verify.

The good thing about opting to go Cloudless is that your data gets automatically synced to all devices added on your list. This happens when you connect to your Wi-Fi network. One thing to note though, is that you need to keep organizing transferred files on your device so you don’t clutter data on the directory. To access your transferred videos and images, you simply have to access it from the Gallery. On the other hand, your mp3 files can be accessed from within the Music app.
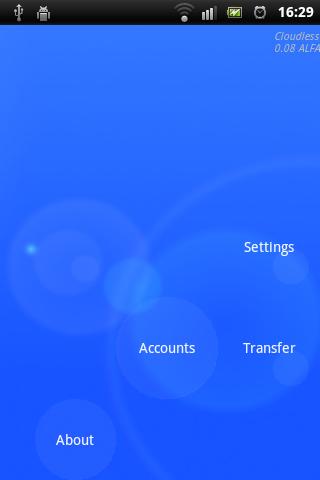
If you wish to manually sync data, simply tap on Transfer button found on the homescreen of the app. Be warned that the time required to successfully sync all content will depend on the amount of data and number of added users synced to your device. While the sync is ongoing, you are free to view the status of all uploads and downloads through the notification.

It is important to remember that the app is still on its alpha release. As such, it can be expected that there will still be some things that need to be fixed. One of the things that need to be modified is its interface. There should also be an option for removing a user/computer from a list as well as deleting original file after it has been successfully uploaded. A better support for the notifications can turn Cloudless into an extremely handy app.
Cloudless can freely be downloaded from the Android Market. The QR code and Market link of the app can be seen below.

Source: AddictiveTips