Affiliate links on Android Authority may earn us a commission. Learn more.
Transferring Contacts Between iPhones and Android Phones
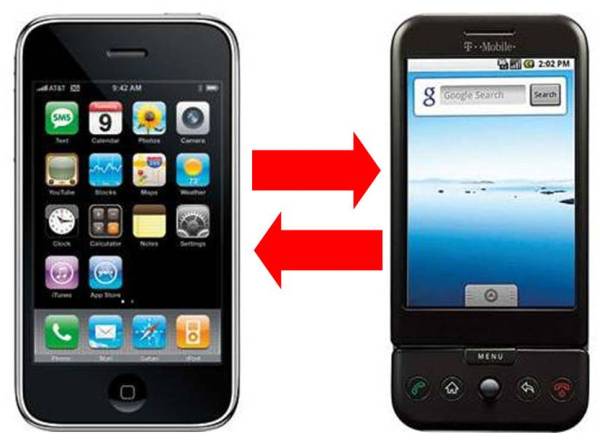
It could be that you shifted from iOS to Android or perhaps you decided to use both platforms. Whichever the case may be, one of the first important tasks you’ll have to do is transfer private information like your contacts from one device to the other. Presented here are some of the various ways to accomplish this. The first three works for moving from iPhone to Android. To go the other way, simply do these procedures in reverse. The last method is only for moving from Android to iPhone.
1. SynKontact
This handy app is particularly made for transferring such types of information and has versions for both platforms. Download one for your iPhone from the AppStore and do the same with your Android phone, getting the app from Android Market. After installation simply tap on upload and enter a name for the file. Tapping on Ok starts the upload process and then you will be given a password.
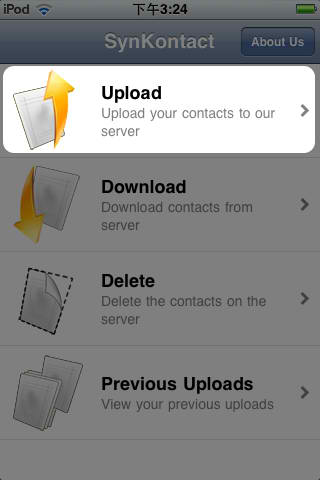
Go to your Android device installed with the same app and choose the download option. You’ll have to enter the name you established earlier and the given password. Select the “merge to local” option, tap the OK button, and download will begin. Take note that your private information will remain on the SynKontact servers for 30 days unless deleted.
2. Google Contacts
Naturally to use this synchronization method you’ll first need to have a Google account. If you’ve got that covered, start by connecting your iPhone to your PC with a USB cable. Afterwards launch iTunes, choose your phone and go to the Info page. Here you’ll have to put a check on “Sync Contacts with”, pull down the menu right next to it, and choose Google Contacts. Click on the Configure button and enter your Google Account username and password. The syncing process will run automatically and your contacts info will then be copied to your account.
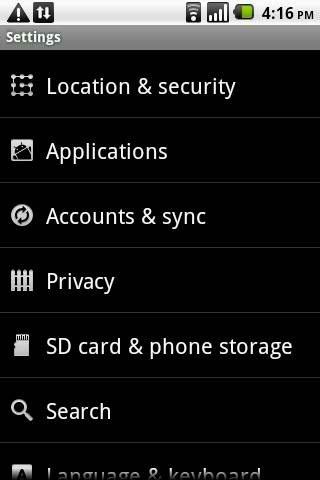
On your Android phone, navigate to the Accounts & Sync screen. You get there from Menu and then Settings. Select Add Account and then Google Account. Type your username and password. To open syncing options, you can tap your listed account and from there you can sync Gmail, Calendar and other types of services you may have taken, along with your contacts.
3. Windows Address Book
You might want to transfer your contacts to Windows Address Book first before moving on to Google Contacts. It also involves connecting your iPhone to your PC and running iTunes. At the “Sync Contacts with” step however, you choose Windows instead of Google Contacts. Open Windows Address Book afterwards to check if your contacts were successfully copied.
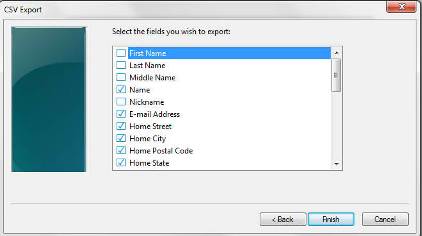
Then from this program’s file menu, choose the following options in sequence: Export, Other Address Book, and Text File. This will create a CSV (comma separated values) file. Put a name to this file and select the Mobile Phone option. There are also options for defining which details in your contacts info you want to include for export.
To get this into your Google Account, open that account and choose Import. Browse to where you stored the CSV file and click OK. Transferring your contacts finally into your Android device involves the same steps as with second method above.
4. MicroSD card
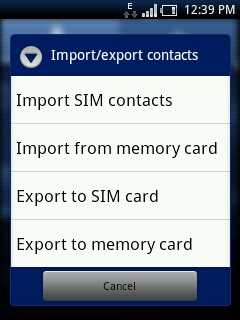
Navigate to the Contacts screen in your Android device. Pull up the menu and choose the Import/Export option. This will create a file containing all your contacts in the root directory of the device’s microSD card. It’s usually given a default name of “00001.vcf”. Next, connect the device to a PC in mass storage mode. You can then copy the .vcf file into your PC. Once on your desktop’s hard drive, the contacts file can be imported into your Google Account. Then from there you can use iTunes to transfer it to your iPhone.
Via techpp