Affiliate links on Android Authority may earn us a commission. Learn more.
How to take screenshots on the LG G2
The LG G2 is one, if not the most unique looking Android device on the market today. Featuring a substantial 5.2 inch near bezeless display, the G2 still packs one handed usability. This is due to the fact the device is only .35 inches thick, and the power and volume buttons have been relocated to the back for easy, one handed access. LG has decided to include a software method of screenshot taking, which does not require any physical button presses.
You might like: Learn how to take a screenshot on the LG G3.
Android snapshot button combo
Due to the size and unique shape of this device the button combination can be somewhat difficult. I have larger hands yet pressing close buttons on the rear of the device was a challenge, and sometimes required two hands.
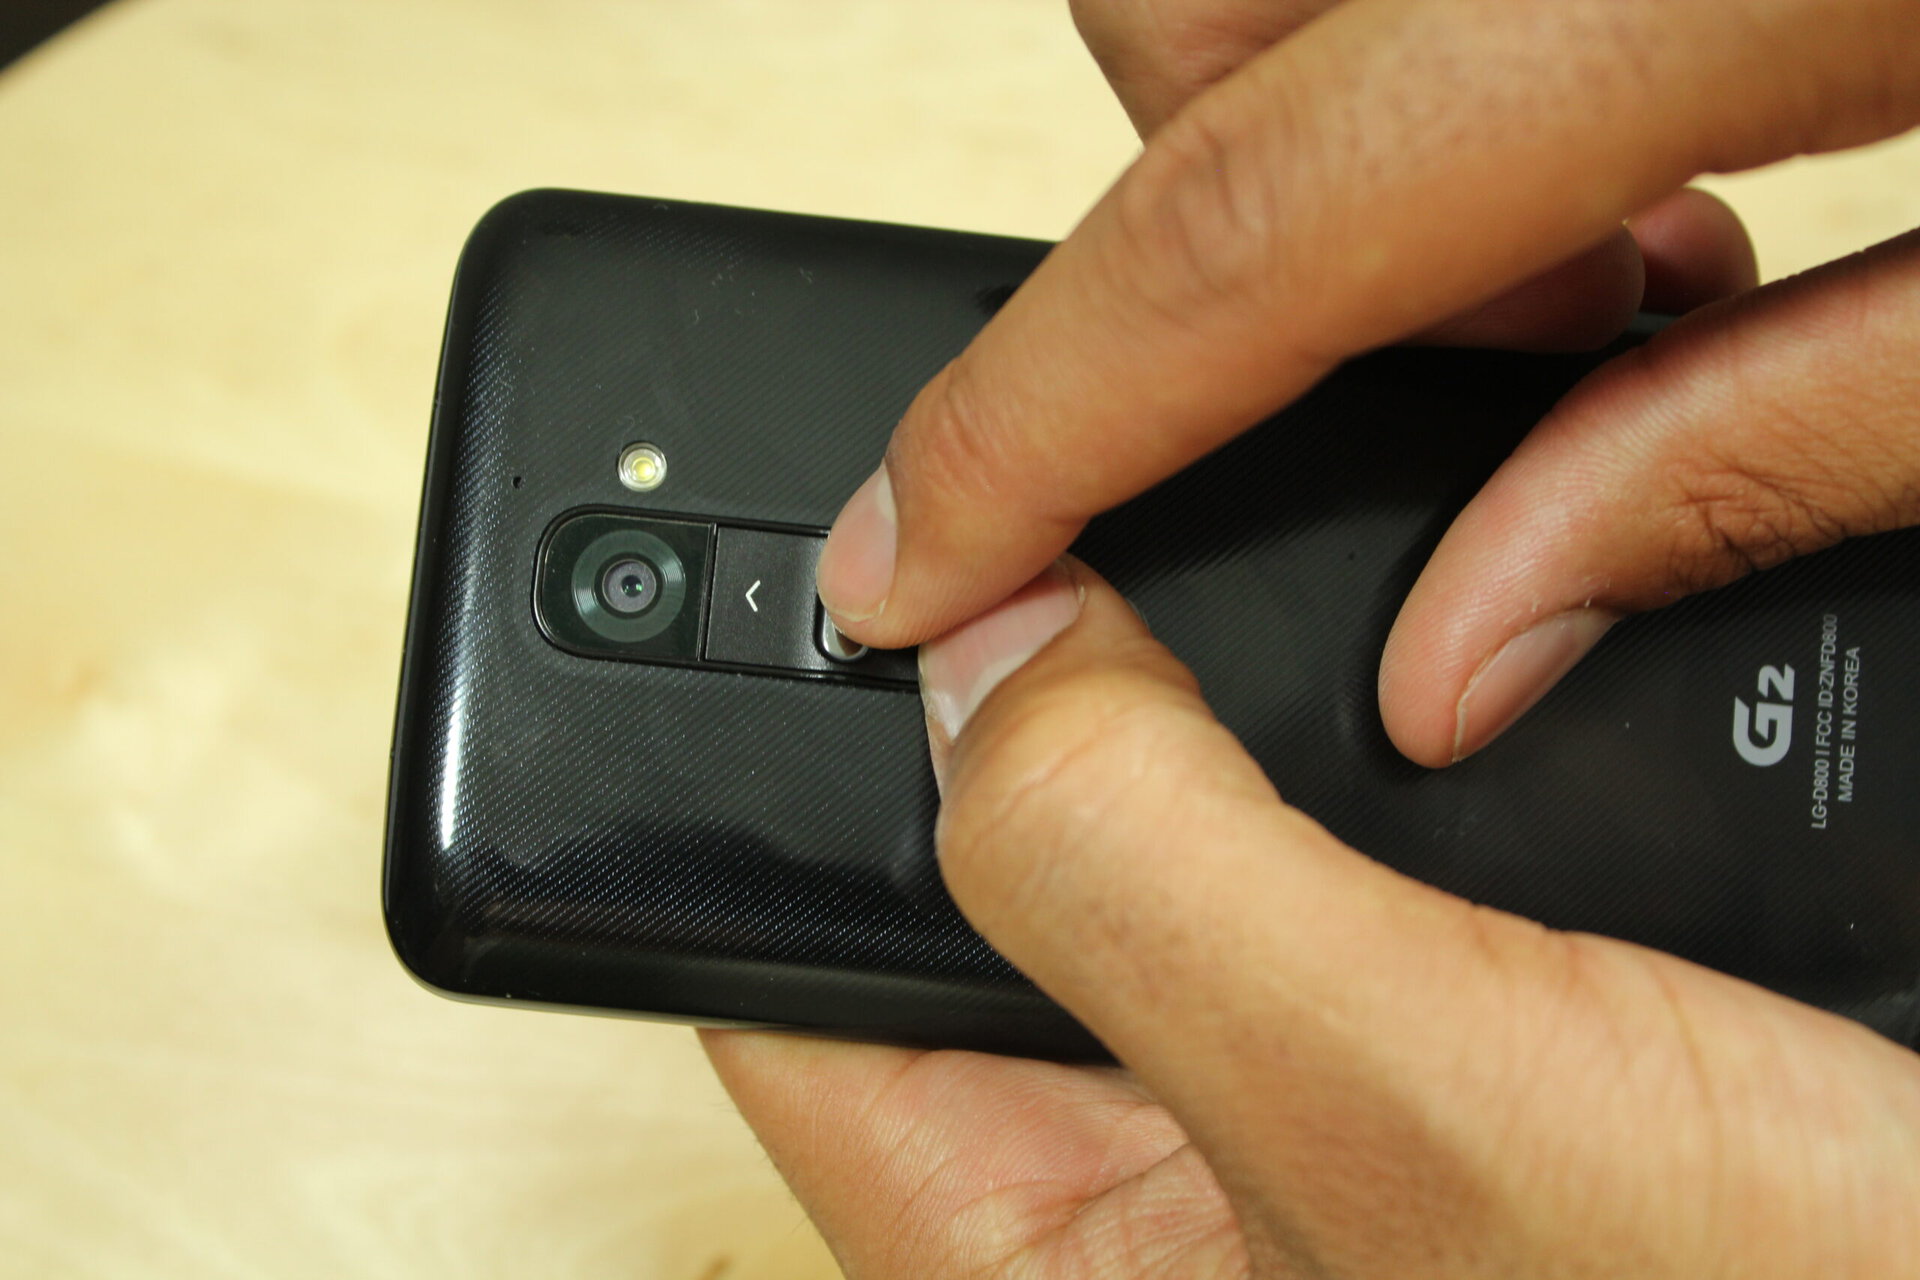
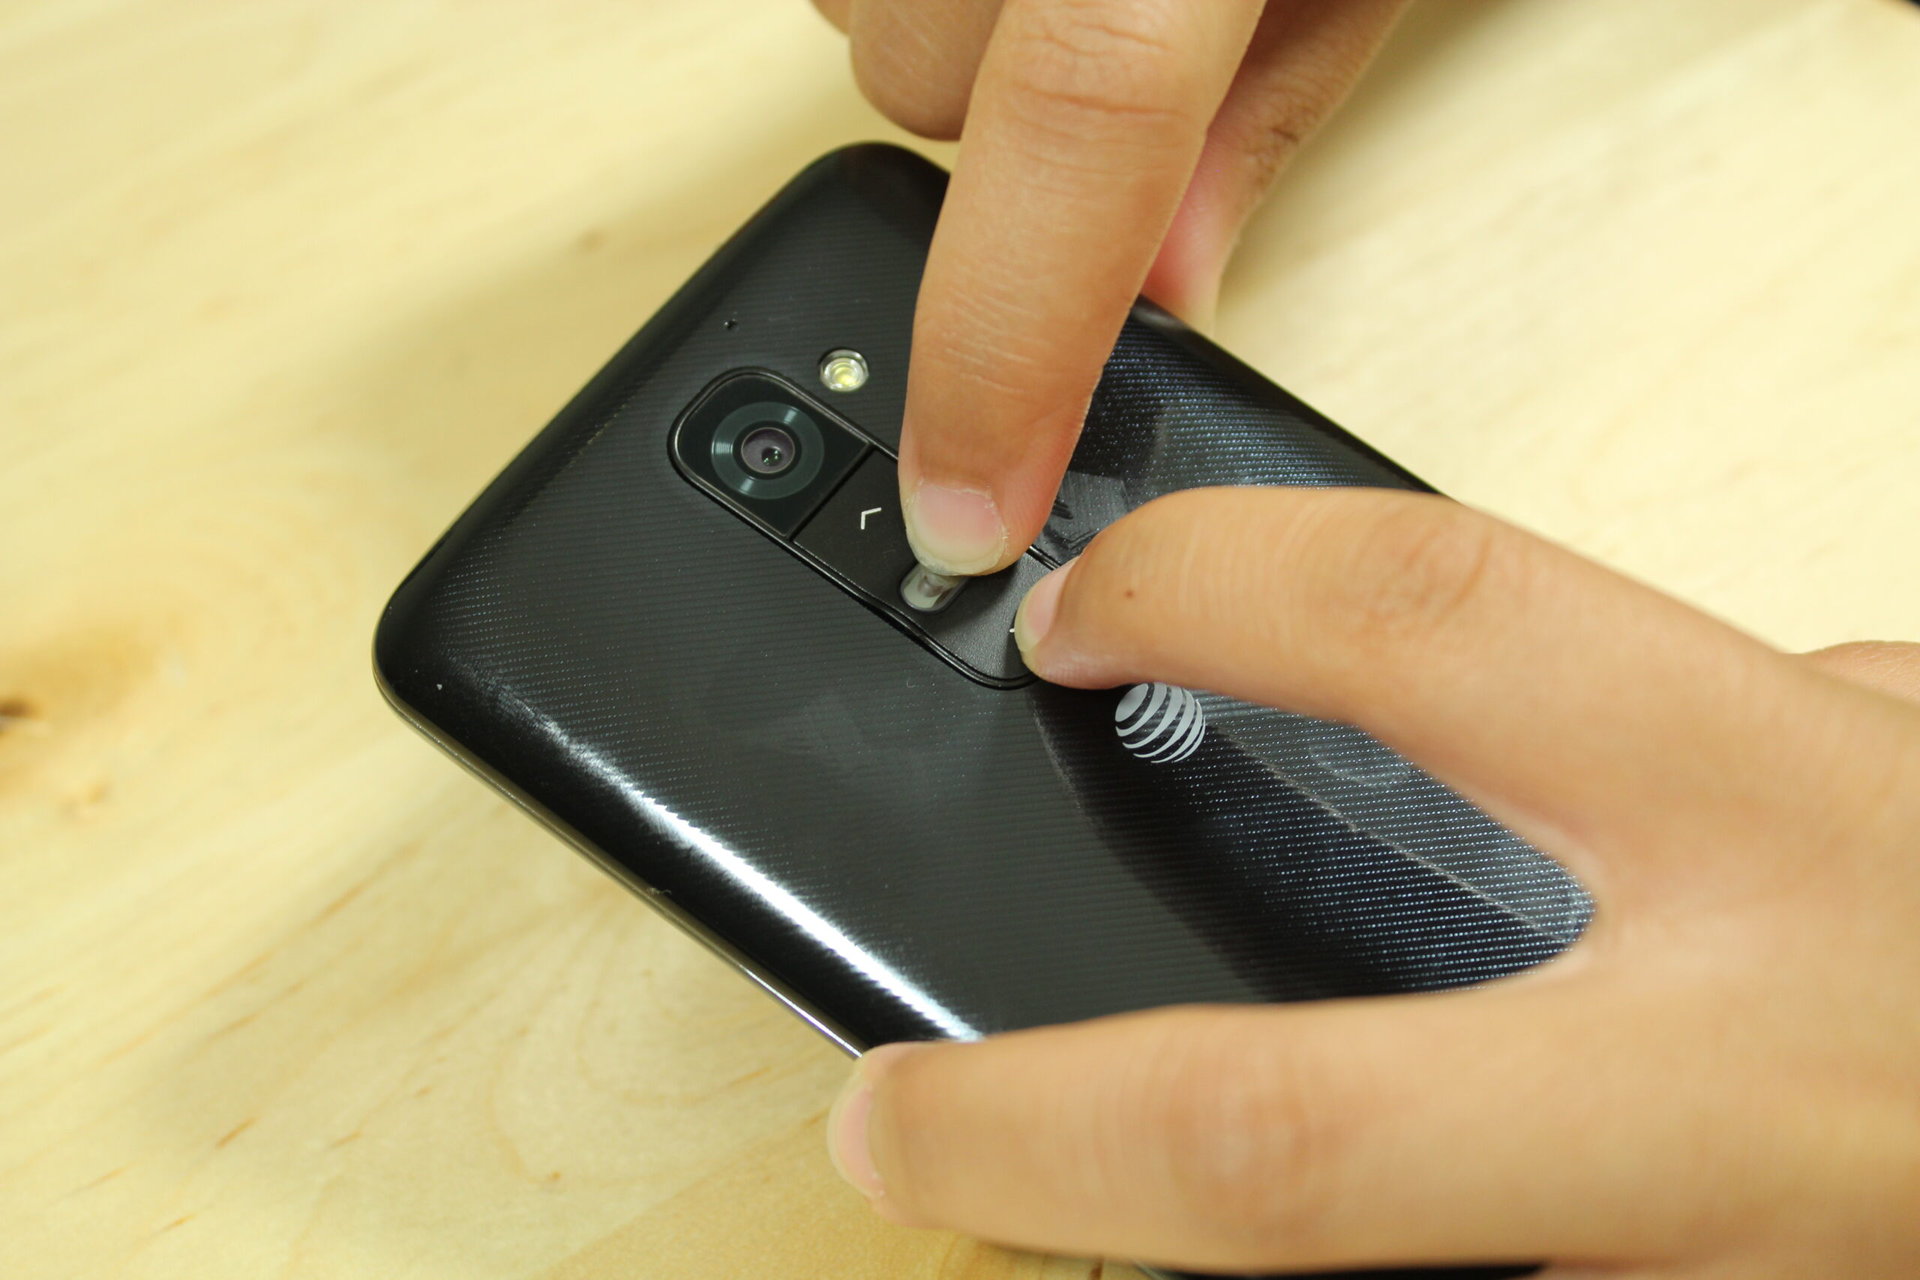
To take a screenshot press the volume down and the power button at the same time. until you hear the screen capture sound. The screen will flash and the notification bar will say: “Saving screenshot…” once that is occurs it is safe to release.
Below are images of my hands pressing on the button combination, and also of a female with smaller hands.


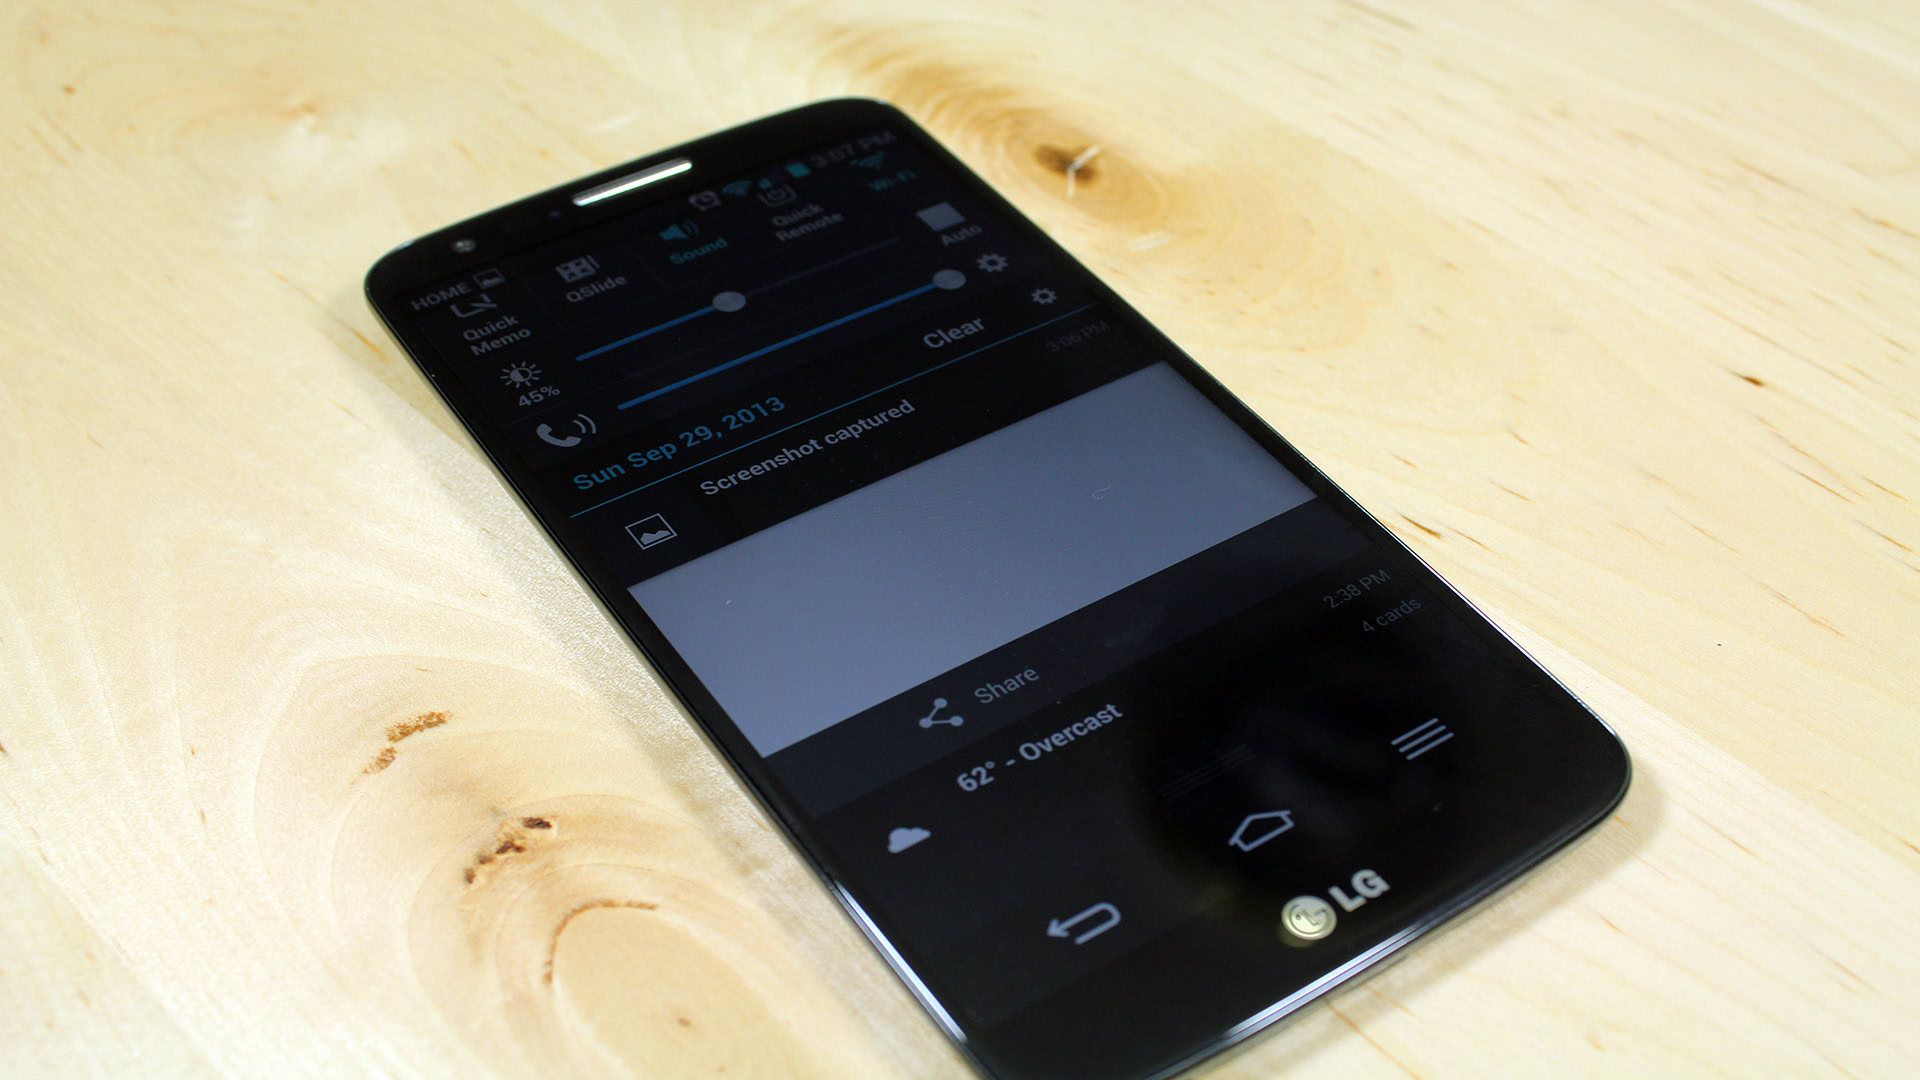
A notification also appears on the Notification Shade. Slide down the notification bar to view your screenshot. Or, you can view your screenshots by opening the Screenshot album in your Gallery application.

LG G2 QuickMemo Screenshot
There is an alternative method to create screenshots on the LG G2 that is not seen on stock Android devices. This is accessing the QuickMemo software, and sharing the current image. This method not only allows for one handed operation, but it also allows for easy annotations on the current selection.

Once you are happy with the results, you have a few options. You are able to save the image to your QuickMemo folder in Gallery or save it directly to the Notebook by pressing the save icon to the top of the image. Once saved. a toast message states where the image is now located.
You are also able to share the image by pressing on the share icon which is located at the top of the image next to the save button. Then select which application you are looking to share with.
Let us know how these methods work for you.
Now read: Best LG G2 Accessories