Affiliate links on Android Authority may earn us a commission. Learn more.
How to partition and format an external hard drive on any Mac

External hard drives are very useful tools. You can use them to back up important files or even install applications on them for portable use. People use them all the time for a variety of reasons. Thus, you should learn how to format and partition one in case you ever need to. Here is how to format an external hard drive on a Mac, and we’ll go ahead and show you how to partition one as well.
Also read: What is Apple Time Machine and how to use it
QUICK ANSWER
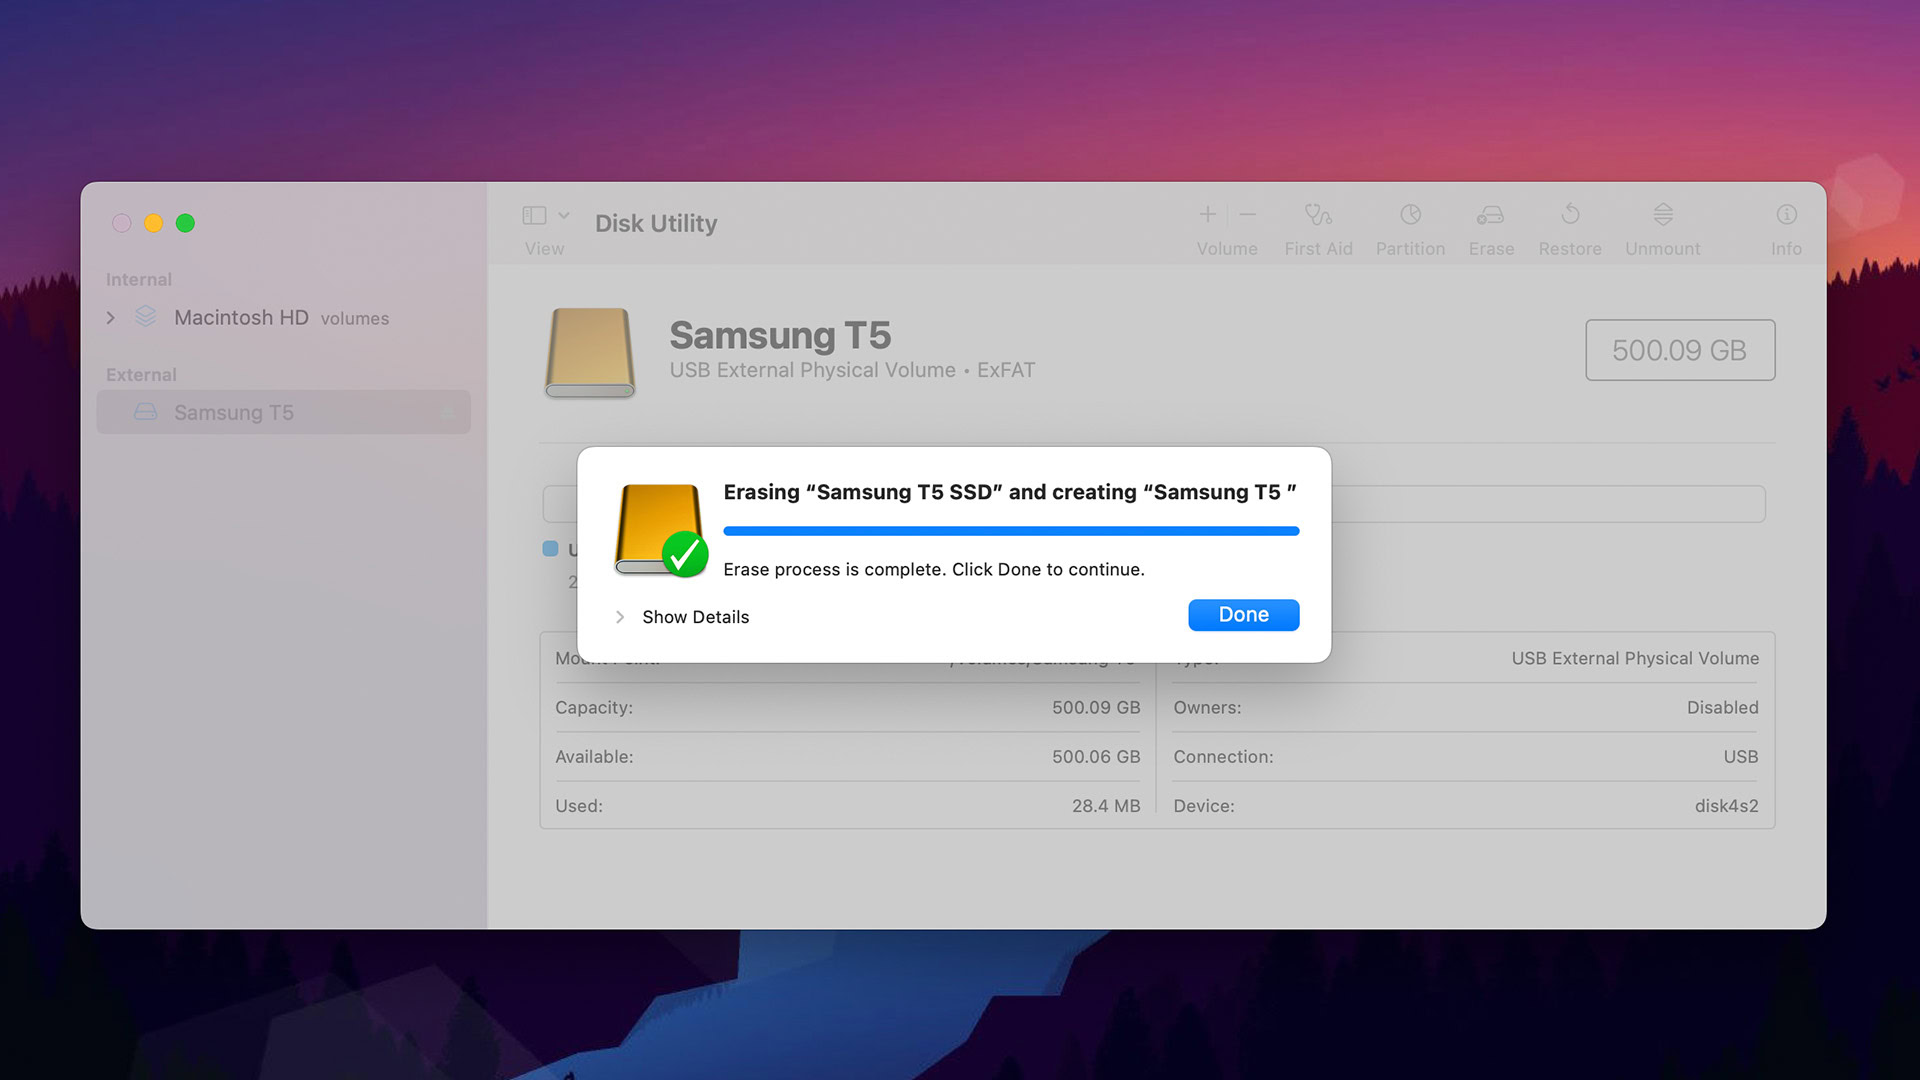
To format an external hard drive on a Mac, plug in the hard drive to your computer. Then, open Disk Utility via Finder. At the top of the window, click the Erase button. Follow the prompts, name your hard drive, and select a format. Click the Erase button again to format.
JUMP TO KEY SECTIONS
How to format an external hard drive on macOS

The easiest method to format an external hard drive on macOS is to use the built-in Disk Utility. Some third-party apps can do it, but this is the easiest method. It’s also free, and you already have it on your Mac.
- Connect the hard drive you want to format.
- Open Finder, and type Disk Utility into the search box. Double click it to open.
- In the Disk Utility app, click your hard drive’s name in the left margin.
- At the top of the window, click the Erase button.
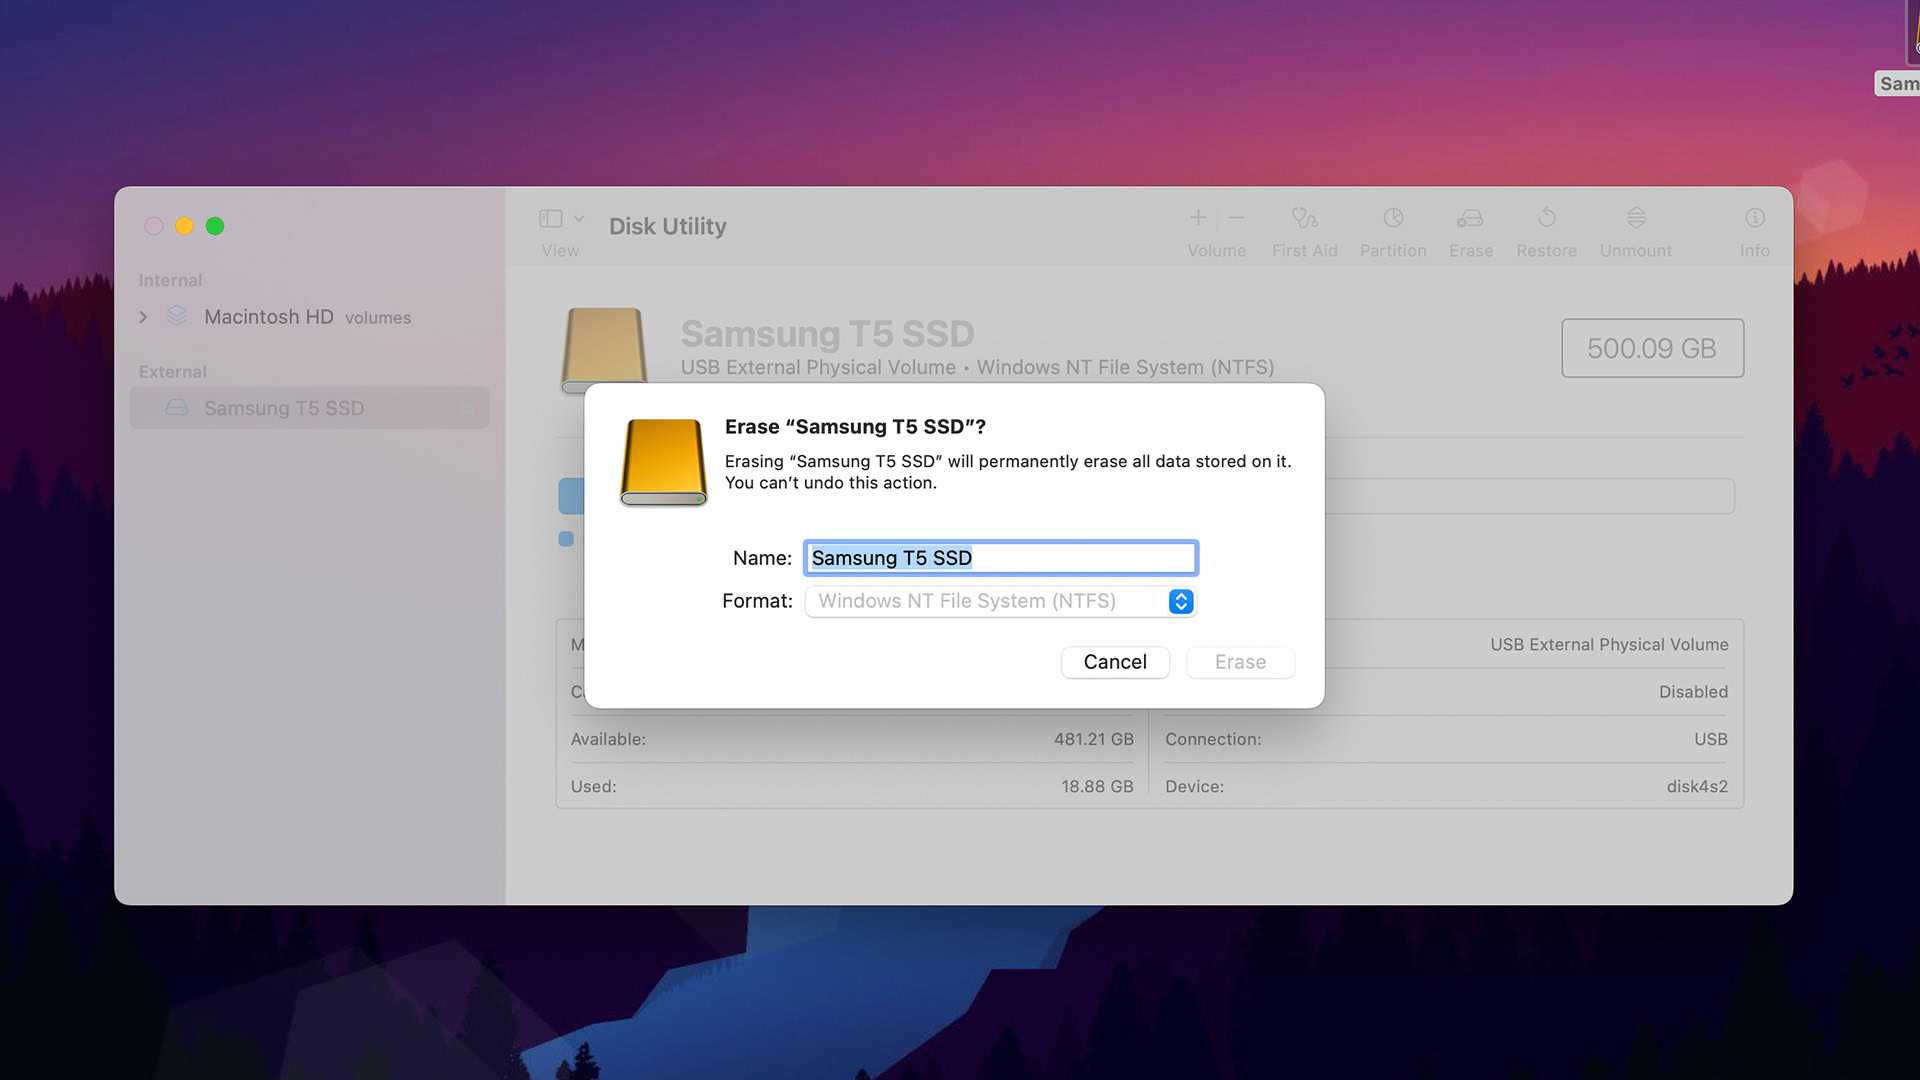
- Name your drive and then tap the Format box.
- Use APFS if you only use the hard drive with macOS machines. Use ExFat if you intend on using the drive with other operating systems. Only use macOS Extended if you need backward compatibility with much older Macs.
- Once your format is selected, and your drive is named, tap the Erase button.
That’s it. Once the system is done processing, you’ll have a blank hard drive like you just took it out of the box for the first time.
How to partition an external hard drive on macOS

Partitioning a hard drive is a very similar process to formatting an external hard drive. This gives you multiple volumes to play with. However, we only recommend this if you intend on using it with Time Machine as a backup drive or you want to use part of the external hard drive to boot an OS. There is no other reason to partition an external hard drive.
Also, if you do intend on using your external hard drive to boot Windows, Apple strongly recommends using Boot Camp to partition the drive instead of the Disk Utility feature.
- Connect the drive you want to partition. Make sure it is formatted to APFS. You can use other formats, but it gets a little wonky.
- Open Finder and type Disk Utility into the search bar. Double-click Disk Utility when it pops up.
- Select your external hard drive on the left margin.
- At the top of the screen, click the Partition button.
- On the next screen, click the Format box and switch it to APFS.
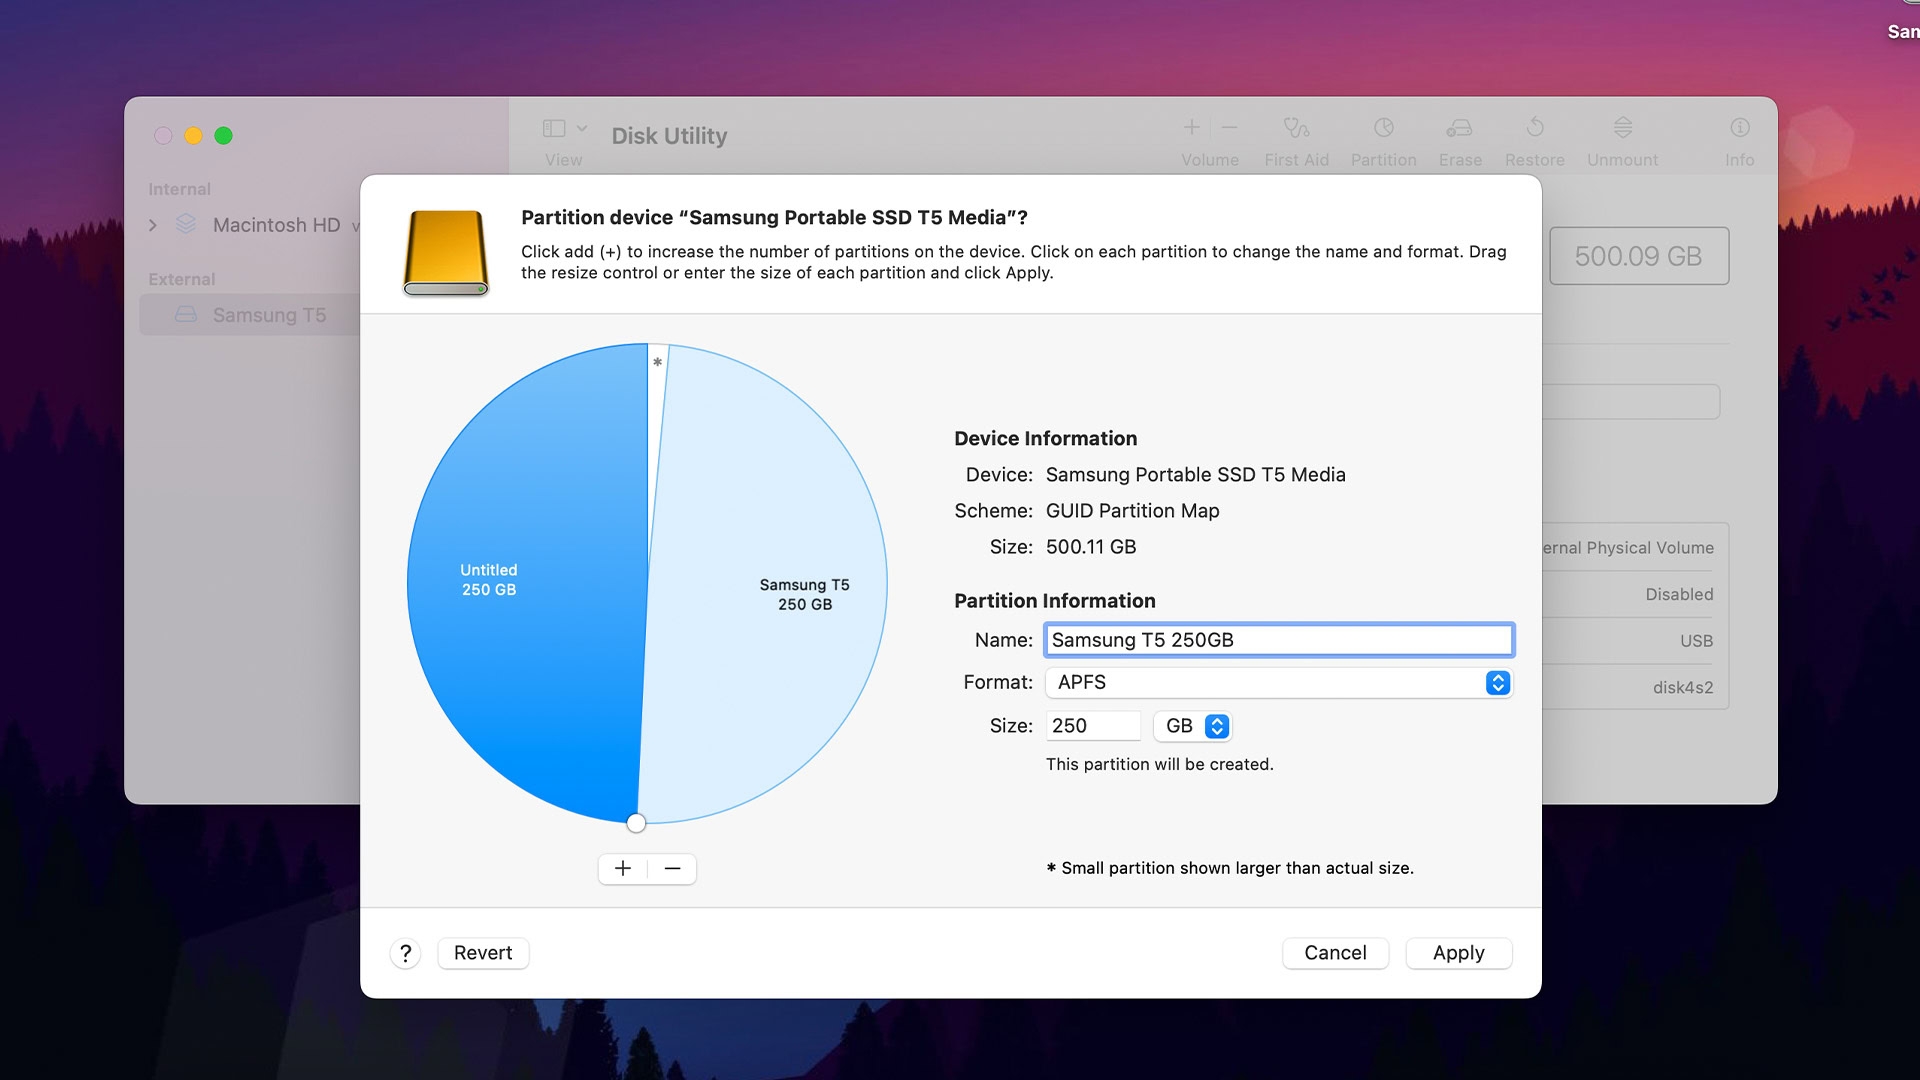
- Next, click the + (plus) button underneath the pie graphic to create a new partition.
- In the pop-up, the utility asks if you want to create a whole partition or just an extra volume. Click the Add Partition option.
- Give your new partition a name, and then select the format. It is very strongly recommended to use APFS. Sometimes, using other formats will mess up your hard drive.
- Using the slider on the pie graphic, change the size until your partition is as big as you want it. The slider button is just above the +/- buttons. Disk Utility divides the space in half by default.
- Once done, hit Apply. A pop-up should appear. Simply click Partition to continue.
- Note — Partitioning a drive will also reformat the drive. Make sure you backup or remove any important data before partitioning.
- To remove partitions — Go back into the partition screen, select the partition you want to be removed, and hit the – (minus) button. Hit apply when you’re done. This will reformat your drive without the partition.
And that’s it. Once you’re done, you’ll have multiple partitions that you can work with.
How to add volumes to an external hard drive

Adding volumes makes a lot more sense than partitioning an external hard drive in most cases. A volume acts like a partition, but it acts slightly differently.
The easiest way to compare is to show how it works. When you partition a 500GB hard drive in half, you wind up with two 250GB partitions. Each partition is self-contained and can’t use the other partition’s space.
When you create a second volume, both volumes have access to the entire 500GB worth of space, but still show up on your desktop as two different things. Partitions are good for Time Machine backups and booting from an OS. Volumes are better for data storage.
In any case, here’s how to add a volume to your external hard drive. We recommend using volumes instead of partitions because it’s more difficult to mess up and easier to fix if you do.
- Connect your external hard drive to your computer. Make sure it’s formatted to APFS.
- Open Disk Utility through Finder. Reference the other sections if you have trouble.
- Once open, click on your external hard drive in the left margin.
- At the top of the window, tap the Partition button.
- Tap the + (plus) button underneath the pie graphic.
- A pop-up shows up asking if you want to create a volume or a partition. Click the Add Volume button.
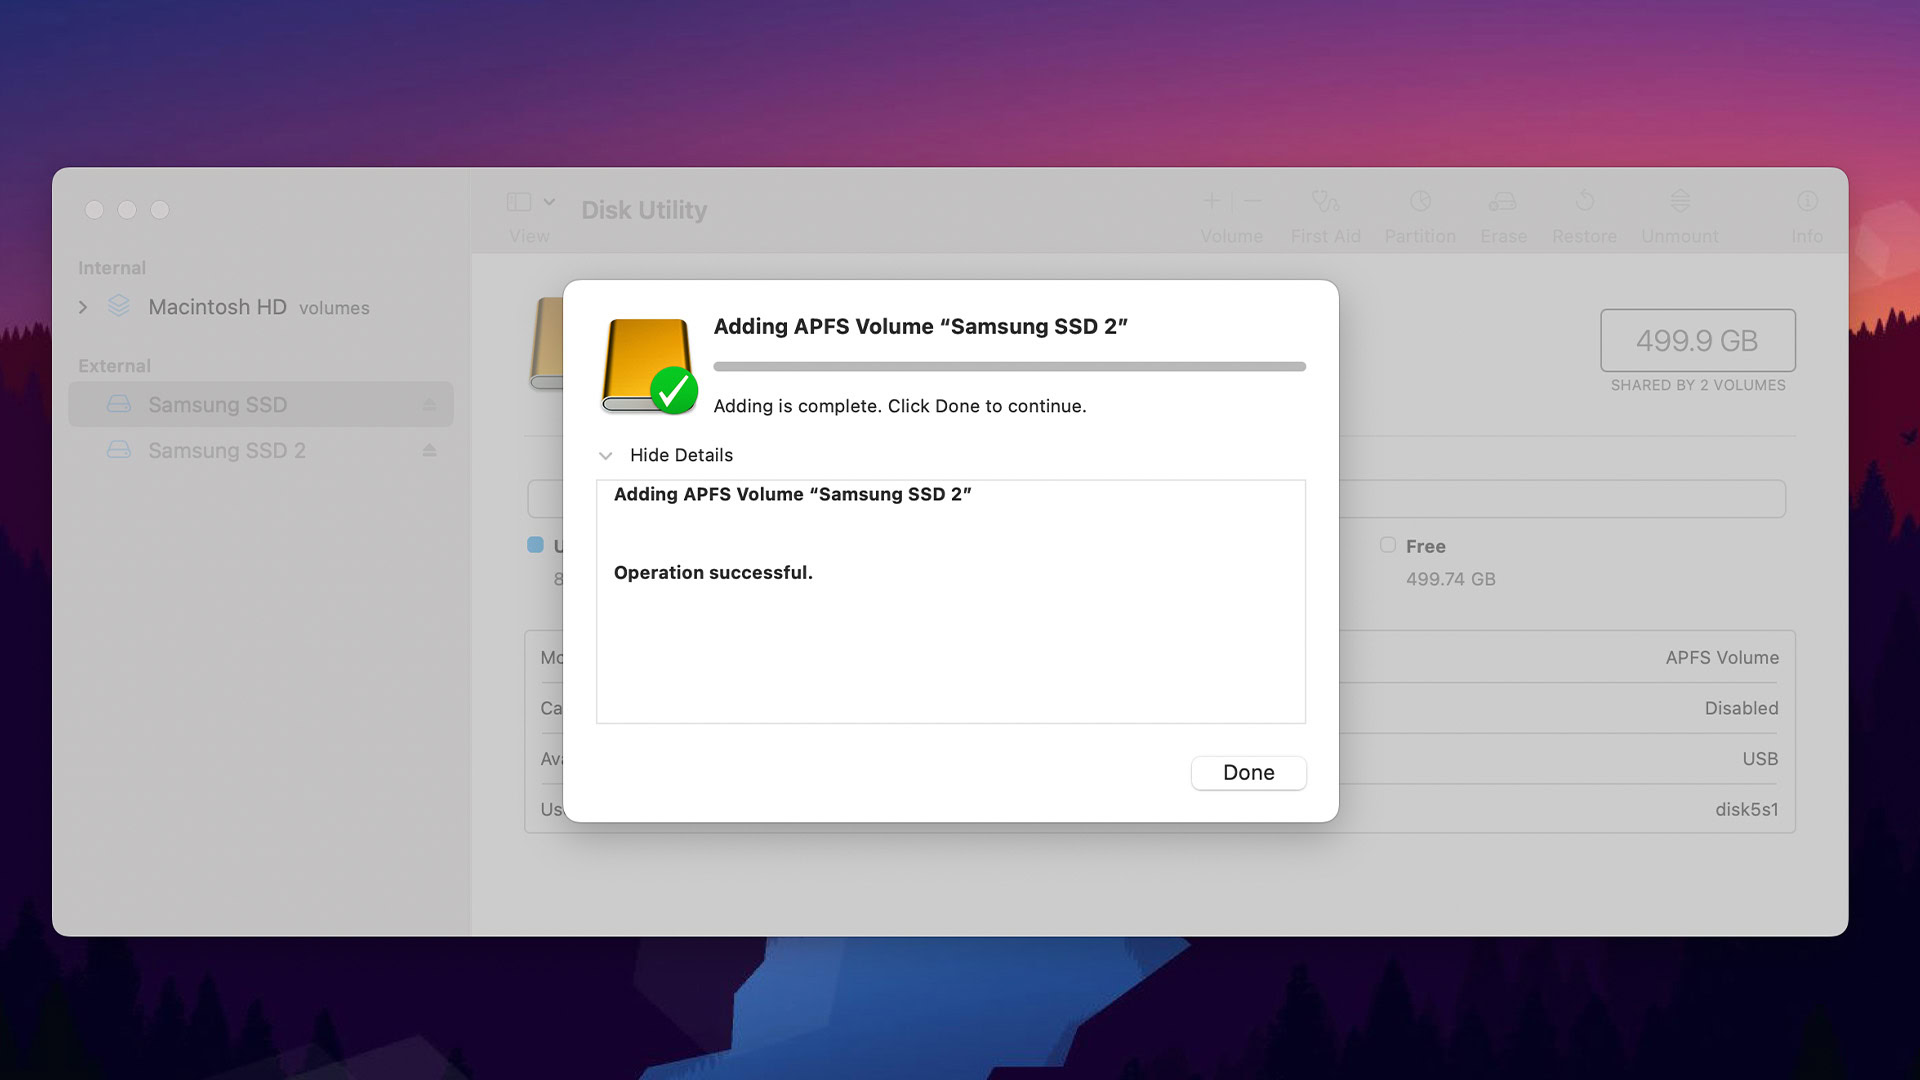
- Another pop-up comes up. Give your new volume a name and leave the format as APFS. Hit Add.
- The process should only take a few seconds.
- To delete a volume — Select the volume you wish to delete in the Disk Utility. At the top of the window, tap the – (minus) button where it says Volume. Tap the Delete button, and Disk Utility will destroy the volume. Before doing this, make sure to move any important data off of the volume.
Up next: How to open executable files on any Mac
FAQ
Use a volume if you’re storing data. Use a partition if you’re using Time Machine or installing an operating system.
There are several reasons why this might happen. If the partition option is grayed out, try opening a Terminal and typing diskutil erasedisk hfs+ External GPT /dev/disk2 and then hit enter. The command will erase the hard drive, though, so make sure to back it up first.