Affiliate links on Android Authority may earn us a commission. Learn more.
I saved $100s building my own NAS home server

Self-hosting your data and services with Network Attached Storage (NAS) is a great way to free yourself from the spiraling costs and tangled web of subscription fees. Whether you’re simply looking to back up your photos or stream 4K movies on your travels, there’s a wide range of products to pick from, but not quite so many to suit all budgets.
If you’ve been tempted by one of the best NAS systems but are put off by the expense or lack of gradual upgrade paths, building a cheap DIY NAS could be a better alternative for you.
Building a DIY NAS vs buying off-the-shelf
Before embarking down the DIY NAS route, it’s really worth considering what you want from your setup. A QNAP or Synology NAS is the more straightforward and less time-consuming option. They offer a pre-baked operating system and comprehensive software suites to handle cloud documents, backups, and more. Plus, they support Docker containers, hardware RAID, and scale up to plenty of NVMe and SATA ports for advanced use cases. Just be prepared to pay for the unbox-and-go simplicity.
By comparison, a DIY NAS is more involved, not only in terms of selecting the hardware but setting up the software too. But the upsides are bountiful; the DIY route offers much more processing bang for your buck, has even greater hardware and upgrade flexibility, and you can save a bundle by repurposing an old laptop, PC, or Raspberry Pi. I’ve been running my home server on a Pi 4 for years until recently upgrading.
Off-the-shelf NAS products are foolproof but expensive for the hardware they offer.
Thankfully, I’m far from the first to embark on the DIY route, so there’s plenty of software and guides out there that make setup virtually effortless. I highly recommend OpenMediaVault (based on Debian Linux) to manage the system, as it’s Arm and x86 CPU compatible. However, you could try TrueNAS Scale if you really want the ZFS file system for pooled storage (OMV supports it, too, just not by default). Either way, you’ll want to be familiar with docker-compose to install the applications you want. We’ll cover more on this later in the guide.
Selecting the right hardware to build a cheap NAS

There are two main ways to build a NAS from scratch; a PC-like dedicated enclosure or a mini-PC with Direct-Attached-Storage (DAS) bolted on. The former is an excellent way to repurpose an old CPU and can offer lots of NVMe and SATA ports for peak performance/storage. However, this build is a bit more complex in terms of selecting a motherboard, RAM, power supply, and case, and the costs quickly add up to more than a pre-built NAS if you don’t have parts lying around.
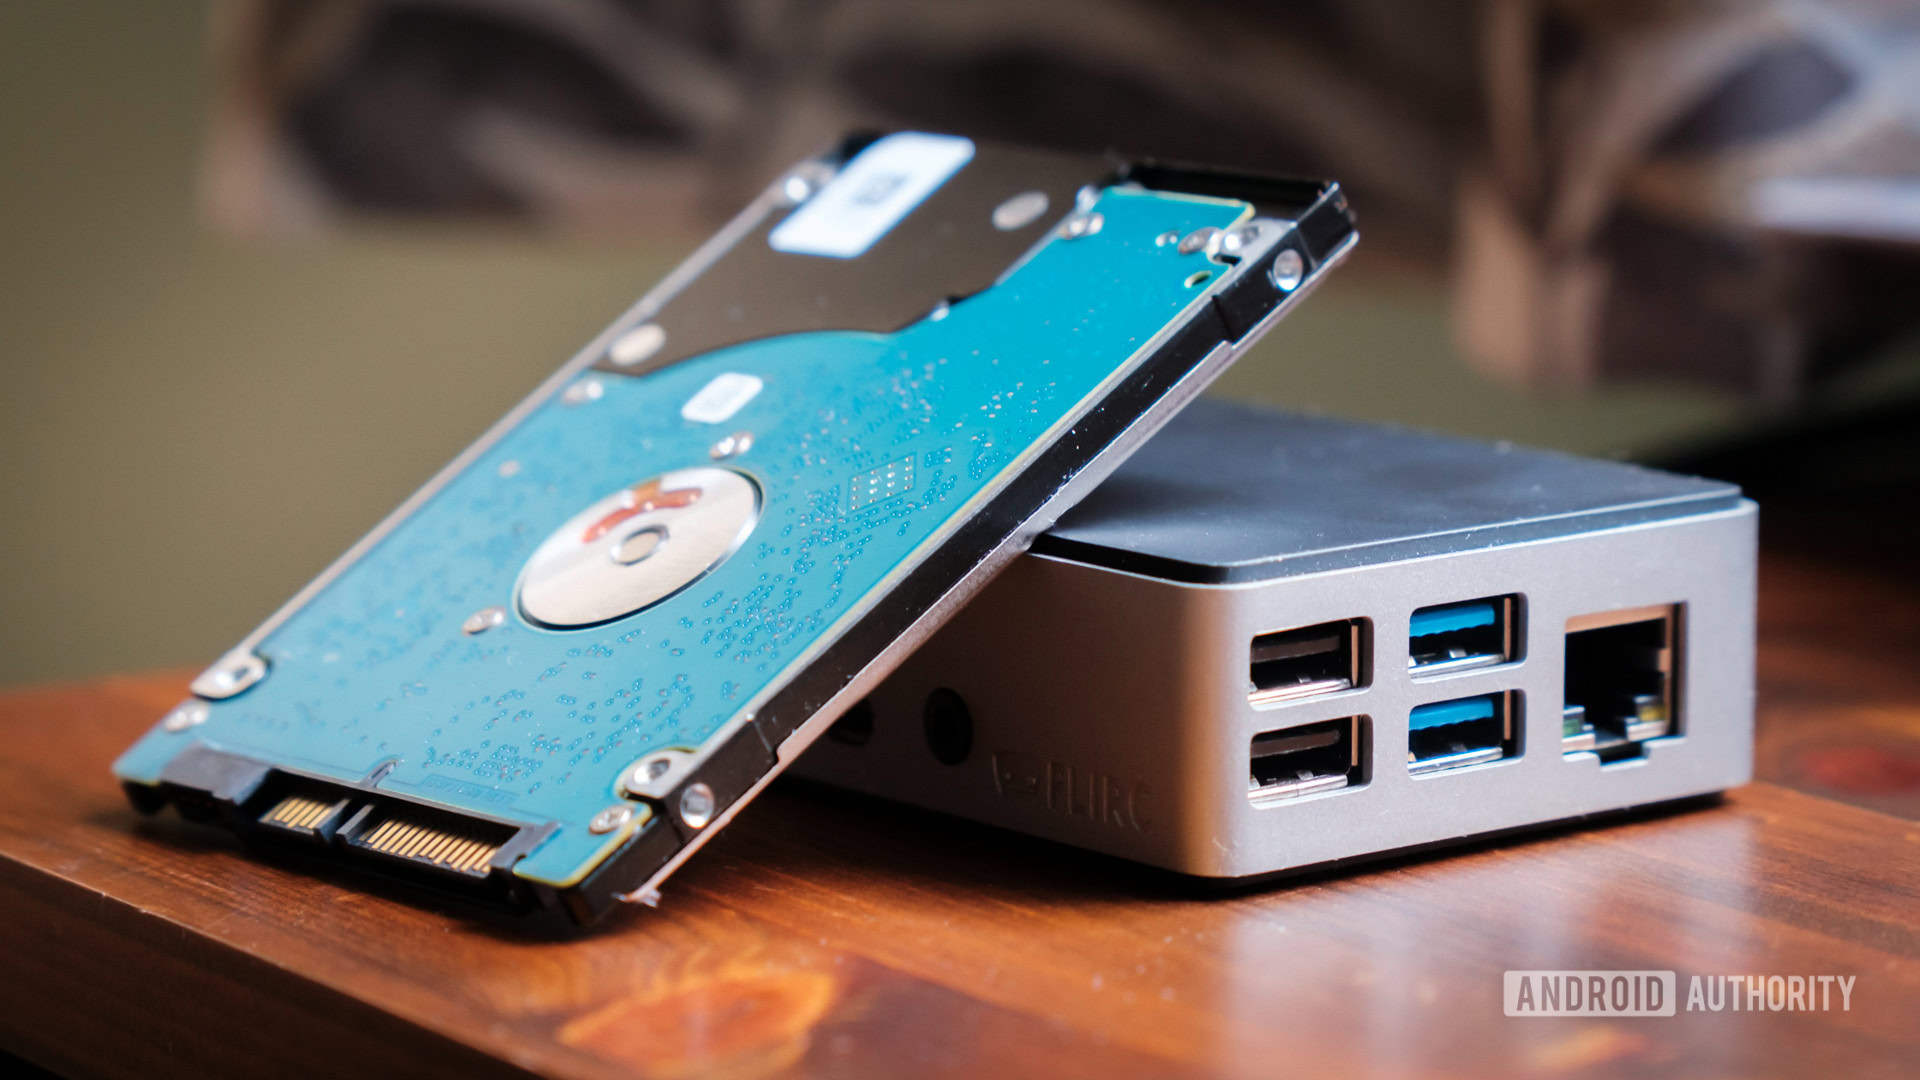
I suggest the mini-PC and DAS route if you’re starting from scratch and don’t need something super specific. They’re cheap, simple to set up, and still very easy to upgrade should you need additional processing power or expandable storage. The only real drawback is a limited number of NVMe/SATA hard drive connections versus a larger motherboard. You’ll need a USB 3.0 (5Gbps) port or higher to obtain decent performance from external storage, but even this can be a bottleneck if you intend to move lots of data between multiple SSDs in the same DAS. You can get around this with a 10Gbps USB 3.1 Gen 2 port, cable, and DAS, but these are more expensive. But for storing photos, music, and documents, 5Gbps USB speeds are just fine, especially when used with spinning hard drives.
A mini-PC/DAS setup offers the best bang-for-buck and future upgrade paths.
With that in mind, selecting the right CPU/mini-PC is the key decision. Given that a NAS is always on, low idle power is a big positive, but that needs to be weighed against the maximum performance on offer. Basic NAS use cases like sharing files require very little power, but requirements quickly increase if you want AI photo recognition or HDR video transcoding.
For instance, a 1W Arm-based Raspberry Pi 3 can power a Plex media server with direct playback only, while a 4W Pi 4 model can just about run low bit-rate 1080p x265 software transcoding. But 4K transcoding capabilities are often listed as requiring Intel Core i5 or i7 processors with accompanying system idle power in the range of 60W. Thankfully, Intel Quick Sync or similar hardware transcoding looks pretty good on modern chips and can drastically lower power consumption. I’ve compiled a rough guide to the hardware you’ll need for certain use cases in the table below, but it’s impossible to cater to every piece of hardware.
| Chipsets | TDP Range | Use cases | |
|---|---|---|---|
Very Low Power | Chipsets Raspberry Pi 3 | TDP Range 1-3W | Use cases File sharing & backups Media server (direct-play only) Basic Minecraft server |
Low Power | Chipsets Raspberry Pi 4B Intel J AMD Ryzen Embedded (no GPU) | TDP Range 5-20W | Use cases File sharing & backups Media server Low user-count 1080p video transcoding Basic photo machine learning Low player count Minecraft server Home Assistant |
Balanced Power | Chipsets Intel N AMD Ryzen Embedded (w/ GPU) | TDP Range 10-30W | Use cases File sharing & backups Media server Multi-user 4K video transcoding Photo machine learning Minecraft server Home Assistant |
Advanced | Chipsets Intel Core i3, i5, i7 AMD Ryzen 3, 5, 7 | TDP Range 45-200W | Use cases File sharing & backups Media server High-quality multi-user video transcoding Photo machine learning Minecraft server Home Assistant |
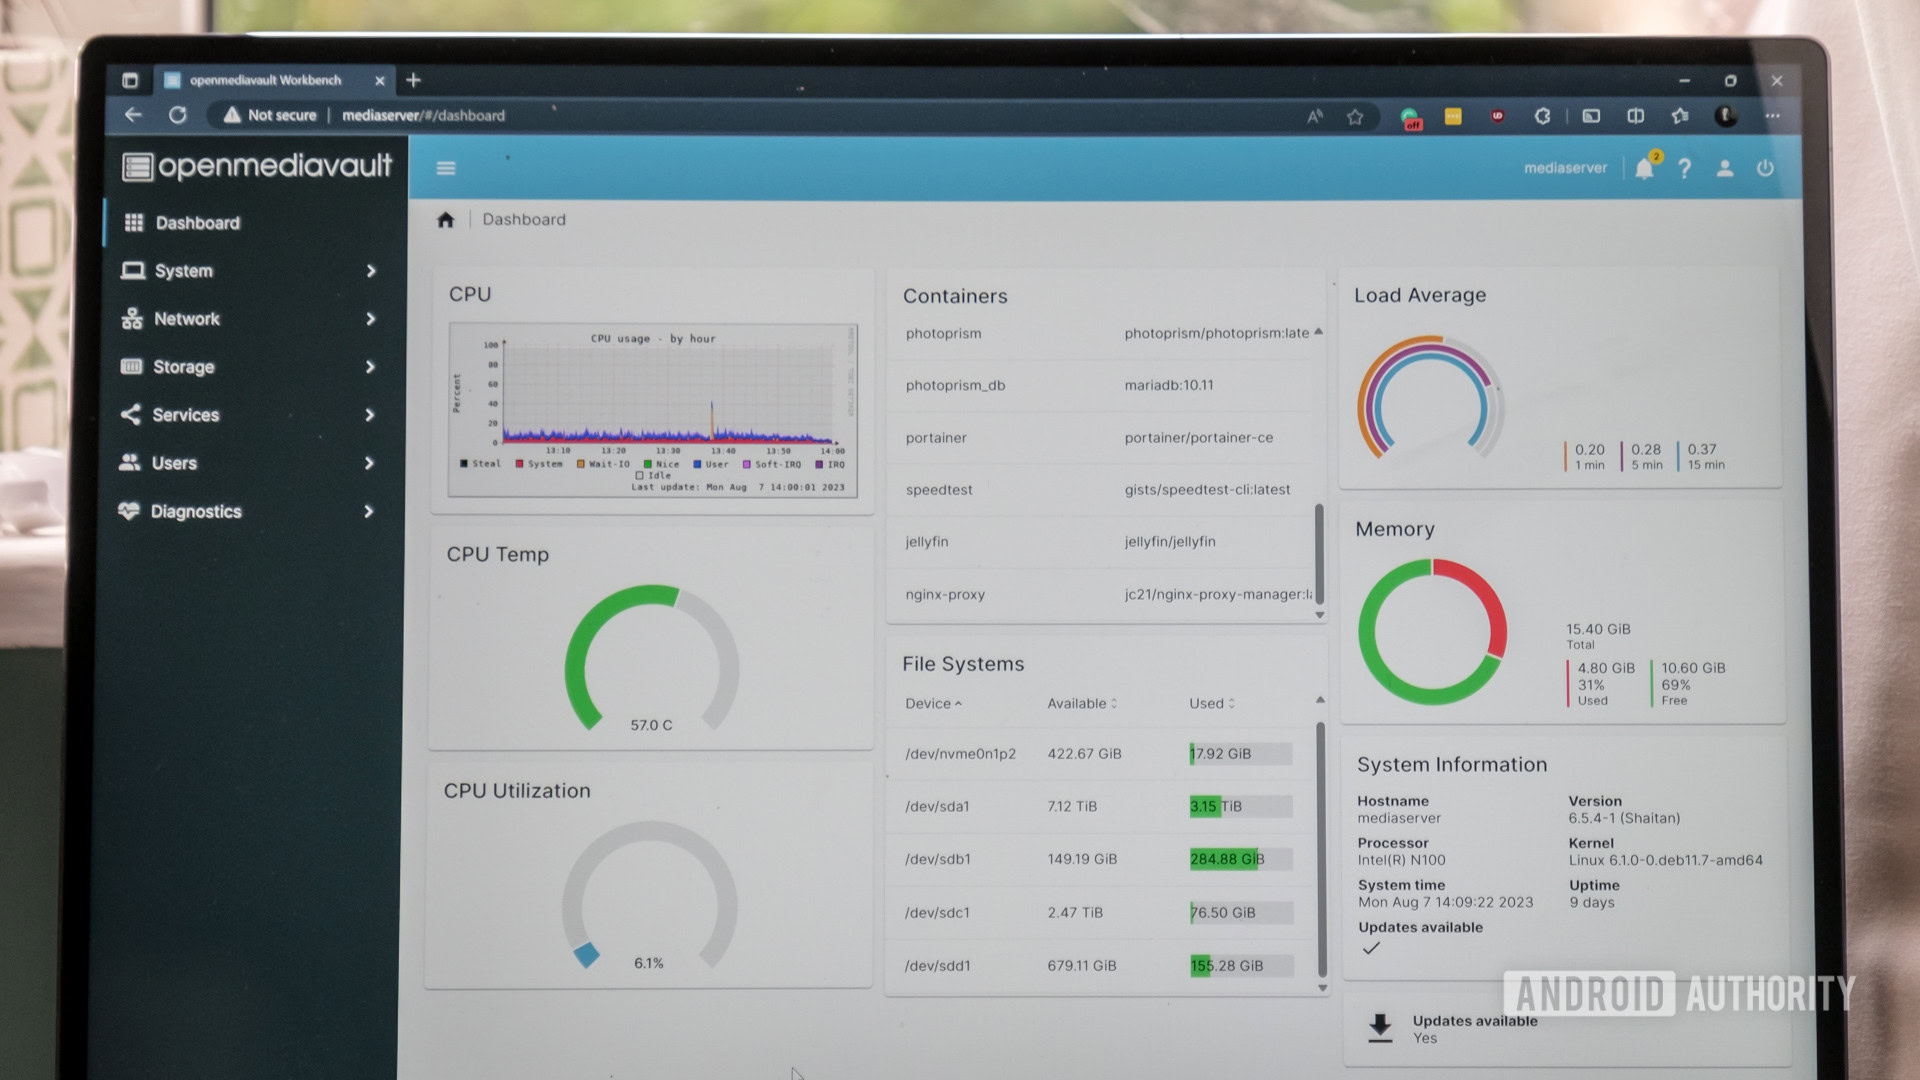
In my latest build, I opted for a new Intel N100-powered Trigkey G5 mini-PC ($200 from Amazon), which came with an overkill 16GB LPDDR5 RAM, dual 2.5Gbps LAN, and an admittedly cheap 500GB NMVe OS drive. The mini-PC consumes just under 6W idle (not much more than a Raspberry Pi 4) yet offers four 3.4GHz Alder Lake E-cores and hardware transcoding. It can draw 30W at its peak, enough to handle a huge range of applications and the four (that’s right, four!) 4K HDR HVEC to 1080p transcoding streams I tested. That’s far more power than the Intel Celeron J and AMD Ryzen V1000 chips that infest the mid-level NAS market.
The Intel N100 also features in a selection of similar products you could use for a NAS setup. You can find it on the ASUS N100M motherboard ($155 from Amazon) for a DIY PC build and fully enclosed mini-PCs like the AOOSTAR ($299 from Amazon). Not to mention the growing range of affordable mini-PCs that sport this chip.
The difference between 5W and 60W idle power can be $100 per year.
I paired my mini-PC with a 4-bay Terramaster DAS ($170 from Amazon) for up to 80TB of storage. This is a setup more potent than a high-end Synology DS923+ ($600) yet costs less than two-thirds of the price. Albeit without hardware RAID support (which I don’t need), but you can add that to your DAS for a comparatively insignificant sum.
And that’s a higher-end DIY option. You could grab an Intel N5095, 8GB RAM mini-PC ($149 from Amazon), and a two-bay enclosure ($80 from Amazon) for about the same as an entry-level Synology DS223. But again, that chip is significantly more powerful, enough to handle a couple of 4K transcoding streams and create photo thumbnails from a vast library. The nice thing about the cheap DIY NAS setup is that a mini-PC can self-contain a 2.5-inch drive or two if that’s all you need. Scaling up is then very easy over USB; you can cheaply bolt on a 2.5-inch HDD-to-USB drive or pick from an array of two, four, or more bay DAS options to suit your storage needs and upgrade as required.
Tips for installing your DIY NAS software

So far so easy, but installing the software is where the DIY value for money benefits trade-off for your time getting everything set up. While I can’t cover all the possible configuration options here, I can provide some brief beginner-friendly tips to get you started.
Picking an OS for your NAS
As tempting as it may be to stick with a familiar OS like Windows, a NAS is better suited to a headerless (aka no display attached) OS, such as one of the numerous Linux distributions. Plus, we can reap the benefits of Docker containers for our software. However, installation and Linux command line can be daunting, especially for the uninitiated. Thankfully, OpenMediaVault supplies bootable ISO media, which makes setup a doddle, so I don’t need to repeat the steps here. Simply flash a USB drive, boot it on your PC, and follow the steps to install OMV on a fresh hard drive. TrueNAS Scale would also be a suitable pick, as it provides bootable ISO media, but this article focuses on OMV.
That said, my latest setup couldn’t detect my mini-PC’s LAN hardware, which can be a problem when using very new bits of kit. Instead, I installed the latest version of Debian (complete with the latest Linux kernel), making sure to enable SSH during installation so I could access the command line on boot. If you need command line access, you’ll need to find your NAS local IP address and tunnel in with a service like Putty.
I proceeded to install OMV on top using this very helpful script — it’s the same process as installing OMV on a Raspberry Pi. Once installed, you’ll need to find the local IP address of your NAS/PC (192.168.1.10, for example) from your router’s settings and log in to OMV via a web browser. That’s it, and you shouldn’t need to touch the command line again.
Adding apps and services

Out of the box, OMV provides everything you need to manage your hard drives, set up network file sharing, sync backups, and monitor your system. But we’ll want to install some apps to get more use from our powerful setup. This is where Docker comes in. First, you need to enable Docker under System > omv_extras > Docker-repo, then proceed to install the Compose plugin under System > Plugins (you can find omv_extras here too, if it’s not already installed).
You should now see the Service > Compose menu. Head into Files to begin adding apps. OMV provides some examples you can add, which include popular apps like Deluge, Plex, Pihole, Syncthing, and many more. However, we’ll need to understand a little about docker-compose files, particularly the volumes parameter, before saving and starting the service.
Docker can be daunting, but it's invaluable once you've learned it.
Every compose file starts with a version number and then lists services (apps) by name. You can list multiple services in a single docker file, which is essential for launching applications that depend on each other (such as a photo app and accompanying database or a service that requires a VPN). The volumes parameter is the one you’ll tweak the most, as it controls which folder paths the container can access. Here’s an example of the most common docker-compose fields and what they do.
- image: Points to the docker image you want to install. You can search for these at the popular Docker Hub repository, and developers often provide them in their documentation.
- container_name: the name you want to give the container
- user: the user and group that runs the container. It’s recommended not to run apps as root. During setup you will have configured a non-admin user, which usually has the ID 1,000 as the default. Just be aware of file/folder permissions when selecting a user.
- volumes: lists the directories the container has access to. This is provided in the format real_location:docker_location, which maps a real path on your hard drive to a virtualized location inside the container. This is a boon for security and can help keep your files neatly organized. You can list multiple volumes.
- ports: external and internal port mapping parameters to access the container. Like volumes, this maps a real network port to the container port. For example, Plex runs on port 32400 by default, but you can map this to port 1234 like so 1234:32400.
- network: defines the network the service uses. By default, docker creates a new network, but you can also link to existing networks (such as the default bridge) and use another service name, such as network_mode: service: vpn.
- environment: lists configuration options and settings used by the container. You must follow the service’s documentation to set these up correctly.
- depends_on: waits to launch the service until after the listed services have started.
- restart: the restart policy for the service if it fails. unless-stopped is a good default, once you know the service is configured correctly.
There are more sophisticated options, but these settings will get you through the vast majority if not all the containers you’re ever likely to deploy. Once configured, hit save and then the “Up” button to install and launch the app. When you’ve mastered setting up docker containers, the door opens to a wide world of self-hosted software. There is arguably too much choice, so I’ve whittled down a non-exhaustive list to get you started.
Media server
- Jellyfin — Open-source media server with decent client support.
- Plex — Closed-source media server with broad client support.
- Navidrome — Open-source music server.
Photo viewer
- Photoprism — Photo gallery with machine learning capabilities.
- Lychee — Opensource gallery management tool.
- Immich — Early development Google Photos alternative.
Office/documents
- Nextcloud — Open-source self-hosted cloud storage.
- Owncloud — Semi-open-source self-hosted cloud storage.
Useful tools
- Home Assistant — Manage your smart home devices in one place.
- Nginx reverse proxy manager — Expose services to the web via your own subdomains.
- Pihole — Block ads by routing traffic through your server.
- Tailscale — Private VPN to tunnel into your services securely.
From simple backup to self-hosted alternatives to popular cloud services, building a cheap DIY NAS can cut ties with increasingly expensive cloud services. Off-the-shelf NAS hardware is a great way to get started, especially if you’re limited on time. But hopefully, this guide has convinced you that a self-built PC or Mini-PC/DAS setup is a great way to take control of the setup yourself. Plus, it’ll cost you significantly less and net you a lot more hardware than a Synology or QNAP.