Affiliate links on Android Authority may earn us a commission. Learn more.
Android Customization - Choosing a default keyboard and changing its settings (so you can stay ahead of the iPhone users)
This week on our Android customization series, we revisit an oldie, but a goody, keyboards. If you’ve been following all the technology news of the last couple weeks, you know that Apple just gave its users the power to change out their keyboard and play with its settings on their mobile device. I probably don’t have to tell you that Android has been doing this for years.
In the spirit of making sure you can still show up your iPhone using friends, let’s take a quick run down of using different keyboards, and tweaking them to suit your needs.
Before we get started
To follow along today, you will need to have at least two keyboards installed on your device. As a minimum, I recommend the Google Keyboard, which comes by default on many devices out there. From there, there are tons of keyboard options, which is why our app guy Joe Hindy has spent some time providing you many examples.
For my part, I have Google Keyboard, Swype, SwiftKey and Minuum installed, just so you can see them a bit.
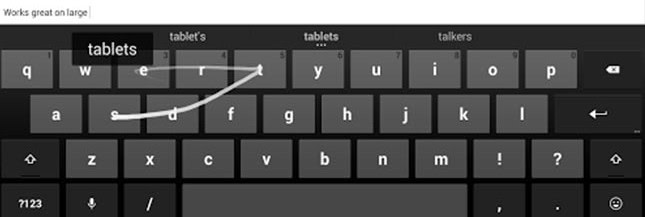
Google Keyboard: Free in the Google Play Store.
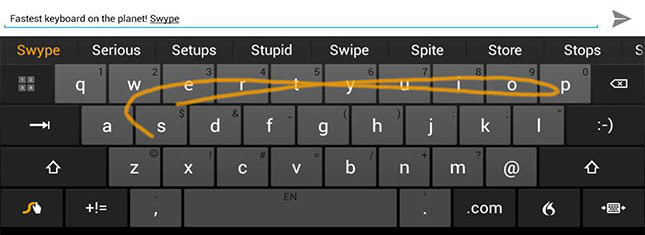
SwiftKey: Free in the Google Play Store.
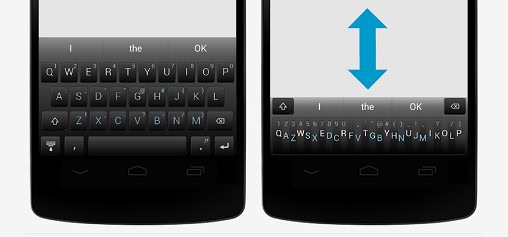
Minuum: 30 day trial version, or $3.99 in the Google Play Store.
Most third party keyboards will guide you through the process of setting them up as your default keyboard. If you cannot find their tutorials or just want to take stock of all of your installed keyboards, I recommend going through your System Settings.
As is normal for our Android customization series, we will be using a stock Android experience device, you may find that your device has slightly different settings, but the idea remains the same.
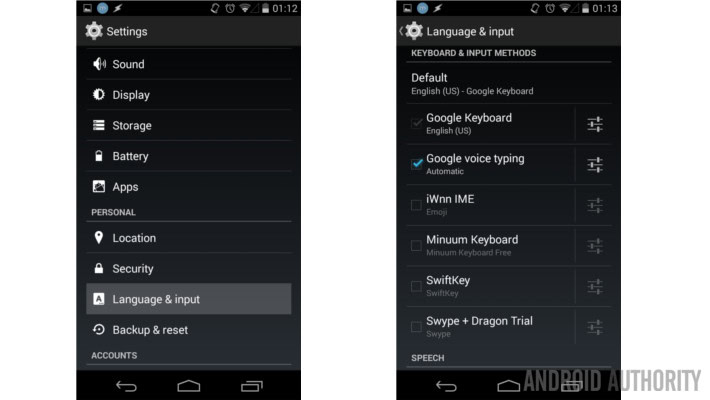
Open your System Settings.
Open Language & Input.
First, you’ll need to activate the keyboards, just tap the checkbox on the left of each.
Then, under Keyboard & Input Methods, tap on Default.
Choose your desired default keyboard (and language, if applicable) from the list.
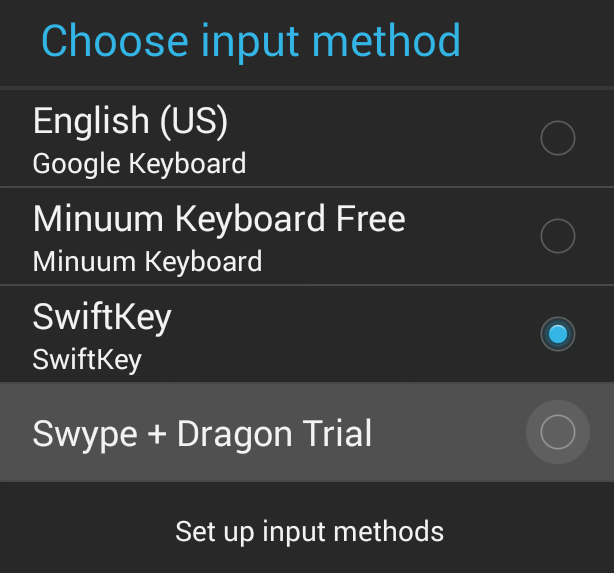
Alternatively, you may see the default keyboard chooser popup if you go through the individual keyboard setup procedures, this works as well.
How to access the settings of a keyboard
Once again, your chosen keyboard will have differing settings and methods to access them, and once again, we can bypass the apps built-in access methods by getting to it through our System Settings.
As above, navigate to the Keyboards & Input Methods section in your System Settings.
Tap on the settings icon beside any activated keyboard. The icon is three horizontal lines with ‘sliders’ on each.
Your specific keyboard app settings will now open up and you can play with the settings.
Personal preference is a huge factor here, but myself, I truly do not like the haptic feedback nor the beeps and boops when I press a key on my keyboard. Once again, every keyboard will have different settings here, so I will use the Google Keyboard as my example. As eluded, let’s turn off, or at least turn down, the haptic and audio feedback.
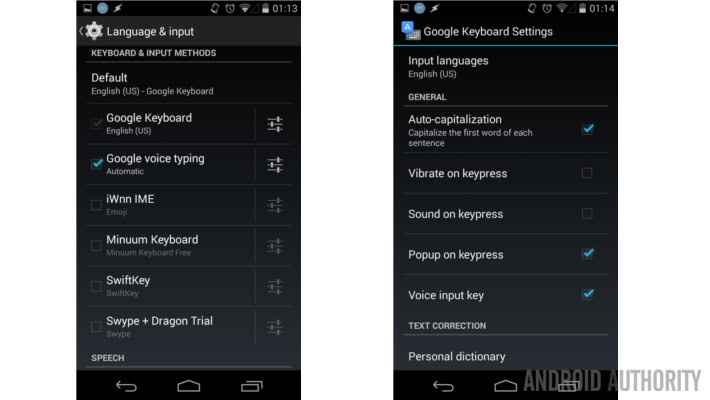
Turn off Sound and Haptic feedback on keypress
Following the above instructions to access your keyboard settings, Google Keyboard has haptic and sound controls right near the top of the list of options.
Simply de-select Vibrate on keypress and/or Sound on keypress by tapping the checkbox on the right.
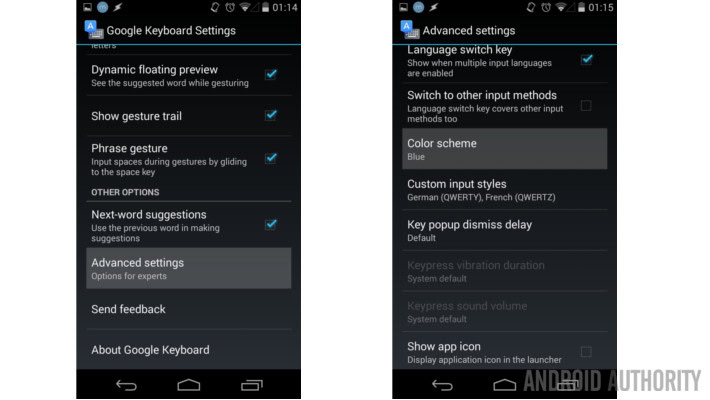
Google Keyboard has a few nifty settings hidden away in a sub-menu called Advanced settings. You may recall the Advanced settings menu from when we showed you how to revert to Blue after a recent update that changed the keyboard all grey/white. It is ok if you don’t remember, but feel free to check that out here before we go on.
Let’s say you did not want to turn off the haptic nor sound feedback as I had above, but they are still not quite right. Google Keyboard will allow you to manually adjust the volume of sound and even the vibration duration of the haptic feedback. Both are fairly simple, just make sure that Vibrate on keypress and Sound on keypress are still turned on in the main menu, then dive into the Advanced settings menu.
To change the volume of the keypress sound
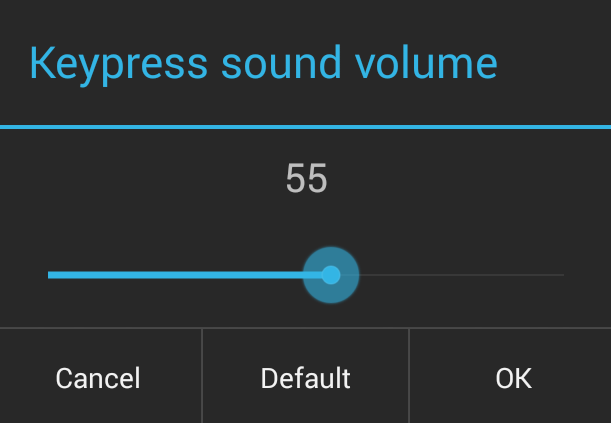
Move the slider to your desired volume level. A setting under 40 will be a quieter than default, and maxing out to 100 gives only a moderate boost.
Keep in mind that keypress sound will still be muted when your phone is in silent mode.
To change haptic feedback vibration setting
In Advanced settings, scroll to nearly the bottom and tap Keypress vibration duration.
Move the slider to your desired vibration level. To my touch, default feels to be around 18ms. A setting under 10ms will calm things down quite a bit, or go with a setting as high as 100ms to really rock the house.
Keep in mind that the vibration does not turn off when the phone is in silent mode. Some phones have a rather noisy vibration motor, loud enough to wake people sleeping nearby, especially if those people are tuned to listening for the rumble of their own phone.
What’s next
As I am sure you noticed along the way, there a ton of settings available in each keyboard we touched today. Most settings start off with the basics, including sound and haptic feedback, but you’ll notice that keyboards like SwiftKey learn your typing habits and vocabulary to offer better predictive text.
SwiftKey will even offer to hook into several of your online and social media accounts to get a better feel of your word usage. It sounds a little invasive at first, but nearly three quarters of a million 5 star reviews, including from our own Edgar Cervantes, say SwiftKey works out pretty well.
Next week
Next week in our Android customization series, I would like to get back to battery saving techniques. More specifically, I would like to start the discussion on Location Services. Aside from the display itself, Location Services have been one of the largest battery draining aspects of modern Android devices. Check back next week to see how we feel about this, and how we go about managing location services to save battery life.
With the myriad of third party Android keyboards out there, which is your favorite?