Affiliate links on Android Authority may earn us a commission. Learn more.
AfterFocus: Turning photos into DSLR-like shots

Technology continuously changes as the days go by, with smartphones becoming literally smarter and packing more powerful specs. With the phones available today, people have started turning away from digital and point-and-shoot cameras and have been making good use of the cameras on their phones.
It’s no wonder why apps like Instagram are so popular. Imagine being able to satisfy your shutterbug urges without having to lug around a heavy camera. But, if you thought that only Instagram was great at capturing life’s precious moments, think again. There’s a new photo-editing application in town and it certainly means business.
An application known as AfterFocus is making waves in the Android scene. A once popular app for iOS users, AfterFocus has finally arrived on Android phones, as well.
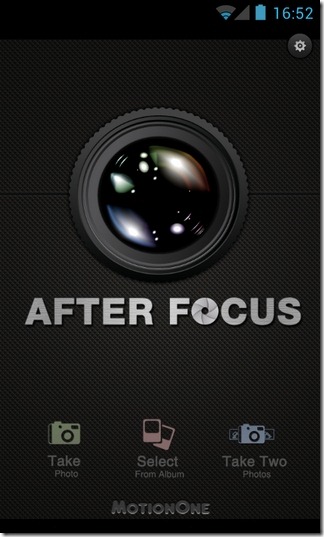
AfterFocus was developed by MotionOne and this app lets users transform their ordinary smartphone into a DSLR-like camera. This is all thanks to its DSLR-like lens and motion blur effects that help create a user’s snapshot into a professional picture.
First-time users of AutoFocus might find it hard to configure the application as the app has tons of settings to choose from. With a little practice and continuous use, taking pictures will be a walk in the park. Mastering the fine craft of taking shots using AfterFocus may require a few tries, but thanks to a detailed video tutorial, learning can be done in just a matter of minutes.
AutoFocus has three main image focusing modes to choose from. These are Smart Focus, Manual Focus and Double Photo. Choosing the Double Photo mode will automatically adjust the image focus for you. Snap a couple of pictures and Double Photo will allow you to compare the shots.
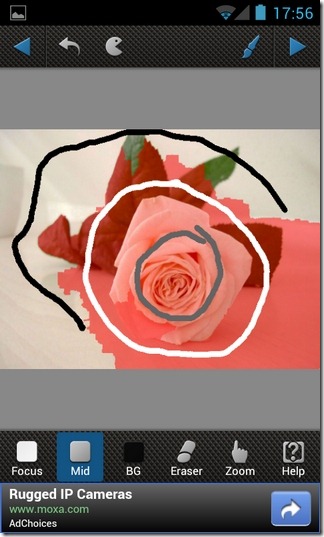
Smart Focus is the easiest way to take a picture since this mode only requires you to paint roughly around the edges of the object, a portion around the object to set your focus for less intensity and a section in which you want to have a blurred background effect.
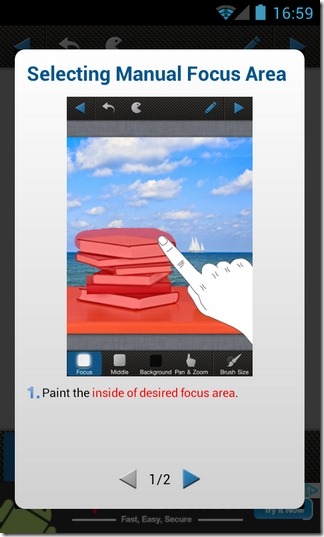
Manual Focus, on the other hand, is the trickiest to set up among the three modes. Using this mode requires you to manually paint over the desired image you want to focus on.
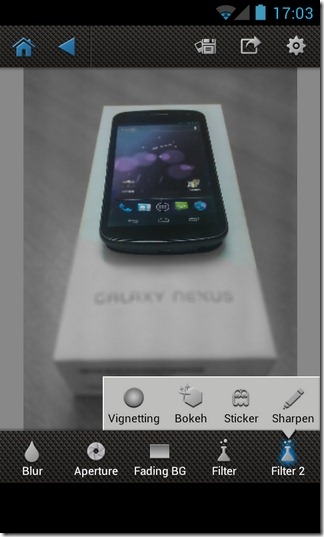
If something doesn’t go your way, then you can always undo your previous mistake. Tap the eraser tool to manually erase errors in the process. Once you have finished choosing the required selections, all you need to do is tap the arrow found on top of the menu screen and select your preferred style and effects. These include the aperture style, intensity of lens, motion blur effect, toggle fading background, and lastly, applying your desired filter.
AfterFocus is a clever little app that lets you transform your ordinary smartphone into a DSLR camera. Neophyte users who are new to photography may experience some pitfalls along the way, but once you get hold of the controls, you’ll be soon be carried away by the app’s realistic professional snapshots.
If you’d like to start snapping professional looking photos today, you can download the free version of the AfterFocus app from the Google Play Store. If you feel that the free version doesn’t sate your lust for photography then you can upgrade to the pro version within the app itself.
Thank you for being part of our community. Read our Comment Policy before posting.