Affiliate links on Android Authority may earn us a commission. Learn more.
How to sync your iTunes library with Android
Published onNovember 12, 2014

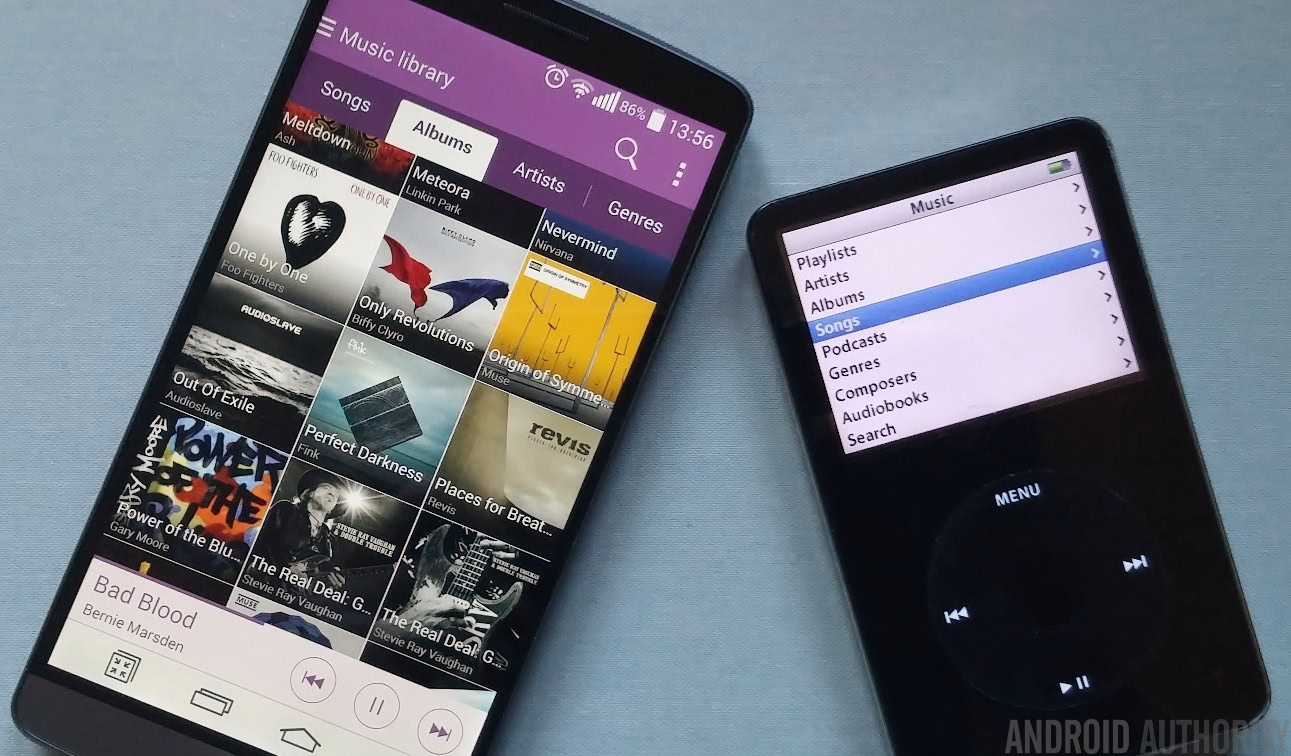
If you are yet to fully immerse yourself in Google’s media ecosystem or have a few classic tracks tied up in a closed-platform like iTunes then you have probably experienced the frustrations involved in attempting to move music from one platform to another. Moving all your favourites onto your Android phone can be a real nightmare when compared with the simplicity of using Apple’s own products.
If you are facing such difficulties, BitTorrent’s Sync software can help move over all your media in just a few easy steps, freeing you from the bonds of iTunes media management.
Before we begin you will need to download the latest version of Sync and install it on your Android smartphone or tablet (Play Store link) and a copy on your PC or laptop (link) as well. Now we’re ready to begin.
First up you’ll want to create a folder, or variety of folders, on your PC which will contain the music, videos, or podcasts that you want to sync from iTunes to your Android device. This doesn’t have to be the folder where you store all your music, as you can use it simply to put content in as and when you want to sync up.
Step 1 – Open up Sync on your PC, click add folder and pick the folder you would like to sync up with your phone.
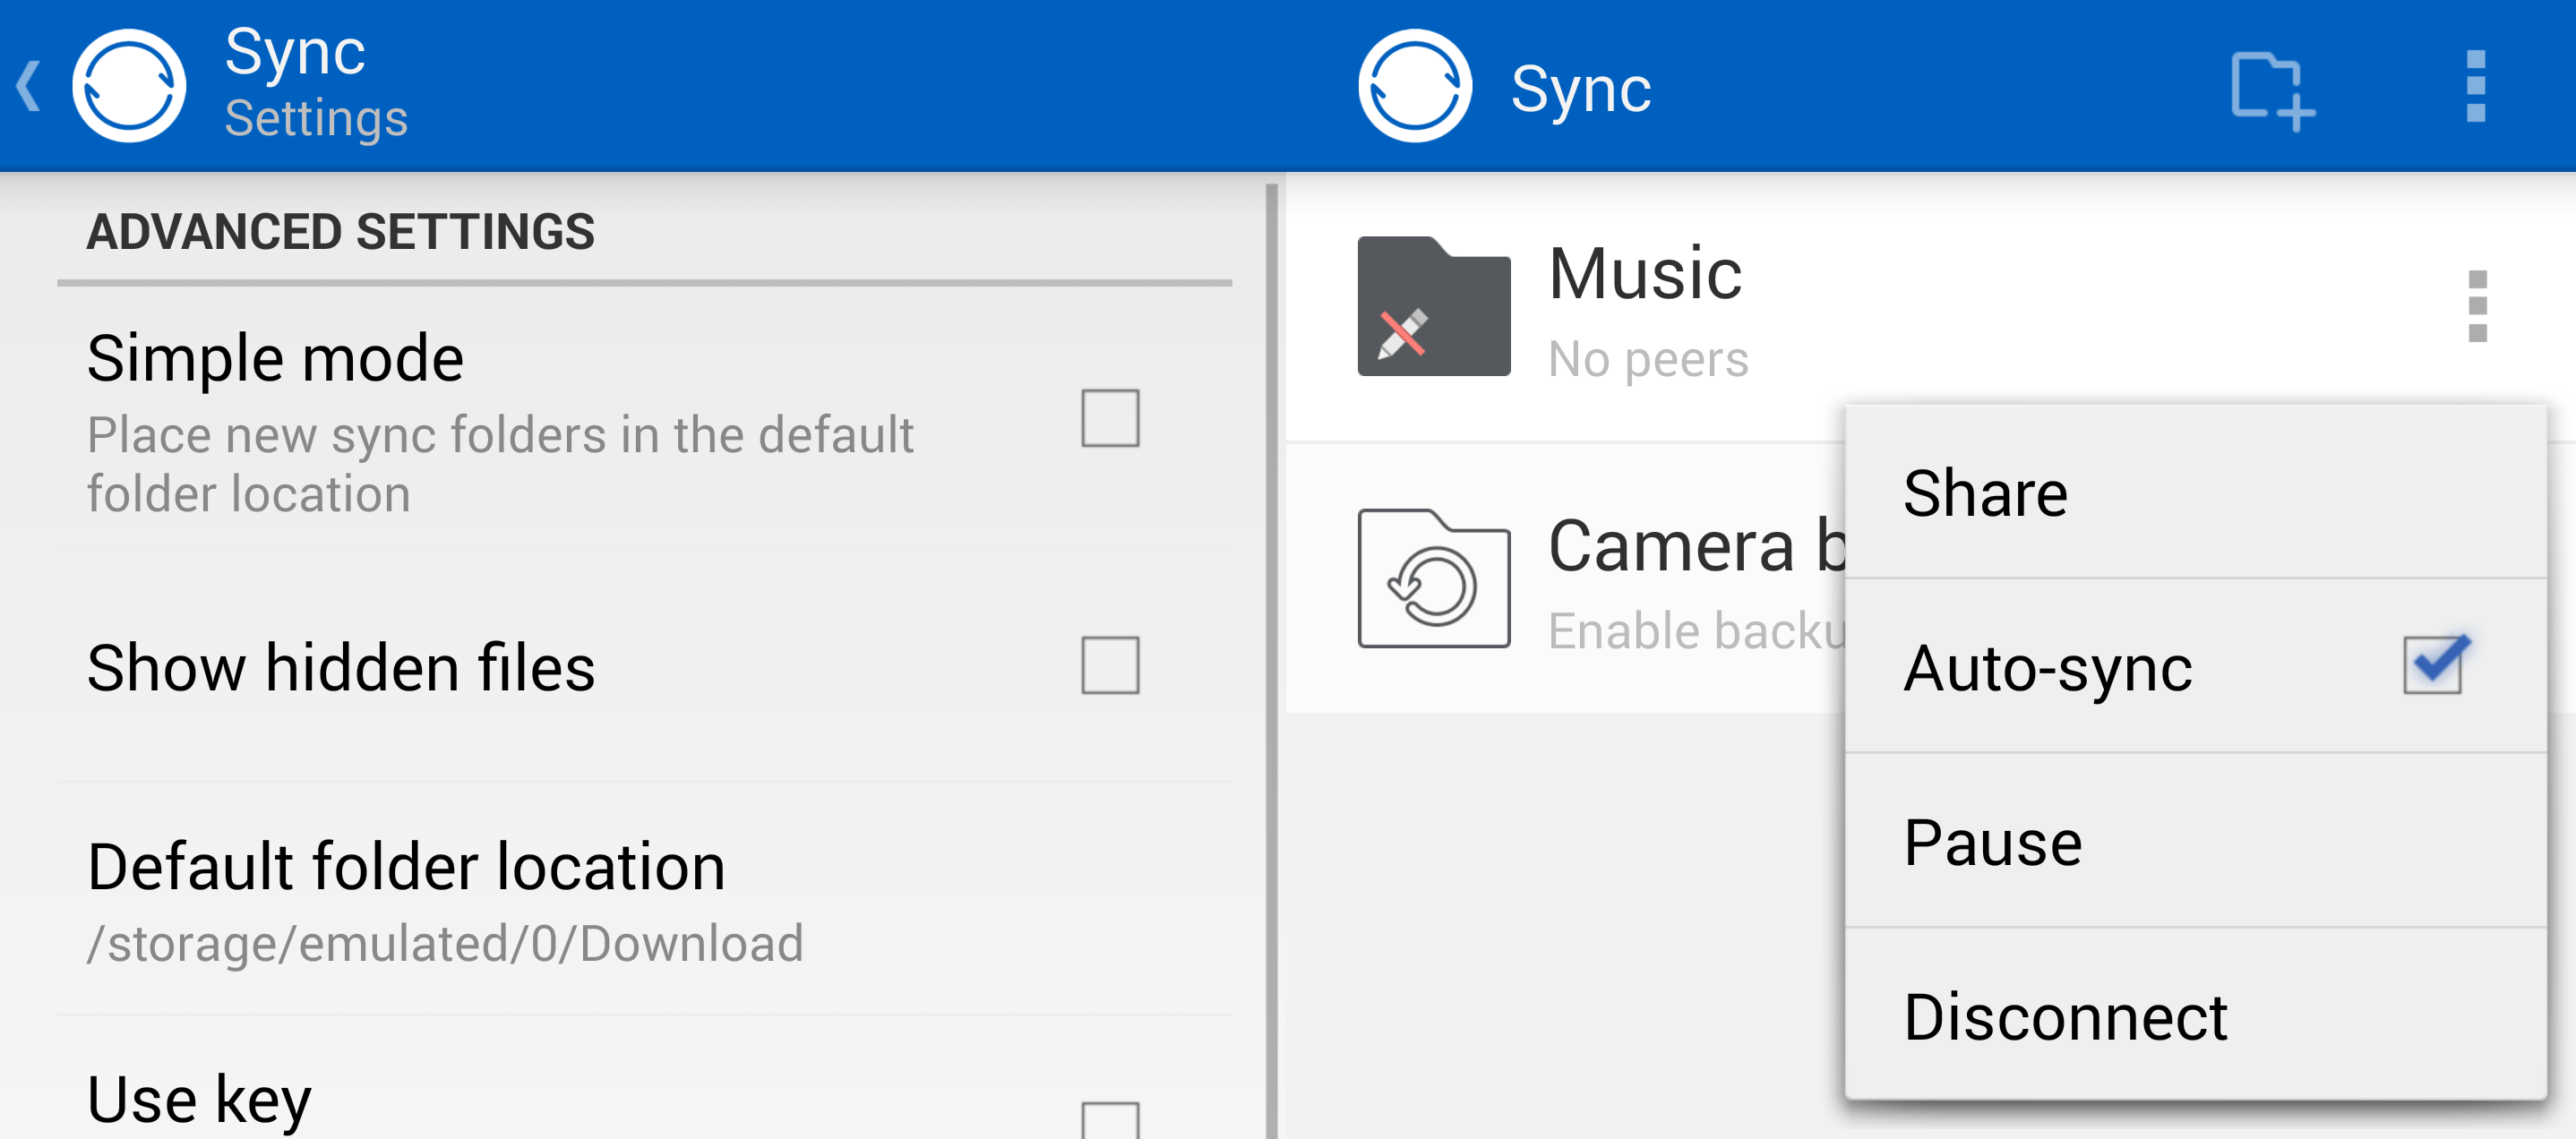
Step 2 – On your Android device; head on into the Sync app and go to Settings > Advanced and make sure that Simple Mode is unchecked. This allows you to specify where to sync the content to on your phone, rather than just sticking it in a single folder for you to sort out later.
Now we are ready to sync up your content.

Step 3 – Back on your Android device; add a folder by scanning the QR code for the folder on your desktop. This can be found by pressing the share button next to the folder in the PC Sync application.
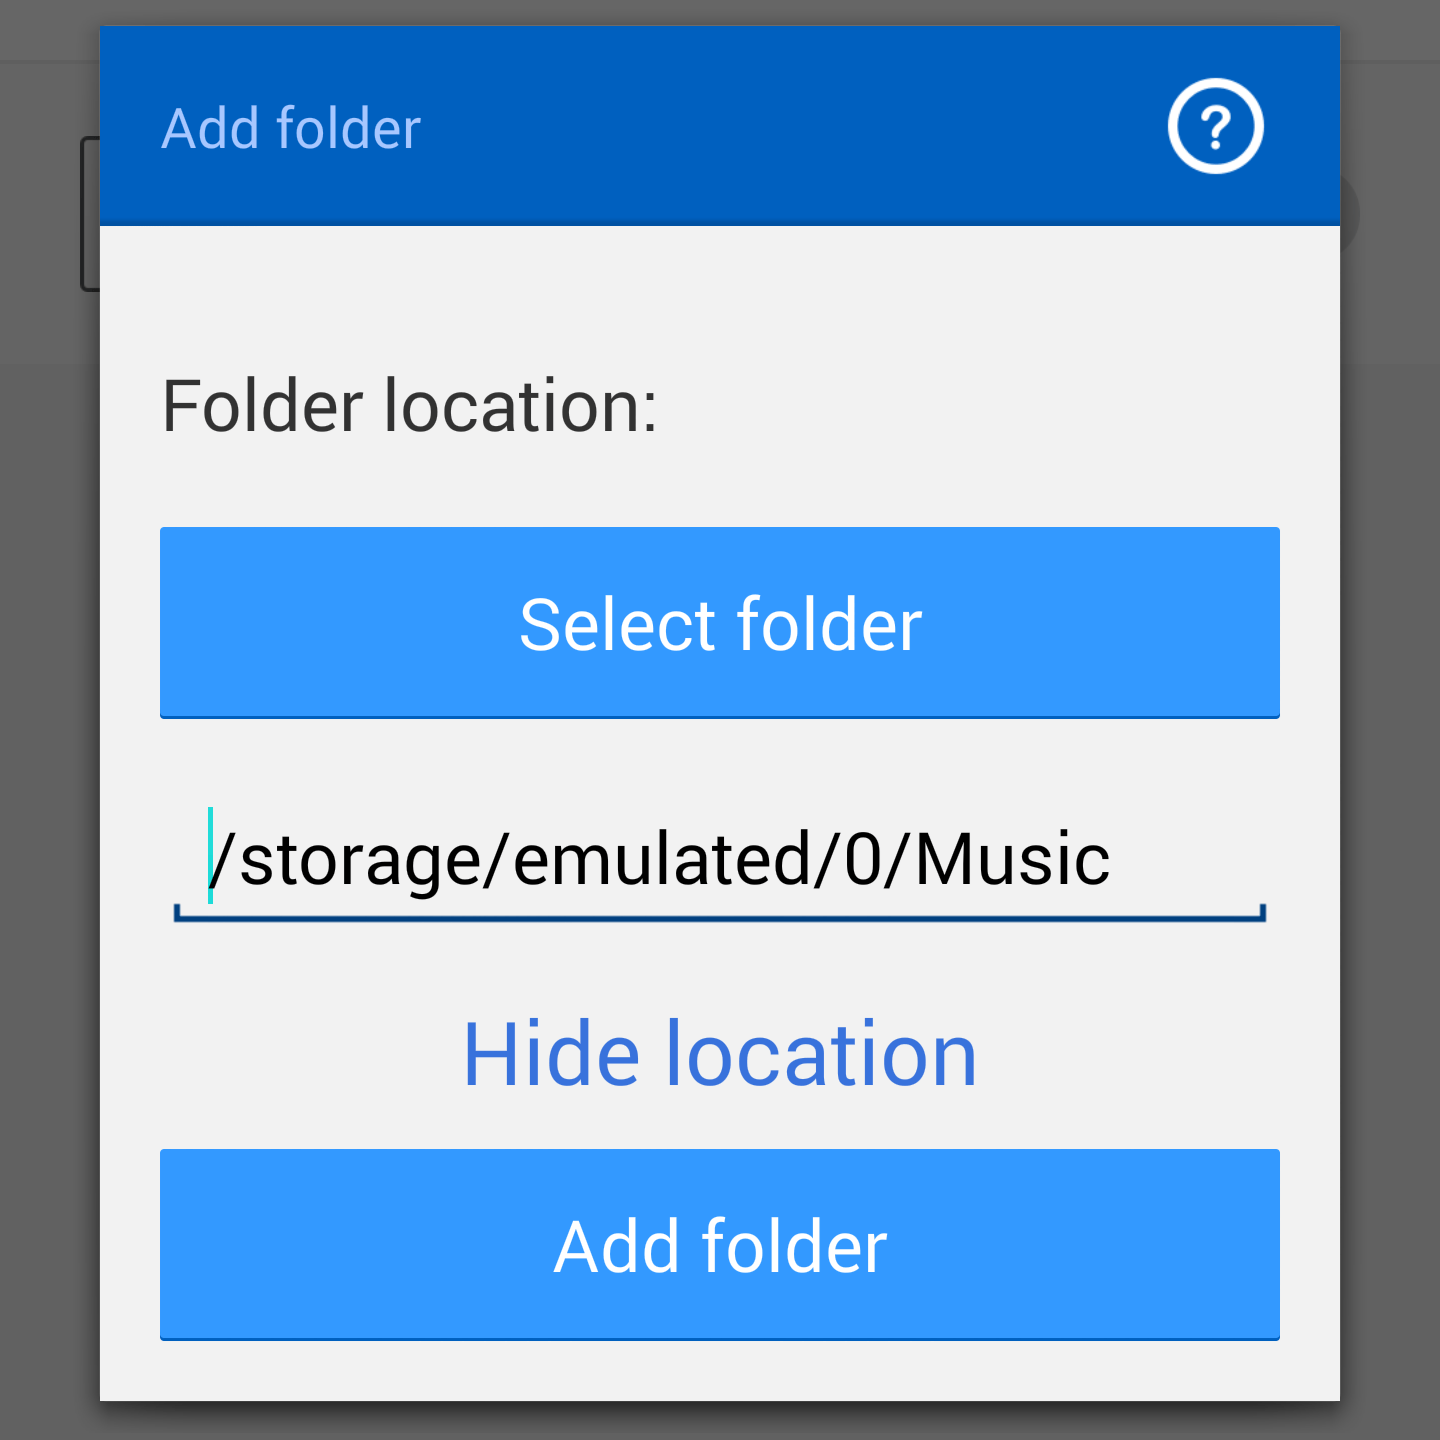
Step 4 – Providing that you set the Android app to advanced mode, you will be presented with a popup that allows you to specify somewhere to save your content to. You can create a new folder to store your media in, or use one of the default directories such as /storage/emulated/0/music. Click add folder when you are done.

Step 6 – Repeat the above steps for as many folders and locations as you desire, such as a separate folder for video or podcasts.
Step 7 – You’re all ready to go. Once you put some music into the folder on your PC the contents will be automatically synced to the folder on your Android device. You can simply drag and drop files from iTunes into this folder. Your content should then show up in your Android media player of choice.
This method isn’t just restricted to iTunes, technically any set of files can be automatically updated over your home WiFi network this way, which may prove easier than the usual folder based drag and drop method.
Feel free to share your own syncing methods in the comments below.