Affiliate links on Android Authority may earn us a commission. Learn more.
Publishing your first app in the Play Store: What you need to know

The easiest way to distribute an Android app is via the Google Play store. It isn’t the only distribution method, but it is the simplest way to reach millions of potential users. Publishing your first app in the Play Store isn’t hard, with a few tips and pointers you can have your app ready for download in next to no time.
Google has a one-time $25 registration fee which you need to pay before you can upload an app.
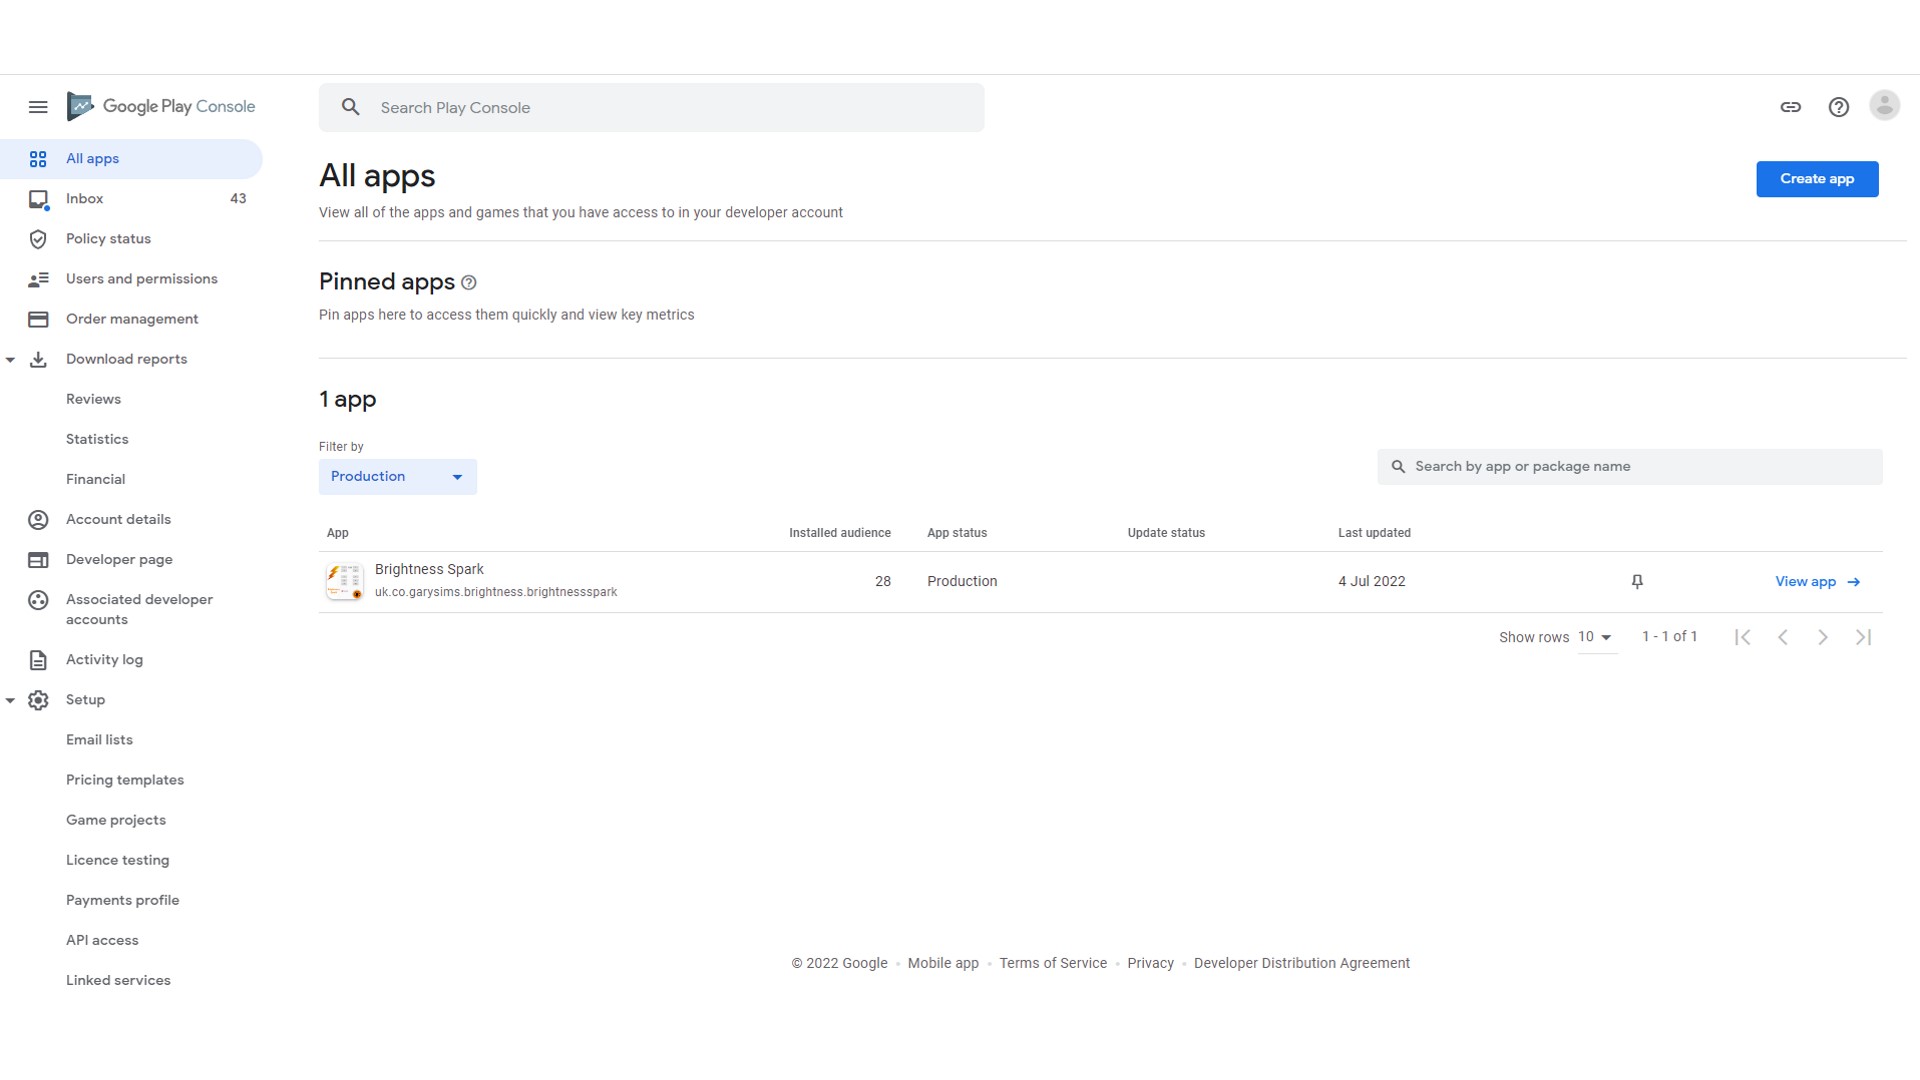
The starting point is the Google Play Developer Console. It is Google’s dedicated dashboard for developers that lets you manage your apps in the Play Store. Google has a one-time $25 registration fee which you need to pay before you can upload an app. Google says it encourages higher quality products, i.e. less SPAM. If you don’t like the idea, then it helps to look at Apple’s and Microsoft’s policies for their app stores. Apple charges $99 per year. Microsoft charges between $19 and $99 per year, depending on the account type.

As well as paying the registration fee, you will need to complete your account details, including your developer name — the name that is displayed on the Google Play store, your address, and your contact details. Be aware that your address will appear publically, on your developer page.
At this point, it is probably worth taking a look at the Google Play Apps Policy Center and the Google Play Developer Help Center to avoid uploading content that is in violation of the Google Play terms and conditions. Any apps which violate the terms and conditions will be suspended from the store and repeated violations can result in the termination of your developer account. That probably sounds worse than it actually is. If you are creating original and well-behaved apps then you don’t really have to worry.

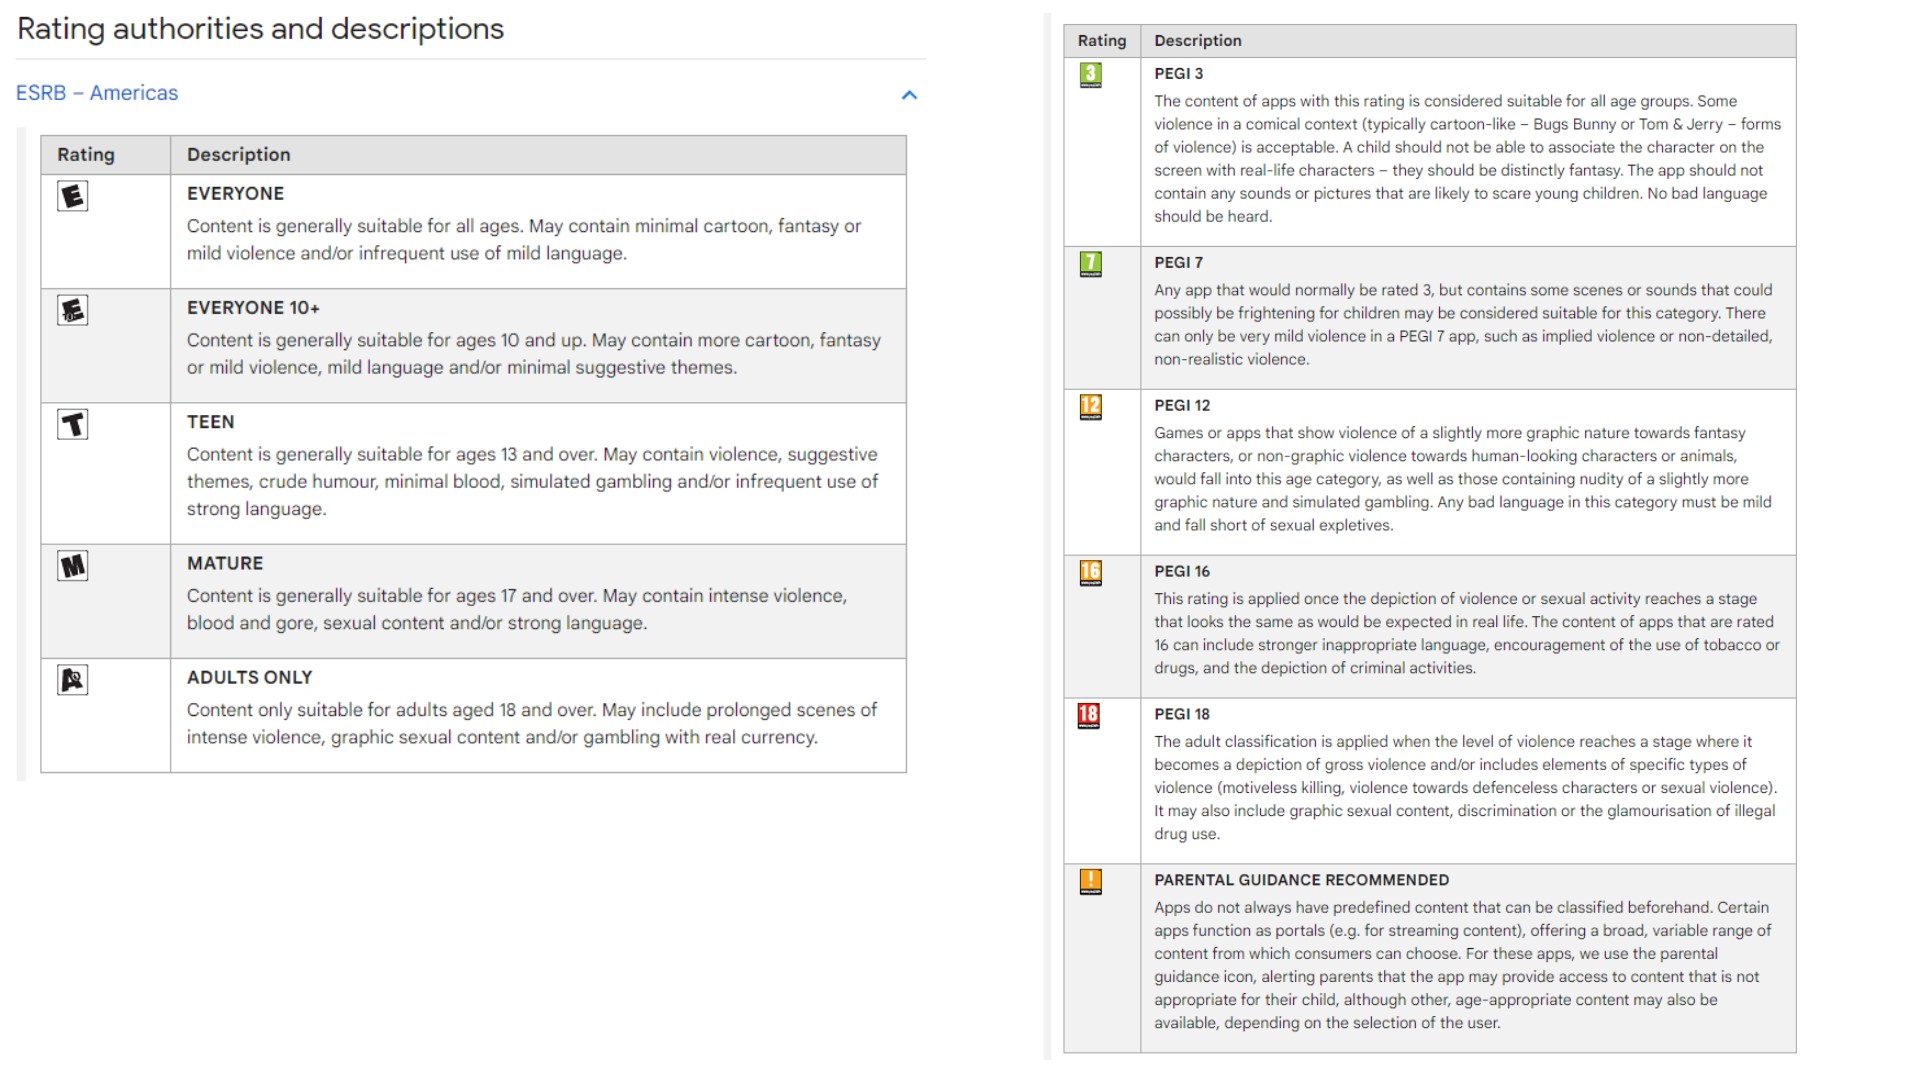
Before uploading your app to the Play Store, you need to prepare a few things. One of the questions you need to answer during the publishing process is about the maturity rating of your app. Google uses international rating authorities like ESRB, PEGI, and IARC. There is a guide to help you rate your app content for Google Play.
To receive a rating for your apps or game, you need to fill in a rating questionnaire about the nature of your apps’ content. You will then receive a content rating from multiple rating authorities. Basically, if your app includes references to alcohol, tobacco, drugs, gambling, or violence, it will need to carry one of the higher ratings.
The Play Store listing is probably one of the most important elements for promoting your app.
You also need to watch the final size of your app. Google only allows apps of 150MB or less to be published as a single bundle. Any apps which exceed that size need to use either Play Feature Delivery or Play Asset Delivery.
The Play Store listing is probably one of the most important elements for promoting your app. A poor Play Store listing will result in few downloads and probably negative comments. Your Play Store listing needs to be engaging, informative, and friendly. To help attract users, Google lets you supply a variety of promotional graphics, videos, and screenshots that will appear on the app listing on the Play Store. Since these graphics are a key part of a successful Play Store listing, Google has suggested in the past that “you should consider having a professional produce them for you.”
The feature graphic needs to be bold, vivid, fun and enticing.
The first graphics you need are the screenshots. You need to provide at least two screenshots. These should be 16:9 for landscape (minimum 1,920 x 1,080px) screenshots and 9:16 for portrait screenshots (minimum 1,080 x 1,920px). However, for the best results, you should upload 8 screenshots (the most allowed by Google).
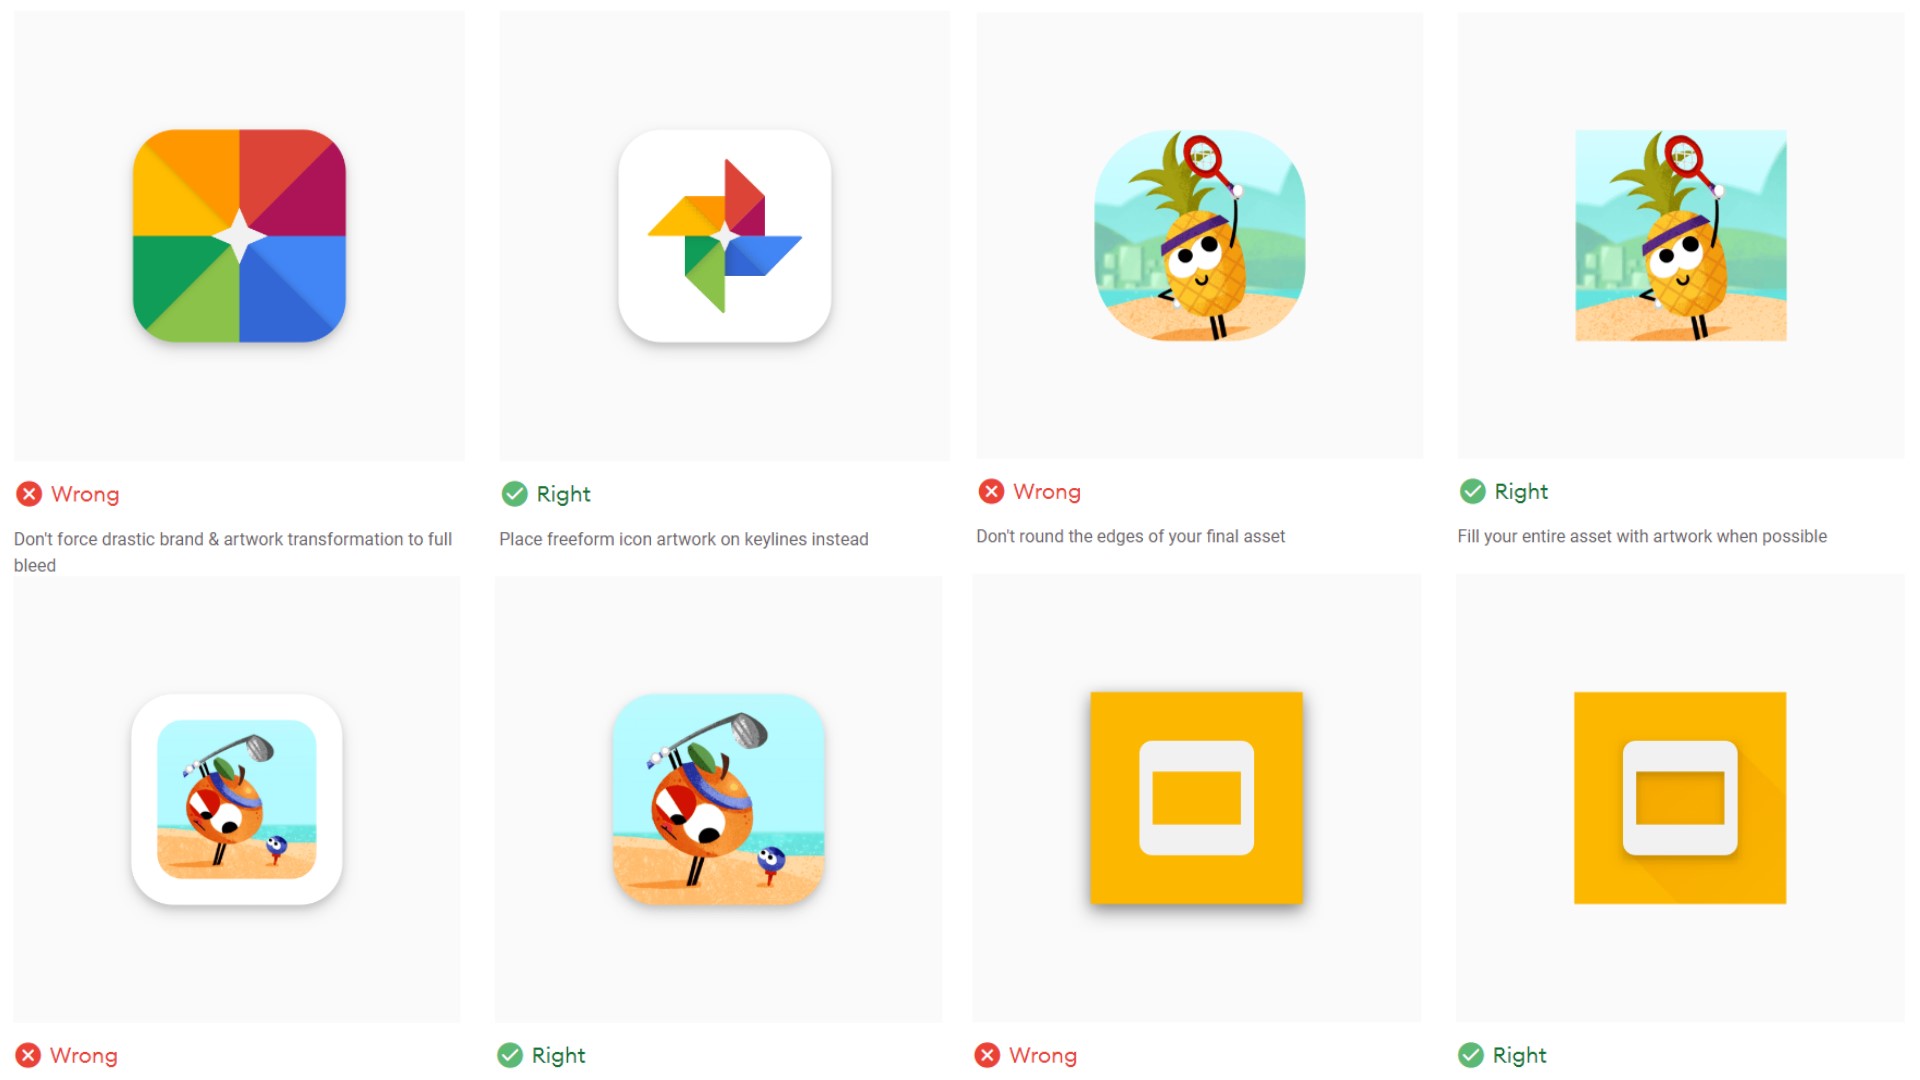
Along with the screenshots you will need to prepare a hi-res app icon (512 x 512), and a feature graphic (1,024 x 500). The icon should be a higher-fidelity, higher-resolution version of the app’s launcher icon and should follow Google Play’s icon design specifications.

The feature graphic needs to be bold, vivid, fun, and enticing. It should use colors that stand out on plain backgrounds and it should promote your app’s experience. Do not use duplicate the branding from your app icon, but rather create the graphic as an extension of your app icon. It shouldn’t be text-heavy and neither should it be overloaded with graphic details. Anything more than the app name and maybe a few descriptive words will be lost on smaller screens.
You will also need to provide a short description — a quick synopsis written to spark user interest. It is the first text users see when looking at your app’s detail page on the Play Store
Setting the price to free is permanent, you can't change it back to paid once it has been published.
The final part of the Play Store listing is to set the price of your app and in which countries it should be distributed. If the app is free, then you simply mark it as free. However, it is worth noting that setting the price to free is permanent — you can’t change it back to paid once it has been published.
For paid apps, you need to set the price. You can just set the price in USD and then let Google calculate the prices for each of the local markets, or you can set prices individually for the different currencies. The latter option gives you the flexibility to adjust the local prices according to market conditions and exchange rates.
Once you are happy with your Play Store listing, you can upload the bundle file and click the Publish button. It takes a few hours for the app to appear. The publication process is automatic and it isn’t too long before your app becomes available for download.
If you are uploading your first Android app, then the Android Authority team wants to wish you every success!