Affiliate links on Android Authority may earn us a commission. Learn more.

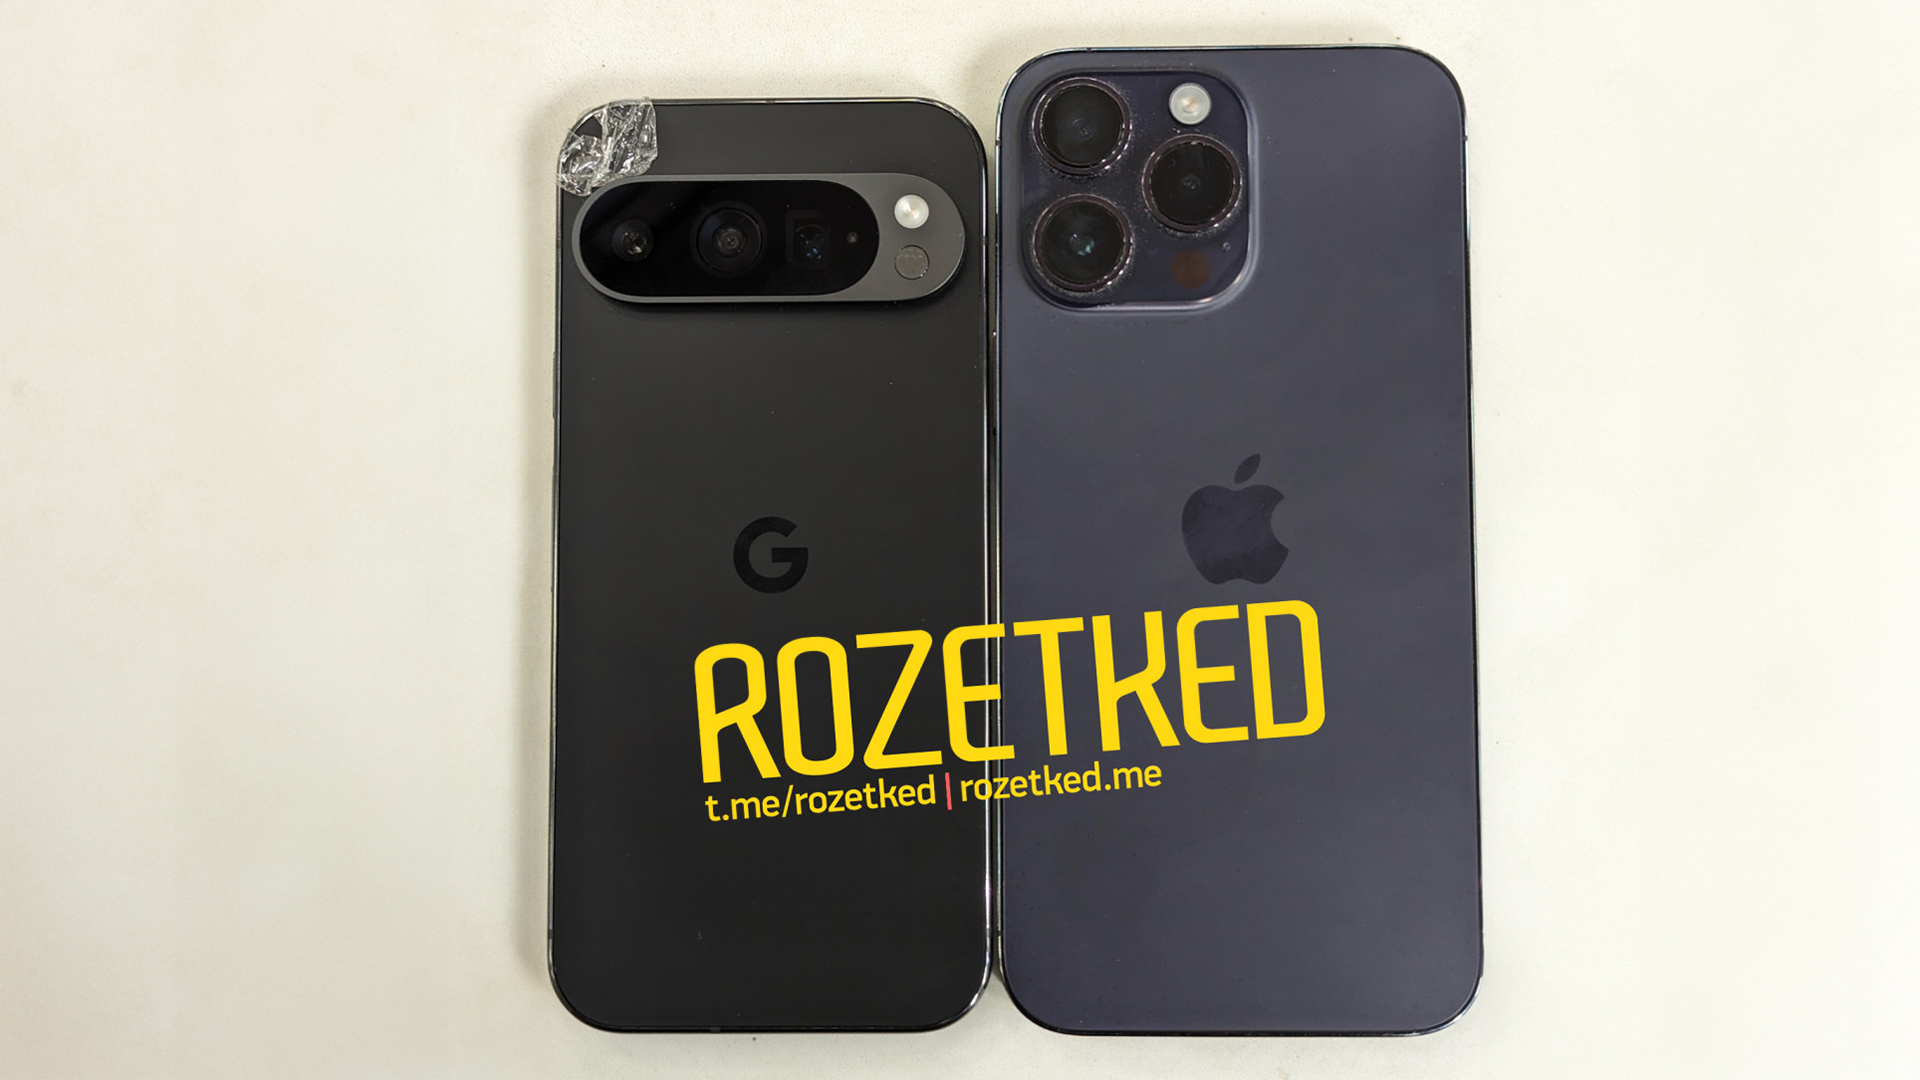
Are these the first real-life Pixel 9 Pro images?
We see the device next to the iPhone 14 Pro Max, giving us a good size comparison.
Aamir Siddiqui
Exclusive: Pixel 9 Pro Fold could be the name of Google’s next foldable, not Fold 2
Kamila Wojciechowska

Hands-on with Delta: The first Nintendo emulator available on the Apple App Store
Hadlee Simons

Razer Kishi Ultra review: Should you buy it?
C. Scott Brown


Focus Go is the free photo gallery app I’ve always wanted
Rita El Khoury

Computing
In case you missed it
More news

Calvin Wankhede13 hours ago
Why is ChatGPT so slow? Here's how to speed up the chatbot's responses
How to set up and activate Siri
Roger FingasApril 20, 2024

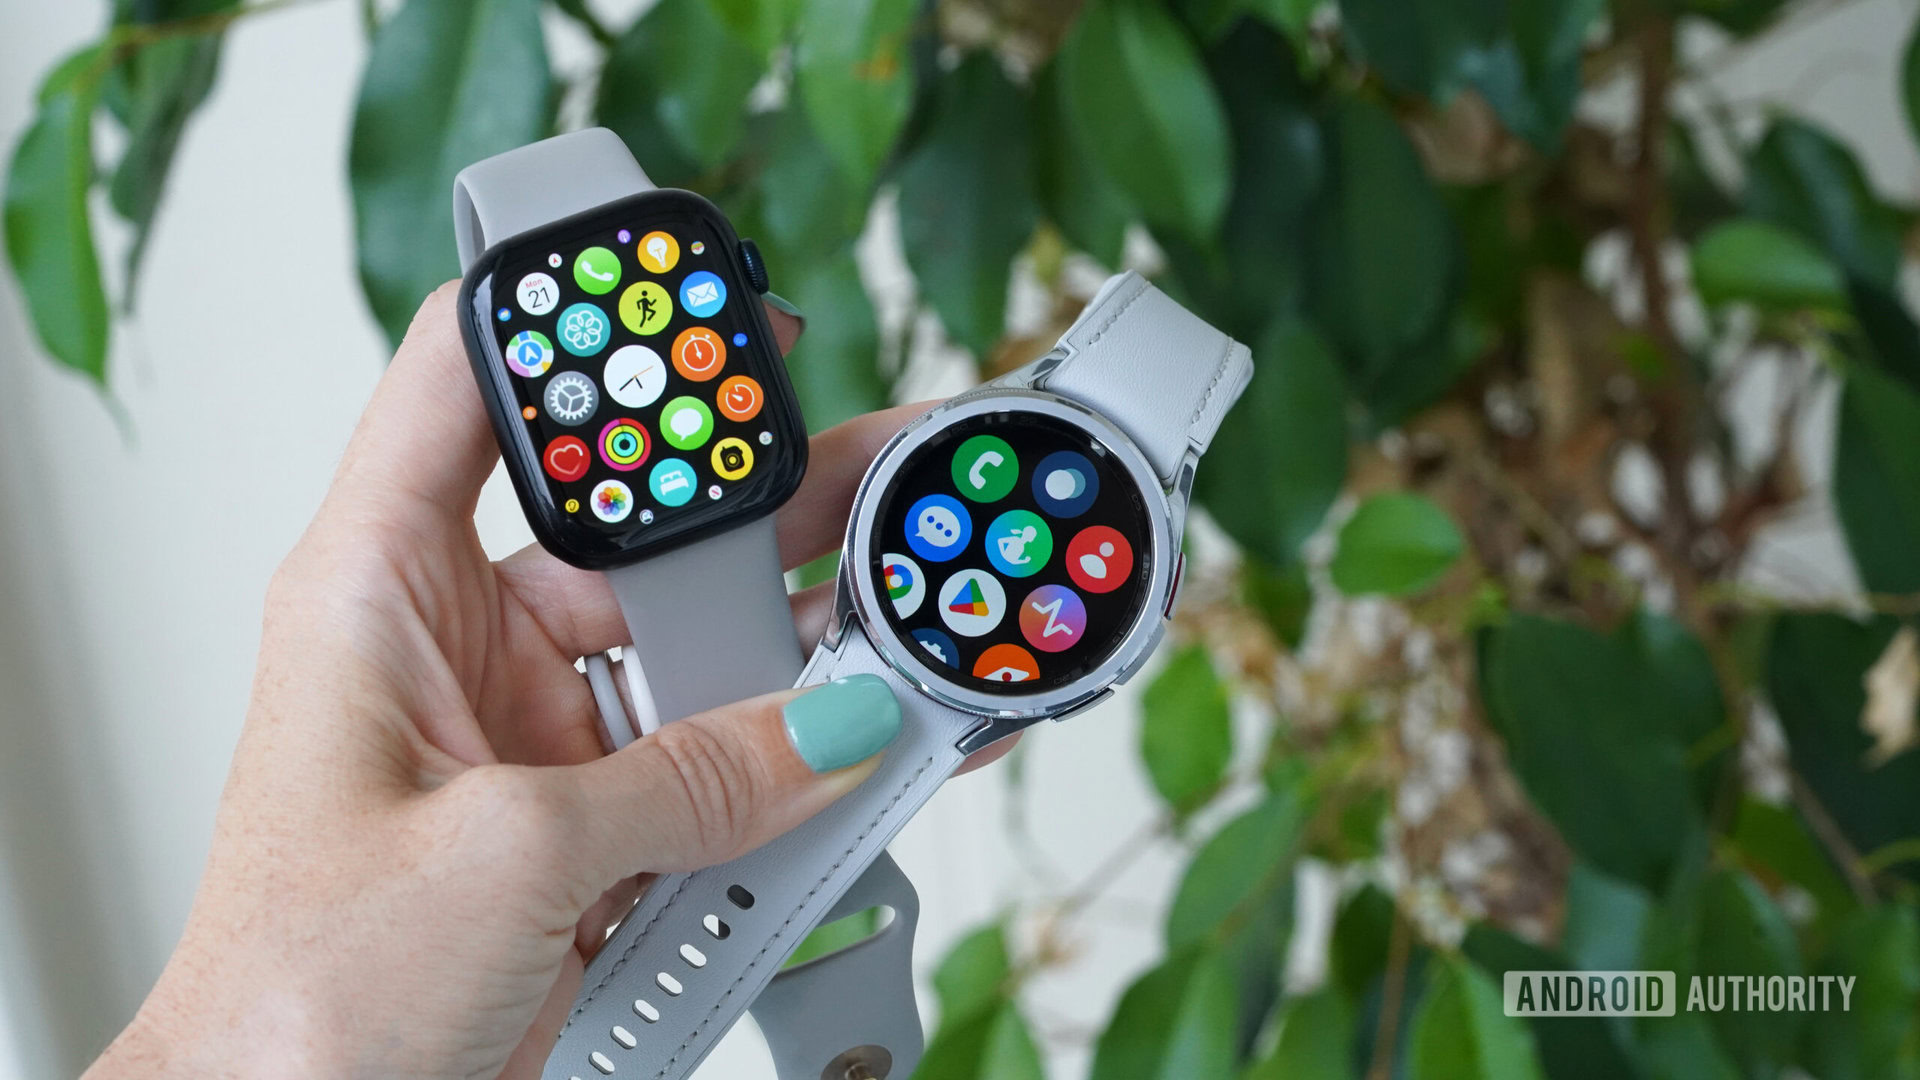
What is your favorite smartwatch brand right now?
Aamir SiddiquiApril 19, 2024

How to voice type in Google Docs
Curtis JoeApril 18, 2024

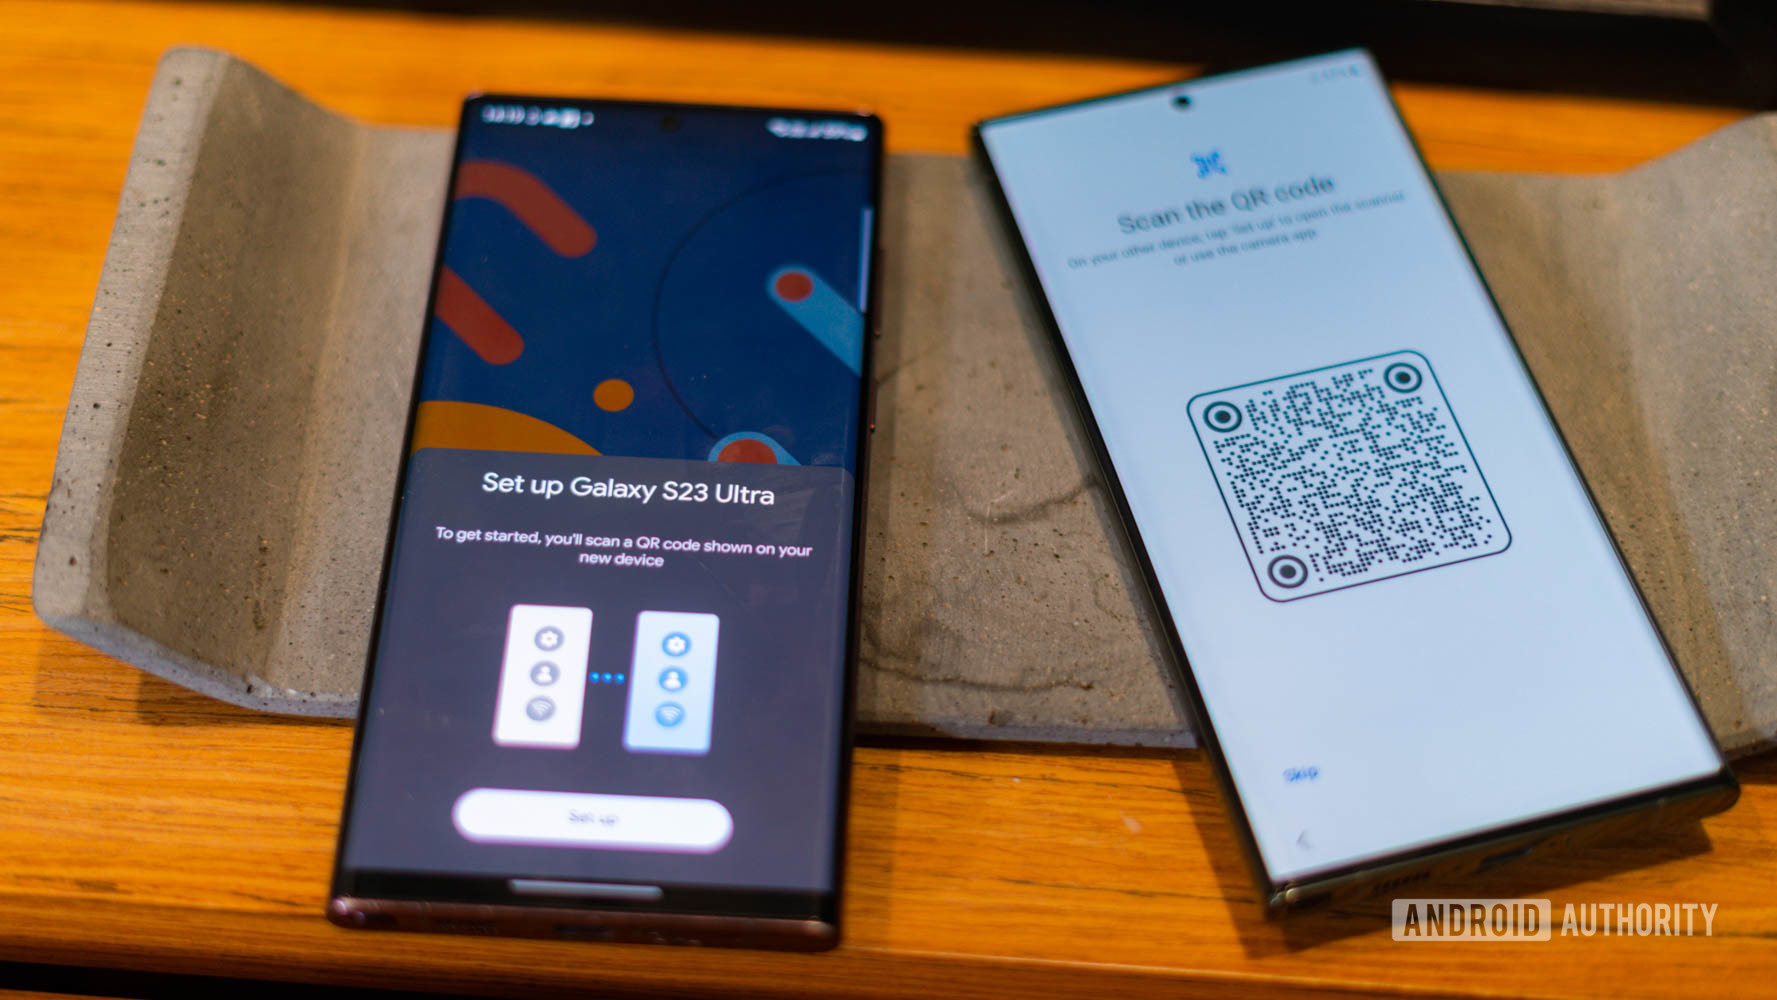
How do QR codes work? Everything you wanted to know
Gary SimsApril 16, 2024

Why is ChatGPT so slow? Here's how to speed up the chatbot's responses
Calvin Wankhede13 hours ago

How to set up and activate Siri
Roger FingasApril 20, 2024

Multi-platform emulator Provenance is coming to the Apple App Store
C. Scott BrownApril 19, 2024

A new report highlights Apple's environmental hypocrisy with iPhones
Mahmoud ItaniApril 19, 2024

What is your favorite smartwatch brand right now?
Aamir SiddiquiApril 19, 2024

Samsung accidentally made this Galaxy app unremovable
Hadlee SimonsApril 19, 2024

If the OnePlus 12T is coming, it'll look like this
Hadlee SimonsApril 19, 2024

Meta's supercharged AI assistant is taking over its apps across the world
Rushil AgrawalApril 18, 2024

Android 15 can tell you how long your phone's storage chip will last
Mishaal RahmanApril 18, 2024

YouTube's new AI feature is actually really helpful
Rushil AgrawalApril 18, 2024
