Affiliate links on Android Authority may earn us a commission. Learn more.
How to take a screenshot on a Microsoft Surface
Taking a screenshot on a Microsoft Surface is a valuable skill that can help you capture and share anything on your screen. Whether you want to grab a screenshot of an important email or an interesting webpage or want to save a picture, taking a screenshot on a Surface is quick and easy. We’ll show you how to screenshot with any Microsoft Surface device using different methods, including keyboard shortcuts, the Surface Pen, and the Snipping Tool. We’ll also explain where your screenshots are saved, so you know where to find them.
QUICK ANSWER
On the latest Surface Pro devices, press and hold the Power and Volume Up buttons simultaneously to take a screenshot. For other Surface devices and methods, jump to the relevant sections below.
JUMP TO KEY SECTIONS
How to take a screenshot on a Microsoft Surface
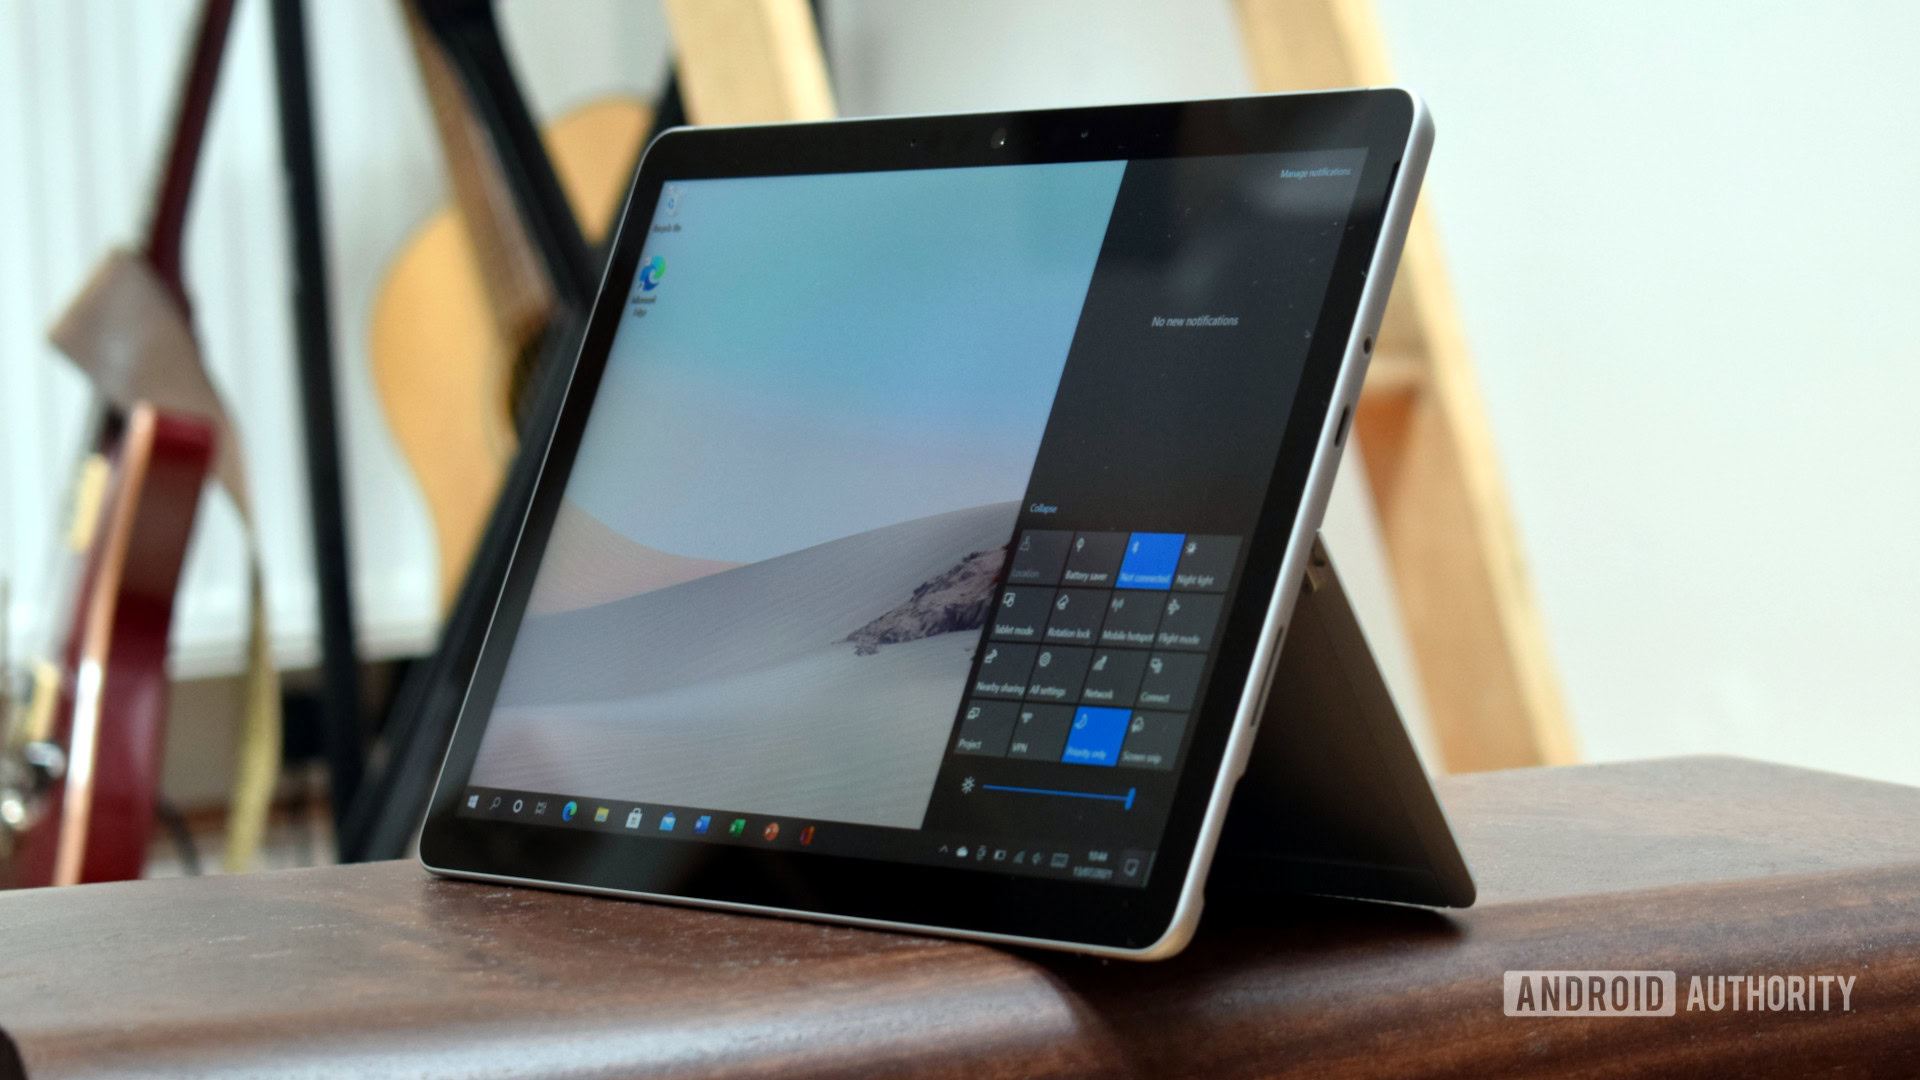
Taking a screenshot on a Microsoft Surface is a simple process that involves using specific buttons on your device. The button combination is slightly different depending on whether your Surface is newer or older than the Pro 4 model, so scroll to the relevant sub-section below:
Surface Pro 4 and newer
To take a screenshot on a Surface Pro 4 or newer model, follow these steps:
- Locate the Power button and the Volume Up button on the right side of your Surface device
- Press and hold the Power button.
- While holding the Power button, quickly press the Volume up button.
- The screen will briefly dim to indicate that your screenshot has been saved.
Surface Pro 3 and older
To take a screenshot on a Surface Pro 3 or older model, follow these steps:
- Locate the Windows button and the Volume Down button on your Surface device. The Windows button is located on the front of the device, while the Volume Down button is on the right side.
- Press the Windows button and the Volume Down button at the same time.
- The screen will briefly dim to indicate that your screenshot has been saved.
Surface Duo

To take a screenshot with the Surface Duo 2 or older, follow these steps:
- Press and hold the Volume Down button and the Power button at the same time.
- The screen will flash to indicate your screenshot was taken.
Where are my screenshots saved on the Microsoft Surface?
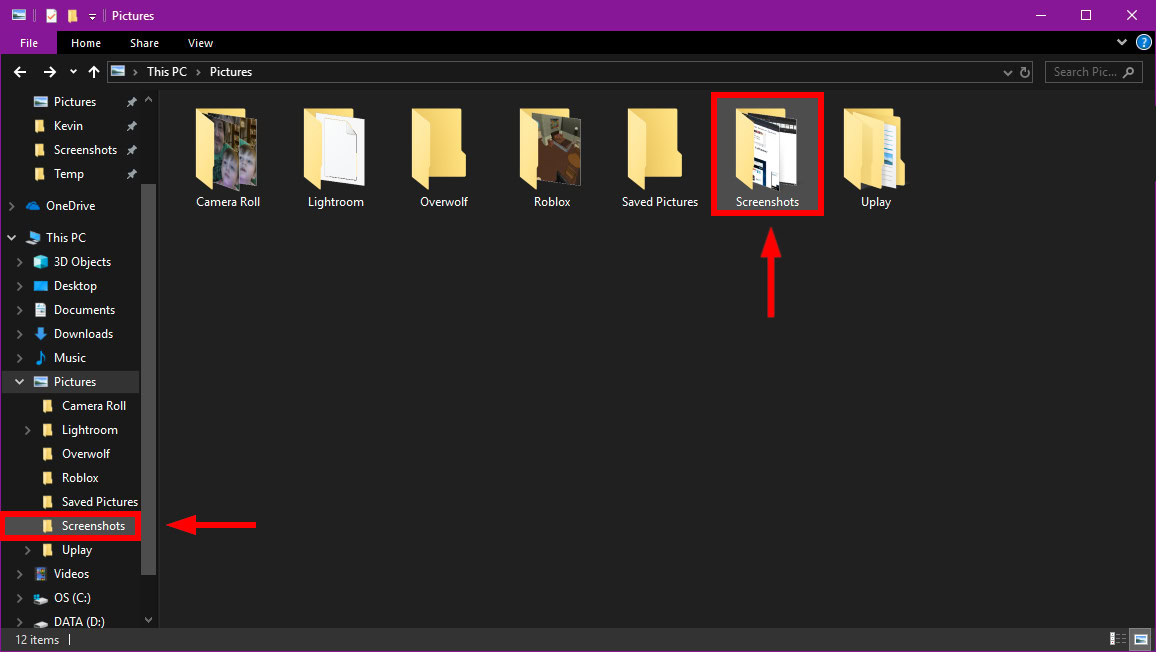
By default, your screenshots save to the Screenshots folder in your Pictures library. To locate your screenshots, follow these steps:
- Tap or click the Folder icon on the taskbar to open File Explorer.
- Tap or click on the Pictures on the left.
- Tap or double-click on the Screenshots folder to find your images.
If you use Google Photos, open Google Photos, then select Library > Screenshots folder.
If you use OneDrive, open OneDrive on your Home screen, then choose Photos > Explore > Screenshots folder.
How else can I take a screenshot on my Microsoft Surface?
In addition to using the physical buttons, here are a few more methods to take a screenshot on your Microsoft Surface.
By using your keyboard
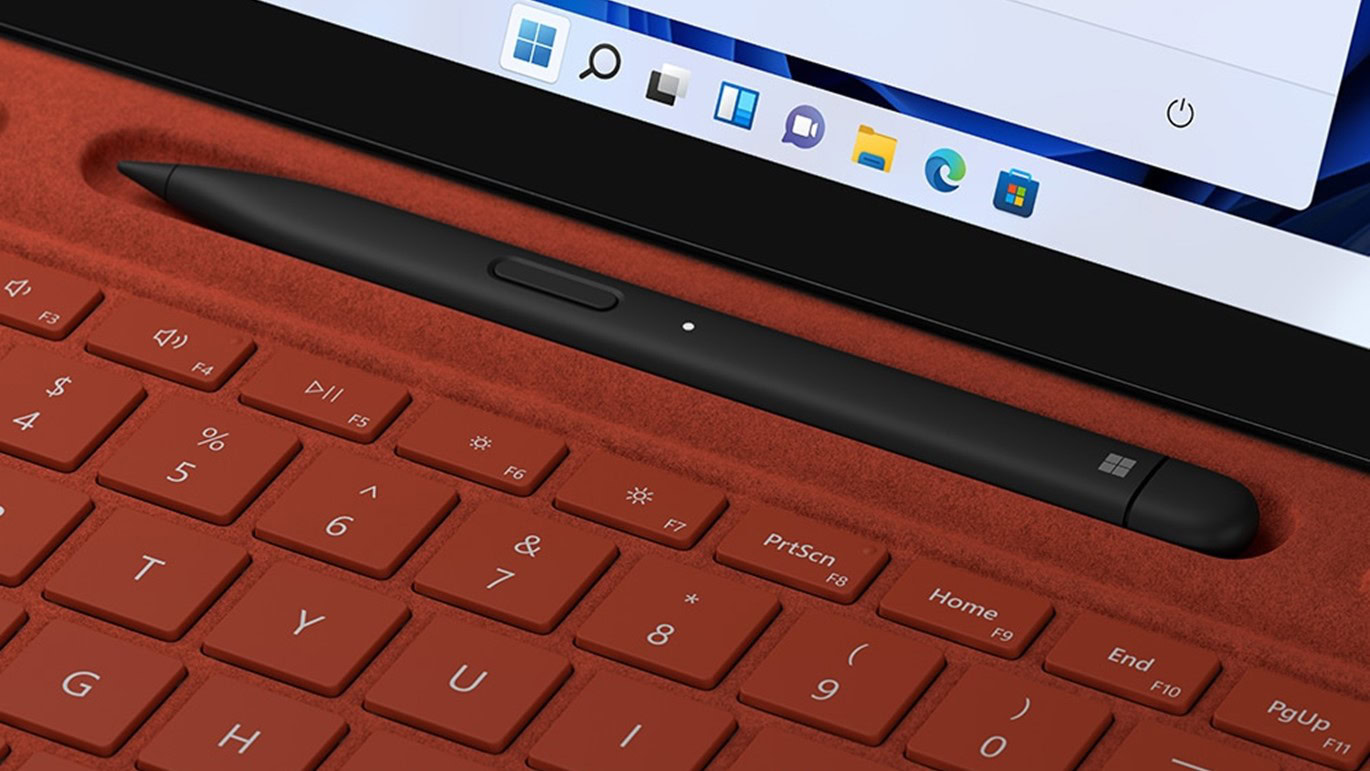
If you have a Type or Touch cover for your Surface Pro 4, or a Surface laptop, you can use the Print Screen feature to take a screenshot.
- Press the Windows key and PrtScrn key at the same time. You can find the PrtScrn on the F8 key. Ensure you disable the Function key first.
- Your screen will briefly dim, indicating that your screenshot has been saved to the local Screenshots folder.
If you have a Type or Touch cover for a Surface Pro 3 or older, the keyboard won’t have a PrtScrn key, but you can still use the following keyboard shortcut to take a screenshot:
- Press the Fn key, Windows key, and Spacebar simultaneously.
- The screen will briefly dim, signifying a successful screenshot.
By using the Surface Pen
One of the Surface Pen’s most convenient features is quickly saving screenshots to OneNote. By default, you only need to double-click the top button on your Surface Pen to take a screenshot.
If you want to change the input configuration of the Surface Pen for taking a screenshot, navigate to the Action Center and select All Settings > Devices > Pen & Windows Ink. From there, scroll down to find the Pen Shortcuts section, where you can customize the Click Once, Double-click, and Press and Hold assignments. The available choices will vary depending on which Surface model you have.
By using the Snipping Tool
Microsofts Snipping Tool lets you take screenshots of the entire display or specific sections of it, which can be helpful for cropping. You can open the Snipping Tool app by searching for it in the Start menu or pressing the Windows, Shift, and S keys simultaneously.
You’ll see four snipping modes to choose from:
- Free-form: Use your mouse, finger, or Surface Pen to capture a custom area.
- Rectangular: Manually select a specific, rectangular area to capture.
- Window: Capture a separate window, like a browser.
- Full-screen: Capture the entire screen.
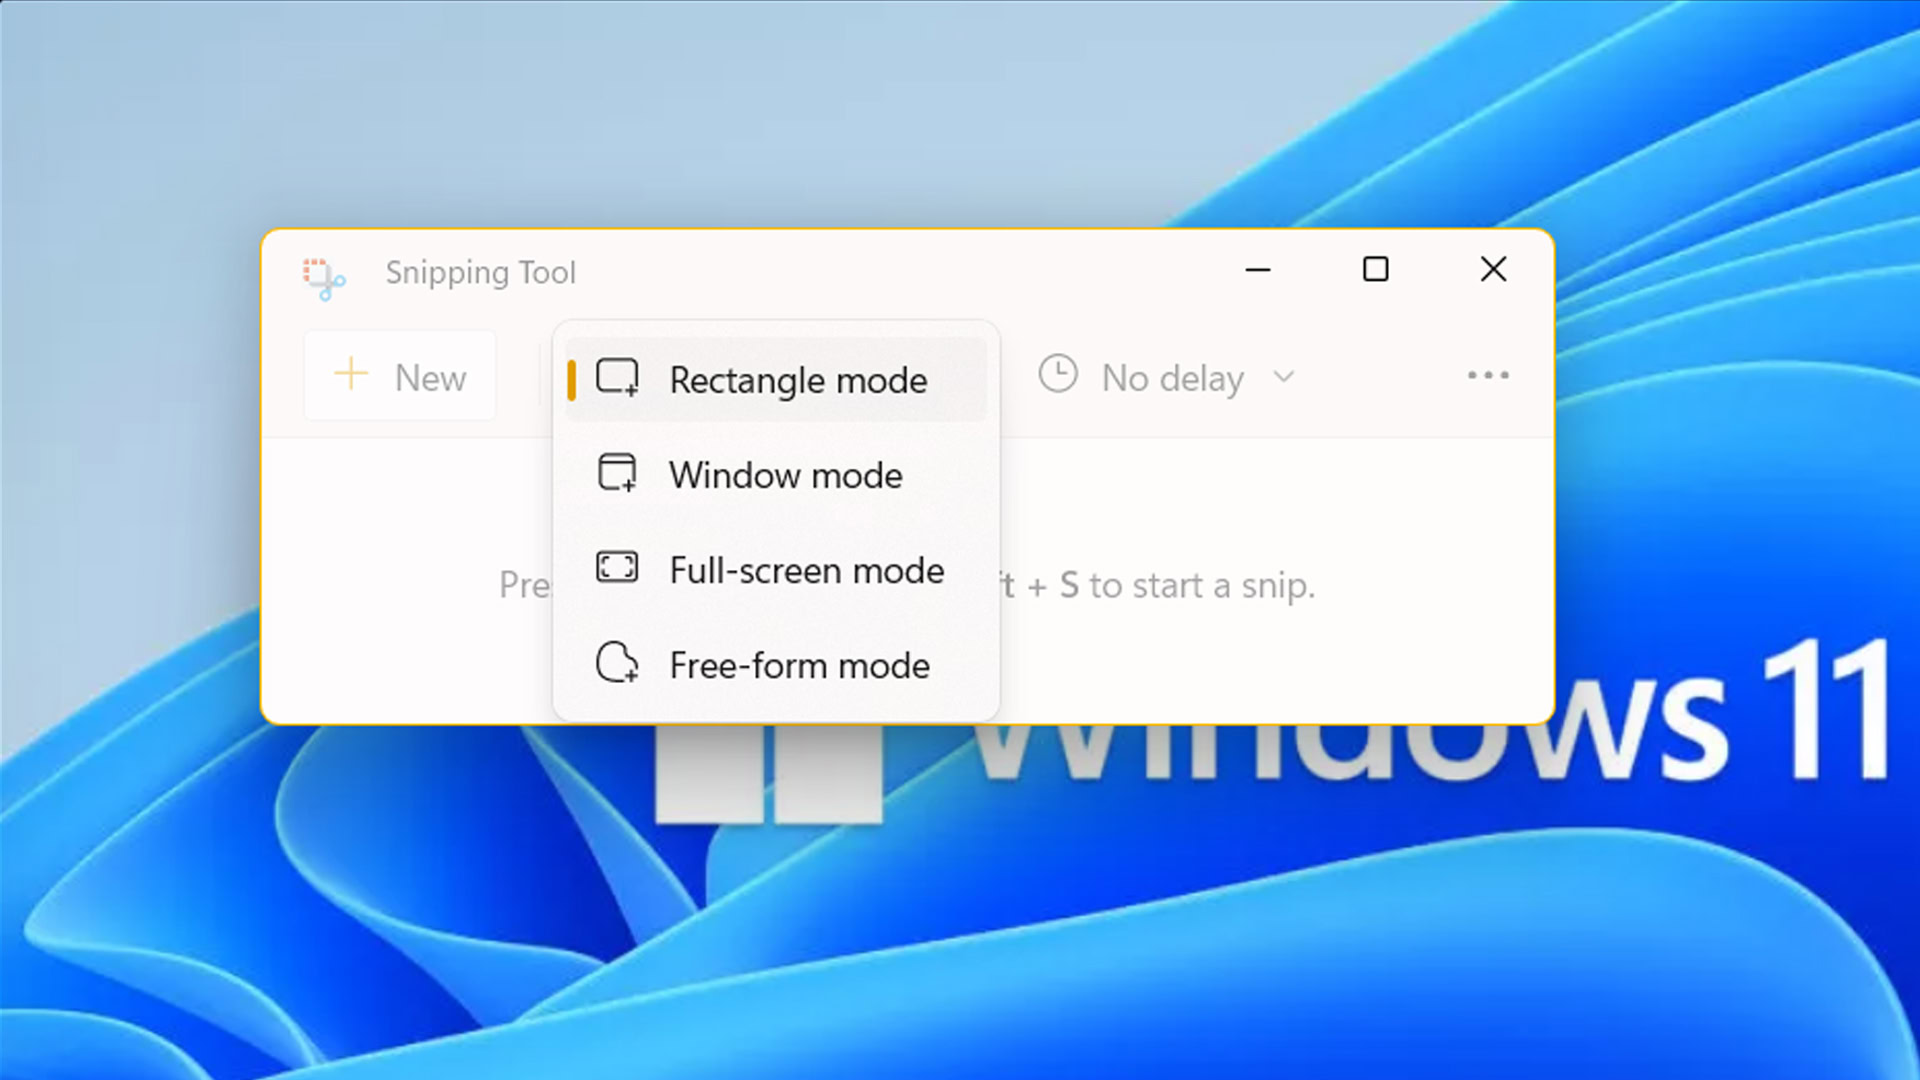
Choose your preferred mode and click the New+ button to take a screenshot. When done, click the Save button and choose a location to save it and the desired file type.
Taking a screenshot on a Microsoft Surface is an easy process. Whether you use buttons, your keyboard, the Surface Pen, or the Snipping Tool, you can quickly and easily capture and save screenshots on your device. Following the steps outlined in this article, you can quickly and efficiently take screenshots on your Surface.
Want to learn how to take screenshots on more devices or platforms? Hit the links below to check out our guides:
