Affiliate links on Android Authority may earn us a commission. Learn more.

Google Pixel 8 Pro revisited: Is it still worth buying in 2024?
Looking to buy the Pixel 8 Pro in 2024? Here's the good and bad six months after its release.
C. Scott Brown
A 128GB Pixel 9 Pro should never exist, Google
Rita El Khoury

I challenged myself to build a full Google ecosystem with less than $1,000. Here’s how it went!
Paul Jones

Are these the first real-life Pixel 9 Pro images?
Aamir Siddiqui

Why I bought the MacBook Air and not the Pro
Dhruv Bhutani

Computing
In case you missed it
More news

Nick FernandezApril 24, 2024
TikTok ban: A complete timeline and everything you need to know
How accurate is ChatGPT? Should you trust its responses?
Calvin WankhedeApril 22, 2024

How to install Android 15 on your Pixel phone right now
C. Scott BrownApril 22, 2024

Why is ChatGPT so slow? Here's how to speed up the chatbot's responses
Calvin WankhedeApril 21, 2024

How to set up and activate Siri
Roger FingasApril 20, 2024

Audio giant Moondrop reveals full details about its first Android phone (Update)
Ryan McNeal16 hours ago

Download: OnePlus Open gets new update with Hasselblad Master mode and AI Eraser
Aamir Siddiqui18 hours ago

Wallpaper Wednesday: More great phone wallpapers for all to share (April 24)
C. Scott Brown20 hours ago

Roborock's S8 MaxV Ultra is the first Matter-certified robot vacuum cleaner
Aamir Siddiqui21 hours ago

HMD’s new budget phone lineup bets big on easy battery swaps
Adamya Sharma22 hours ago

Android 15 could let apps selectively hide sensitive content when screen sharing
Aamir Siddiqui22 hours ago

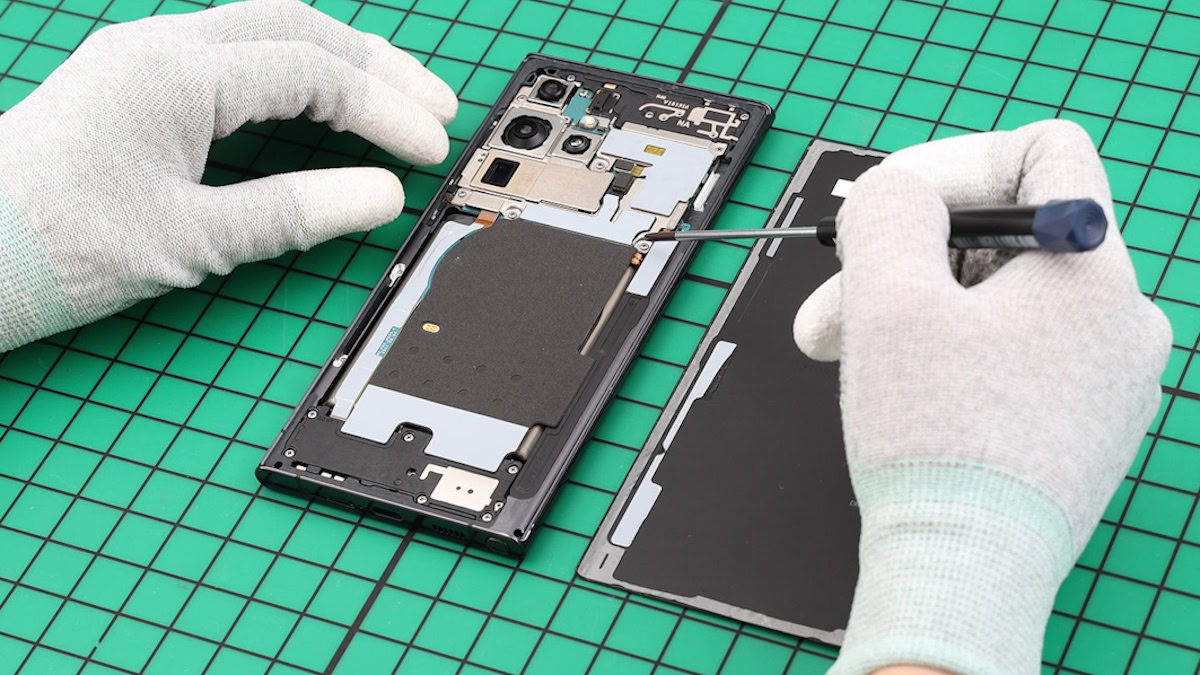
New EU rule gives you a reason not to throw away your broken phone
Jacob Chung23 hours ago

T-Mobile doesn't want you moving around with your 5G gateway without paying more
Aamir SiddiquiApril 24, 2024

The OnePlus 13 might not be a pocket-friendly phone according to this leak
Hadlee SimonsApril 24, 2024

An important Chrome privacy feature has been delayed yet again
Hadlee SimonsApril 24, 2024
