Affiliate links on Android Authority may earn us a commission. Learn more.
How to launch Google Assistant by squeezing your Pixel 5
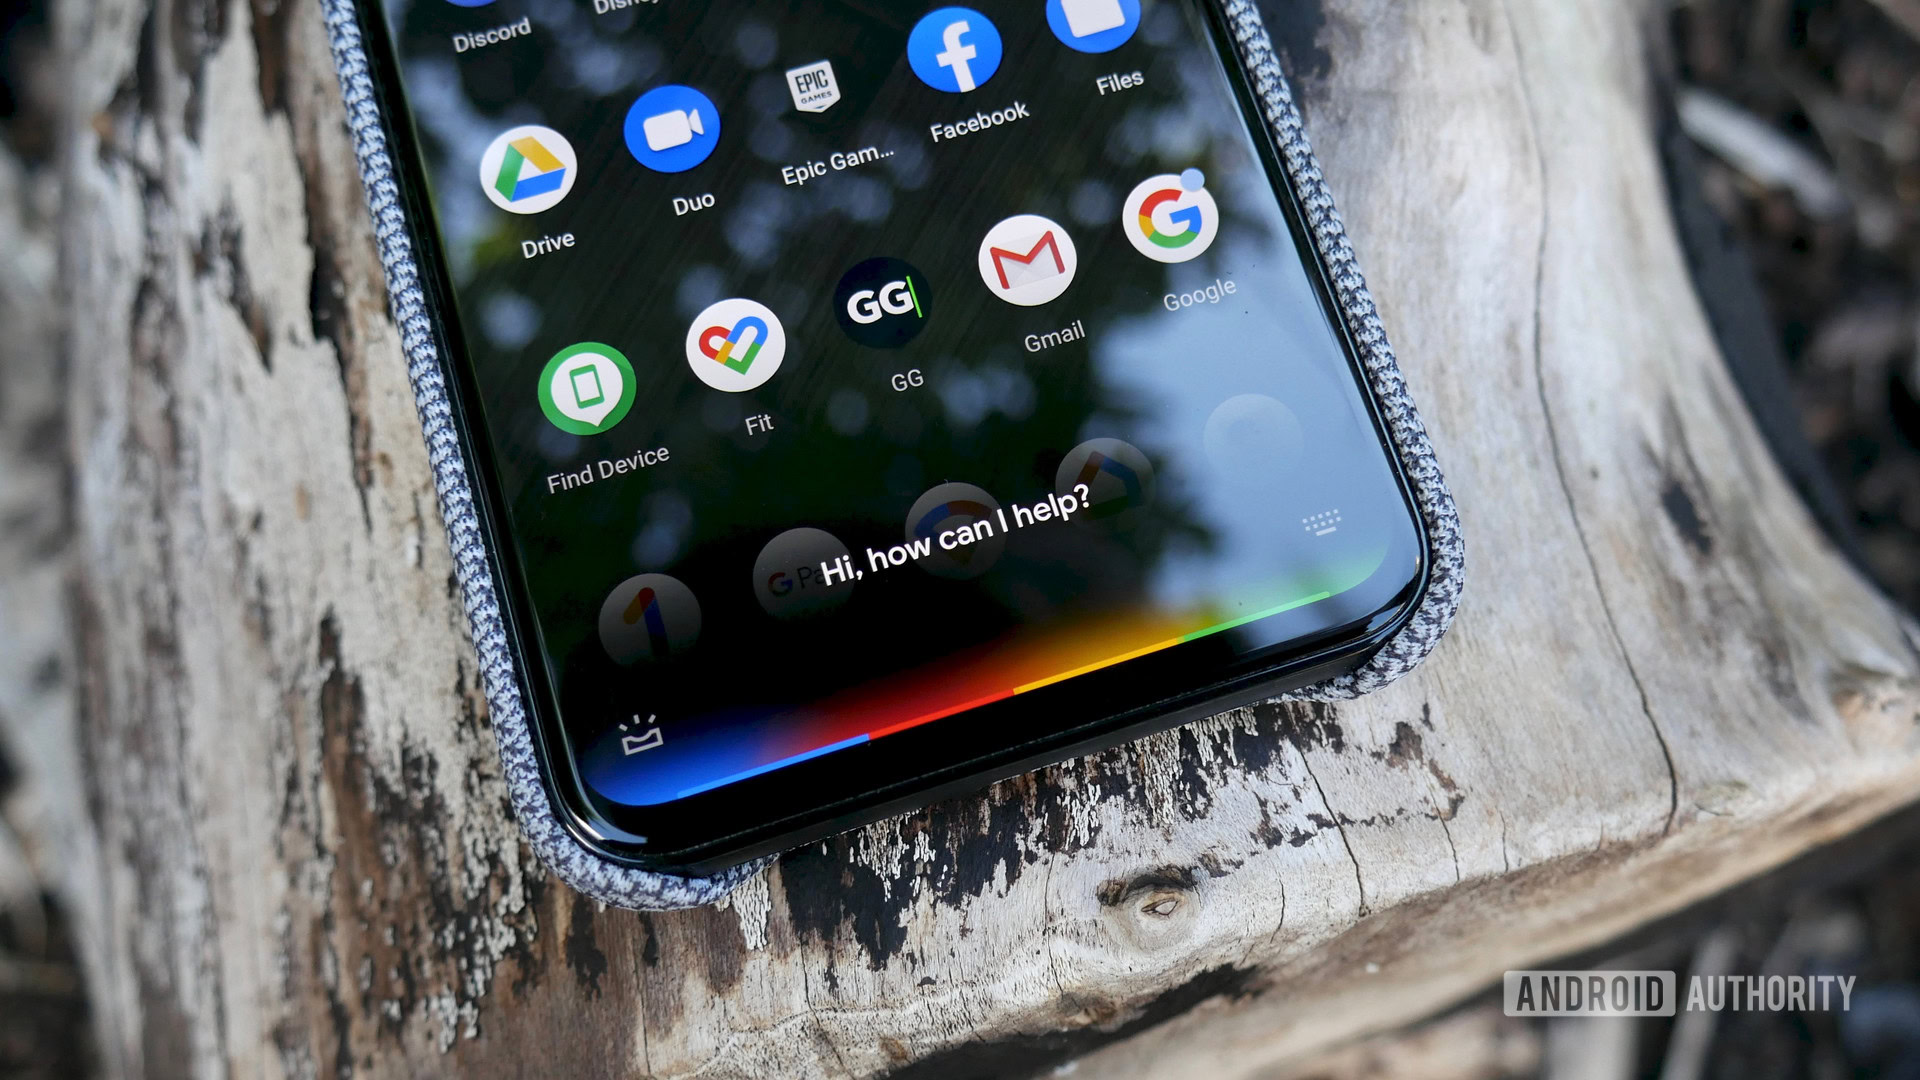
If you’ve been rolling with the Pixel 5 as your daily driver, you may have noticed Google’s latest premium phone is missing something that’s been a feature of the lineup since the Pixel 2 in 2017. Active Edge, the feature that had allowed you to squeeze your phone to launch Assistant, isn’t present on the Pixel 5. Unfortunately, it’s not available on the Pixel 4a and 4a 5G, either. However, there’s a clever new way to bring the handy feature back with an app called SideSqueeze Plus.
Essentially, the app brings back everything you like about Google’s Active Edge and then some. It was originally designed for Samsung’s Galaxy devices so that you can try a few different features depending on your device. Today, we’ll walk you through a few of the key features and how to use SideSqueeze Plus. Ready to dive back into Active Edge?
What is SideSqueeze Plus?

As we briefly explained, SideSqueeze Plus is an app that allows you to squeeze your Pixel or Samsung Galaxy Device to launch commands. It acts as a replacement for the Active Edge feature that Google chose not to bring back for its Pixel 4a and 5 devices. The app is currently in its development stages, though you can download it right now to try the feature for yourself.
See also: Android 12 features: Everything confirmed and rumored so far
If you stick with the free version of SideSqueeze Plus, you will be able to set up commands for a single squeeze, a double squeeze, and a long squeeze. The optional Pro Mode adds a triple squeeze and a quadruple squeeze to the mix and a double long squeeze.
You can use the app to establish Screen Press commands, which would allow you to launch your Google Assistant by pressing on your display. We’ll run through all of your options, as well as the Plus feature, which only works on Samsung Galaxy devices.
How does it work?
SideSqueeze Plus takes advantage of the barometric and pressure sensors that are already built into your phone. You won’t have to root your device to make everything work, though you may have to spend a few minutes calibrating the app. The Screen Press options work in much the same way, analyzing data when you press on the screen to perform a specific command.
Simply put, the more sensors your phone has, the better the app will work. A few features are reserved for Samsung’s S Pen, which requires specific sensors to override Global Air and unlock additional gestures.
How do you set up the Active Edge?

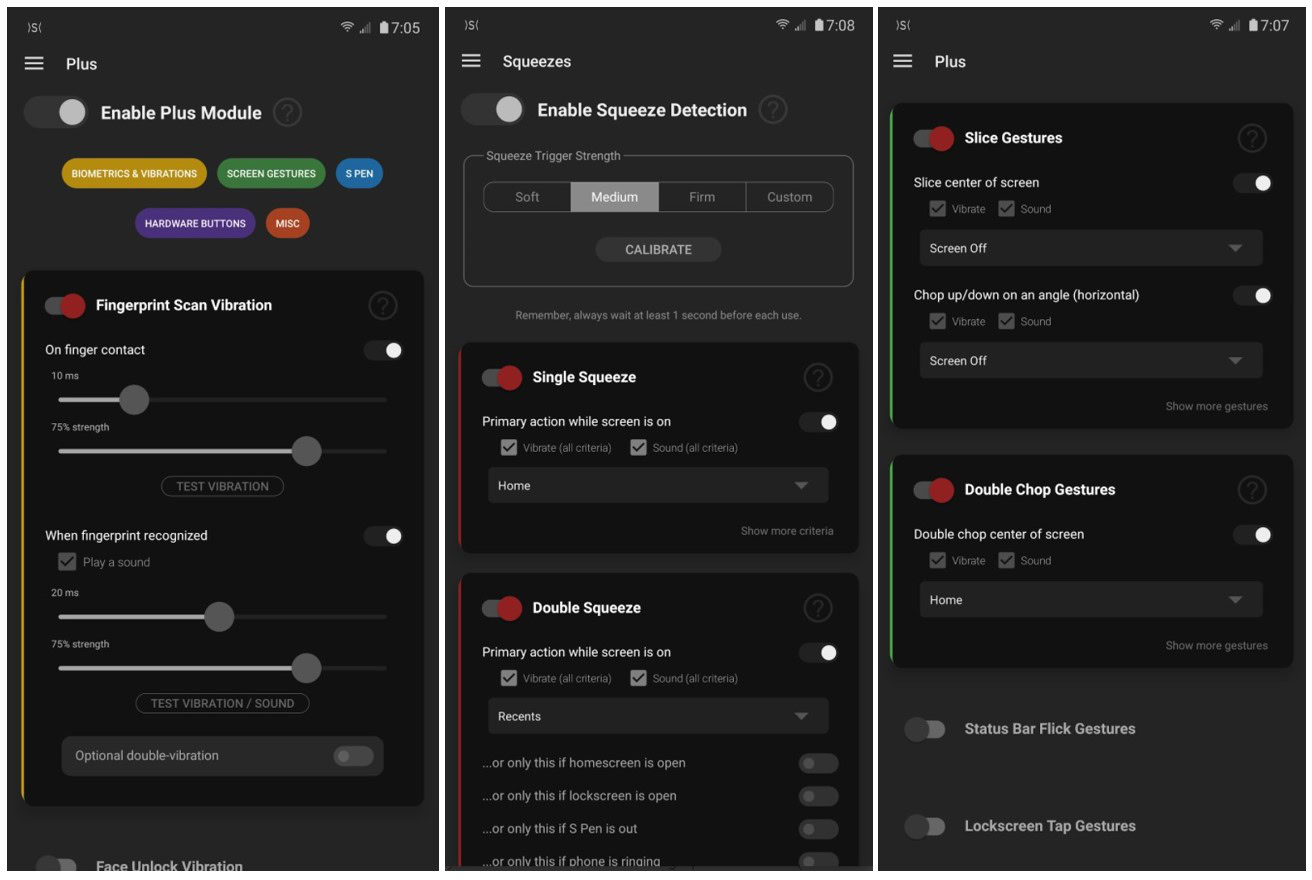
Luckily for you, SideSqueeze Plus will walk you through the entire setup process the first time you open the app. It makes the whole process very difficult to mess up, as you won’t start building commands until your device is properly calibrated. Here’s how the calibration works:
- Select your Squeeze Trigger Strength from Soft, Medium, Firm, or Custom.
- Press the Calibrate button.
- Follow the prompts to squeeze your device three times. Then, place your fingers on the white spots at each edge.
- Repeat the process until you get a green result
Now that your Active Edge is calibrated, you can set up your commands. To do so, toggle each one on or off. The easiest place to start is with a single squeeze.
If you want to get back to the Google Active Edge basics, open the dropdown menu and find the Launch Default Voice Assistant command. Once selected, try squeezing the edges of your phone. Your preferred assistant should activate, or you may have to recalibrate.
How to set up Screen Presses
After you’ve programmed your squeeze commands, we can move onto the Screen Presses. The calibration process is almost identical to the one above, but here are the steps:
- Toggle Enable Press Detection to on.
- Tap the Calibrate button.
- Follow the prompts to press on the white spot and release it three times.
- Repeat until you get a green result.
Once calibrated, you’ll have to grant permissions via a checkbox on your display. This will ask you to head over to a desktop or laptop for a one-time approval. Should you choose to continue, you can now establish Screen Press commands. Your options are mostly the same as if you were using squeeze commands.
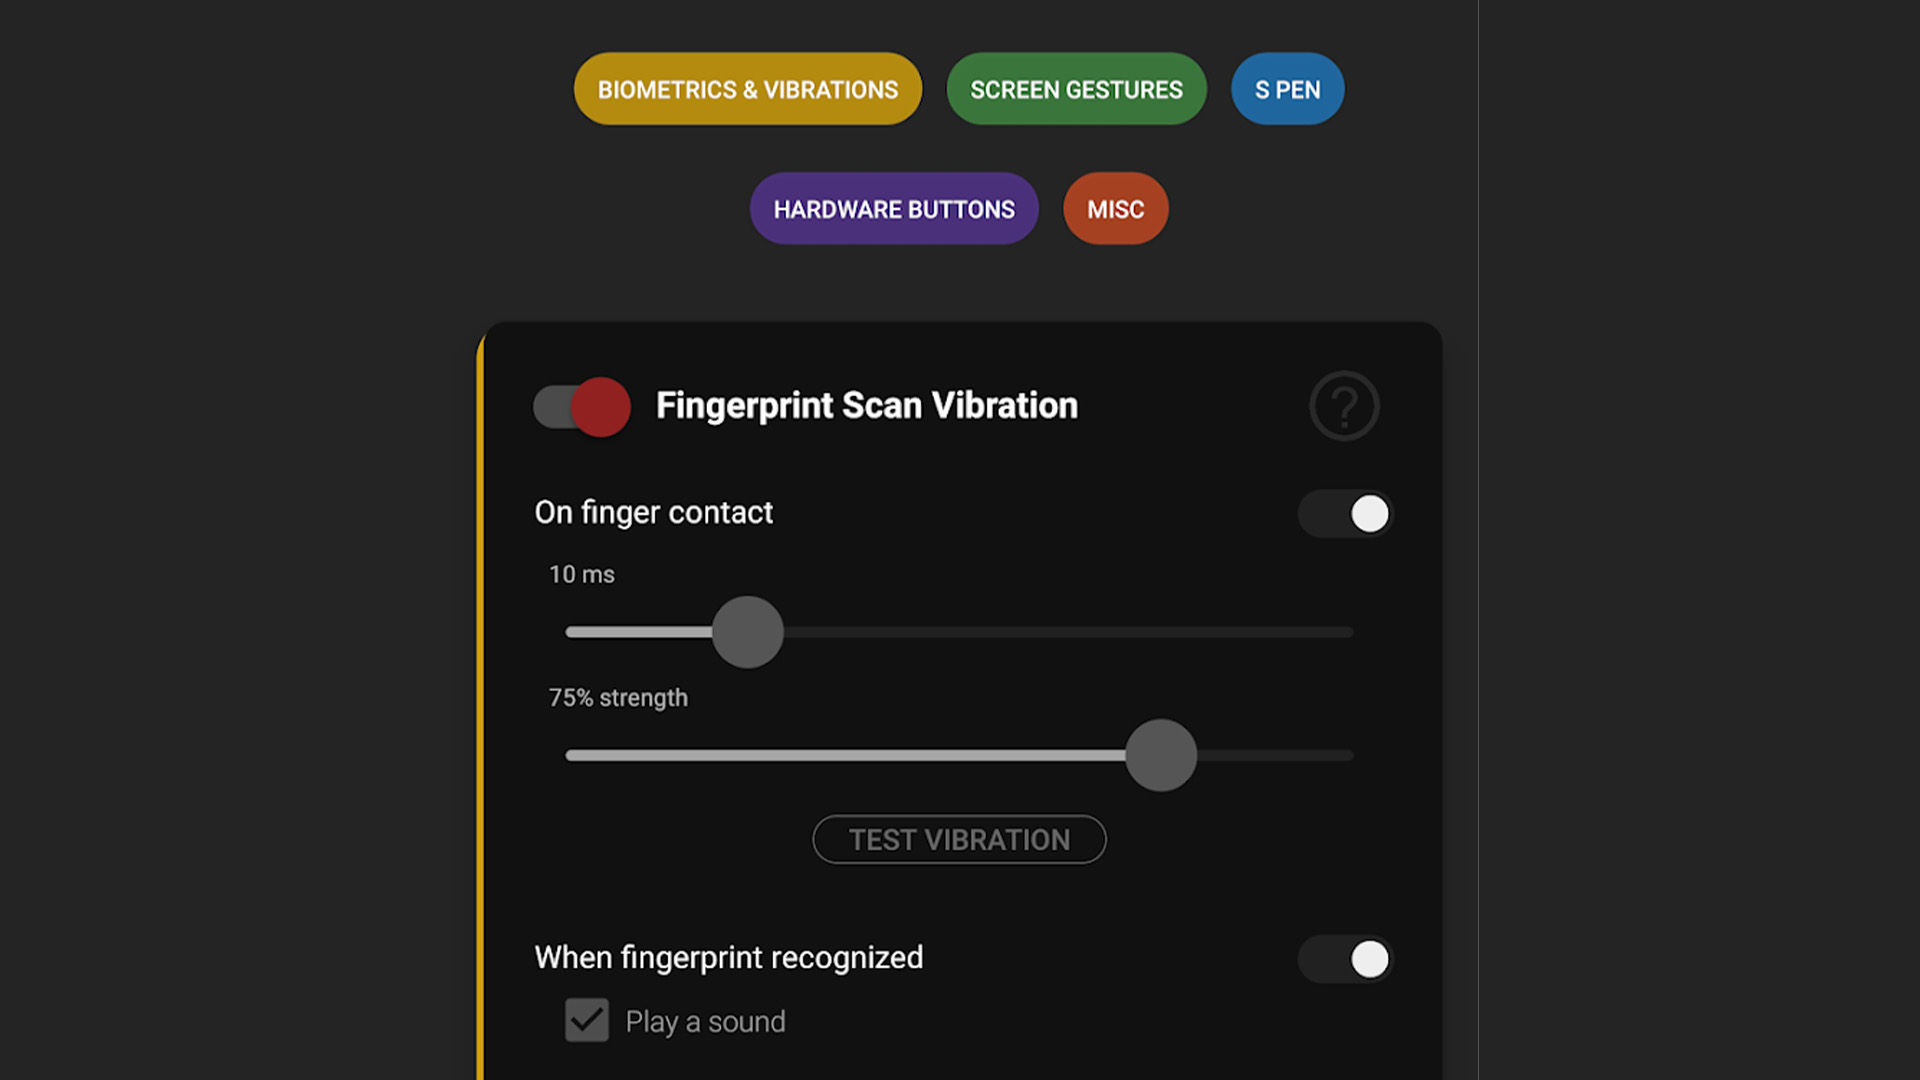
The final mode you can test out is called the Plus Module. This is reserved exclusively for Samsung Galaxy devices due to development limits. It adds commands for any time you unlock your phone via biometrics like a fingerprint scan or a face unlock. For example, you can set your phone to play a short chime any time you unlock your device or use your S Pen to perform swipe commands from longer ranges.
You’ll once again have to grant these permissions on a computer, but the steps are generally the same as above.
Does SideSqueeze Plus cost money?

No, at least it does not have to cost you any money. You can download SideSqueeze Plus from the Google Play Store and enjoy the free features without any limits. The Pro Mode features can cost you anywhere from $1 up to $10, depending on what you’re hoping to add. If you plan to use squeeze features extensively, it may be worth your money to grab the triple and quadruple squeeze options.
Again, the app is still in the development stage, so these features may grow and change when the final app is available. On the bright side, that means you can share your thoughts with the developers to make the app even better.