Affiliate links on Android Authority may earn us a commission. Learn more.
Let's build a simple Flappy Bird clone in Android Studio
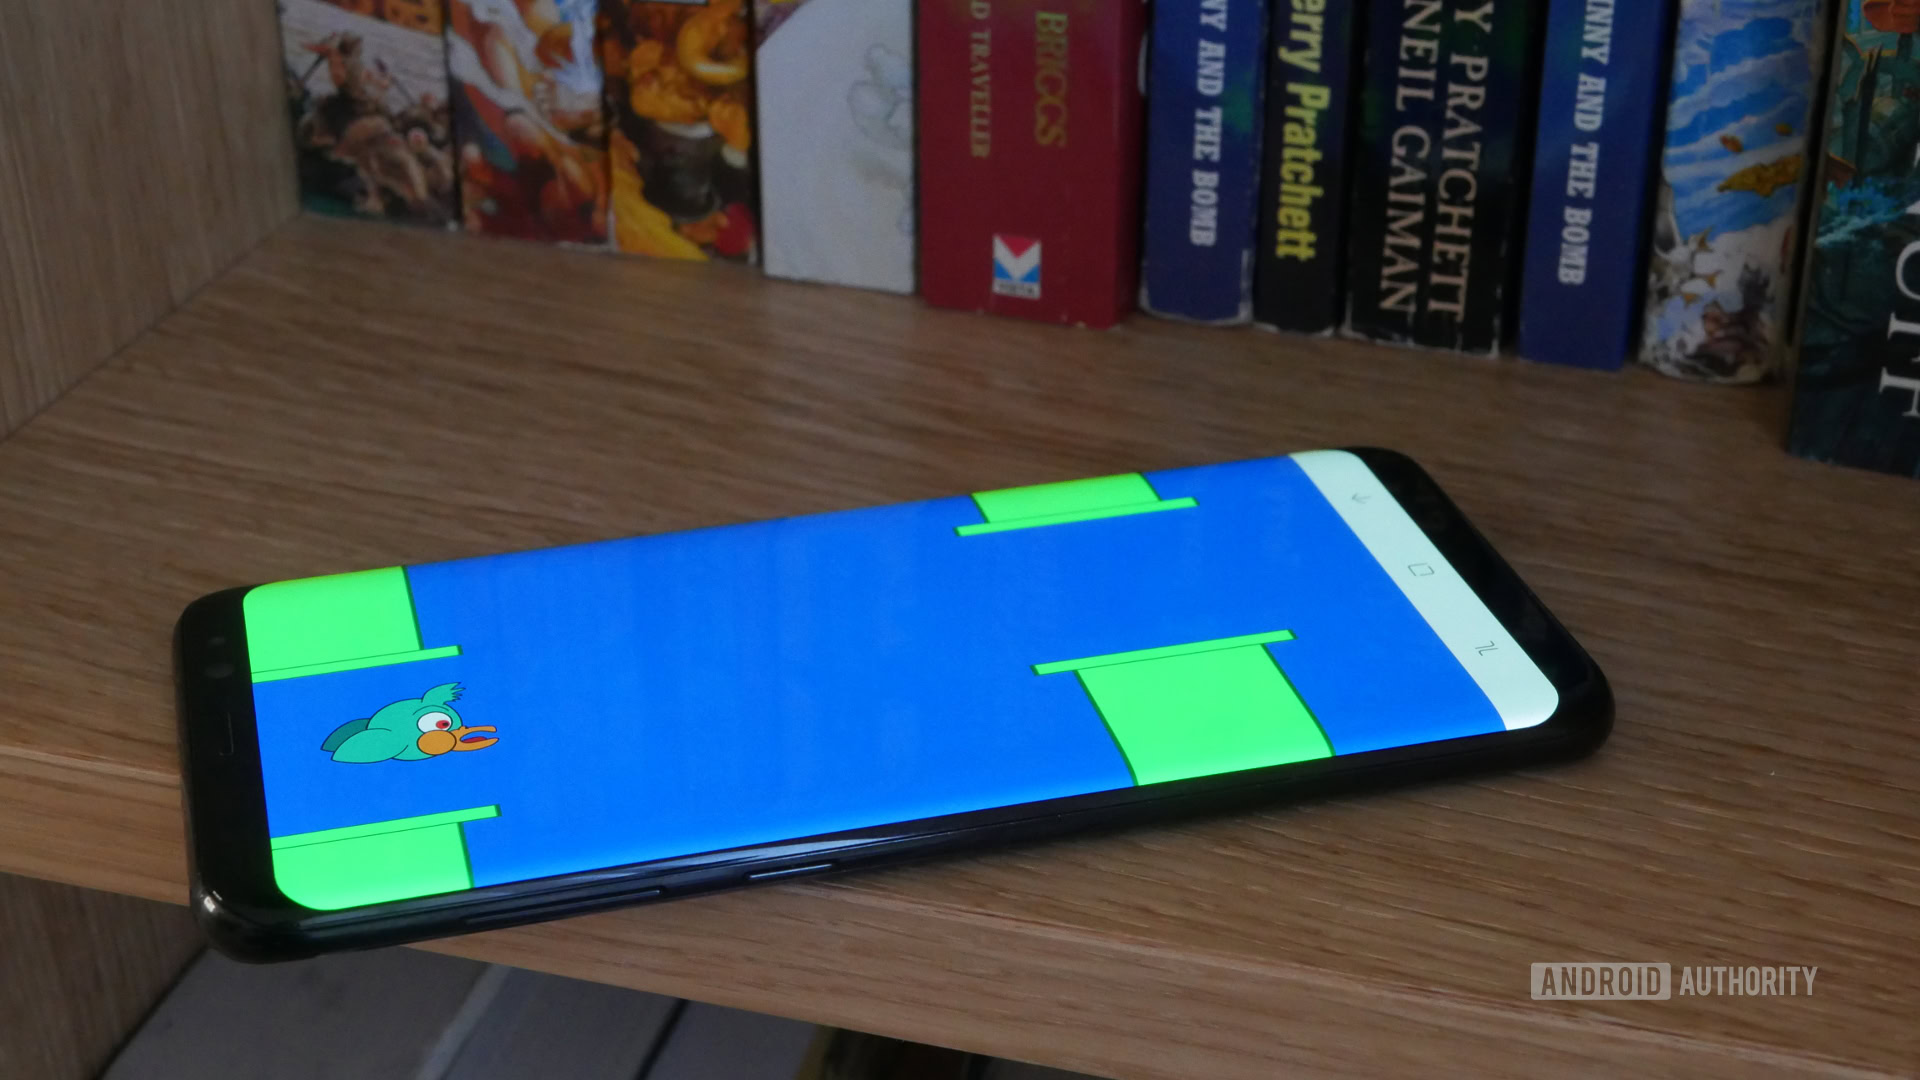
In a previous tutorial, I walked you through the process of making your first “2D game.” We built a simple script which would let a character sprite bounce around the screen. From there, I insinuated it wouldn’t be too much work to turn that into a full game.
I was telling the truth! You could check out this article to add sensor support to your code and control your character by tilting the phone and maybe go after collectables on the screen. Or you could stick a baton at the bottom, some bricks up top and make a breakout game.
If the idea of developing a full game still seems a little daunting, consider this your official part two. I’m going to show you how you can turn this simple game loop into a game of Flappy Bird. Sure, I’m about three years late, but that’s pretty much my M.O..
This project is a little more advanced than what we’ve tackled recently, so build up to it. I recommend our Java tutorial for beginners, and maybe this easy math game to start. If you’re up for the challenge, let’s dive in. The end reward will hopefully be something quite fun to play with lots of potential for further development. Getting there will provide some great learning opportunities.
Note: The full code for this project can be found here. If you would like to start from the ready-made 2D engine that we created last time, then you can grab that code here.
Recap
For this post, the previously mentioned article and video should be considered required reading/viewing. To briefly recap, we built ourselves a canvas on which to draw our sprites and shapes, and we made a separate thread to draw to that without blocking up the main thread. This is our “game loop.”
We have a class called CharacterSprite which draws a 2D character and gives it some bouncy movement around the screen, we have GameView which created the canvas, and we have MainThread for the thread.
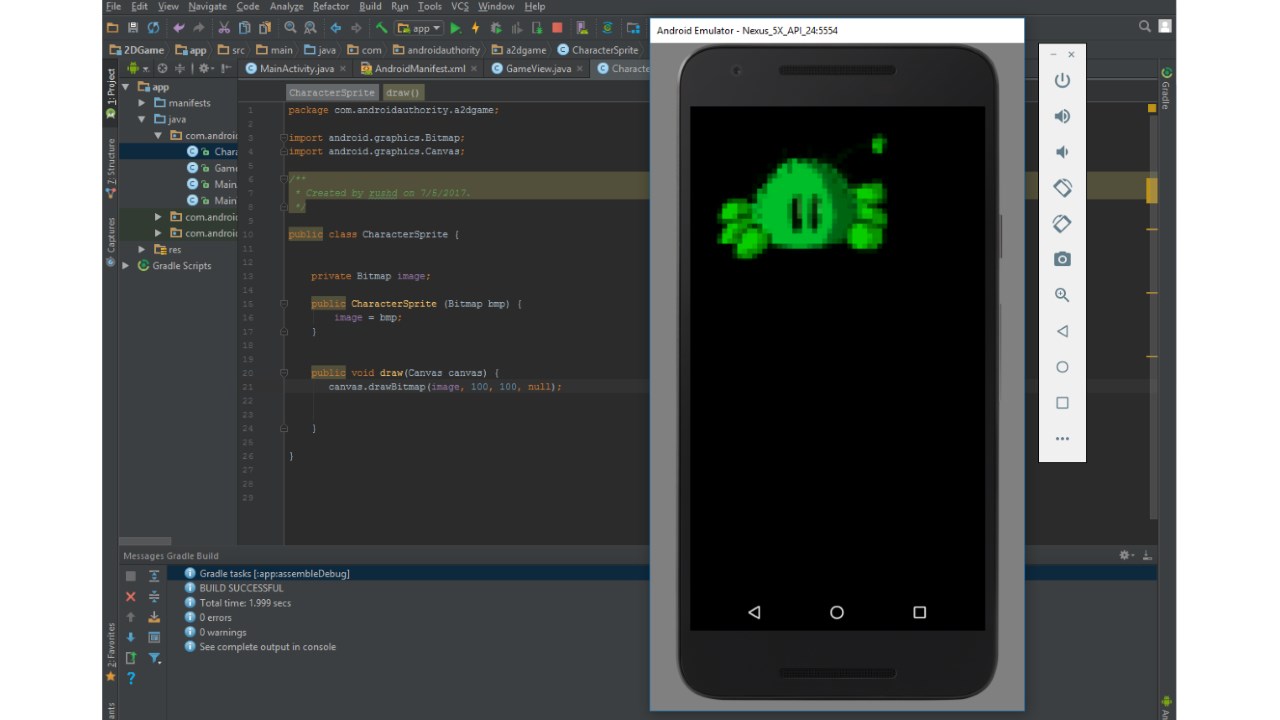
Go back and read that post to develop the basic engine for your game. If you don’t want to do that (well, aren’t you contrary?), you could just read through this to learn some more skills. You could also come up with your own solution for your game loop and sprites. For instance, you can achieve something similar with a custom view.
Making it flappy
In the update() method of our CharacterSprite class, there’s an algorithm to bounce the character all around the screen. We’re going to replace that with something much simpler:
y += yVelocity;If you recall, we had defined yVelocity as 5, but we could change this to make the character fall faster or slower. The variable y is used to define the position of the player character, which means it will now fall slowly. We don’t want the character to move right anymore, because we’re going to be scrolling the world around ourselves instead.
This is how Flappy Bird is supposed to work. By tapping the screen, we can make our character “flap” and thereby regain some height.

As it happens, we already have an overwritten onTouchEvent in our GameView class. Remember, this GameView is a canvas shown in place of the usual XML layout file for our activity. It takes up the whole screen.
Pop back into your CharacterSprite class and make your yVelocity and your x and y coordinates into public variables:
public int x, y;
private int xVelocity = 10;
public int yVelocity = 5;
This means those variables will now be accessible from outside classes. In other words, you can access and change them from GameView.
Now in the onTouchEvent method, simply say this:
characterSprite.y = characterSprite.y - (characterSprite.yVelocity * 10);Now wherever we tap our canvas, the character is going to rise by ten times the speed at which it is falling each update. It’s important we keep this flappy-ness equivalent to the fall speed, so we can choose to change the force of gravity later and keep the game balanced.
I also added a few little touches to make the game a bit more Flappy Bird-like. I swapped out the color of the background for blue with this line:
canvas.drawRGB(0, 100, 205);I also drew myself a new bird character in Illustrator. Say hello.
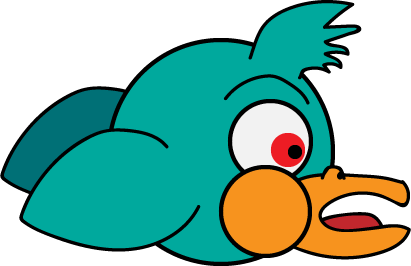
He’s a horrific monstrosity.
We also need to make him significantly smaller. I borrowed a method for shrinking bitmaps from user jeet.chanchawat on Stack Overflow.
public Bitmap getResizedBitmap(Bitmap bm, int newWidth, int newHeight) {
    int width = bm.getWidth();
    int height = bm.getHeight();
    float scaleWidth = ((float) newWidth) / width;
    float scaleHeight = ((float) newHeight) / height;
    // CREATE A MATRIX FOR THE MANIPULATION
    Matrix matrix = new Matrix();
    // RESIZE THE BIT MAP
    matrix.postScale(scaleWidth, scaleHeight);

    // "RECREATE" THE NEW BITMAP
    Bitmap resizedBitmap =
  Bitmap.createBitmap(bm, 0, 0, width, height, matrix, false);
    bm.recycle();
    return resizedBitmap;
}
Then you can use this line to load the smaller bitmap into your CharacterSprite object:
characterSprite = new CharacterSprite(getResizedBitmap
  (BitmapFactory.decodeResource(getResources(),R.drawable.bird), 300, 240));
Finally, you may want to change the orientation of your app to landscape, which is normal for these types of games. Just add this line to the activity tag in your manifest:
android:screenOrientation="landscape"While this is all still pretty basic, we’re now starting to get something that looks a bit like Flappy Bird!
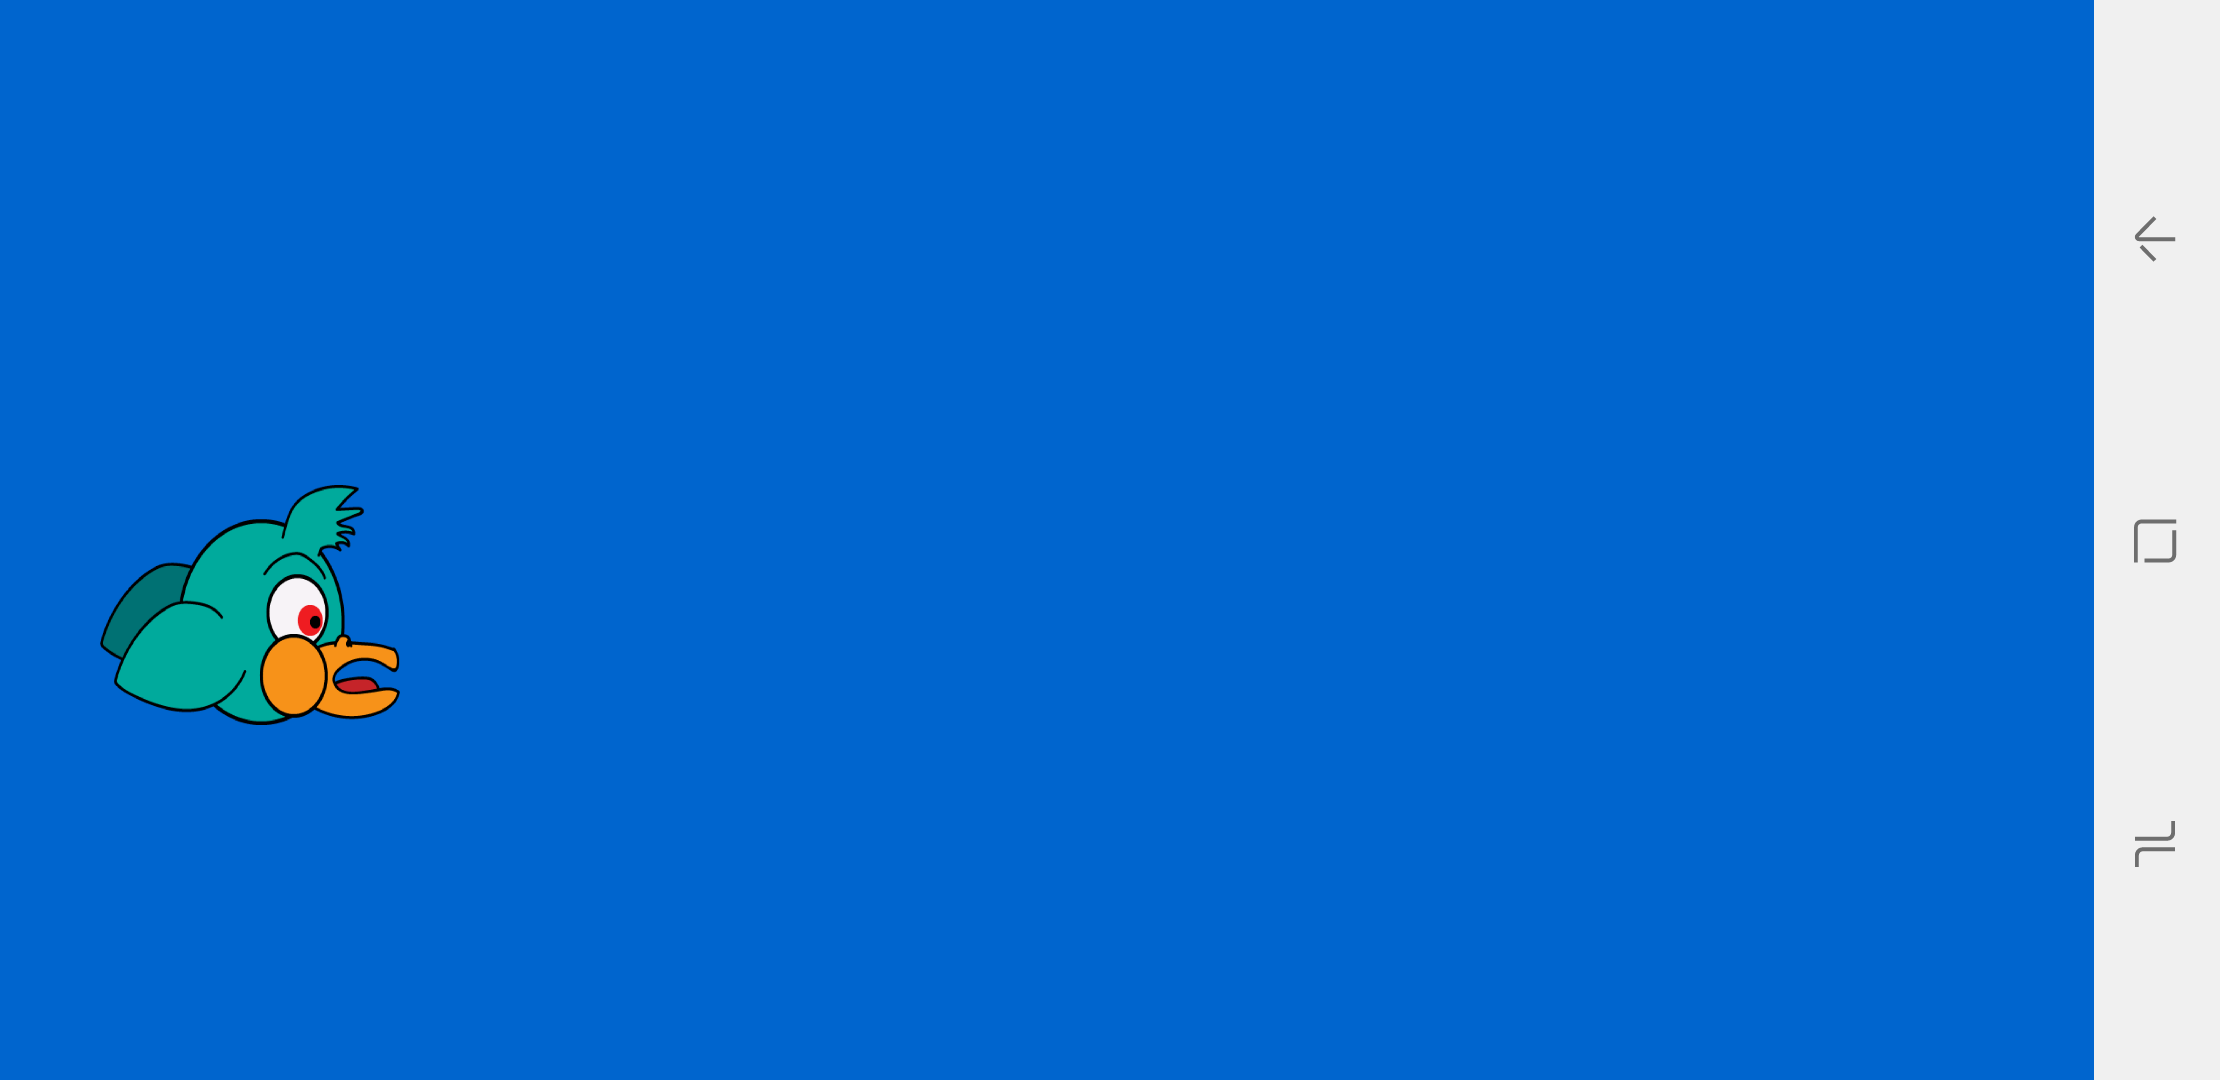
This is what coding looks like a lot of the time: reverse engineering, borrowing methods from conversations online, asking questions. Don’t worry if you aren’t familiar with every Java statement, or if you can’t figure something out yourself. It’s often better not to reinvent the wheel.
Obstacles!
Now we have a bird which falls to the bottom of the screen unless we tap to fly. With the basic mechanic sorted, all we need to do is to introduce our obstacles! To do that we need to draw some pipes.
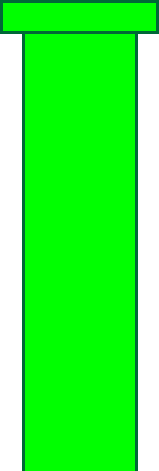
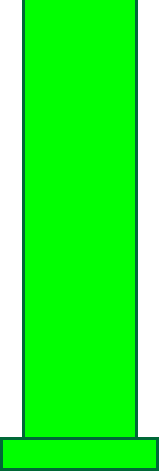
Now we need to create a new class and this class is going to work just like the CharacterSprite class. This one is going to be called “PipeSprite.” It’s going to render both pipes on the screen — one at the top and one at the bottom.
In Flappy Bird, pipes appear at different heights and the challenge is flapping the bird up to fit through the gap for as long as you can.
The good news is that a class can create multiple instances of the same object. In other words, we can generate as many pipes as we like, all set at different heights and positions and all using a single piece of code. The only challenging part is handling the math so we know precisely how large our gap is! Why is this a challenge? Because it needs to line up correctly regardless of the size of the screen it’s on. Accounting for all this can be a bit of a headache, but if you enjoy a challenging puzzle, this is where programming can actually get quite fun. It’s certainly a good mental workout!
If you enjoy a challenging puzzle, this is where programming can actually get quite fun. And it's certainly a good mental workout!
We made the Flappy Bird character itself 240 pixels high. With that in mind, I think 500 pixels should be a generous enough gap — we could change this later.
If we now make the pipe and the upside-down pipe half the height of the screen, we can then place a gap of 500 pixels between them (pipe A will be positioned at the bottom of the screen + 250p, while pipe B will be at the top of the screen – 250p).
This also means we have 500 pixels to play with in extra height on our sprites. We can move our two pipes down by 250 or up by 250 and the player won’t be able to see the edge. Maybe you might want to give your pipes a little more movement, but I’m happy with keeping things nice and easy.
Now, it would be tempting to do all this math ourselves and just “know” our gap is 500p, but that’s bad programming. It means we’d be using a “magic number.” Magic numbers are arbitrary numbers used throughout your code which you are expected to just remember. When you come back to this code in a year’s time, will you really remember why you keep writing -250 everywhere?
Instead we’ll make a static integer – a value that we won’t be able to change. We call this gapHeight and make it equal to 500. From now on, we can refer to gapHeight or gapHeight/2 and our code will be much more readable. If we were being really good, we’d do the same thing with our character’s height and width too.
Place this in the GameView method:
public static int gapHeigh = 500;While you’re there, you could also define the speed at which the game will play:
public static int velocity = 10;You also have the option to turn that gapHeight variable into a regular public integer, and have it get smaller as the game progresses and the challenge ramps up — Your call! The same goes for the speed.
With all this in mind, we can now create our PipeSprite class:
public class PipeSprite {

    private Bitmap image;
    private Bitmap image2;
    public int xX, yY;
    private int xVelocity = 10;
    private int screenHeight =
  Resources.getSystem().getDisplayMetrics().heightPixels;

    public PipeSprite (Bitmap bmp, Bitmap bmp2, int x, int y) {
        image = bmp;
        image2 = bmp2;
        yY = y;
        xX = x;
    }


    public void draw(Canvas canvas) {
        canvas.drawBitmap(image, xX, -(GameView.gapHeight / 2) + yY, null);
        canvas.drawBitmap(image2,xX, ((screenHeight / 2)
  + (GameView.gapHeight / 2)) + yY, null);


    }
    public void update() {

        xX -= GameView.velocity;
    }

}
The pipes will also move left on each update, at the speed that we have decided for our game.
Back in the GameView method, we can create our object right after we create our player sprite. This happens in the surfaceCreated() method but I’ve organized the following code into another method called makeLevel(), just to keep everything nice and tidy:
Bitmap bmp;
Bitmap bmp2;
int y;
int x;
bmp = getResizedBitmap(BitmapFactory.decodeResource
  (getResources(), R.drawable.pipe_down), 500,
  Resources.getSystem().getDisplayMetrics().heightPixels / 2);
bmp2 = getResizedBitmap(BitmapFactory.decodeResource
  (getResources(), R.drawable.pipe_up), 500,
  Resources.getSystem().getDisplayMetrics().heightPixels / 2);

pipe1 = new PipeSprite(bmp, bmp2, 0, 2000);
pipe2 = new PipeSprite(bmp, bmp2, -250, 3200);
pipe3 = new PipeSprite(bmp, bmp2, 250, 4500);
This creates three pipes in a row, set at different heights.
The first three pipes will have the exact same position each time the game starts, but we can randomize this later.
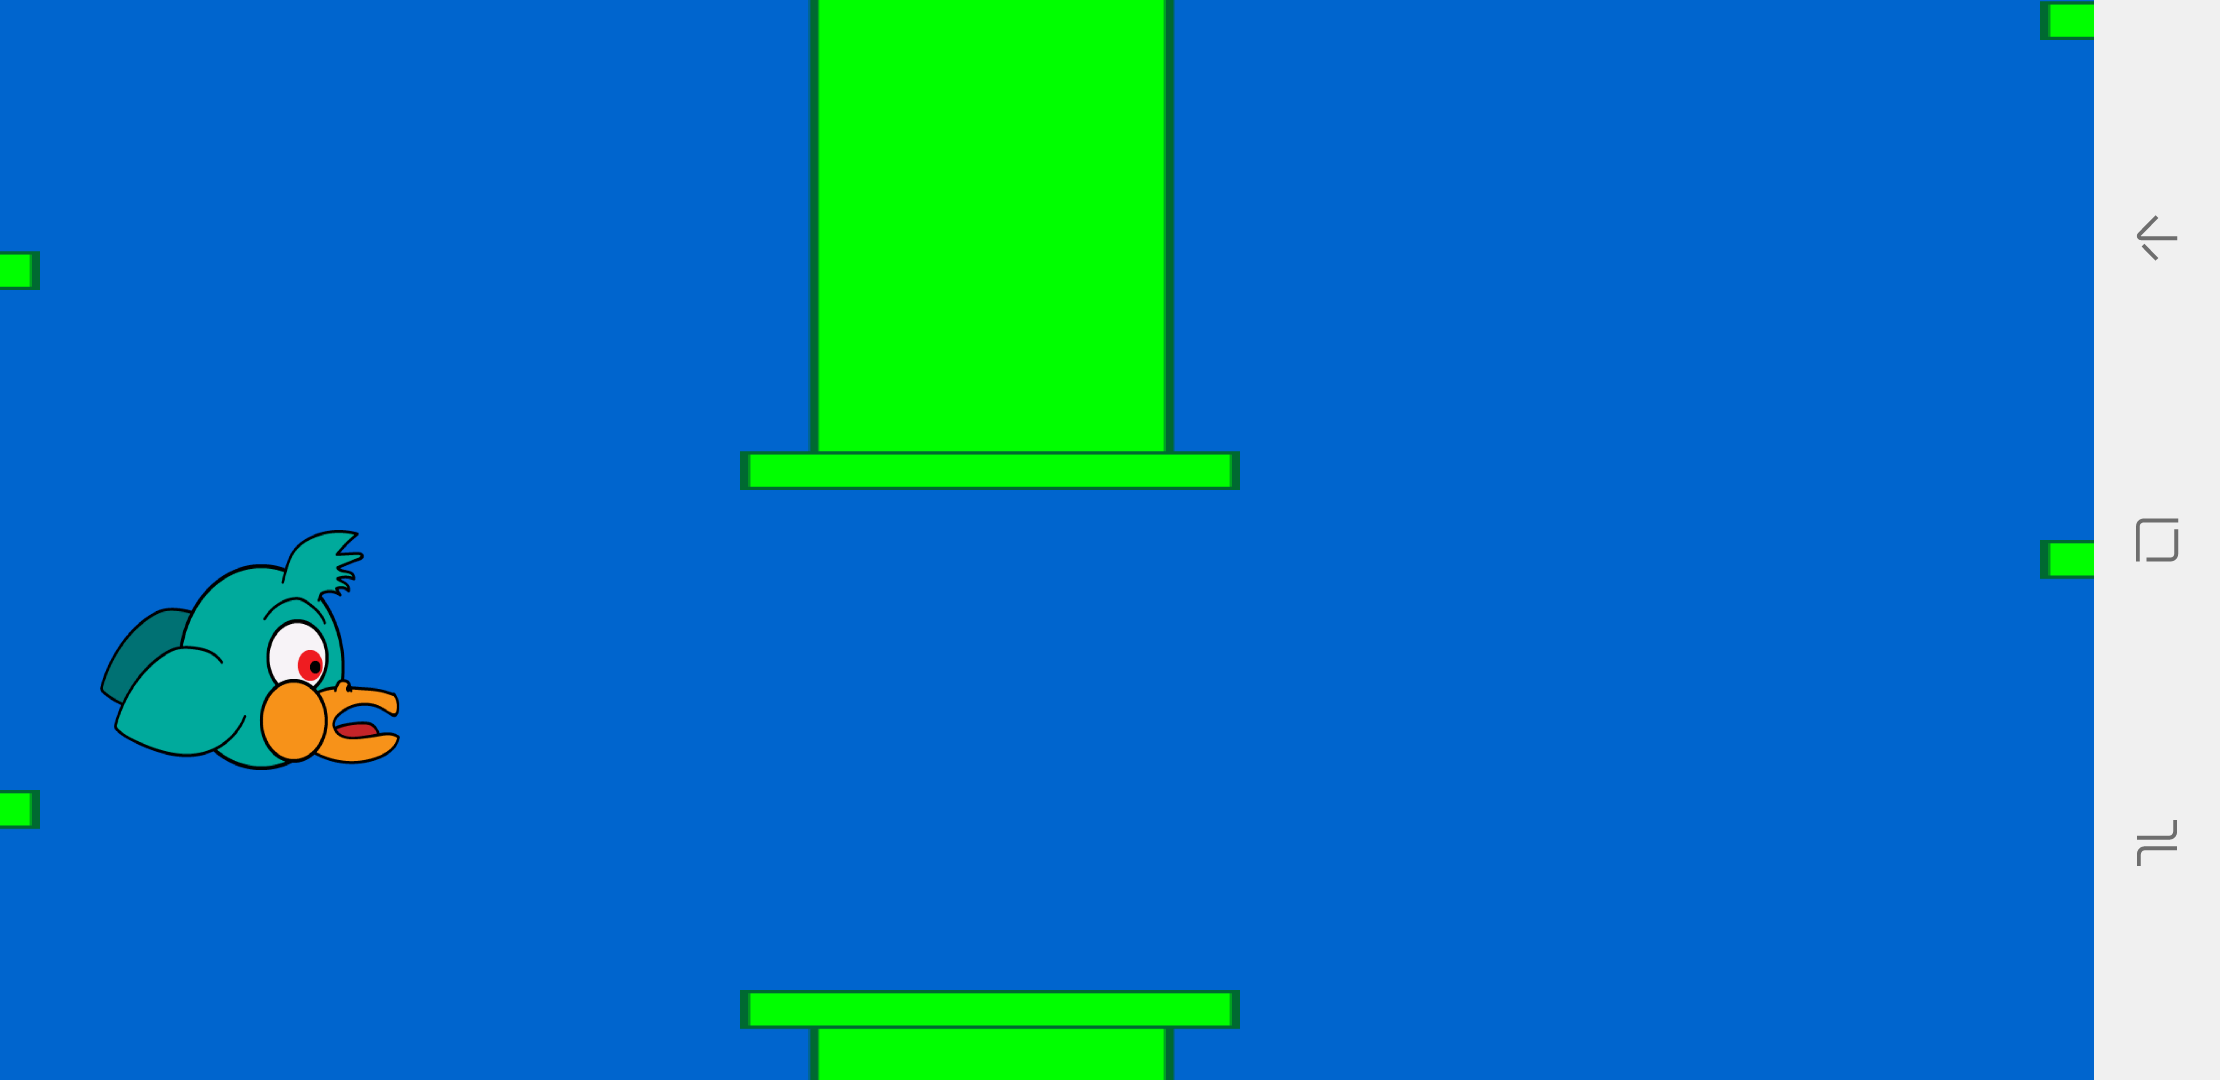
If we add the following code, then we can make sure the pipes move nicely along and are redrawn just like our character:
public void update() {
        characterSprite.update();
        pipe1.update();
        pipe2.update();
        pipe3.update();
    }

    @Override
    public void draw(Canvas canvas)
    {

        super.draw(canvas);
        if(canvas!=null) {
            canvas.drawRGB(0, 100, 205);
            characterSprite.draw(canvas);
            pipe1.draw(canvas);
            pipe2.draw(canvas);
            pipe3.draw(canvas);

        }
    }
There you have it. There’s still a little way to go, but you just created your first scrolling sprites. Well done!
It’s only logical
Now you should be able to run the game and control your flappy bird as he flies cheerfully past some pipes. Right now, they don’t pose any real threat because we have no collision detection.
That’s why I want to create one more method in GameView to handle the logic and the “physics” such as they are. Basically, we need to detect when the character touches one of the pipes and we need to keep moving the pipes forward as they disappear to the left of the screen. I’ve explained what everything does in comments:
public void logic() {

    //Detect if the character is touching one of the pipes
    if (characterSprite.y < pipe1.yY + (screenHeight / 2) - (gapHeight / 2)
  && characterSprite.x + 300 > pipe1.xX && characterSprite.x < pipe1.xX + 500)
        { resetLevel(); }

    if (characterSprite.y < pipe2.yY + (screenHeight / 2) - (gapHeight / 2)
  && characterSprite.x + 300 > pipe2.xX && characterSprite.x < pipe2.xX + 500)
        { resetLevel(); }

    if (characterSprite.y < pipe3.yY + (screenHeight / 2) - (gapHeight / 2)
  && characterSprite.x + 300 > pipe3.xX && characterSprite.x < pipe3.xX + 500)
        { resetLevel(); }

    if (characterSprite.y + 240 > (screenHeight / 2) + (gapHeight / 2) + pipe1.yY
  && characterSprite.x + 300 > pipe1.xX && characterSprite.x < pipe1.xX + 500)
        { resetLevel(); }

    if (characterSprite.y + 240 > (screenHeight / 2) + (gapHeight / 2) + pipe2.yY
  && characterSprite.x + 300 > pipe2.xX && characterSprite.x < pipe2.xX + 500)
        { resetLevel(); }

    if (characterSprite.y + 240 > (screenHeight / 2) + (gapHeight / 2) + pipe3.yY
  && characterSprite.x + 300 > pipe3.xX && characterSprite.x < pipe3.xX + 500)
        { resetLevel(); }

    //Detect if the character has gone off the
    //bottom or top of the screen
    if (characterSprite.y + 240 < 0) {
        resetLevel(); }
    if (characterSprite.y > screenHeight) {
        resetLevel(); }


    //If the pipe goes off the left of the screen,
    //put it forward at a randomized distance and height
    if (pipe1.xX + 500 < 0) {
        Random r = new Random();
        int value1 = r.nextInt(500);
        int value2 = r.nextInt(500);
        pipe1.xX = screenWidth + value1 + 1000;
        pipe1.yY = value2 - 250;
    }

    if (pipe2.xX + 500 < 0) {
        Random r = new Random();
        int value1 = r.nextInt(500);
        int value2 = r.nextInt(500);
        pipe2.xX = screenWidth + value1 + 1000;
        pipe2.yY = value2 - 250;
    }

    if (pipe3.xX + 500 < 0) {
        Random r = new Random();
        int value1 = r.nextInt(500);
        int value2 = r.nextInt(500);
        pipe3.xX = screenWidth + value1 + 1000;
        pipe3.yY = value2 - 250;
    }
}

public void resetLevel() {
    characterSprite.y = 100;
    pipe1.xX = 2000;
    pipe1.yY = 0;
    pipe2.xX = 4500;
    pipe2.yY = 200;
    pipe3.xX = 3200;
    pipe3.yY = 250;

}
That’s not the tidiest way of doing things in the world. It takes up a lot of lines and it’s complicated. Instead we could add our pipes to a list and do this:
public void logic() {

    List pipes = new ArrayList<>();
    pipes.add(pipe1);
    pipes.add(pipe2);
    pipes.add(pipe3);

    for (int i = 0; i < pipes.size(); i++) {
        //Detect if the character is touching one of the pipes
        if (characterSprite.y < pipes.get(i).yY + (screenHeight / 2)
  - (gapHeight / 2) && characterSprite.x + 300 > pipes.get(i).xX
  && characterSprite.x < pipes.get(i).xX + 500) {
            resetLevel();
        } else if (characterSprite.y + 240 > (screenHeight / 2) +
  (gapHeight / 2) + pipes.get(i).yY
  && characterSprite.x + 300 > pipes.get(i).xX
  && characterSprite.x < pipes.get(i).xX + 500) {
            resetLevel();
        }

        //Detect if the pipe has gone off the left of the
        //screen and regenerate further ahead
        if (pipes.get(i).xX + 500 < 0) {
            Random r = new Random();
            int value1 = r.nextInt(500);
            int value2 = r.nextInt(500);
            pipes.get(i).xX = screenWidth + value1 + 1000;
            pipes.get(i).yY = value2 - 250;
        }
    }

    //Detect if the character has gone off the
    //bottom or top of the screen
    if (characterSprite.y + 240 < 0) {
        resetLevel(); }
    if (characterSprite.y > screenHeight) {
        resetLevel(); }
}
Not only is this much cleaner code, but it also means you can add as many objects as you like and your physics engine will still work. This will be very handy if you were making some kind of platformer, in which case you’d make this list public and add the new objects to it every time they were created.
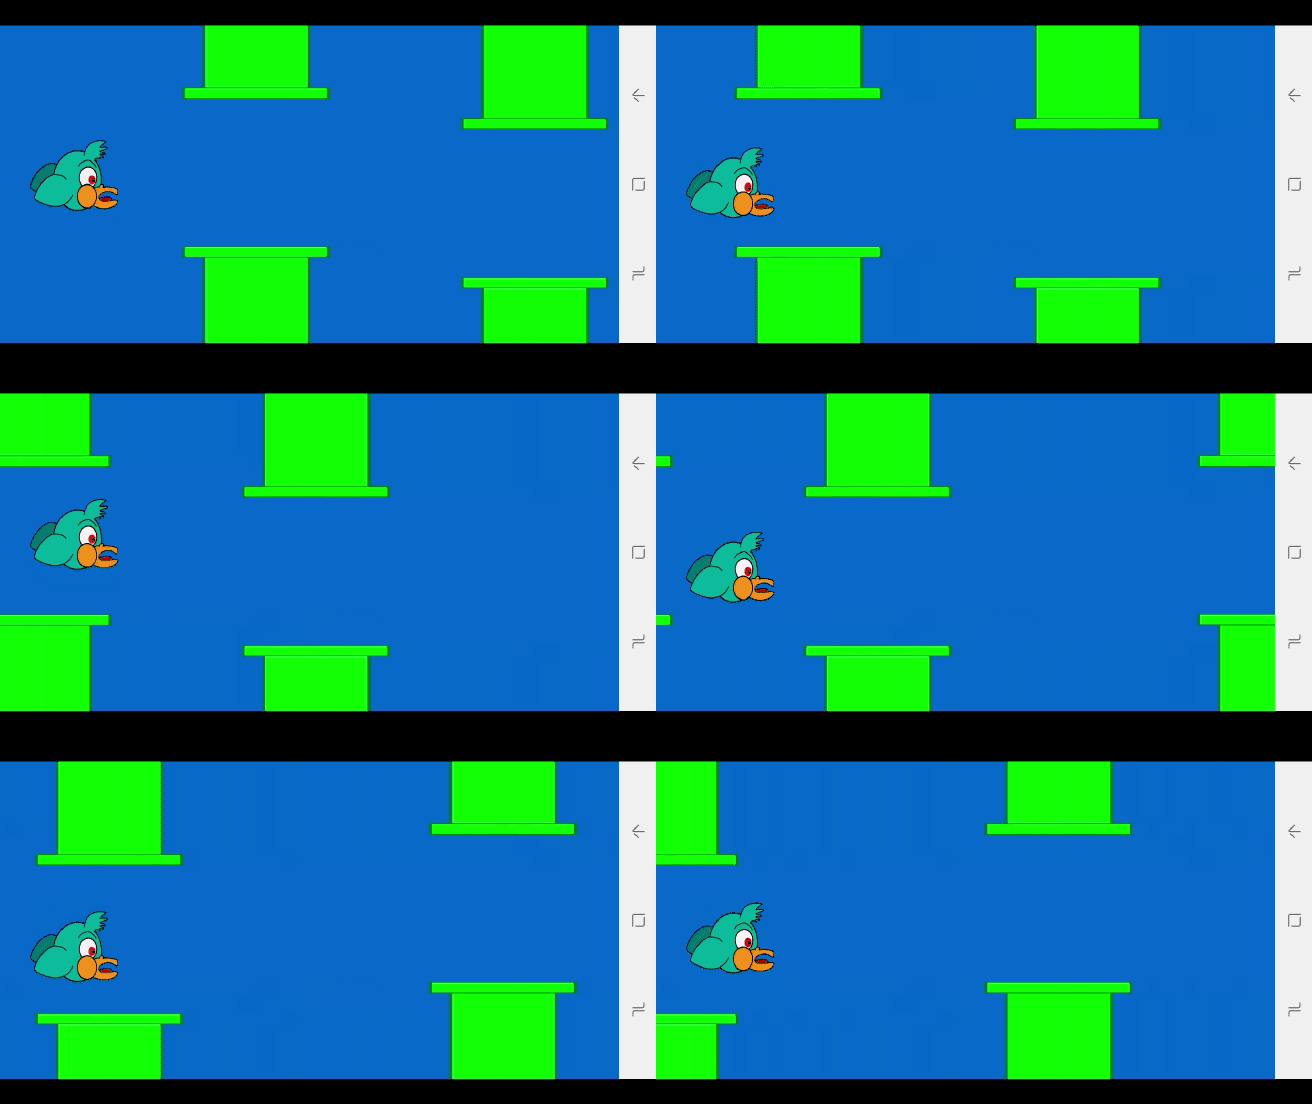
Now run the game and you should find that it plays just like Flappy Bird. You’ll be able to move your character around the screen by tapping and avoid pipes as they come. Fail to move in time and your character will respawn at the start of the sequence!
Going forward
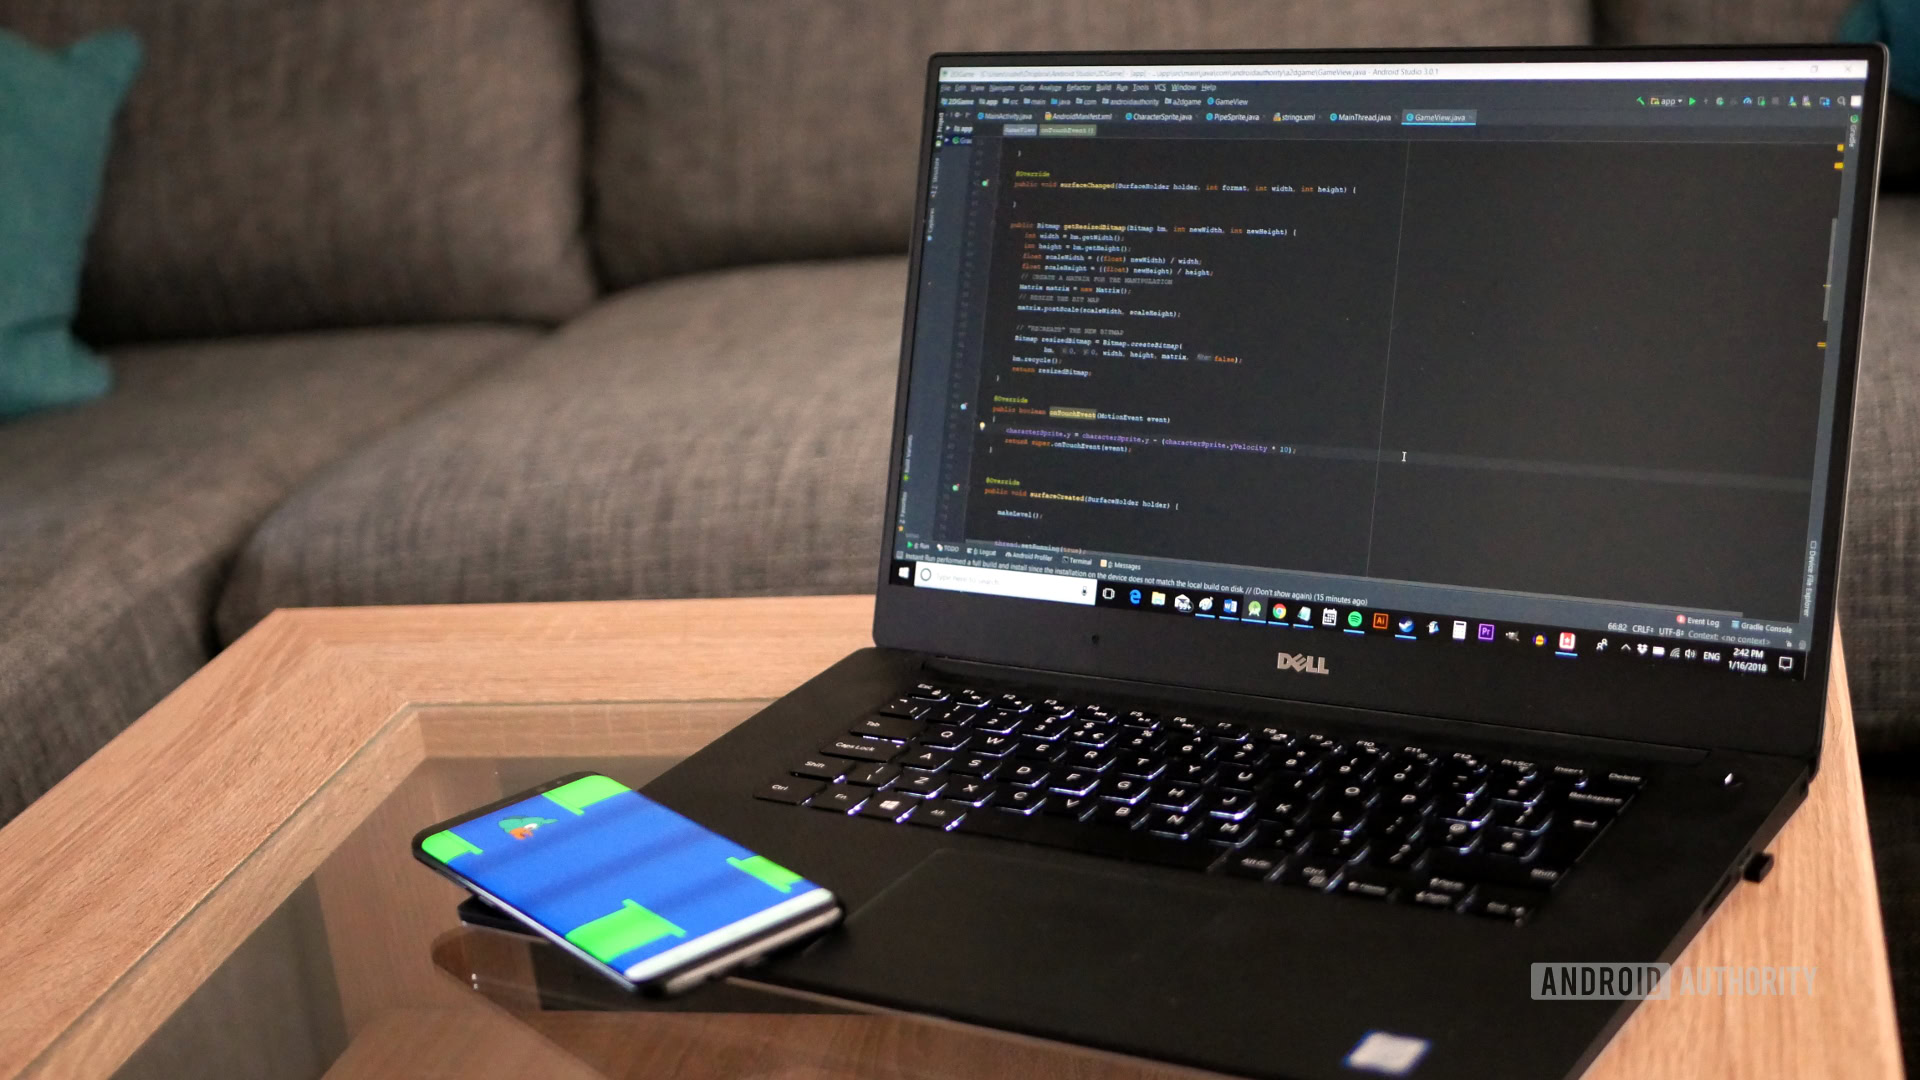
This is a fully functional Flappy Bird game that hopefully hasn’t taken you too long to put together. It just goes to show that Android Studio is a really flexible tool (that said, this tutorial shows how much easier game development can be with an engine like Unity). It wouldn’t be that much of a stretch for us to develop this into a basic platformer, or a game of breakout.
If you want to take this project further, there is plenty more to be done! This code needs further tidying. You can use that list in the resetLevel() method. You could use static variables for the character height and width. You might take the velocity and gravity out of the sprites and place them in the logic method.
Obviously, there’s a lot more to be done to make this game actually fun, too. Giving the bird some momentum would make the gameplay far less rigid. Creating a class to handle an on-screen UI with a top score would also help. Improving the balance of the challenge is a must – maybe ramping up difficulty as the game progresses would help. The “hit box” for the character sprite is too large where the image tails off. If it were down to me, I’d probably also want to add some collectibles to the game to create a fun “risk/reward” mechanic.
This article on how to design a good mobile game to be fun may be of service. Good luck!
Next – A beginner’s guide to Java