Affiliate links on Android Authority may earn us a commission. Learn more.
What is HDR in photography? Let us teach you how it's done

HDR is a well-known technique in Photography. The term started making its way to the general public in recent years, thanks to it being widely adopted in the smartphone market. But what is HDR, exactly?
Regardless of your photography skill level, knowing what HDR is and how it’s properly done will help you produce stunning images under harsh lighting situations. Let’s tell you all about it!
Here: All the photography terms you should know about
What is dynamic range?
Before learning about HDR, you should take some time to understand what dynamic range is. The Merriam-Webster Dictionary defines dynamic range as “the ratio of the strongest to the weakest sound intensity that can be transmitted or reproduced by an audio or broadcasting system.” That definition refers to audio, but the idea is similar in photography. Dynamic range relates to how much data a camera can capture at the extremes of exposure in a scene, from the darkest to the lightest parts of a photo.
We have a full guide on dynamic range, in case you need some further help understanding the concept.
What is HDR?
HDR stands for “high dynamic range.” It is a technique used by photographers to balance light levels in a scene. It is commonly used in situations with significant exposure differences within a single frame. A typical example of such situations is when indoors, shooting through a window to an area with direct sunlight. In this case, a camera will either under-expose the room or over-expose the outside.
We will talk about the technique later in the post, but the gist is that a photographer needs to take multiple shots at different exposure levels. Some need to be darker to bring down the highlights, while some pictures need to be brighter to bring out detail in the dark. These images are then merged with specialized software, which will get all possible detail and put it together in a single image with a more balanced exposure across the spectrum.
HDR in smartphones

You have probably seen HDR mode on your smartphone. Turn it on when you want to capture more detail in the shadows and highlights. I would also recommend you learn the fundamentals of HDR photography. While a phone’s HDR mode improves images significantly, machine hasn’t beaten man when it comes to producing a quality HDR photo.
Machine hasn't beaten man when it comes to producing a quality HDR photo.Edgar Cervantes
HDR photos are made by merging multiple images taken at different exposure levels. Some phones have been known to cheat the process by shooting one image, duplicating it, editing exposure, and merging different versions of the same photo. This essentially works, but only to a certain extent. Over-editing an image can bring out noise and other unwanted elements.
Other phones take advantage of multiple cameras to take the same photo at multiple exposure levels. This is considered true HDR, but somehow the software has difficulty getting highlights and shadows correct. At least it’s a step in the right direction, though.
Manufacturers set up their cameras and algorithms differently, so we can’t pinpoint the issue, but so far, no phone has convinced us of their automatic HDR implementation. Here is a sample of the difference between automatic HDR and true HDR. All were shot using the same phone (Moto E5 Plus) for a post where we showcase what a professional photographer can do with a cheap smartphone camera.
How to make an HDR photo

Those who want to take things to the next level should learn to make HDR photos manually. This will give you more freedom to capture the details you want and customize the image to your liking. The end product will always be better than automatic HDR.
What do I need to make an HDR photo?
- A camera/smartphone with manual mode.
- Know how to shoot in manual mode.
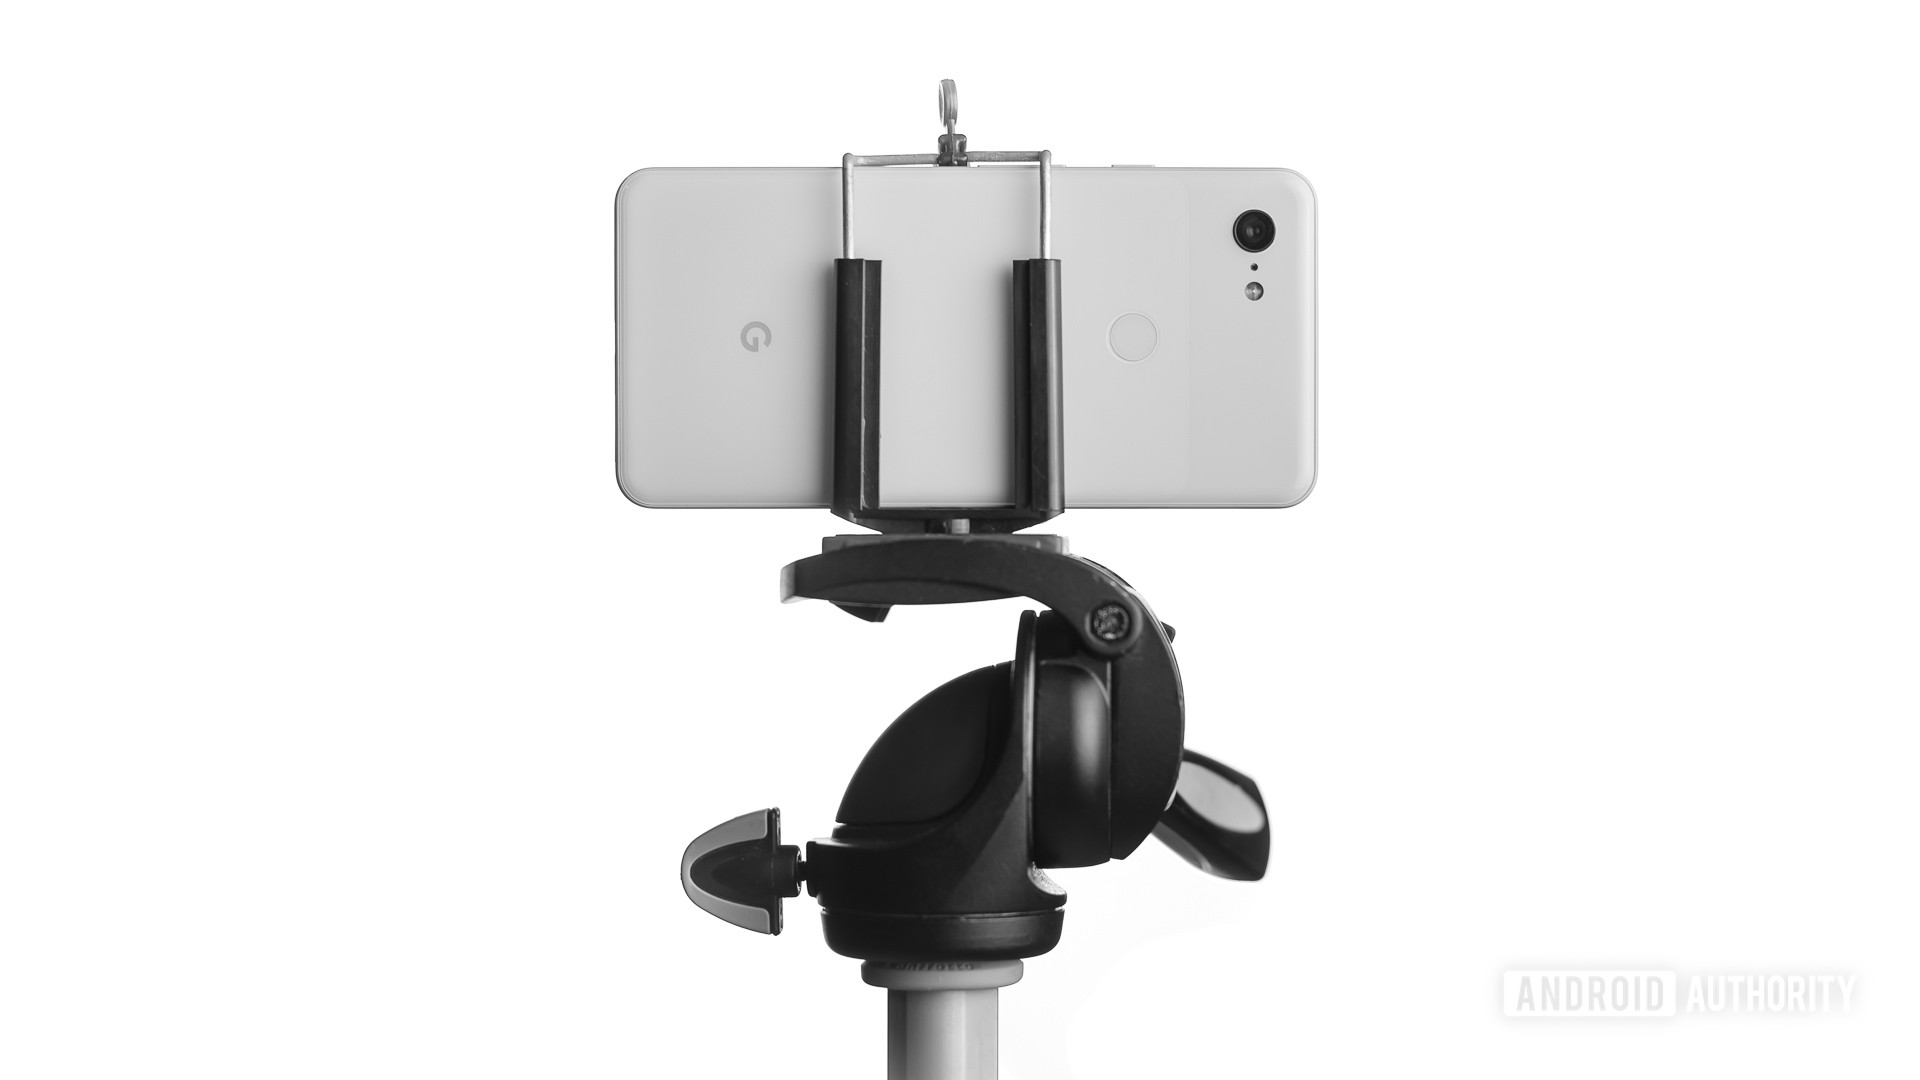
- A tripod. The camera needs to be static. You don’t necessarily need one if you find another way to do that without a tripod. You could lean your phone against something, for example.
- A non-moving subject. Some people experiment with moving people, vehicles, water, etc. You can get into that as you become more advanced in HDR photography.
Shooting your images:
- Pick your scene, set up the tripod/camera, and compose the image. Keep the camera still for the whole duration of the shoot.
- Lock your focus where you want it. You don’t want images with different focus points.
- Find the correct exposure settings for your main subject. If there isn’t a single subject, or it’s too large, balance exposure as much as possible. And make sure you pick the right aperture, ISO, and focus points for every shot.
- You will change nothing but shutter speed from now on.
- Take the first image.
- Change the shutter speed to make the image darker than the first image by one f-stop (learn more about stops here) and take another photo.
- Repeat step six until you expose the brightest point in the image correctly.
- Change the shutter speed to make the image brighter than the first image by one f-stop and take another photo.
- Repeat step eight until you expose the darkest point in the image correctly.
You may wonder why I am not giving you a specific number of photos to shoot, which you see in most HDR tutorials. Many claim to have some magic number of pictures you need to shoot, but the truth is HDR photography doesn’t work that way.
How many photos you need to shoot depends on your scene, equipment, the subject, light evaluation skills, and editing style. Depending on the situation, you can skip multiple f-stops between exposures, but those are lessons for another day. Today we give you a general guide to capturing all detail across the spectrum; from the darkest to the brightest points in your photo, as well as everything in between.
Merging your photos:
You will need to find software that can merge bracketed photos into a single HDR image. Some popular ones include Lightroom and Photoshop. More advanced users can get programs like Luminar NEO and Photomatix Pro. There aren’t many free alternatives, but a good one is Luminance HDR.
The steps for merging a photo are slightly different for each program, so we can’t give you step-by-step directions. The idea should be similar across the board, though. Pick your images, tell the software to merge them, and edit to personalize the image.
FAQs
Most people think HDR photos are simple to make and you can do them handheld. True HDR images require a bit more thought and work. The frame needs to stay identical, so you will need the camera to be completely still. Consider getting a tripod, but you can also lean it against something, or set it somewhere where it won’t move. You’ll also need to keep ISO, aperture, and the focus point the same while you’re shooting multiple images, so you need to know how to shoot photos in manual mode.
Shutter speed is actually the only setting you should change while shooting an HDR photo. This means you can use Shutter Priority mode. You just need to make sure the camera isn’t changing anything in the process. Sometimes camera settings automatically change things like the ISO. You can learn more about Shutter Priority and other modes in our guide to camera modes.
Smartphone HDR photos are good, and they continue getting better, but they are far from being as good as ones shot by a photographer who knows what he’s doing.
HDR photos are great when lighting conditions are too harsh. It especially helps when the frame has very contrasting lighting. For example, when an image has an area with a lot of light and other very dark sections. A camera can only capture so much detail in either side of the spectrum, in a single photo. HDR makes it possible to shoot multiple images at different exposure levels, merge them, and then pull out details from both the highlights and the shadows.