Affiliate links on Android Authority may earn us a commission. Learn more.
How to take a screenshot on the Samsung Galaxy Note 7
If you own a Galaxy Note 7 and are wondering how to take a screenshot, look no further! We'll walk you through what you need to know in this guide.
Taking a screenshot can be quite helpful in many ways. If you need to share something on your screen with someone but they aren’t next to you, sending them a screenshot is a handy way to do so.
If you own a Galaxy Note 7 and are wondering how to take a screenshot, look no further! Taking a screenshot on the Galaxy Note 7 is very easy, and there are three methods to do so:
Method 1 — the easiest way:
- Pull up the page on your Galaxy Note 7 that you want to screenshot.
- Press and hold the power button and the home button for two seconds.
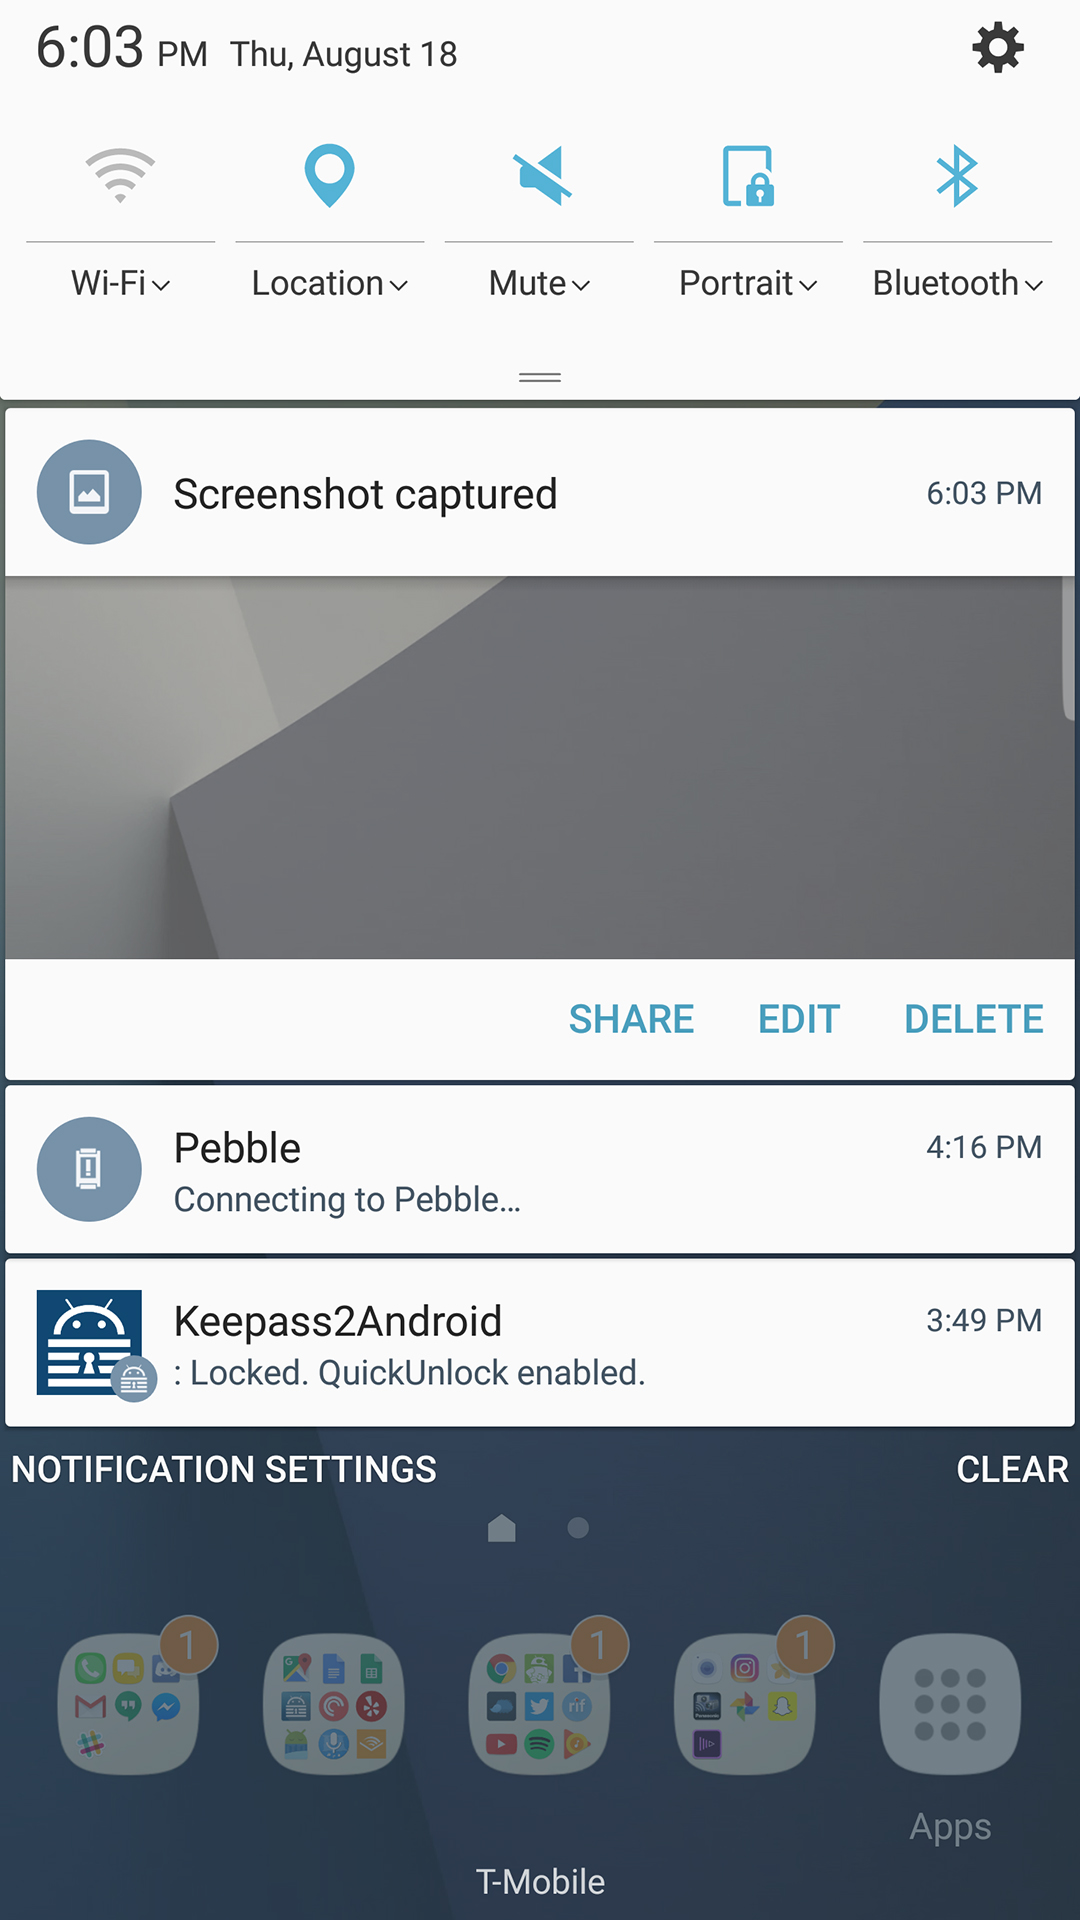
- A brief flash will appear, along with a notification, at which point you can release both buttons.
Method 2 — the palm swipe screenshot:
- Pull up the page on your Galaxy Note 7 that you want to screenshot.
- Place your hand along either edge of the Galaxy Note 7 and swipe in from the edge.
- A brief flash will appear, along with a notification.
- If this method did not work, go to Settings, then Advanced features, and make sure Palm swipe to capture is turned on.
Method 3 — the Screen Write screenshot:
- Make sure the content you want to take a screenshot of is open.
- Take out your S Pen and tap on Screen Write once the Air Command menu has launched.
- A brief flash will appear.
- You can now draw on the screenshot with your S Pen with different colors, an eraser, and more.
- When you’re done, tap on Crop, Share, or Save.

And that’s it! Your new screenshot should now be saved in your Galaxy Note 7’s photo library. If you’d like to quickly share or delete your screenshot, just pull down the notification shade and you’ll see an option to share or delete it.