Affiliate links on Android Authority may earn us a commission. Learn more.
How to flash Android 7.0 Nougat on your Nexus
With Android 7.0 Nougat, Google seems to be getting even faster at offering OTAs, with half our team already having the OTA downloaded and installed. Still, not everyone will probably get it that fast, and sometimes you don’t want to wait. Or perhaps there’s a reason you want a clean install (too much old bloat on your device, etc). In those situations, starting from scratch is certainly worth considering. If you’ve never done it before, there are a few hoops to go through, but nothing too difficult.

For those that are familiar with flashing, there’s really nothing new about this process with Android 7.0. That said, if you’ve never unlocked the bootloader in your Nexus 6P or 5X, it is worth noting that you absolutely need the latest version of the Android SDK (which you should install anyhow) — as these devices only recognize the new command for unlocking the bootloader – fastboot flashing unlock.
For those that have never flashed an update at all, this guide will take you through everything you need to know about the process.


What will you need before you get started?
- A Nexus device along with a USB cable to connect it to your computer.
- The Android SDK installed on your machine with ADB and Fastboot command successfully working. Here’s a tutorial on how to do that.
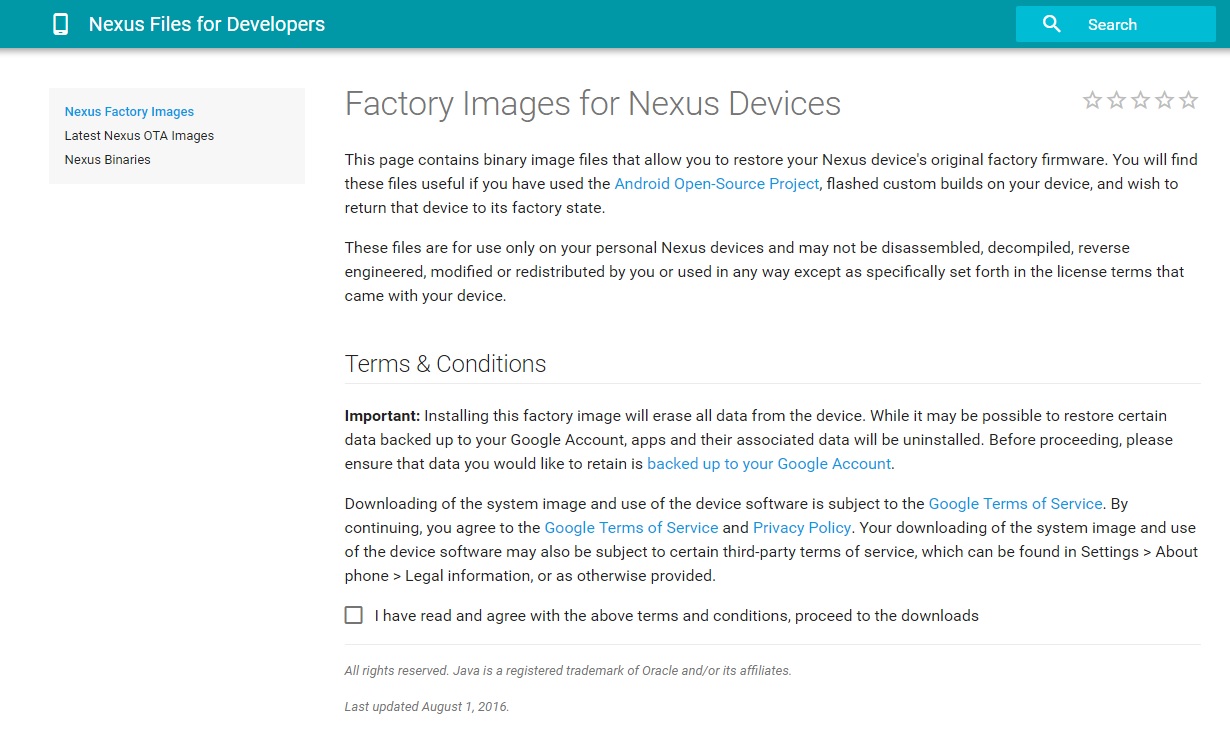
- You’ll also need the appropriate factory image for your Nexus device. Go to this website to download them and make sure you get the right one for your device. It’s worth it to spend a moment to make sure you have the right one rather than have to deal with the issues of downloading the wrong one.
- You’ll also need 7zip or a similar program that can handle .tgz and .tar files. You can download 7zip for free here.
- You will also need to unlock your Nexus bootloader. Beware, this will erase your data. It’s also worth noting that flashing a factory image will also erase your data. Make sure to back it up!
Unlocking your bootloader
Before you get started, if your phone’s bootloader has never been unlocked, you’ll need to do a few extra steps before manually installing Android Nougat. Remember, opening the bootloader will reset your phone, losing all personal data.
With that out of the way:
- Turn off your Nexus.
- Hold down power and volume down buttons.
- On your Nexus type ./fastboot flashing unlock
- Press volume up and power button to confirm bootloader unlock.
- Type ./fastboot reboot — that’s it. You’re now unlocked and ready!

How to manually install Android Nougat on a Nexus device
Keep in mind that this process is pretty straightforward, but things can and do go wrong if you don’t carefully follow instructions. In other words, proceed at your own risk. With that out of the way, here’s what you need to do:
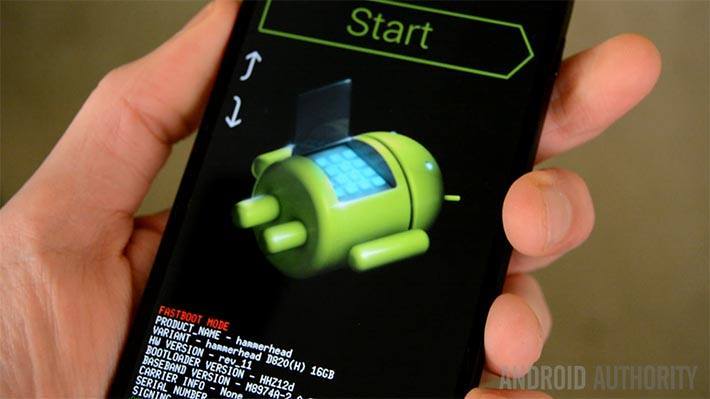
- Boot your Nexus device into fastboot mode. You do this by turning it off and holding down the volume up + volume down keys and then pressing power. That should work for all modern Nexus devices but if not, you may need to Google Search how to do it on yours.
- On your computer, use 7zip to extract the .tgz file you downloaded from the Android Developer website. Use 7zip a second time to extract the .tar file you extracted from the .tgz. When you’re done, you should have a folder with several files in it.
- Copy all of these files and paste them in the platform-tools folder in the Android SDK on your computer. If you followed the above tutorial, this should be under the C drive, then under Program Files (x86) on Windows. Linux users, you know where you put it.
- If you have not already done so, connect your Nexus device to your computer. ADB and Fastboot commands should already work at this point if you’ve been following along.
- There are two flash-all files. If you’re in Windows, you’ll want to double click the one that has the gear logo and says “Windows Batch File” on the right. If you’re on Linux, you’ll want to double click the flash-all.sh.
- At this point a box should pop up and you should see the installation taking place. While this is going on, do not unplug your device for any reason. Let it do its thing.
- Once the installation process as finished, your device will automatically reboot and you should see the official Android 7.0 Nougat boot animation start up. You can now safely disconnect your device from your computer. Congrats, you now have Nougat!
If you have any issues, post a comment below, and we’ll do our best to help you out, and invite other readers to pitch in as well. Good luck, have fun, and we hope you enjoy Android Nougat!